更新系统
sudo yum -y update
安装所需要的包
sudo yum -y install epel-release curl vim policycoreutils-python

如果要安装并使用本地Postfix服务器发送通知,请安装Postfix,这里就不安装了:
sudo yum -y install postfix
安装后启动并启用Postfix服务。
sudo systemctl enable postfix
sudo systemctl start postfix
有关设置GitLab后外部电子邮件中继服务的配置,请查看文章
添加gitlab ce仓库
GitLab从存储库提供综合包。这些包是专门为CentOS编译的,但可以安装在Fedora系统上。
curl https://packages.gitlab.com/install/repositories/gitlab/gitlab-ce/script.rpm.sh | sudo bash

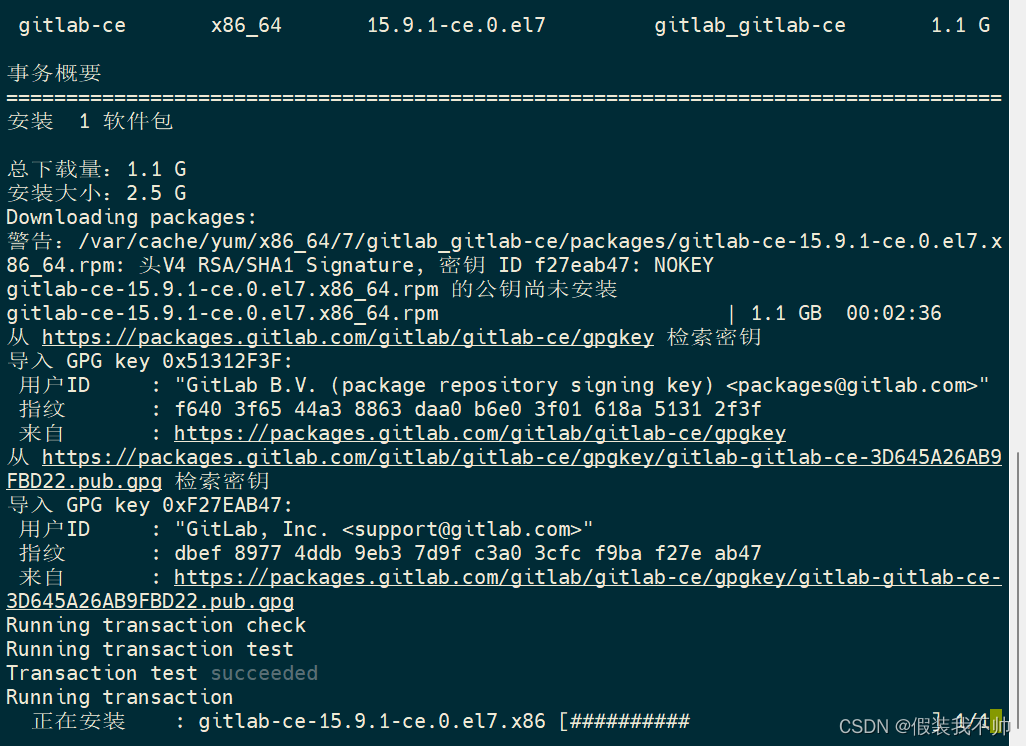
安装gitlab ce
sudo yum install -y gitlab-ce

配置gitlab ce
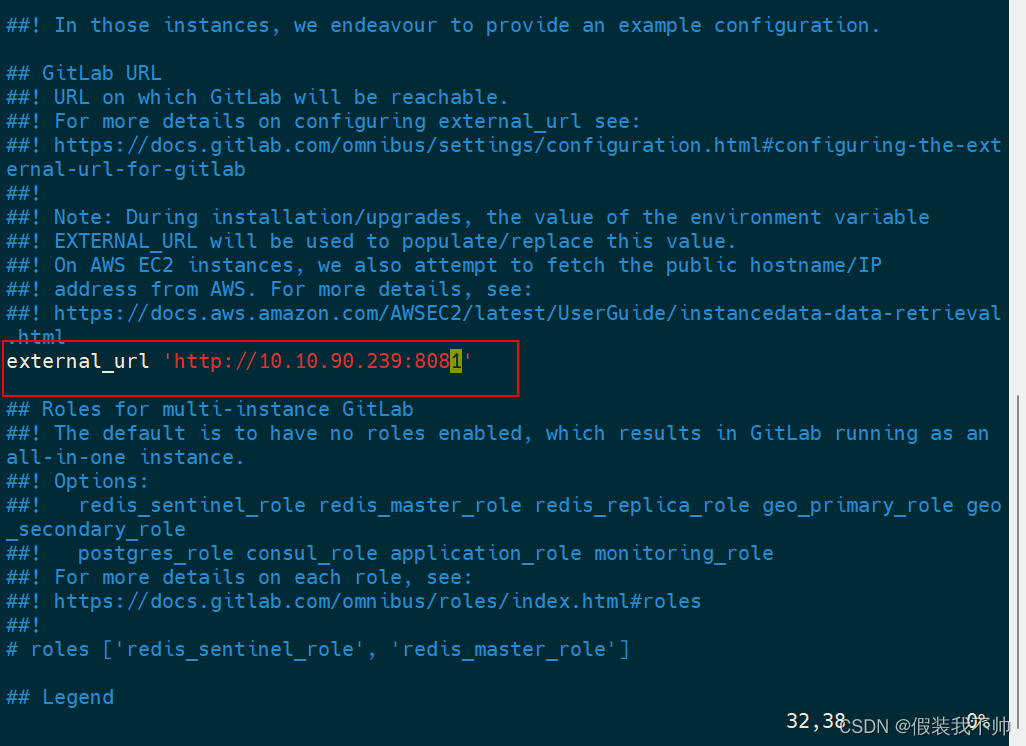
您需要设置可以从外部访问GitLab的URL。这是通过编辑GitLab配置文件/etc/GitLab/GitLab.rb完成的
sudo vim /etc/gitlab/gitlab.rb
然后修改external_url
external_url 'http://10.10.90.239:8081'
还有许多其他GitLab CE配置设置,您可以根据自己的喜好进行设置。完成后,保存文件并运行Gitlab重新配置脚本。
sudo gitlab-ctl reconfigure
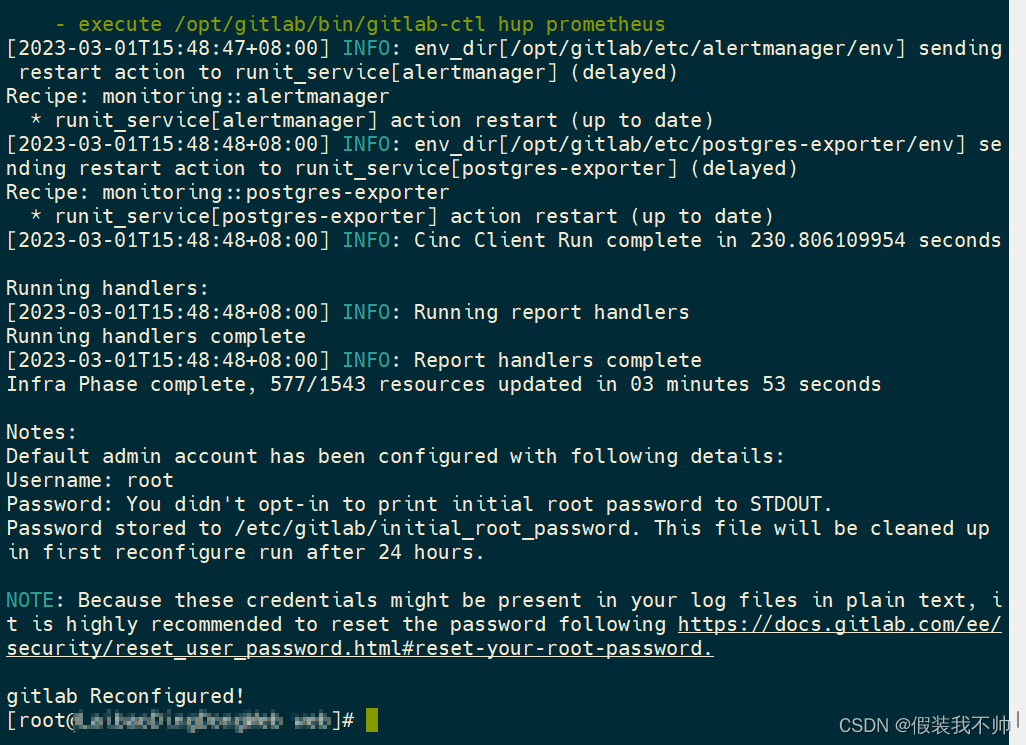
这将启动Chef本地执行以配置Gitlab。当它完成时,你应该得到一个成功的消息。
所有GitLab服务都应在配置后启动。
查看状态
sudo gitlab-ctl status

如果您有活动防火墙,请允许http、https和ssh服务。
# 查看防火墙状态
sudo systemctl status firewalld
# 开放8081
sudo firewall-cmd --zone=public --add-port=8081/tcp --permanent
# sudo firewall-cmd --permanent --add-service={ssh,http,https} --permanent
sudo firewall-cmd --reload


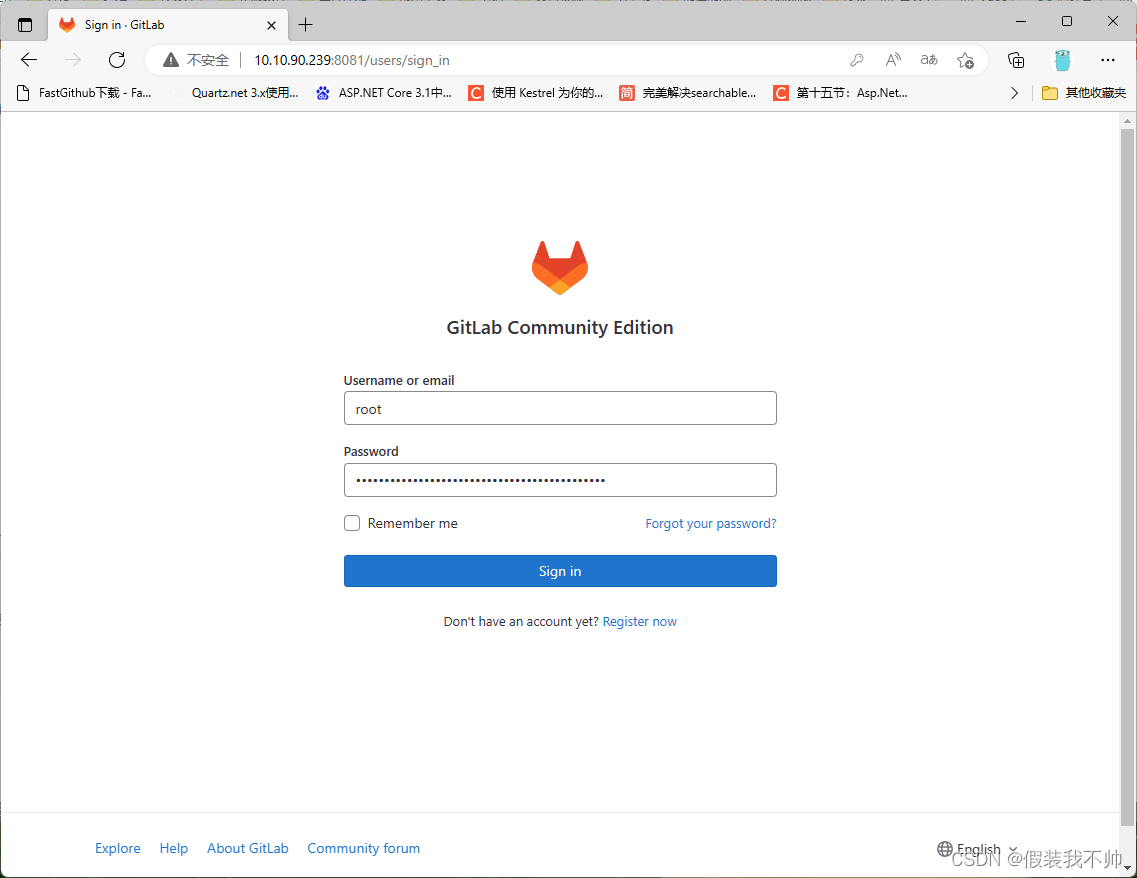
打开浏览器并转到URL http://10.10.90.239:8081完成Gitlab的安装。
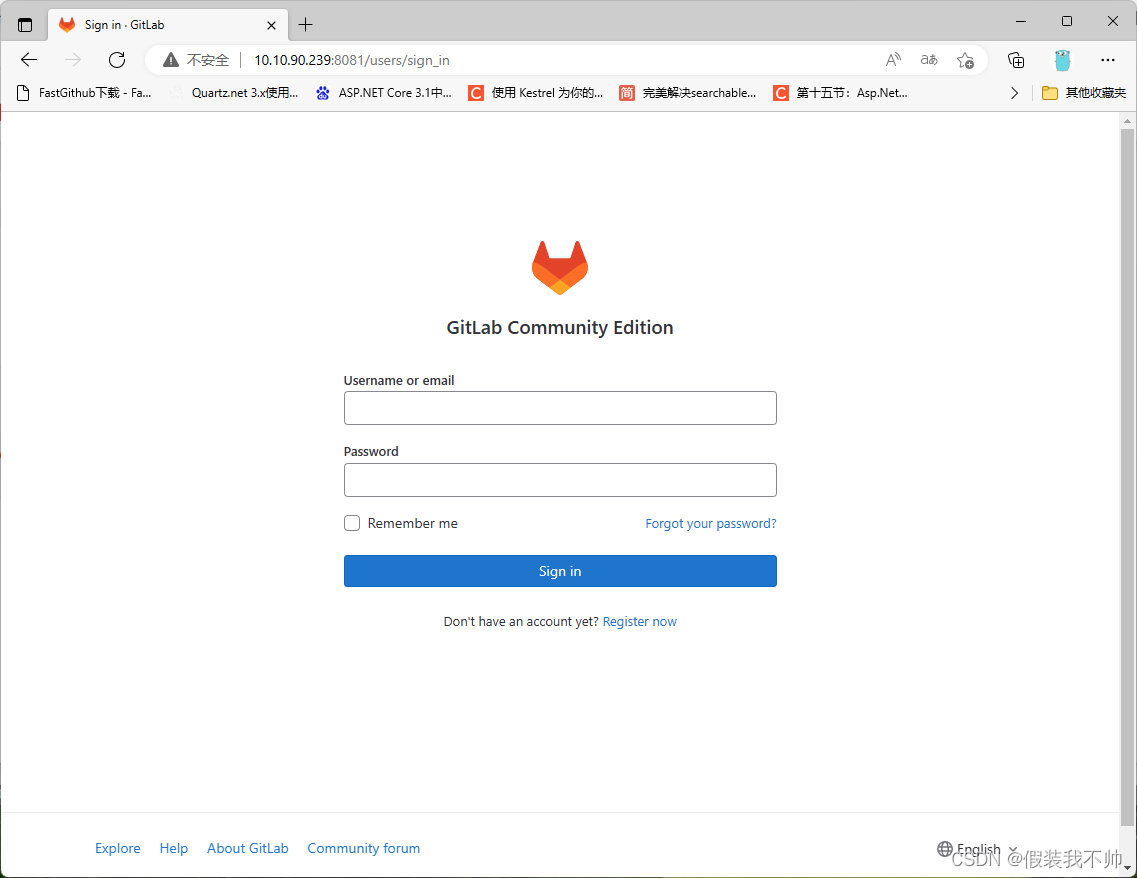
根用户的密码是随机生成的,并存储在/etc/gitlab/ininitial_root_password中,有效期24小时。您可以使用以下命令检查密码:
vim /etc/gitlab/initial_root_password
账号是root
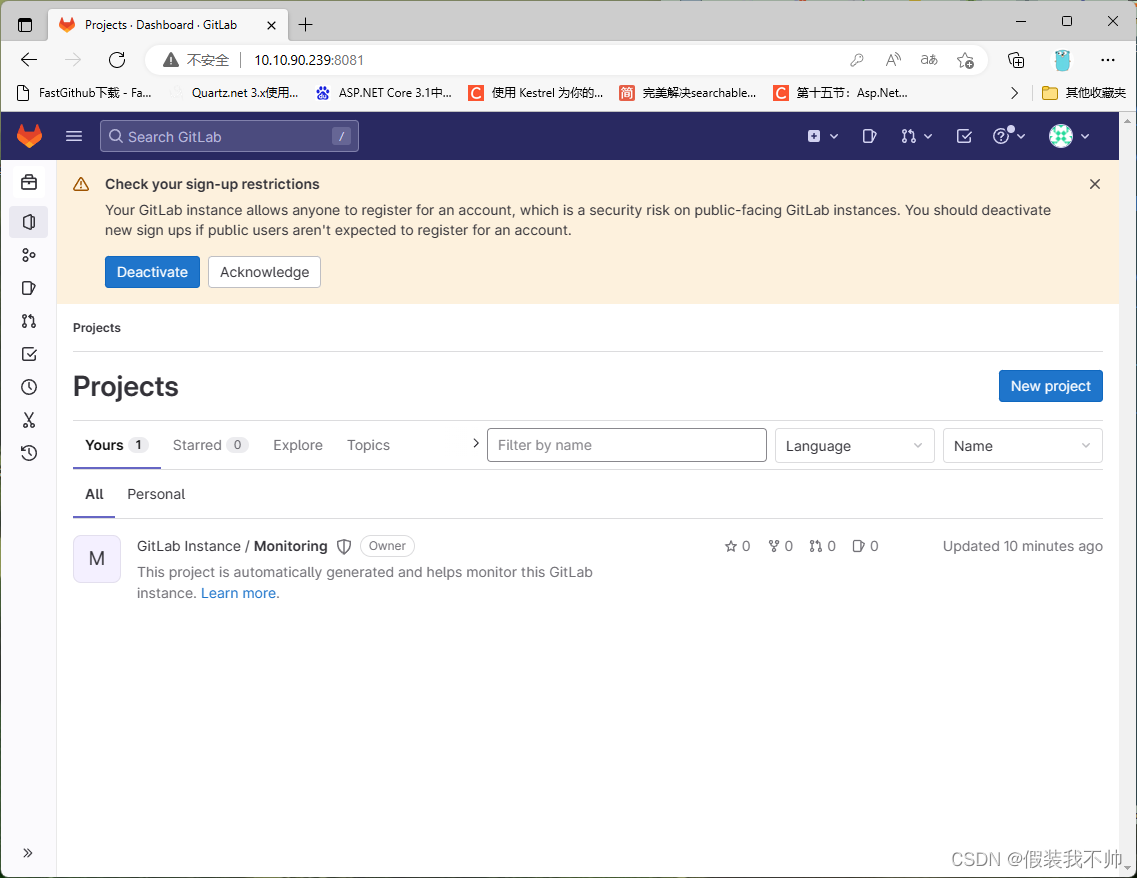
登陆成功后看到如下界面即可。
