官方文档:https://fate.readthedocs.io/en/latest/deploy/standalone-deploy/#1-description。
我用的文档中的Standalone的第二种安装方式,没用docker。
安装过程
文档上写着确定版本
export version=1.7.0
但是你别真的用1.7.0啊! ,1.7.0已经是很老的版本了……
不然巨坑(我已经亲身经历过了,悲)。
首先要查一查现在比较新的版本是什么,目前2023年2月我查到的比较新的是1.10.0。
所以我
export version=1.10.0
获得安装包,解压
wget https://webank-ai-1251170195.cos.ap-guangzhou.myqcloud.com/fate/${version}/release/standalone_fate_install_${version}_release.tar.gz;
tar -xzvf standalone_fate_install_${version}_release.tar.gz
然后init一下,安装。
cd standalone_fate_install_${version}_release;
bash bin/init.sh init
安装后出现
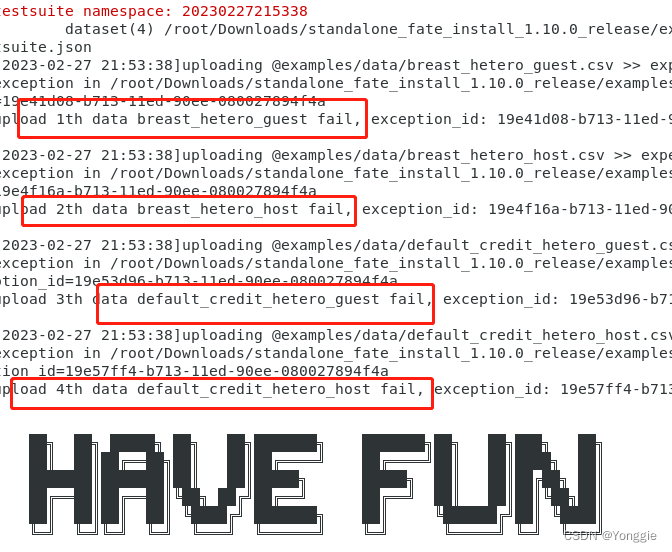
但是我这里除了这个,还有一些fail的任务,暂时不管他。
然后检查下
bash bin/init.sh status
输出一些config和运行状态,看到确实没有启动。
然后启动
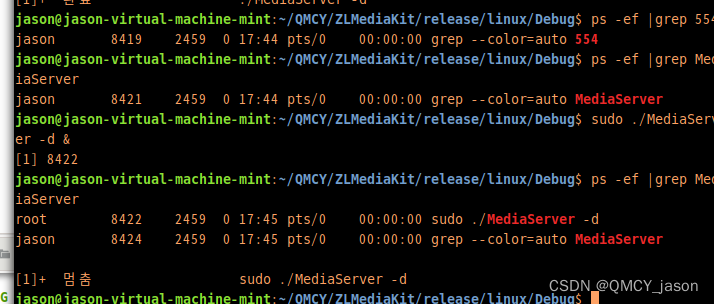
bash bin/init.sh start
会经过许多许多的check process by http port and grpt port
最后输出的service start successfully。
但是他可能在前面先输出failed,后面还会输出success……
检查一下吧,我是没有出现fail
然后执行官方文档的testing
flow test toy -gid 10000 -hid 10000
如果不成功,会返回
{
    "retcode": 100,
    "retmsg": "Connection refused, Please check if the fate flow service is started"
}
或者torch出现错误或者其他python包或者库出现错误。
我自己是出现了module ‘lib‘ has no attribute ‘OpenSSL_add_all_algorithms‘,是由于cryptography包太新了,降一下级,我参考了这个,成功运行了toy test
成功后会返回这样
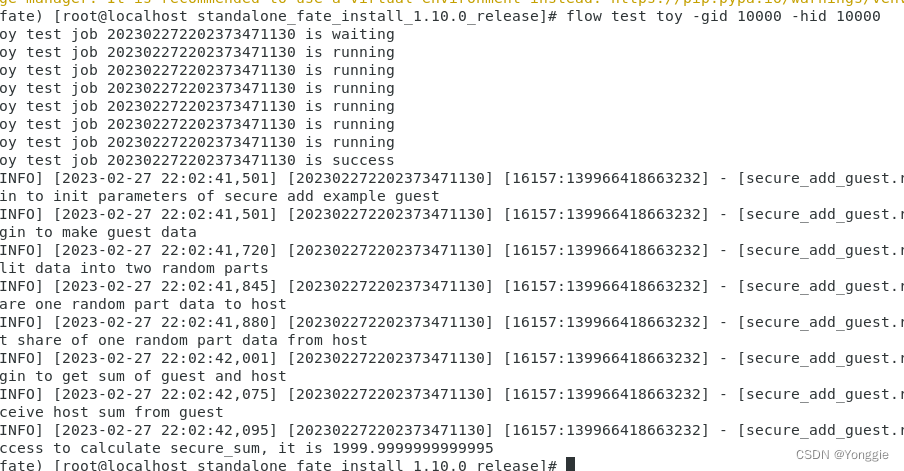
这样FATE框架就启动起来了。
下一篇再分享一下使用Python进行框架的开发。

