文章目录
- 0 官方文档
- 1 系统要求
- 2 maven设置
- 3 HelloWorld
- 3.0 需求
- 3.1 创建Maven工程
- 3.2 引入依赖
- 3.3 创建主程序
- 3.4 编写业务
- 3.5 测试
- 3.6 简化配置
- 3.7 简化部署
0 官方文档
https://docs.spring.io/spring-boot/docs/2.3.4.RELEASE/reference/html/index.html
1 系统要求
想要运行SpringBoot2,对于系统的要求有:
- Java8及以上
- 查看Java版本可以在cmd中使用命令 java -version
- Maven3.3+
- 查看Maven版本可以在cmd中使用命令 mvn -v
- IDEA(我的版本是2021.3.2)
2 maven设置
修改maven安装目录的conf目录下的settings.xml,修改为阿里云镜像,这样下载以来比较快,用Java1.8版本编译
<mirrors>
      <mirror>
        <id>nexus-aliyun</id>
        <mirrorOf>central</mirrorOf>
        <name>Nexus aliyun</name>
        <url>http://maven.aliyun.com/nexus/content/groups/public</url>
      </mirror>
  </mirrors>

  <profiles>
         <profile>
              <id>jdk-1.8</id>
              <activation>
                <activeByDefault>true</activeByDefault>
                <jdk>1.8</jdk>
              </activation>
              <properties>
                <maven.compiler.source>1.8</maven.compiler.source>
                <maven.compiler.target>1.8</maven.compiler.target>
                <maven.compiler.compilerVersion>1.8</maven.compiler.compilerVersion>
              </properties>
         </profile>
  </profiles>
3 HelloWorld
3.0 需求
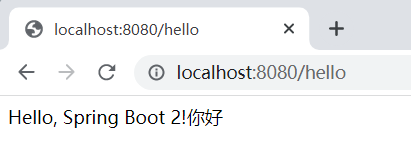
浏览器发送/hello请求,响应Hello,SpringBoot2
3.1 创建Maven工程
在IDEA的settings中设置maven

3.2 引入依赖
在pom.xml文件中添加以下内容
<parent>
    <groupId>org.springframework.boot</groupId>
    <artifactId>spring-boot-starter-parent</artifactId>
    <version>2.3.4.RELEASE</version>
</parent>

<dependencies>
    <dependency>
        <groupId>org.springframework.boot</groupId>
        <artifactId>spring-boot-starter-web</artifactId>
    </dependency>
</dependencies>
3.3 创建主程序
项目的目录结构如下:
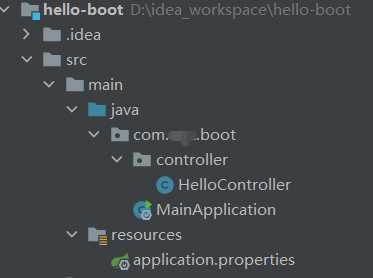
MainApplication为主程序类
package com.wyz.boot;

import org.springframework.boot.SpringApplication;
import org.springframework.boot.autoconfigure.SpringBootApplication;

//主程序类
//该注解告诉SpringBoot这是一个SpringBoot应用
@SpringBootApplication
public class MainApplication {

    public static void main(String[] args) {

		SpringApplication.run(MainApplication.class, args);
    }

}
3.4 编写业务
HelloController.java内容如下:
import org.springframework.web.bind.annotation.RequestMapping;
import org.springframework.web.bind.annotation.ResponseBody;
import org.springframework.web.bind.annotation.RestController;

//@ResponseBody
//@Controller

@RestController
public class HelloController {

    //浏览器发送Hello请求,然后处理,处理完以后给浏览器返回一段话,“hello spring boot”
    @RequestMapping("/hello")
    public String handle01(){
        return "Hello, Spring Boot 2!你好";
    }

}
3.5 测试
直接运行main方法即可
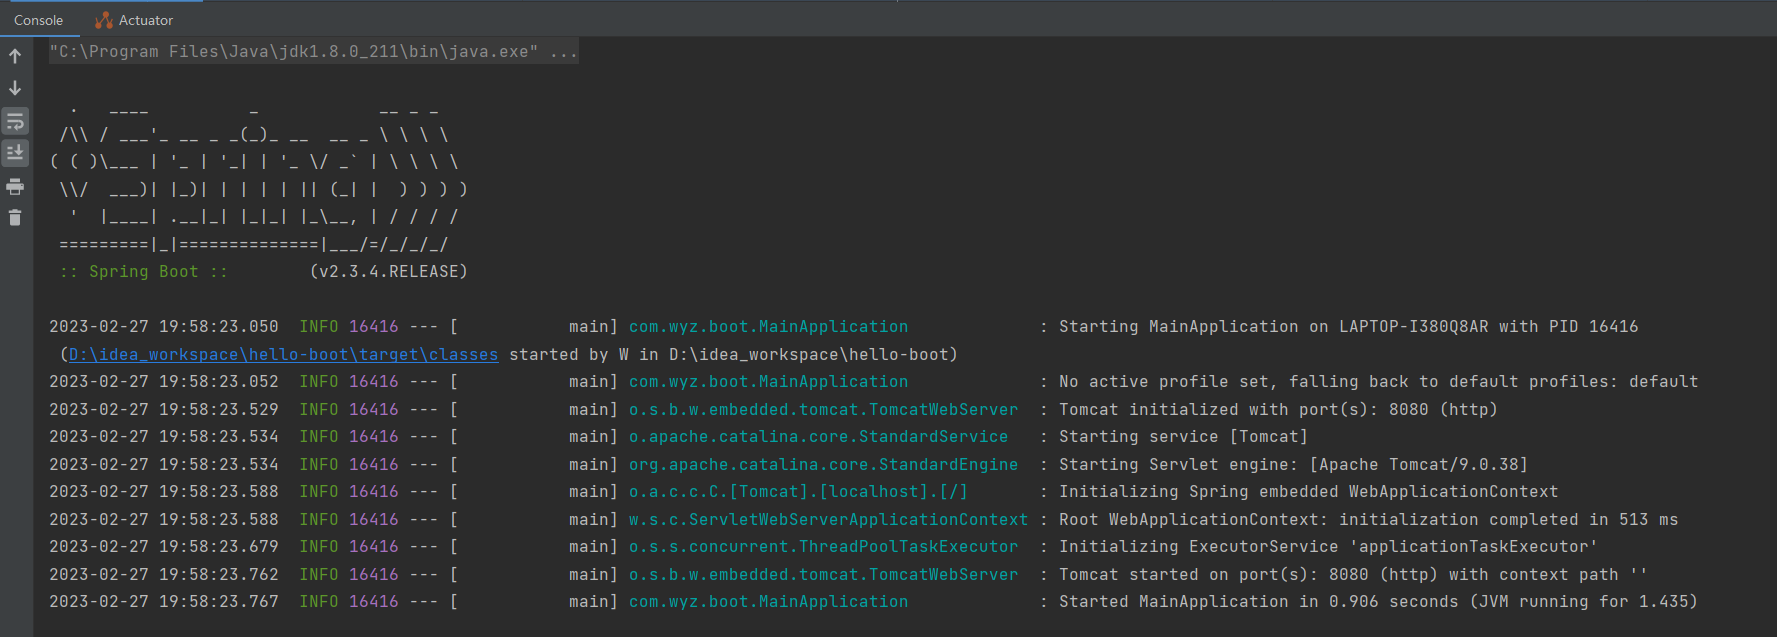
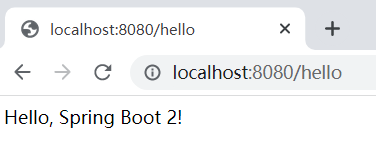
访问http://localhost:8080/hello
3.6 简化配置
SpringBoot2中所有的配置都可以在一个文件中配置
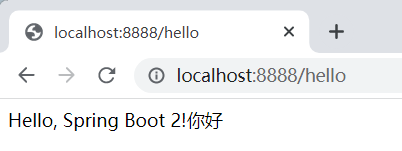
在resources目录下创建名为:application.properties的文件,例如,想修改访问端口为8888
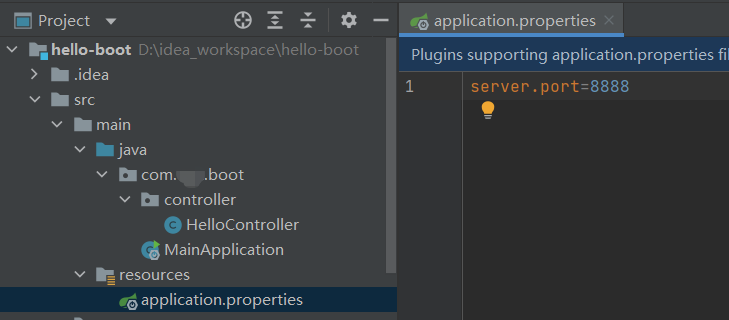
这时,就需要访问http://localhost:8888/hello
3.7 简化部署
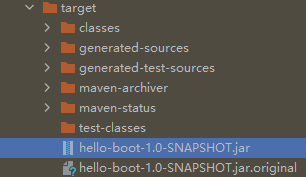
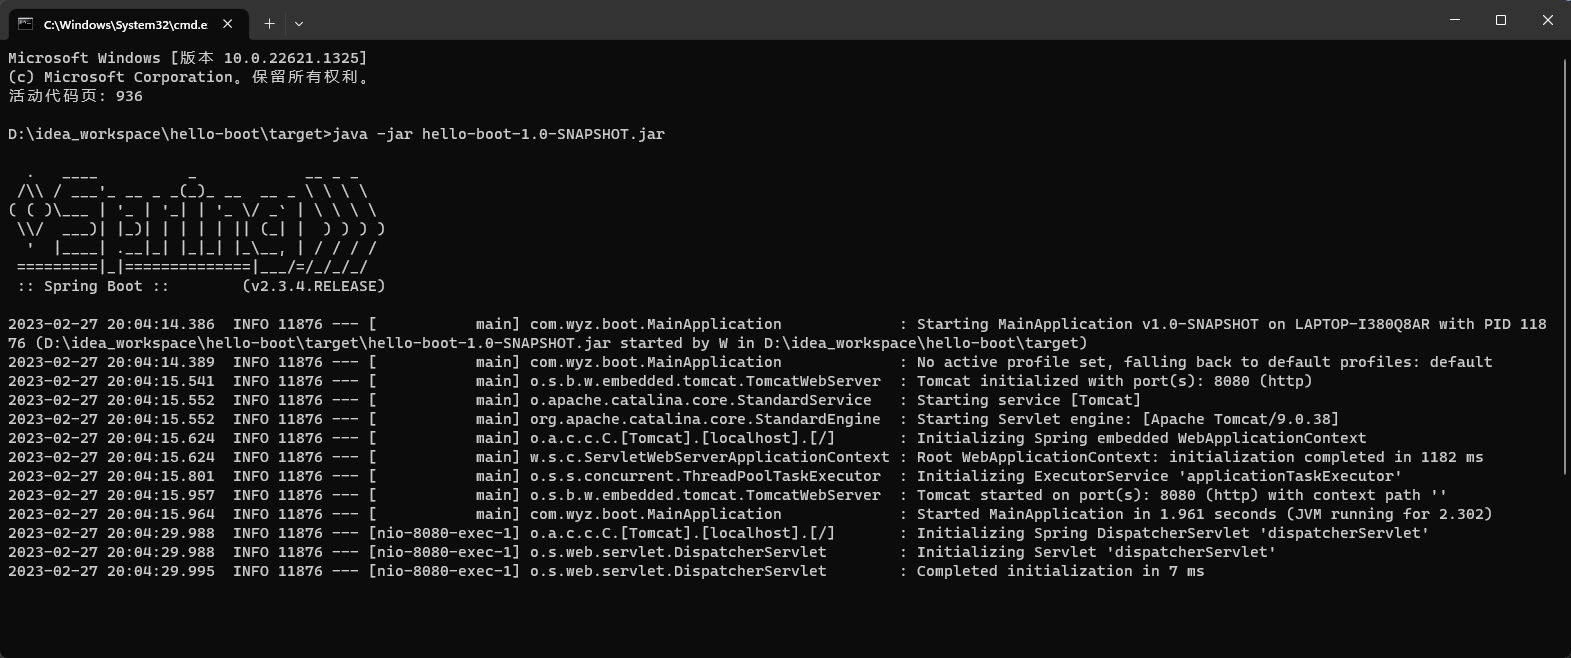
直接通过maven打成jar包,在命令行通过java -jar xxx.jar也可以运行
