1:IDEA集合Git
1.1:配置Git忽略文件-IDEA特定文件
问题 1:为什么要忽略他们?
答: 与项目的实际功能无关, 不参与服务器上部署运行。把它们忽略掉能够屏蔽 IDE 工具之间的差异。
问题 2:怎么忽略?
1)创建忽略规则文件 xxxx.ignore (前缀名随便起, 建议是 git.ignore)
这个文件的存放位置原则上在哪里都可以, 为了便于让~/.gitconfig 文件引用, 建议也放在用 户家目录下
git.ignore 文件模版内容如下:
# Compiled class file
*.class
# Log file
*.log
# BlueJ files
*.ctxt
# Mobile Tools for Java (J2ME)
.mtj.tmp/
# Package Files #
*.jar
*.war
*.nar
*.ear
*.zip
*.tar.gz
*.rar
#        virtual        machine        crash        logs,        see
http://www.java.com/en/download/help/error_hotspot.xml
hs_err_pid*
.classpath
.project
.settings
target
.idea
*.iml
在.gitconfig 文件中引用忽略配置文件(此文件在 Windows 的家目录中)
[user]
name = yuanxinqi
email = yuanxinqi2008@126.com
[core]
excludesfile = C:/Users/yxq/git.ignore
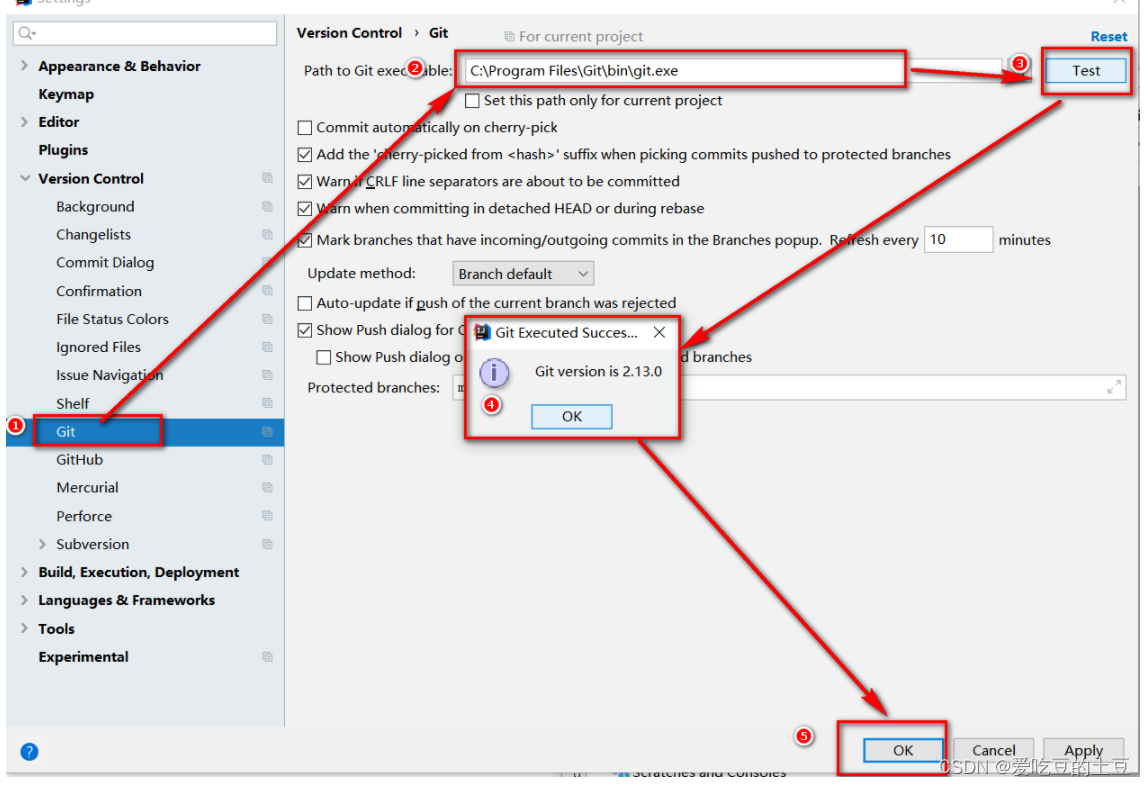
注意:这里要使用“正斜线(/)”,不要使用“反斜线(\)”1.2:定位Git程序
IDEA配置Git程序
1.3:初始化本地库
【目标】在idea中初始化项目,将项目纳入git管理
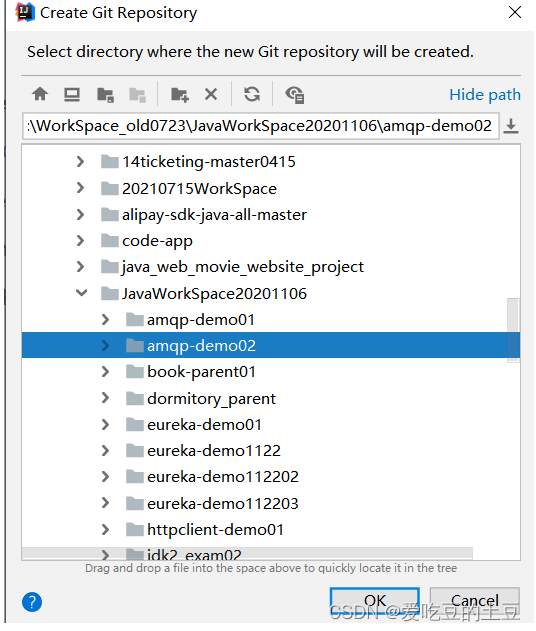
【第一步】VCS--> Import into Version Control --> Create Git Repository
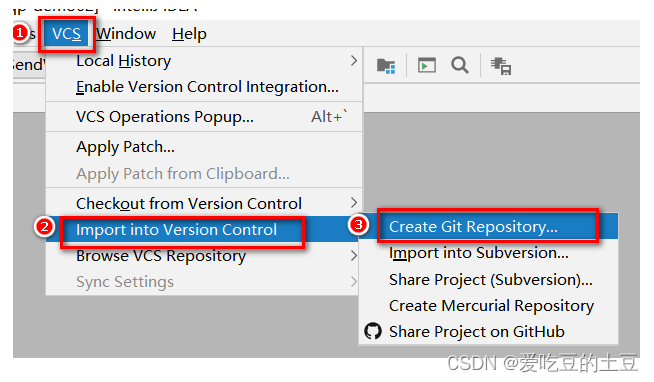
【第二步】选择要初始化的本地项目
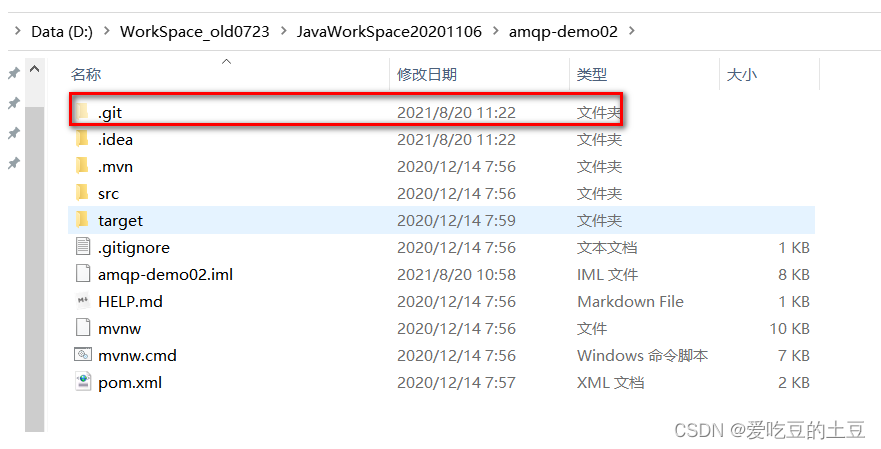
【第三步】在该项目下生成了 .git文件
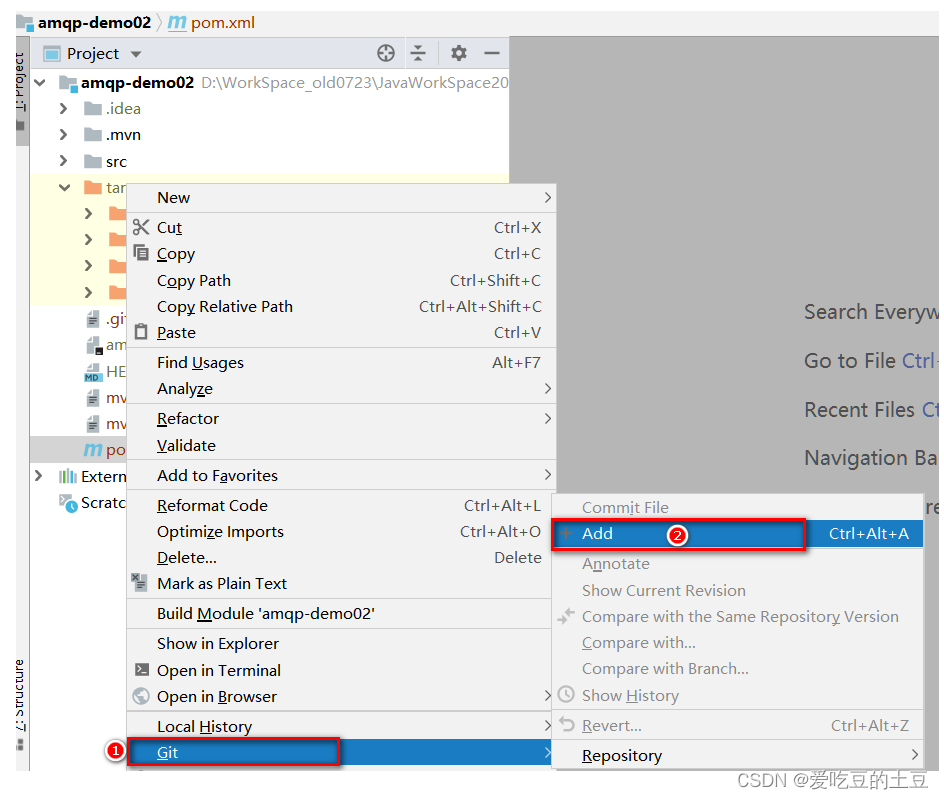
1.4:添加到暂存区
右键点击项目选择 Git -> Add 将项目添加到暂存区。
1.5:提交到本地库


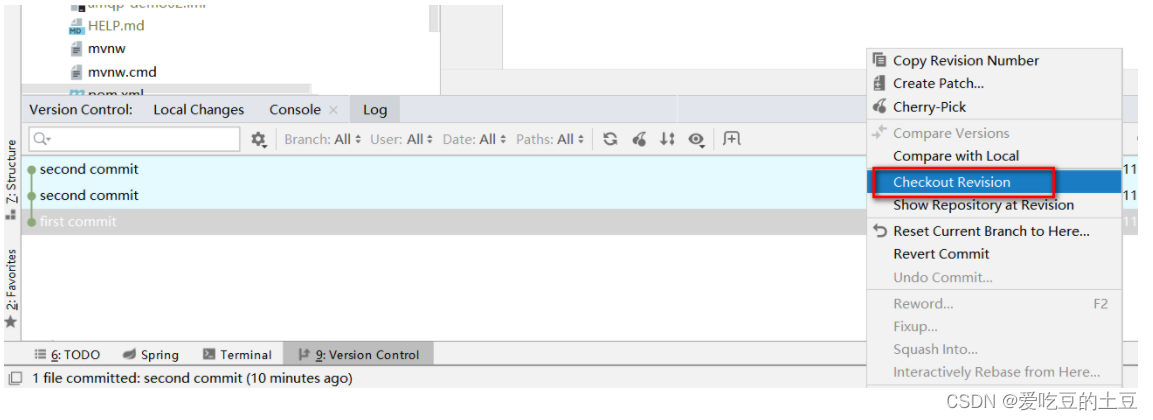
1.6:切换版本
【第一步】在 IDEA 的左下角, 点击 Version Control,然后点击 Log 查看版本
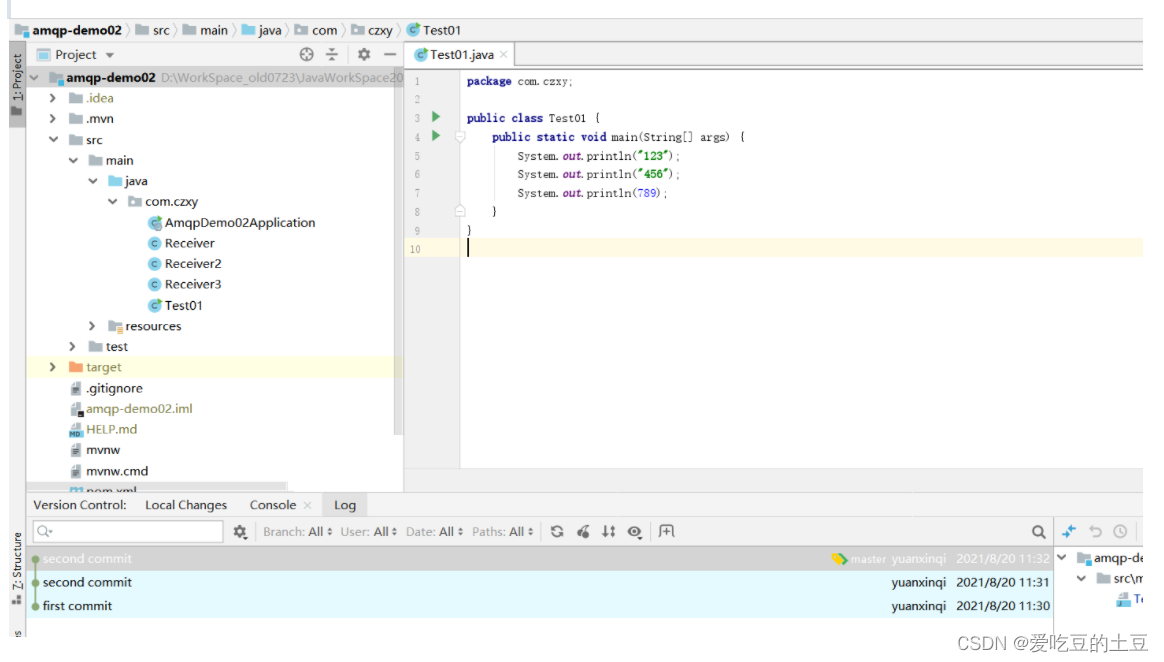
【第二步】右键选择要切换的版本, 然后在菜单里点击 Checkout Revision。
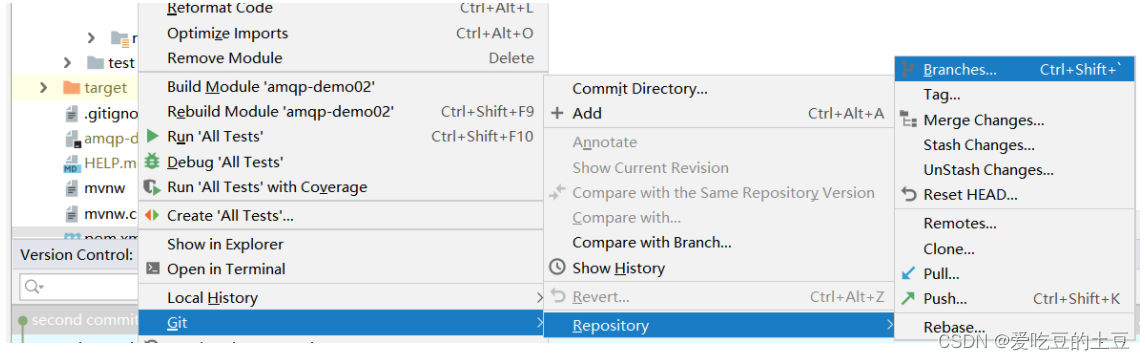
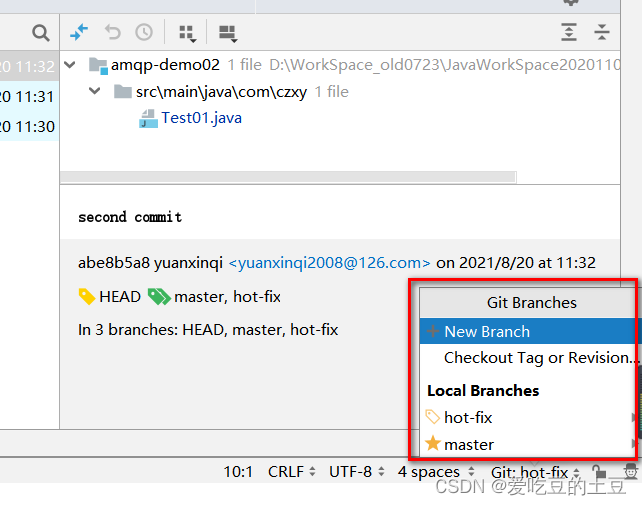
1.7:创建分支
【第一步】选择 Git ,在 Repository 里面,点击 Branches 按钮。
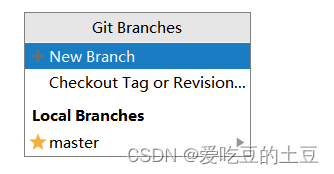
【第二步】在弹出的 Git Branches 框里,点击New Branch 按钮。
【第三步】填写分支名称,创建 hot-fix 分支。
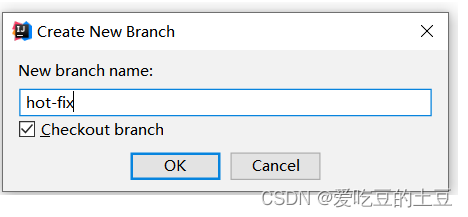
【第四步】在 IDEA 的右下角看到 hot-fix,说明分支创建成功, 并且当前已经切换成 hot-fix 分 支
1.8:切换分支
【第一步】在 IDEA 窗口的右下角, 切换到 master 分支。
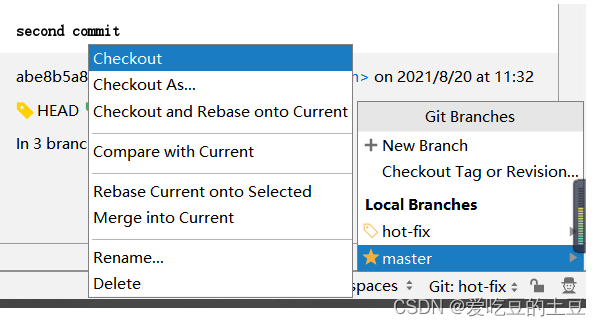
【第二步】在 IDEA 窗口的右下角看到了master,说明 master 分支切换成功。

1.9:合并分支
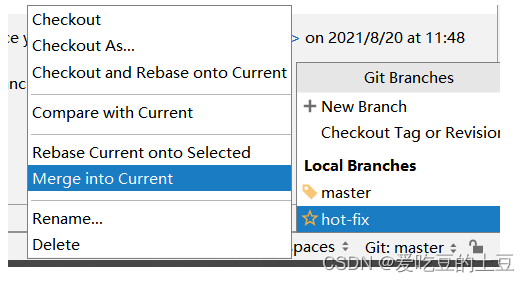
【第一步】在 IDEA 窗口的右下角, 将 hot-fix 分支合并到当前 master 分支。

【第二步】如果代码没有冲突, 分支直接合并成功, 分支合并成功以后, 代码自动提交, 无需手动 提交本地库。
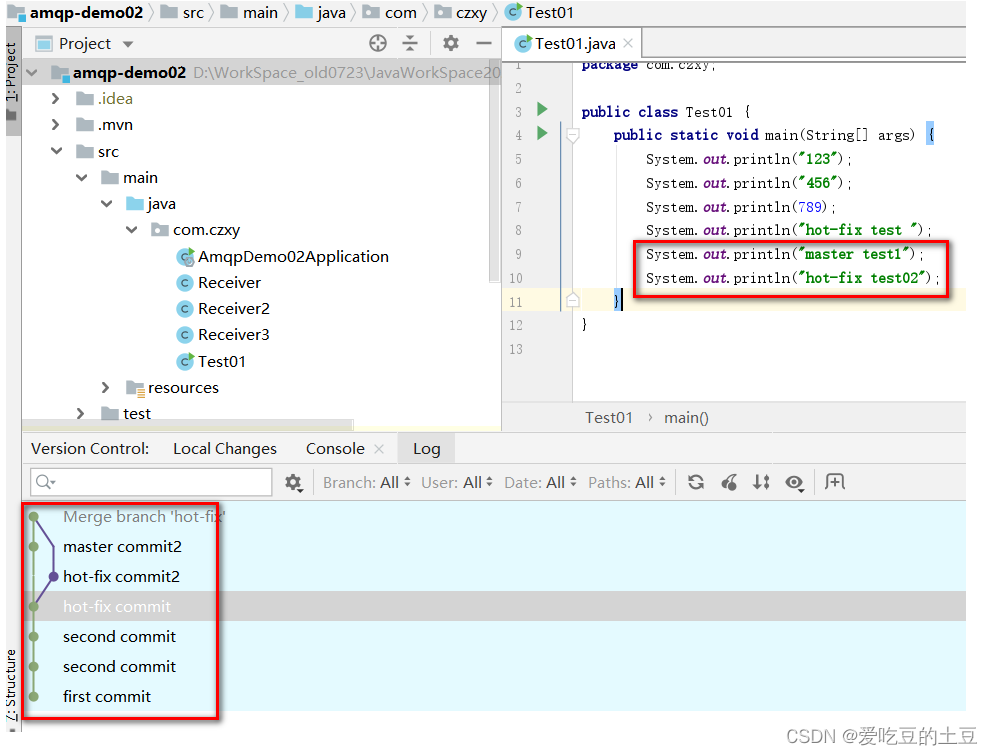
1.10:解决冲突
如图所示, 如果 master 分支和 hot-fix 分支都修改了代码, 在合并分支的时候就会发生 冲突。
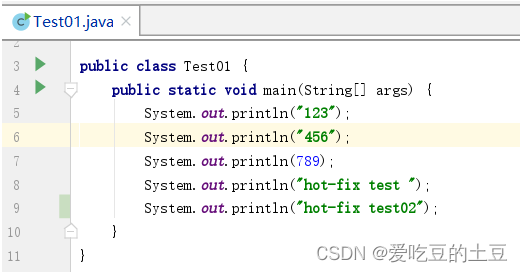
【第一步】在hot-fix分支上,增加如下代码,并且提交

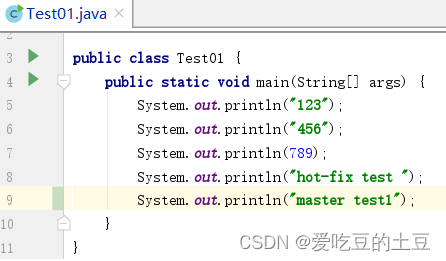
【第二步】在master 分支上,增加如下代码,并且提交

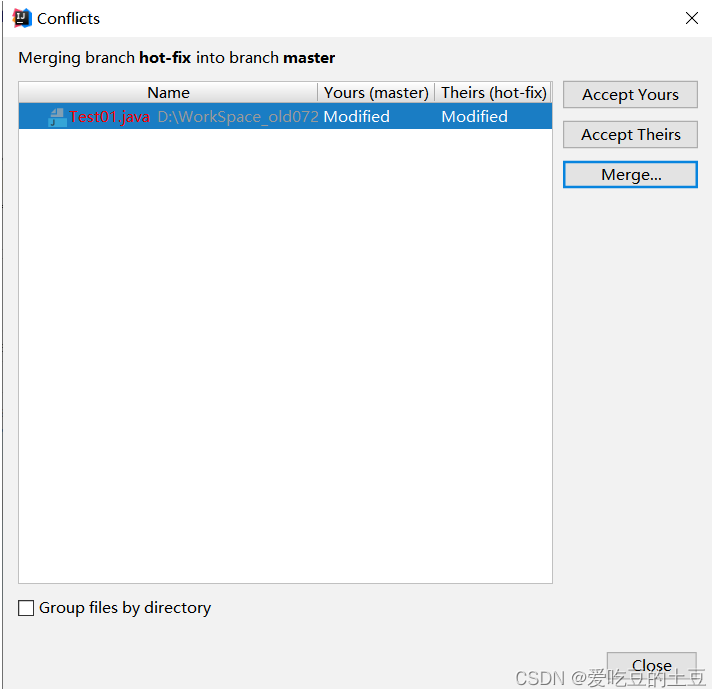
【第三步】 我们现在站在 master 分支上合并 hot-fix 分支, 就会发生代码冲突。
点击 Conflicts 框里的 Merge 按钮,进行手动合并代码。
【第四步】手动合并代码
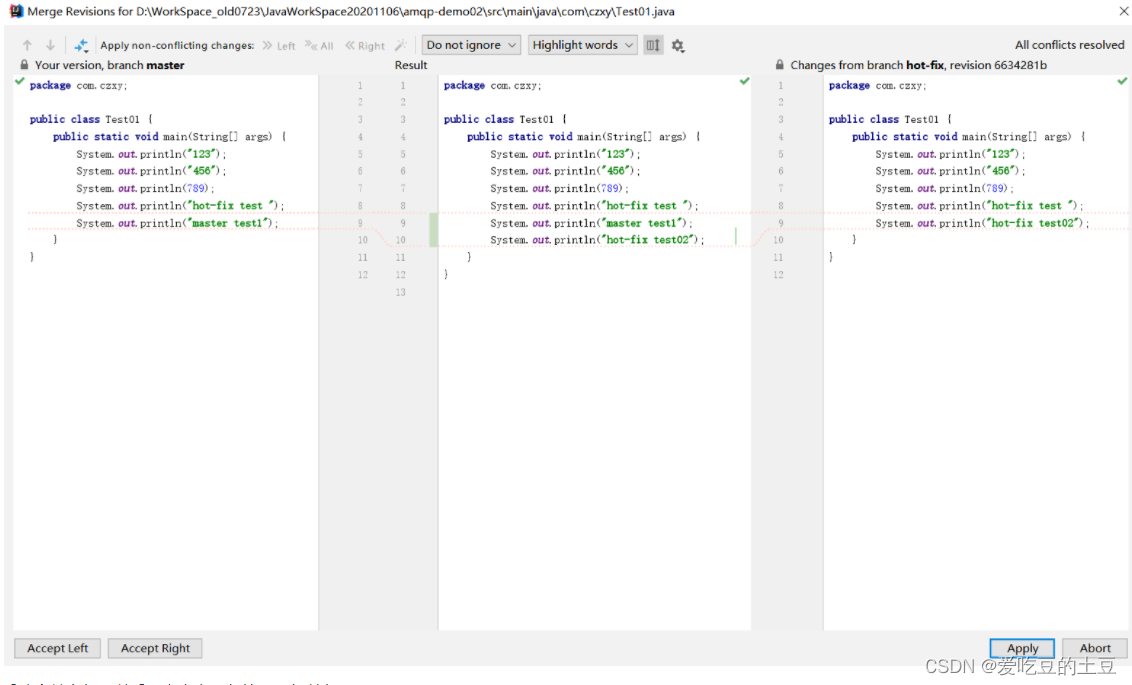
手动合并完代码以后,点击右下角的 Apply 按钮。
代码冲突解决, 自动提交本地库。