一、vue脚手架安装命令
npm i -g @vue/cli 或 yarn global add @vue/cli
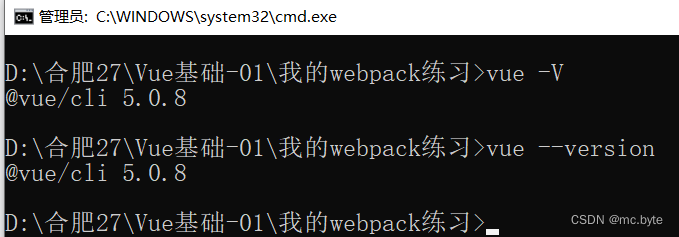
安装上面的工具,安装后运行 vue --version ,如果看到版本号,说明安装成功
或 vue -V
工具安装好之后,就可以安装带有webpack配置的vue项目了。
创建项目之前,调整好终端路径,运行 vue create vue-demo -m npm 或 vue create 项目名(不能用中文) 来安装项目
npm run serve 或 yarn serve -- 启动项目(如果按照项目选择的npm,则使用 npm run serve 启动项目)
初始化完成之后代码
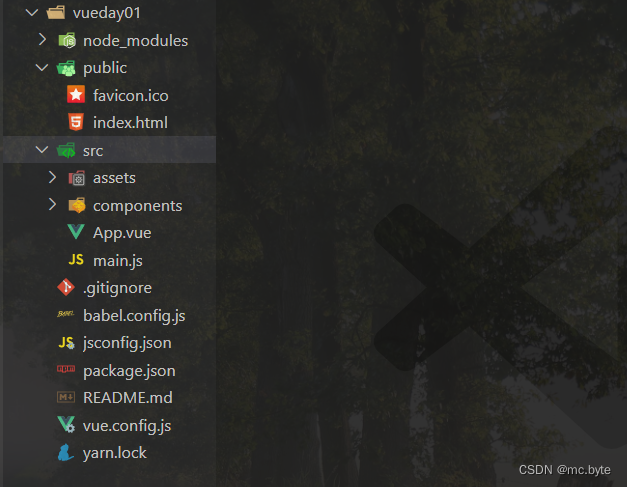
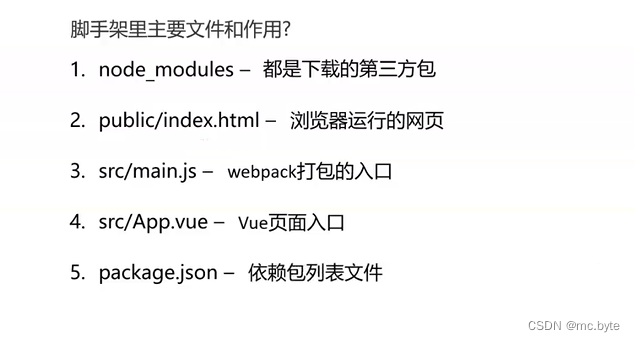
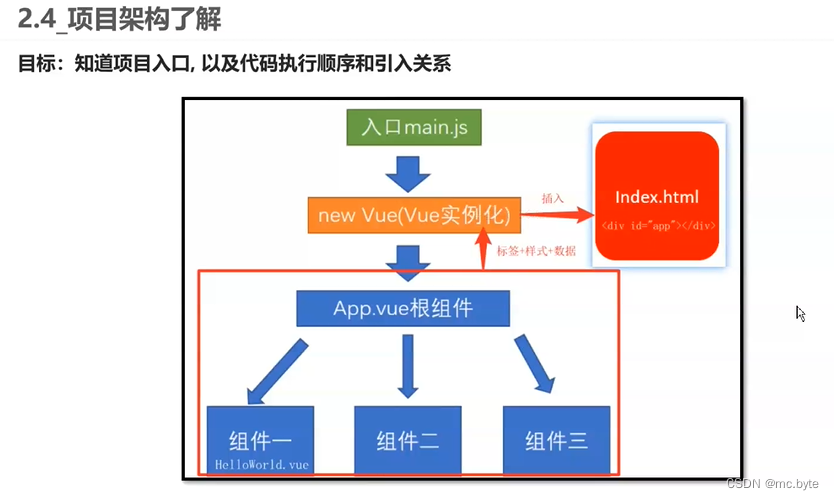
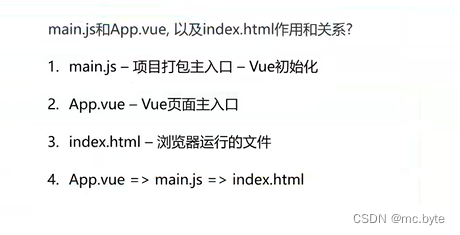
脚手架项目里文件之间的关系