前言
本节内容是使用centos服务器搭建一套高可用的redis服务,采用的是一主二从三哨兵的模式。
需要注意的是搭建集群的过程中,我们要保证集群服务器之间可以相互访问,并且redis所需要访问的端口是开放的。我们从redis的下载,源码的编译,到redis的集群部署搭建,redis服务高可用的演示以及将redis安装成为一个服务都有详细的过程记录。使redis哨兵模式的搭建变得如此轻松。
正文
- 下载redis安装包并上传到服务器解压
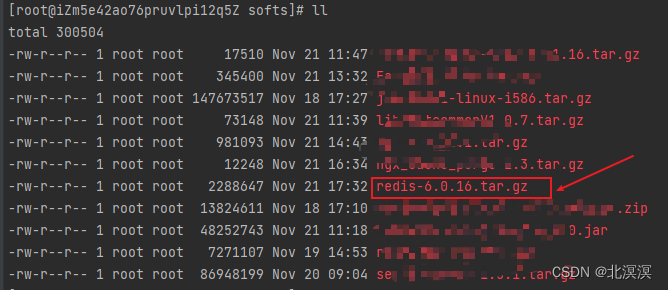
①下载redis安装包
Download | Redis
②上传安装包到服务器
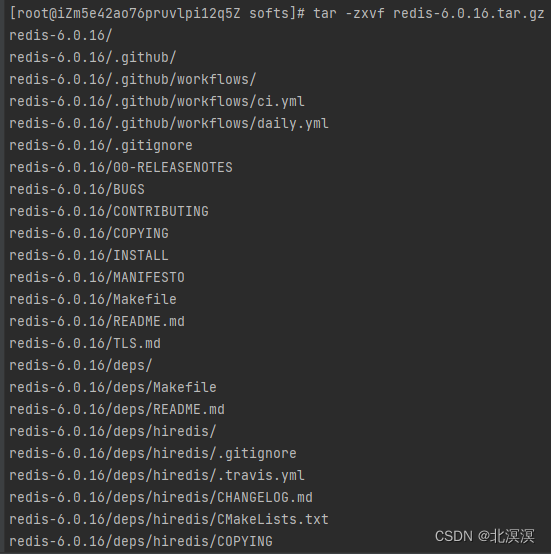
③解压redis安装包
命令:tar -zxvf redis-6.0.16.tar.gz
-
编译安装redis
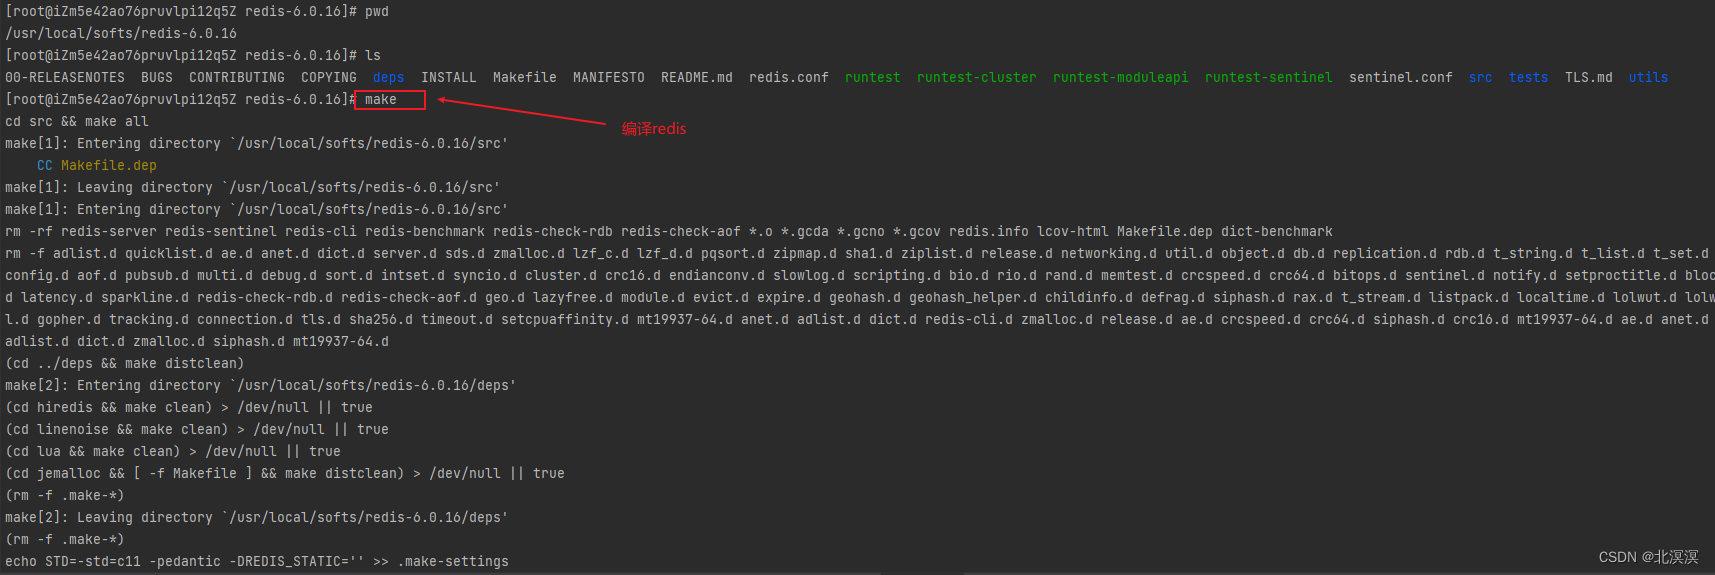
①编译redis安装包
②出现编译错误,升级gcc
③查看gcc版本
gcc -v
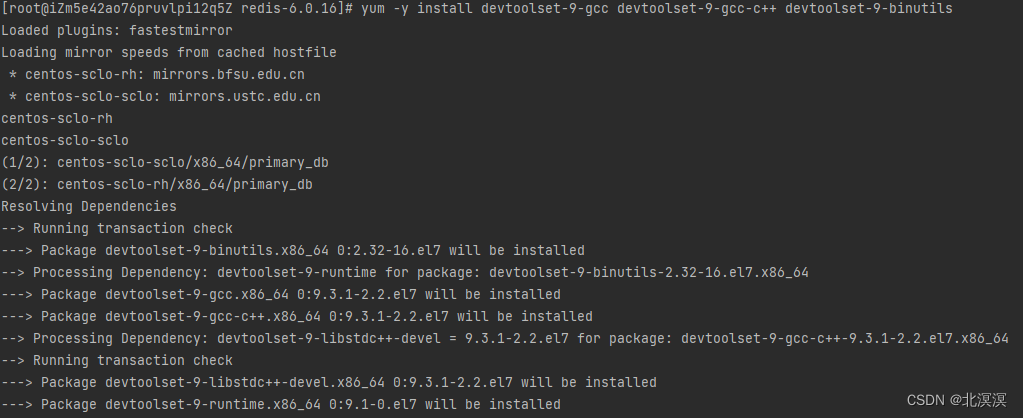
④升级gcc到9的版本
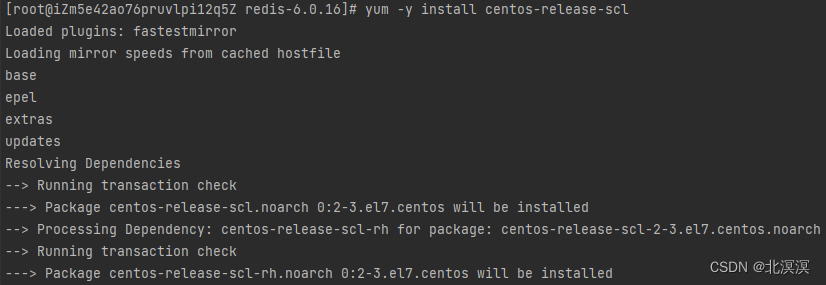
yum -y install centos-release-scl
yum -y install devtoolset-9-gcc devtoolset-9-gcc-c++ devtoolset-9-binutil
⑤切换到gcc 9.3版本,临时使用
scl enable devtoolset-9 bash
⑥设置永久使用gcc9.3版本
⑦重新编译redis,没有错误,编译成功
⑧将redis安装到指定目录
make install PREFIX=/usr/local/redis
⑨将配置文件redis.conf、sentinel.conf及utils文件夹复制到redis安装目录/usr/local/redis
cp redis.conf /usr/local/redis/redis.conf

cp sentinel.conf /usr/local/redis/sentinel.conf

cp -r utils/ /usr/local/redis/utils
-
启动redis并测试
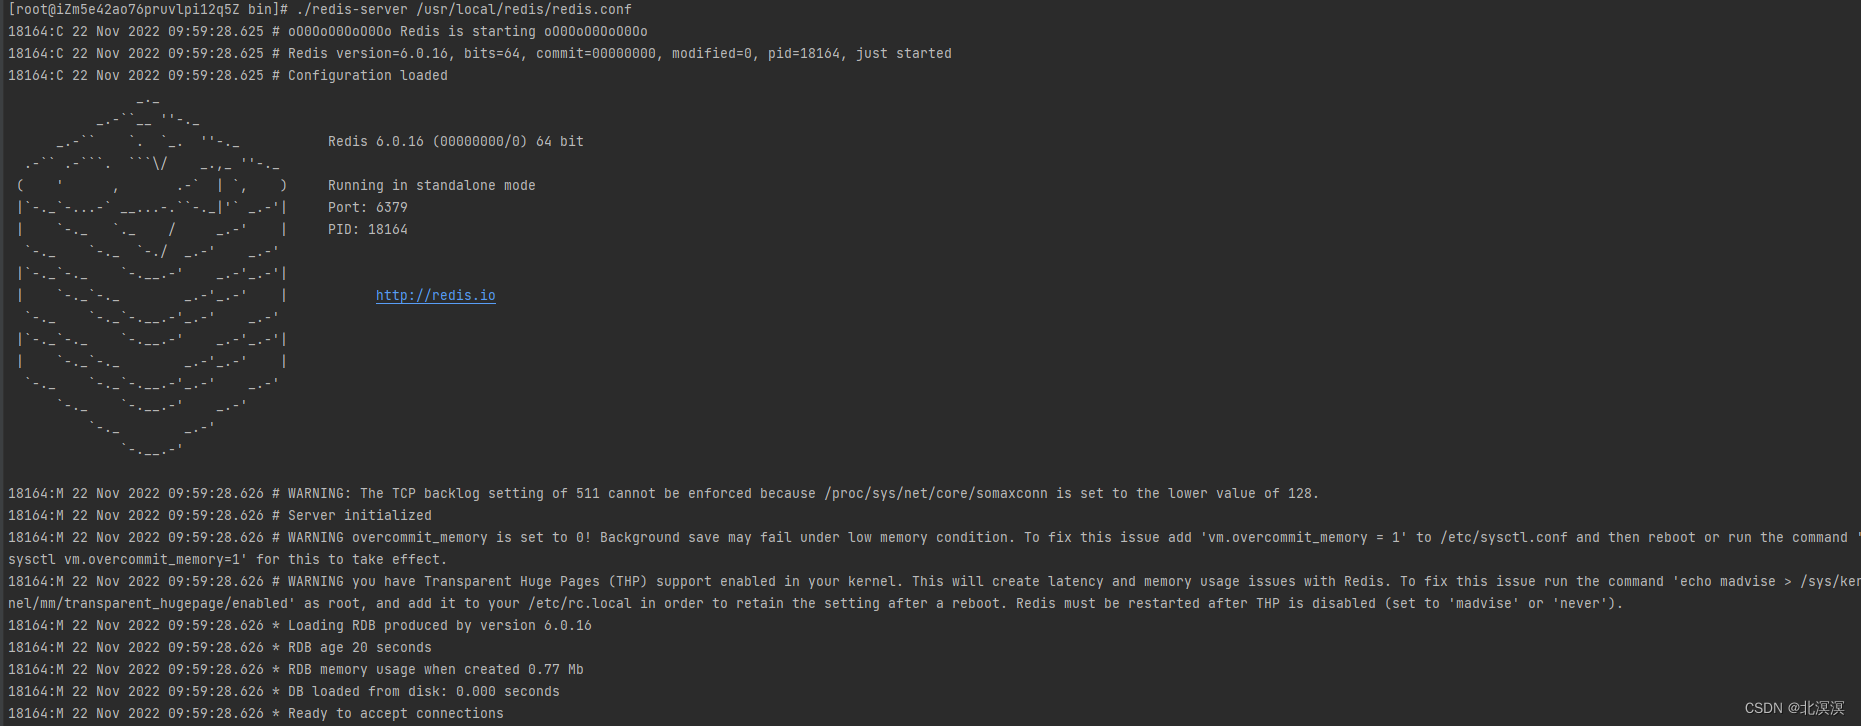
①redis启动
./redis-server /usr/local/redis/redis.conf
②连接客户端测试
./redis-cli
- 修改redis.conf与sentinel.conf配置
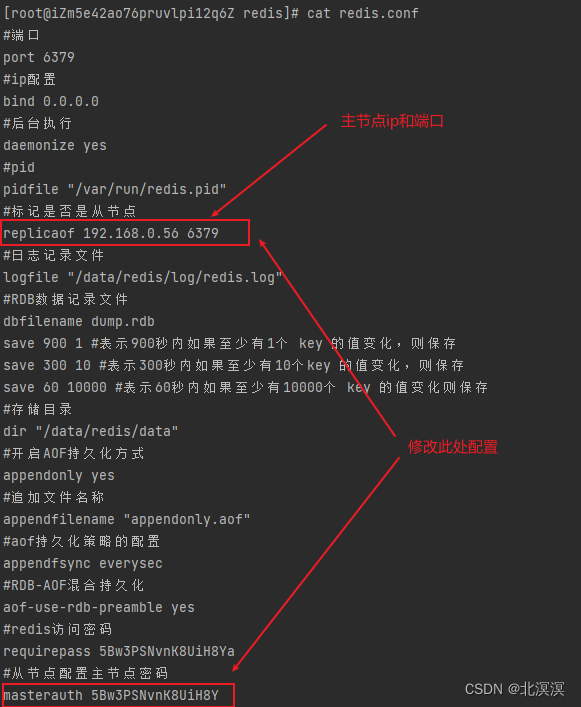
①redis.conf
#端口
port 6379
#ip配置
bind 0.0.0.0
#后台执行
daemonize yes
#pid
pidfile "/var/run/redis.pid"
#标记是否是从节点
#replicaof 192.168.0.57 6379
#日志记录文件
logfile "/data/redis/log/redis.log"
#RDB数据记录文件
dbfilename dump.rdb
save 900 1 #表示900秒内如果至少有1个 key 的值变化,则保存
save 300 10 #表示300秒内如果至少有10个key 的值变化,则保存
save 60 10000 #表示60秒内如果至少有10000个 key 的值变化则保存
#存储目录
dir "/data/redis/data"
#开启AOF持久化方式
appendonly yes
#追加文件名称
appendfilename "appendonly.aof"
#aof持久化策略的配置
appendfsync everysec
#RDB-AOF混合持久化
aof-use-rdb-preamble yes
#redis访问密码
requirepass 5Bw3PSNvnK8UiH8Y
#从节点配置主节点密码
masterauth 5Bw3PSNvnK8UiH8Y
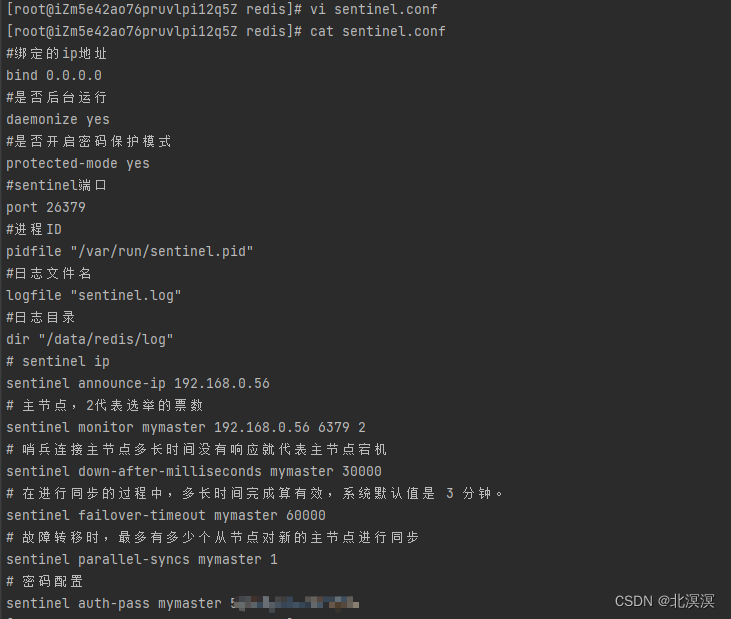
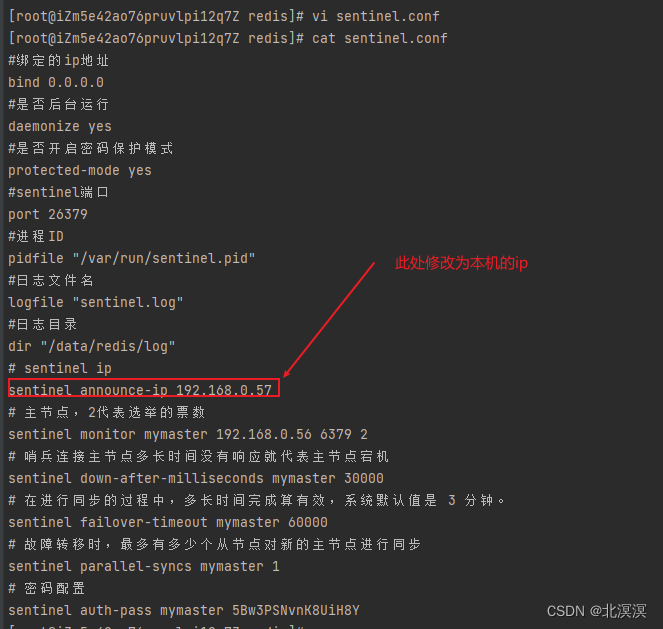
②sentinel.conf
#绑定的ip地址
bind 0.0.0.0
#是否后台运行
daemonize yes
#是否开启密码保护模式
protected-mode yes
#sentinel端口
port 26379
#进程ID
pidfile "/var/run/sentinel.pid"
#日志文件名
logfile "sentinel.log"
#日志目录
dir "/data/redis/log"
# ip
sentinel announce-ip 192.168.0.56
# 主节点,2代表选举的票数
sentinel monitor mymaster 192.168.0.56 6379 2
# 哨兵连接主节点多长时间没有响应就代表主节点宕机
sentinel down-after-milliseconds mymaster 30000
# 在进行同步的过程中,多长时间完成算有效,系统默认值是 3 分钟。
sentinel failover-timeout mymaster 60000
# 故障转移时,最多有多少个从节点对新的主节点进行同步
sentinel parallel-syncs mymaster 1
# 密码配置
sentinel auth-pass mymaster 5Bw3PSNvnK8UiH8Y
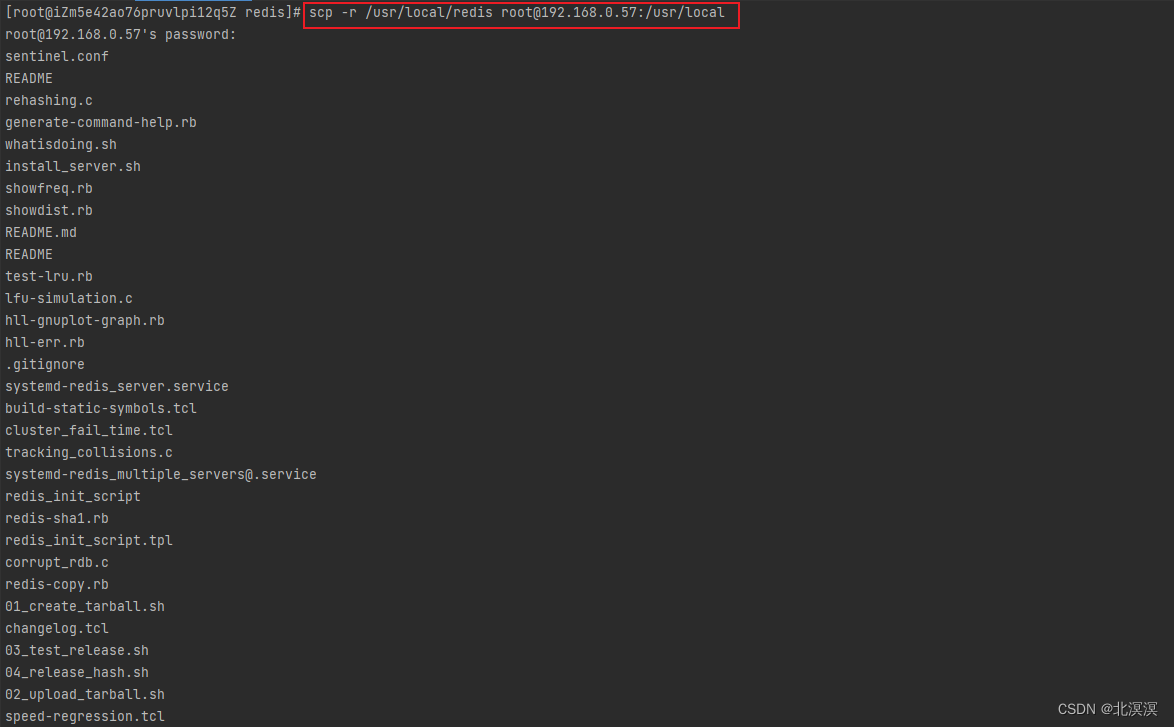
- 同步redis安装包到其它服务器
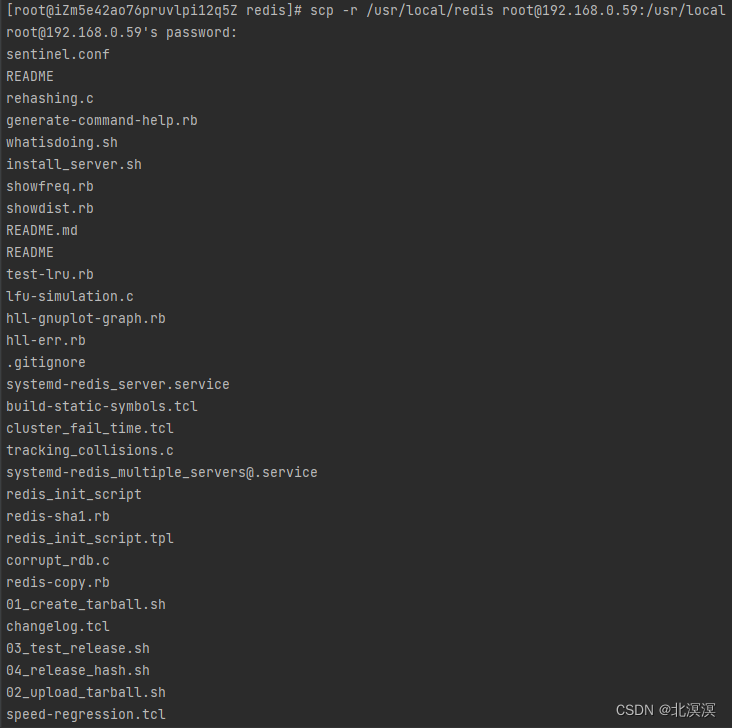
①同步redis安装包到192.168.0.57服务器
②同步redis安装包到192.168.0.59服务器
-
修改其它服务器redis.conf与sentinel.conf的配置信息
①其它服务器redis.conf
②其它服务器sentinel.conf
- 根据配置文件创建redis存储目录和日志目录
![]()
- 启动redis节点
①启动所有服务器节点,执行命令
./redis-server /usr/local/redis/redis.conf
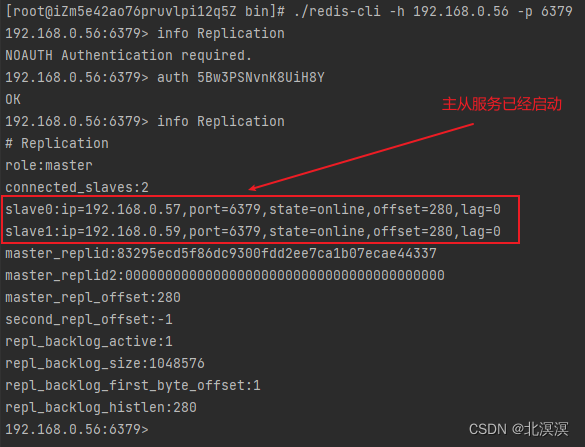
②连接redis,查看节点状态
命令:
./redis-cli -h 192.168.0.56 -p 6379
③启动所有服务器哨兵节点,执行命令
./redis-sentinel /usr/local/redis/sentinel.conf
④连接redis,查看哨兵节点状态
命令:
./redis-cli -h 192.168.0.56 -p 26379
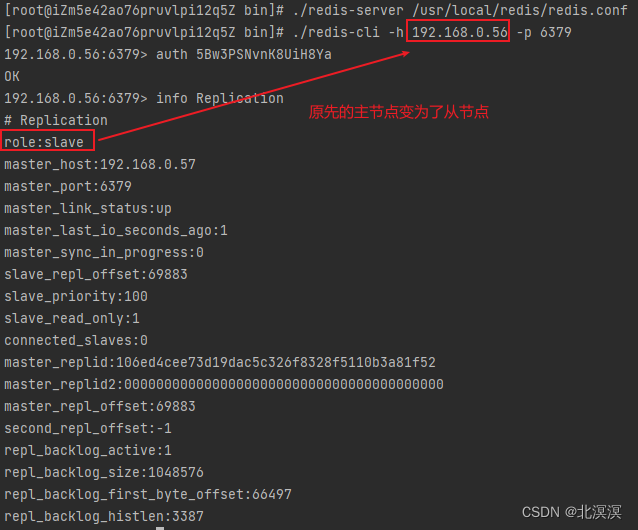
- 测试redis的高可用
①关闭主节点
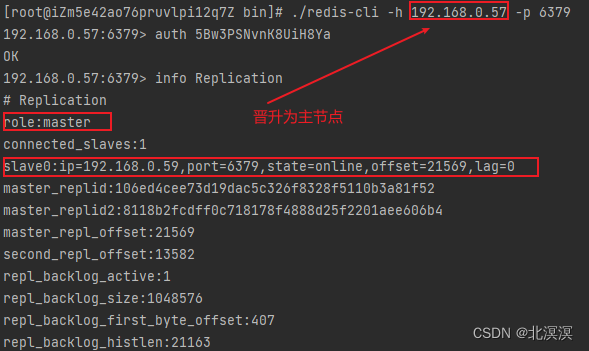
②查看其它节点状态
③重新启动宕机的redis
- redis设置为服务并开机自启
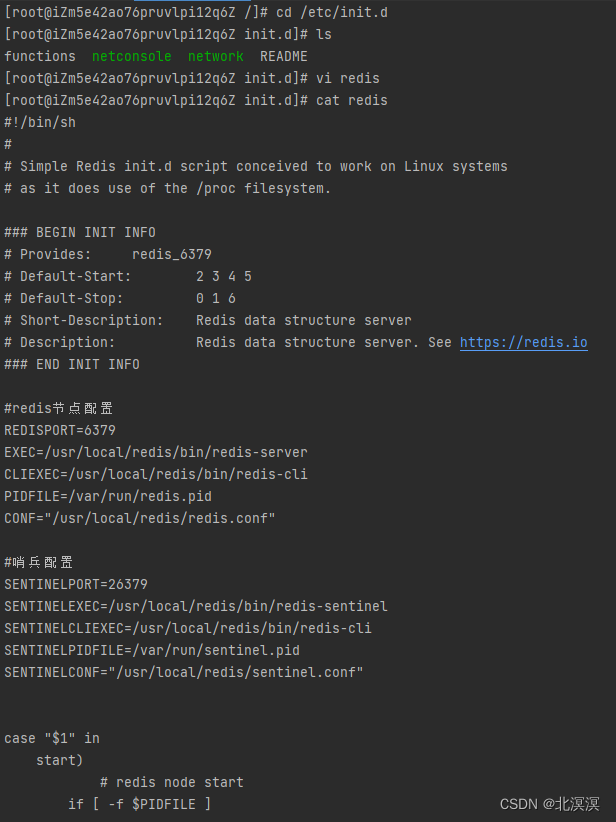
①在linux启动目录/etc/init.d下创建一个redis服务脚本
#!/bin/sh
#
# Simple Redis init.d script conceived to work on Linux systems
# as it does use of the /proc filesystem.

### BEGIN INIT INFO
# Provides:     redis_6379
# Default-Start:        2 3 4 5
# Default-Stop:         0 1 6
# Short-Description:    Redis data structure server
# Description:          Redis data structure server. See https://redis.io
### END INIT INFO

#redis节点配置
REDISPORT=6379
EXEC=/usr/local/redis/bin/redis-server
CLIEXEC=/usr/local/redis/bin/redis-cli
PIDFILE=/var/run/redis.pid
CONF="/usr/local/redis/redis.conf"

#哨兵配置
SENTINELPORT=26379
SENTINELEXEC=/usr/local/redis/bin/redis-sentinel
SENTINELCLIEXEC=/usr/local/redis/bin/redis-cli
SENTINELPIDFILE=/var/run/sentinel.pid
SENTINELCONF="/usr/local/redis/sentinel.conf"


case "$1" in
    start)
	    # redis node start
        if [ -f $PIDFILE ]
        then
                echo "$PIDFILE exists, process is already running or crashed"
        else
                echo "Starting Redis server..."
                $EXEC $CONF
        fi


		# redis sentinel start
		if [ -f $SENTINELPIDFILE ]
        then
                echo "$SENTINELPIDFILE exists, process is already running or crashed"
        else
                echo "Starting Redis sentinel..."
                $SENTINELEXEC $SENTINELCONF
        fi
        ;;
    stop)
		# redis node stop
        if [ ! -f $PIDFILE ]
        then
                echo "$PIDFILE does not exist, process is not running"
        else
                PID=$(cat $PIDFILE)
                echo "Stopping ..."
                $CLIEXEC -p $REDISPORT -a 5Bw3PSNvnK8UiH8Ya shutdown
                while [ -x /proc/${PID} ]
                do
                    echo "Waiting for Redis to shutdown ..."
                    sleep 1
                done
                echo "Redis stopped"
        fi

		# redis sentinel stop
		if [ ! -f $SENTINELPIDFILE ]
        then
                echo "$SENTINELPIDFILE does not exist, process is not running"
        else
                PID=$(cat $SENTINELPIDFILE)
                echo "Stopping ..."
                $CLIEXEC -p $SENTINELPORT  shutdown
                while [ -x /proc/${PID} ]
                do
                    echo "Waiting for Redis Sentinel to shutdown ..."
                    sleep 1
                done
                echo "Redis Sentinel stopped"
        fi
        ;;
    *)
        echo "Please use start or stop as first argument"
        ;;
esac
②授予执行权限
命令:chmod +x /etc/rc.d/init.d/redis
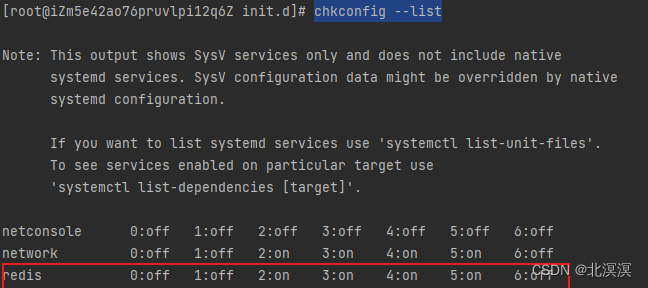
③设置redis服务开机自启
命令:chkconfig redis on
④查看是否已经添加到服务
命令:chkconfig --list
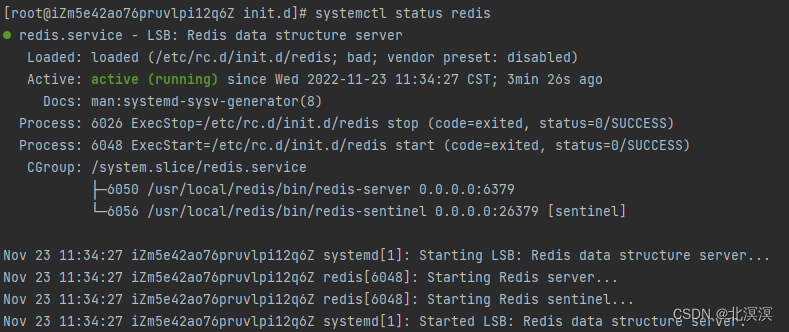
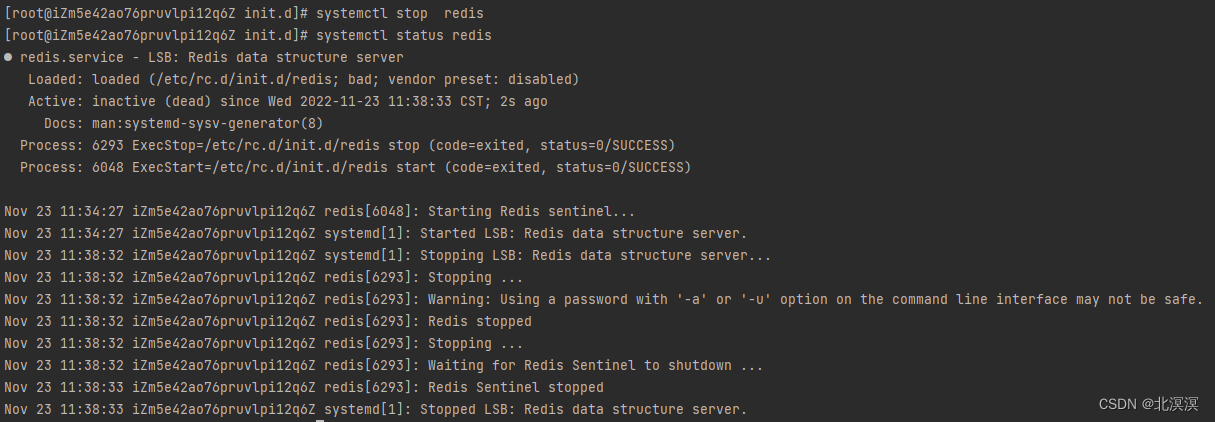
⑤redis服务操作命令
启动:systemctl start redis
查看状态:systemctl status redis
停止:systemctl st redis
结语
至此,关于redis的集群安装到这里就结束了,需要注意的是我们要保证不同服务器之间是可以相互访问,并且端口是通的。最好关闭防火墙或者提供端口访问映射,下期见。。。
