我尽量讲的更详细,为了关注我的粉丝!!!
因为这跟之前的不一样,提出来驱动的分离和分层。
提到驱动分离和分层,必然可以联系上一章咱们知道的驱动-总线-设备。
在无设备树的状态下,必然要写寄存器地址,编写设备信息,所以这里我们要创建设备和驱动两个文件。
本章实验我们需要编写一个驱动模块和一个设备模块,其中驱动模块是 platform 驱动程序,设备模块是 platform 的设备信息。当这两个模块都加载成功以后就会匹配成功,然后 platform驱动模块中的 probe 函数就会执行, probe 函数中就是传统的字符设备驱动那一套。
这里就没有设备节点信息这一说了!
驱动分离是指将设备的硬件描述(如设备的寄存器地址、中断号等)与驱动的功能实现分离开来。传统的驱动开发方式中,硬件信息通常硬编码在驱动代码里,这使得驱动与特定的硬件紧密绑定,难以复用。而驱动分离的思想是把硬件信息提取出来,采用一种通用的方式描述,驱动程序只需要依据这些描述来操作设备,从而实现驱动与硬件的解耦。
驱动分层是将驱动程序按照功能划分为不同的层次,每个层次专注于特定的功能,层与层之间通过接口进行交互。通常可以分为设备无关层和设备相关层。设备无关层提供通用的接口给上层应用程序使用,而设备相关层则负责具体的硬件操作。
1、编写设备信息
首先编写leddevice.c这个LED灯的 platform 设备文件。就是把硬件的设备信息写到一个文件中。后面就是把驱动写到一个文件中。
1.1、头文件
比之前添加了这个头文件 <linux/platform_device.h>。
#include <linux/types.h>
#include <linux/kernel.h>
#include <linux/delay.h>
#include <linux/ide.h>
#include <linux/init.h>
#include <linux/module.h>
#include <linux/errno.h>
#include <linux/gpio.h>
#include <linux/cdev.h>
#include <linux/device.h>
#include <linux/of_gpio.h>
#include <linux/semaphore.h>
#include <linux/timer.h>
#include <linux/irq.h>
#include <linux/wait.h>
#include <linux/poll.h>
#include <linux/fs.h>
#include <linux/fcntl.h>
#include <linux/platform_device.h>
#include <asm/mach/map.h>
#include <asm/uaccess.h>
#include <asm/io.h>
在 Linux 内核里,平台设备(platform device)是一种抽象的设备模型,它和具体的总线无关。该模型主要用来处理那些没有特定总线的设备,像系统中的一些内部设备等。<linux/platform_device.h>头文件提供了与平台设备相关的结构体、函数以及宏定义,从而让开发者能够方便地进行平台设备驱动的开发。
1.2、设备的注册和注销
在无设备树的情况下需要:
用户需要编写platform_device变量来描述设备信息,然后使用 platform_device_register 函数将设备信息注册到 Linux 内核中。
如果不再使用 platform 的话可以通过 platform_device_unregister 函数注销掉相应的 platform设备。
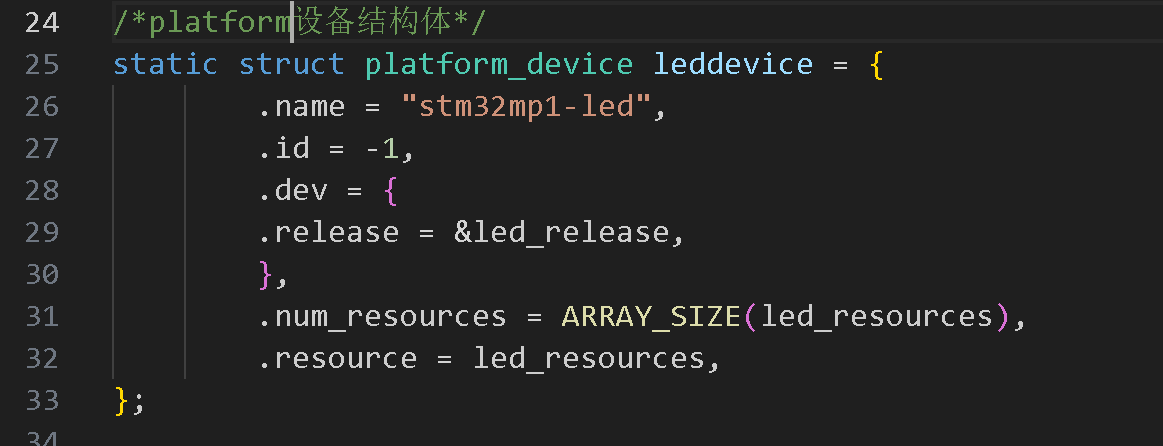
1.3、编写platform设备结构体
在无设备树的情况下需要:
使用 platform_device 来描述设备。
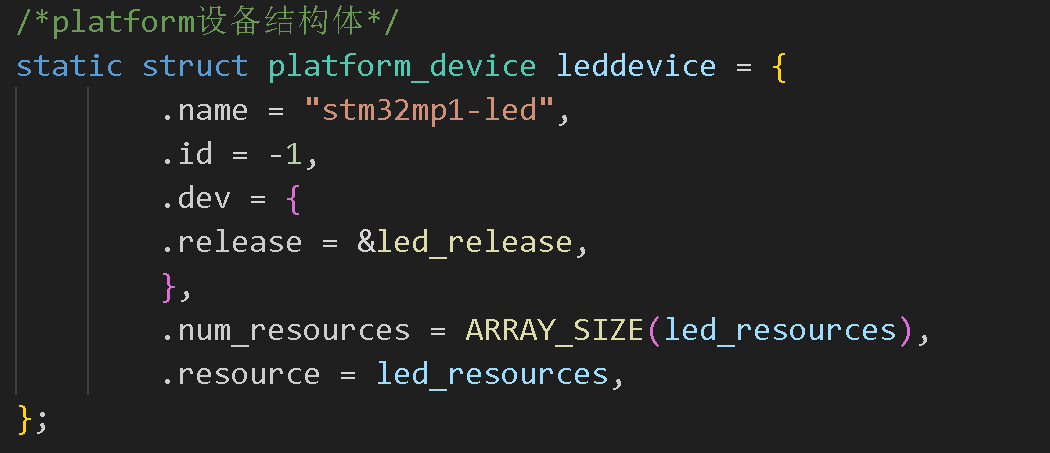
name:设备名称,用于和驱动匹配,此设备名是"stm32mp1-led"。.id:设备 ID,设为-1表示只有一个该类型设备。.dev:包含通用设备属性与操作,.release指向资源释放函数led_release。.num_resources:设备资源数量,由ARRAY_SIZE(led_resources)计算得出。ARRAY_SIZE是一个宏,它在 Linux 内核代码里较为常用,其用途是计算数组元素的数量。.resource:指向资源数组led_resources,定义了设备所需资源。- platform 设备结构体变量 leddevice,这里要注意 name 字段为“stm32mp1-led”,所以稍后编写platform 驱动中的 name 字段也要为“stm32mp1-led”,否则设备和驱动匹配失败。
添加led_release:


释放platform设备模块的时候此函数会执行(也就是执行platform_device_unregister(&leddevice));
1.4、添加寄存器物理地址信息

这个是STM32MP157正点原子上操作LED0的物理地址信息。
这个在之前的文章里面讲到过具体查找手册,感兴趣的朋友可以翻翻前面的博客!
REGISTER_LENGTH 定义了寄存器的长度为 4 字节(32 位),这在许多嵌入式系统中是比较常见的寄存器长度。
1.5、向platform_device配置资源信息
我们已经准备好了寄存器的物理地址了,需要将它利用到:
.resource = led_resources里面

这里我们用到了上一章讲到的:
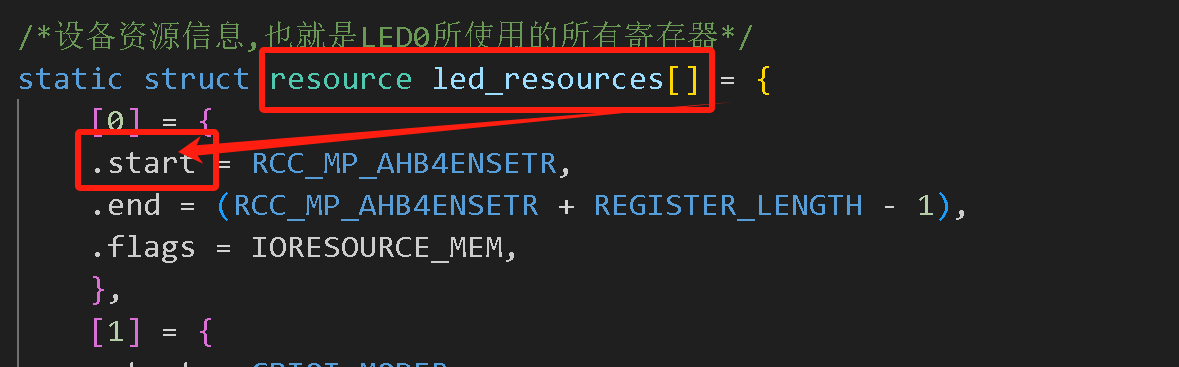
start:资源的起始地址。end:资源的结束地址。flags:资源的类型标志,像IORESOURCE_MEM表示内存资源,IORESOURCE_IRQ表示中断资源等。
这样我们就完成了一个设备的信息配置,作用就是类似之前写代码中的设备树的功能!在这里,无设备树的情况,实现开发板内部有些设备无法通过总线(如I2C,SPI等总线)进行驱动和设备的分离。
接下来进行编写驱动文件leddriver.c!
1.6、设备信息总代码
leddevice.c
#include <linux/types.h>
#include <linux/kernel.h>
#include <linux/delay.h>
#include <linux/ide.h>
#include <linux/init.h>
#include <linux/module.h>
#include <linux/errno.h>
#include <linux/gpio.h>
#include <linux/cdev.h>
#include <linux/device.h>
#include <linux/of_gpio.h>
#include <linux/semaphore.h>
#include <linux/timer.h>
#include <linux/irq.h>
#include <linux/wait.h>
#include <linux/poll.h>
#include <linux/fs.h>
#include <linux/fcntl.h>
#include <linux/platform_device.h>
#include <asm/mach/map.h>
#include <asm/uaccess.h>
#include <asm/io.h>
/*寄存器物理地址*/
#define PERIPH_BASE (0x40000000)
#define MPU_AHB4_PERIPH_BASE (PERIPH_BASE + 0x10000000)
#define RCC_BASE (MPU_AHB4_PERIPH_BASE + 0x0000)
#define RCC_MP_AHB4ENSETR (RCC_BASE + 0XA28)
#define GPIOI_BASE (MPU_AHB4_PERIPH_BASE + 0xA000)
#define GPIOI_MODER (GPIOI_BASE + 0x0000)
#define GPIOI_OTYPER (GPIOI_BASE + 0x0004)
#define GPIOI_OSPEEDR (GPIOI_BASE + 0x0008)
#define GPIOI_PUPDR (GPIOI_BASE + 0x000C)
#define GPIOI_BSRR (GPIOI_BASE + 0x0018)
#define REGISTER_LENGTH 4
static void led_release(struct device *dev)
{
printk("led device released!\r\n");
}
/*设备资源信息,也就是LED0所使用的所有寄存器*/
static struct resource led_resources[] = {
[0] = {
.start = RCC_MP_AHB4ENSETR,
.end = (RCC_MP_AHB4ENSETR + REGISTER_LENGTH - 1),
.flags = IORESOURCE_MEM,
},
[1] = {
.start = GPIOI_MODER,
.end = (GPIOI_MODER + REGISTER_LENGTH - 1),
.flags = IORESOURCE_MEM,
},
[2] = {
.start = GPIOI_OTYPER,
.end = (GPIOI_OTYPER + REGISTER_LENGTH - 1),
.flags = IORESOURCE_MEM,
},
[3] = {
.start = GPIOI_OSPEEDR,
.end = (GPIOI_OSPEEDR + REGISTER_LENGTH - 1),
.flags = IORESOURCE_MEM,
},
[4] = {
.start = GPIOI_PUPDR,
.end = (GPIOI_PUPDR + REGISTER_LENGTH - 1),
.flags = IORESOURCE_MEM,
},
[5] = {
.start = GPIOI_BSRR,
.end = (GPIOI_BSRR + REGISTER_LENGTH - 1),
.flags = IORESOURCE_MEM,
},
};
/*platform设备结构体*/
static struct platform_device leddevice = {
.name = "stm32mp1-led",
.id = -1,
.dev = {
.release = &led_release,
},
.num_resources = ARRAY_SIZE(led_resources),
.resource = led_resources,
};
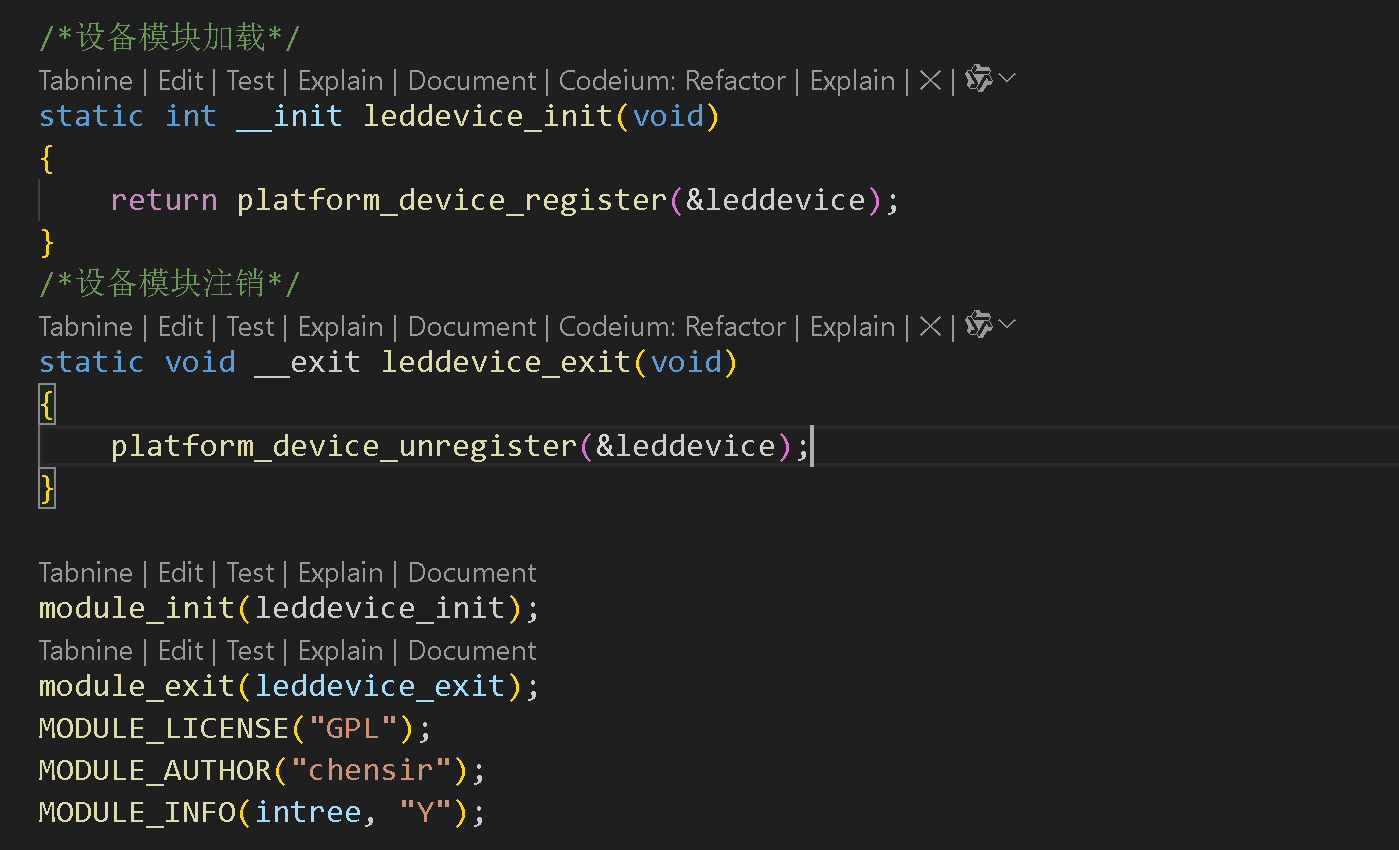
/*设备模块加载*/
static int __init leddevice_init(void)
{
return platform_device_register(&leddevice);
}
/*设备模块注销*/
static void __exit leddevice_exit(void)
{
platform_device_unregister(&leddevice);
}
module_init(leddevice_init);
module_exit(leddevice_exit);
MODULE_LICENSE("GPL");
MODULE_AUTHOR("chensir");
MODULE_INFO(intree, "Y");
2、编写驱动文件
也就是编写leddriver.c文件。
2.1、头文件
比之前添加了这个头文件 <linux/platform_device.h>。
因为platform_device.h同样也包含驱动模块。
#include <linux/types.h>
#include <linux/kernel.h>
#include <linux/delay.h>
#include <linux/ide.h>
#include <linux/init.h>
#include <linux/module.h>
#include <linux/errno.h>
#include <linux/gpio.h>
#include <linux/cdev.h>
#include <linux/device.h>
#include <linux/of_gpio.h>
#include <linux/semaphore.h>
#include <linux/timer.h>
#include <linux/irq.h>
#include <linux/wait.h>
#include <linux/poll.h>
#include <linux/fs.h>
#include <linux/fcntl.h>
#include <linux/platform_device.h>
#include <asm/mach/map.h>
#include <asm/uaccess.h>
#include <asm/io.h>
2.2、驱动的注册和注销
Linux 内核中平台驱动的模块初始化和退出函数,其作用是在模块加载时注册平台驱动,在模块卸载时注销平台驱动。
platform_driver_register:这是一个内核函数,其功能是向内核注册一个平台驱动。&led_driver是指向struct platform_driver结构体的指针,这个结构体定义了驱动的具体操作函数,例如probe、remove等。platform_driver_unregister:这是一个内核函数,其作用是从内核中注销一个平台驱动。&led_driver同样是指向struct platform_driver结构体的指针。
2.3、编写platform驱动结构体
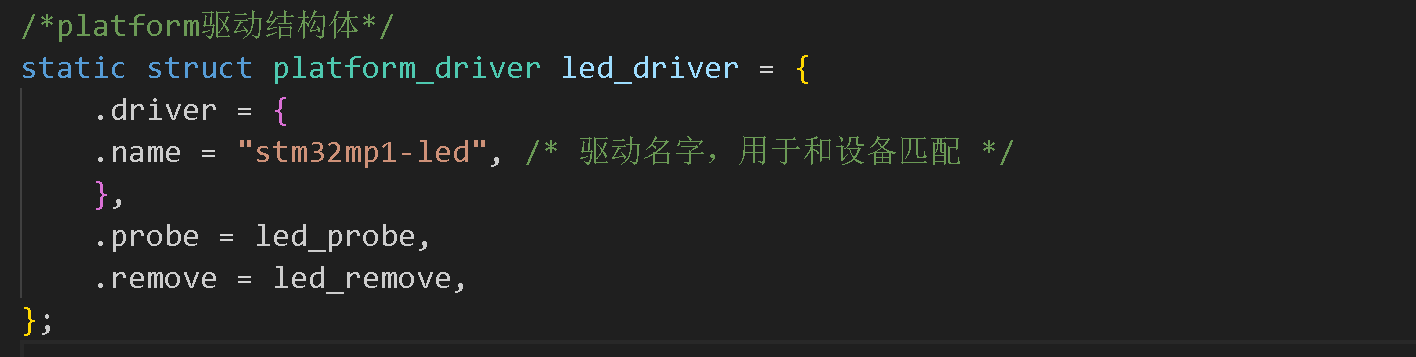
在 Linux 内核的平台驱动模型中,platform_driver 结构体用于描述一个平台驱动,它涵盖了驱动的名称、探测函数、移除函数等关键信息。内核借助这些信息来管理驱动和设备之间的匹配与交互。
driver子结构体.name:这是驱动的名称,它是一个字符串。内核在进行驱动和设备的匹配时,会将驱动的名称和设备的名称进行比较,若两者一致,就会调用驱动的probe函数。在这个例子中,驱动的名称是"stm32mp1-led",意味着它会尝试匹配名称同样为"stm32mp1-led"的设备。led_probe:这是一个函数指针,指向驱动的探测函数。当驱动和设备匹配成功后,内核会调用这个函数。在led_probe函数里,通常会进行设备资源的获取、寄存器的映射、设备的初始化等操作。led_remove:这是一个函数指针,指向驱动的移除函数。当设备被移除或者驱动被卸载时,内核会调用这个函数。在led_remove函数中,通常会进行资源的释放、寄存器映射的取消等清理操作。
在这里我们看前面一章可以看出,struct platform_driver和struct device_driver同样都有probe和remove,但是前者的probe与remove定义是struct platform_device,后者的probe与remove定义是struct device *dev。
struct device_driver是 Linux 内核中表示设备驱动的通用结构体,它是所有设备驱动的基础抽象,适用于各种类型的设备驱动,涵盖字符设备驱动、块设备驱动、网络设备驱动等
probe和remove参数**:这两个函数的参数类型是struct device *。struct device是内核中表示设备的通用结构体,它封装了设备的通用属性和操作,例如设备的名称、父设备、设备的状态等。使用struct device *作为参数,能够让device_driver适用于各种类型的设备,具备通用性struct platform_driver是专门为平台设备设计的驱动结构体,平台设备一般指那些不依赖于特定总线的设备,例如 CPU 内部的外设等。 **probe和remove参数**:这两个函数的参数类型是struct platform_device *。struct platform_device是struct device的子类,它继承了struct device的所有属性和操作,并且在此基础上添加了一些与平台设备相关的属性,例如设备的资源信息(内存资源、中断资源等)。使用struct platform_device *` 作为参数,能够让平台驱动方便地访问平台设备的特定信息,简化驱动开发。- struct device_driver:它的
probe和remove函数接收struct device *类型的参数。这个参数提供的是设备的一些通用信息。这就好比你只知道这个设备的基本身份信息,但对于设备的一些特殊资源(如特定的内存区域、中断号等),你可能需要通过其他复杂的转换或者查询才能获取。 - struct platform_driver:它的
probe和remove函数接收struct platform_device *类型的参数。这个参数就像是一个 “豪华套餐”,除了包含设备的通用信息外,还能让你直接获取平台设备特有的资源信息。例如,你可以很方便地通过这个参数获取设备的内存资源(使用platform_get_resource函数),这对于初始化设备和配置设备的寄存器等操作非常方便。
这里我们用struct platform_driver内的probe和remove函数接收特定的内存区域。
一旦匹配上了,就可以直接执行probe函数!
2.4、配置probe 函数和remove 函数
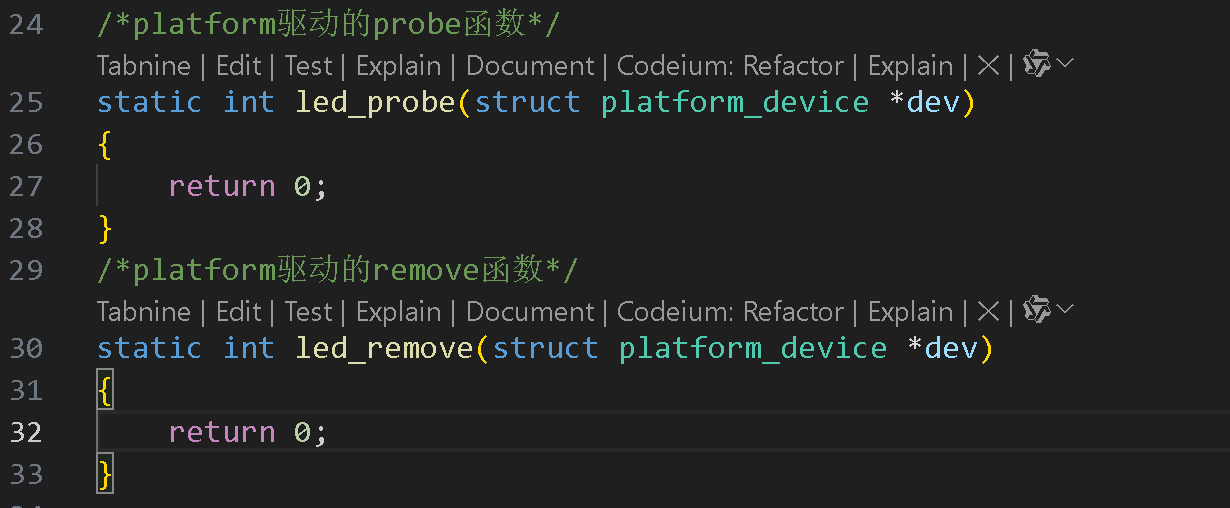
其中struct platform_device *dev就是这里面的。
 int (*probe)(struct platform_device *);
 int (*remove)(struct platform_device *);
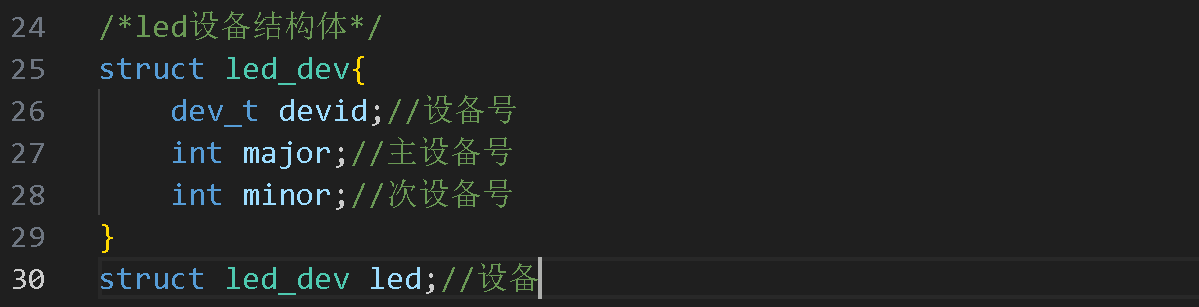
2.4.1、配置字符设备结构体
到这里开始跟以前一样了!
同时也配置设备名字和数量。

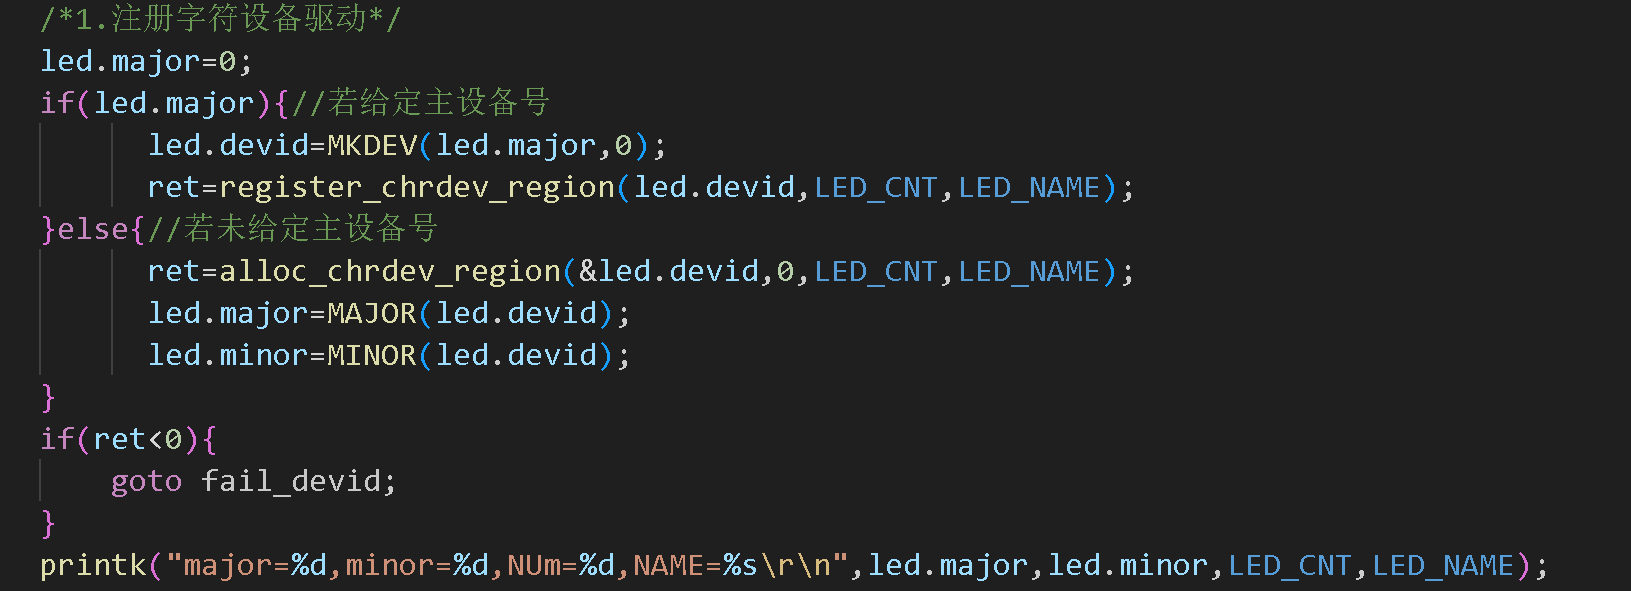
2.4.2、注册字符设备
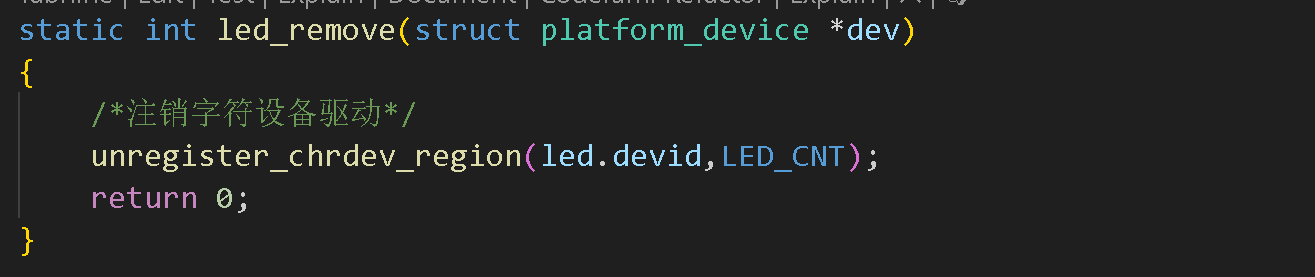
同时注销字符设备驱动:
2.4.3、配置cdev结构体、初始化和添加cdev


可以执行到/dev
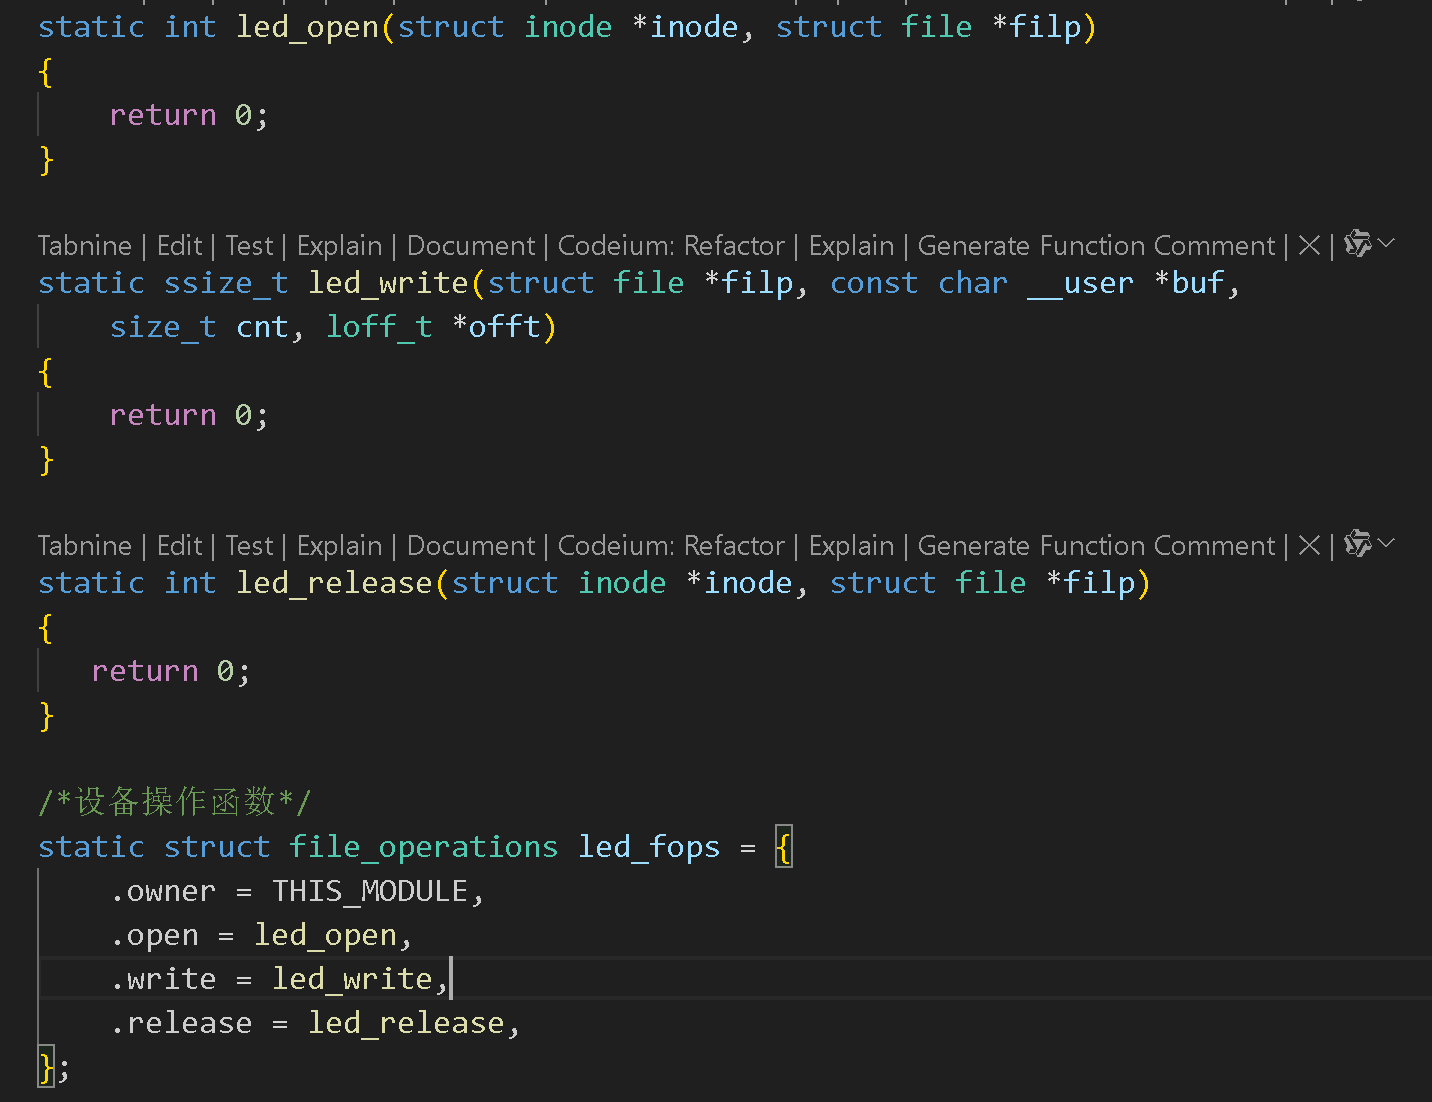
2.4.3.1这里可以添加字符驱动操作集:

这里发现正点原子提供的代码没有写:
.release = led_release,文件操作集。
- platform_device中
struct device中的release函数用于释放设备占用的全局资源,确保设备资源被正确回收。 struct file_operations中的release函数用于释放与用户空间文件操作相关的局部资源,保证文件操作的正常结束。- 综上所述,虽然都叫
release,但它们处于不同的结构体中,调用时机和作用也不一样。在设备驱动开发时,需要根据具体需求正确实现这两个函数。
我们添加后:
添加cdev:

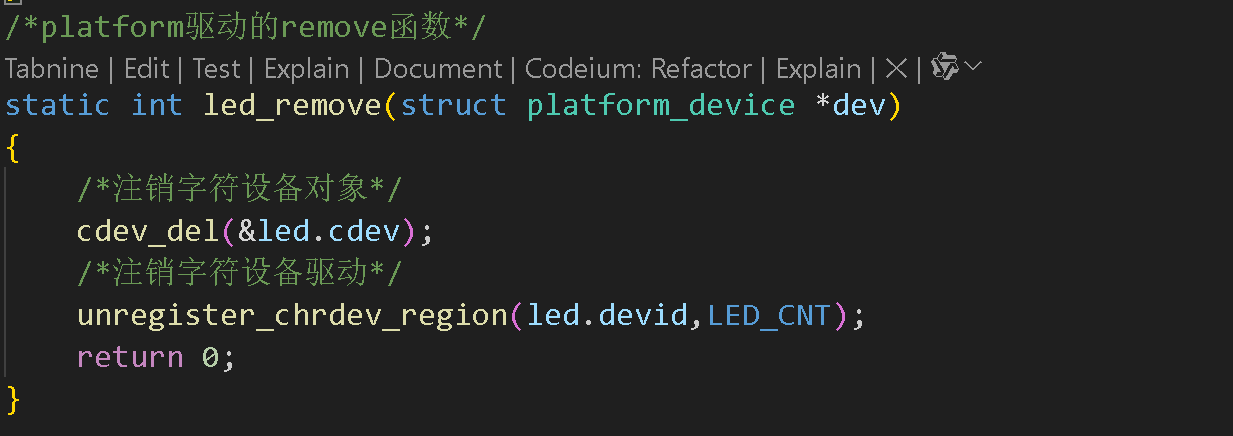
同时注销字符设备对象:
2.4.4、配置和设备类和设备节点结构体、创建设备类和设备节点


可以在/dev下创建platled。即/dev/platled。
同时注销字符设备类和设备节点:
2.4.5、获取资源信息
在这个地方原本是要获取设备树下的信息或者寄存器物理地址的,但是在这个章节我们就要利用leddevice.c文件传过来的设备信息相匹配,里面的数组信息从而传到这里的驱动里面来。
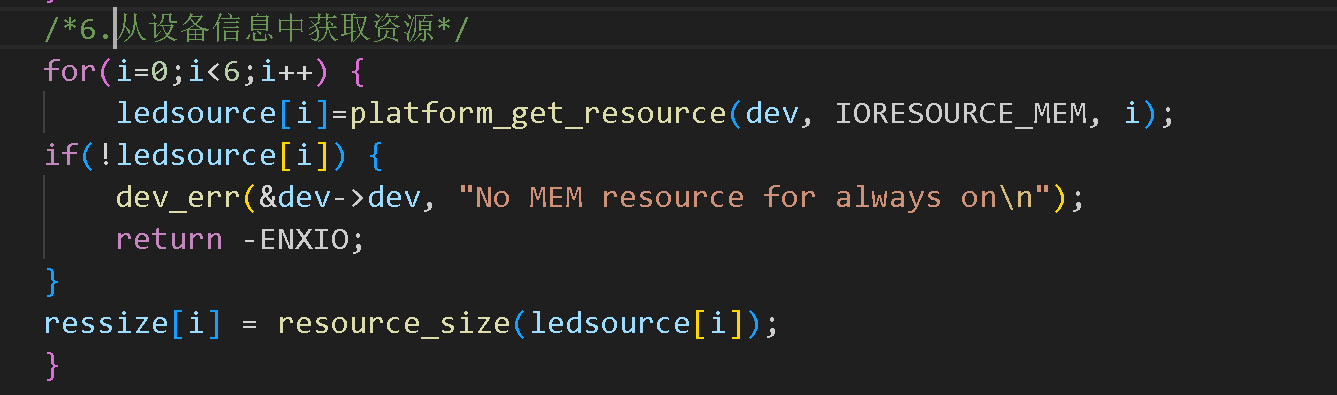
这里我们要在前面定义好变量:
从设备文件传过来的也是struct resource变量,所以这里也要用struct resource变量。
platform_get_resource函数:这是一个内核函数,其作用是从指定的平台设备dev中获取特定类型的资源。ledsource[i]:这是一个struct resource *类型的数组,用于存储获取到的资源指针。dev_err函数:这是一个内核函数,用于输出错误信息。它会把错误信息输出到内核日志中。-ENXIO:这是一个错误码,表示设备不存在或者无法打开。当获取资源失败时,函数会返回这个错误码。resource_size函数:这是一个内核函数,其功能是获取指定资源的大小。地址映射需要大小这个参数,ledsource[i]的本质:ledsource[i]是一个指向struct resource结构体的指针,该结构体定义了设备资源的基本信息,包含资源的起始地址(start)、结束地址(end)和资源类型(flags)等。然而,它本身并没有直接提供一个明确表示资源大小的字段。resource_size函数的作用:resource_size函数的作用就是根据struct resource结构体中的start和end字段来计算资源的大小。其实现原理通常是end - start + 1。通过调用这个函数,你可以方便地获取资源的字节数,这在后续对资源进行操作时非常重要。例如,当你需要对资源进行内存映射(ioremap)时,就需要知道映射的长度,也就是资源的大小。
在前面的设备文件中提到过.num_resources = ARRAY_SIZE(led_resources):num_resources和ARRAY_SIZE关注的是设备资源数组的元素数量,用于让内核知道设备有多少个资源项。resource_size关注的是单个资源的实际大小,在对具体资源进行操作时,如内存映射、数据传输等,需要使用该函数获取资源大小,以确保操作的正确性。
2.4.6、地址映射和取消映射
这里我们就要利用上面存储的地址来映射虚拟内存地址(这里以前就讲过)
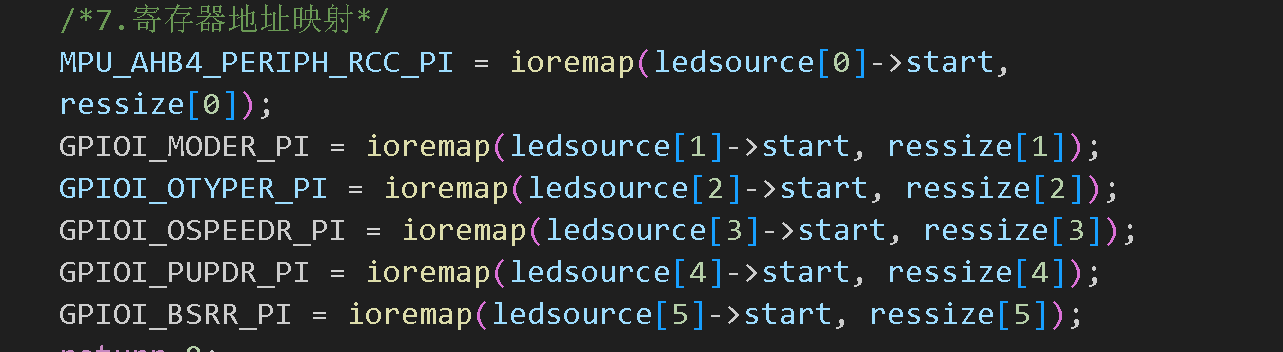
其中的->start也就是设备文件中的资源:
大小也就是ressize决定!
其中等式左边的虚拟地址指针由下面的决定:
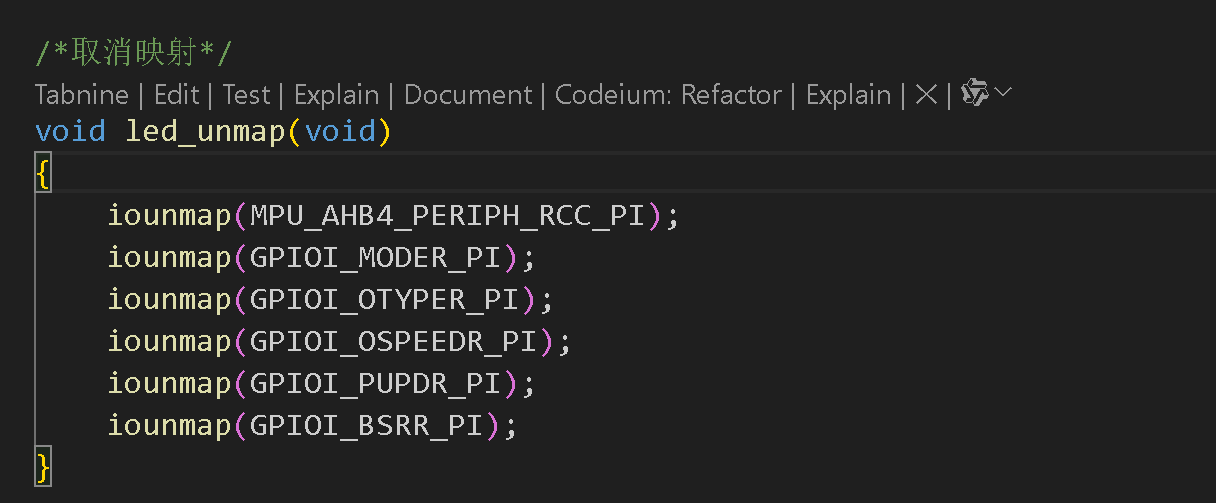
同理,也要在释放驱动的时候取消映射:
我们在这里利用模块化取消映射!
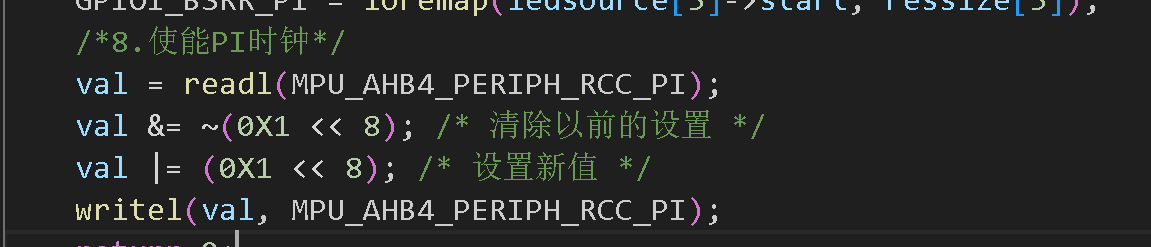
2.4.7、使能PI时钟
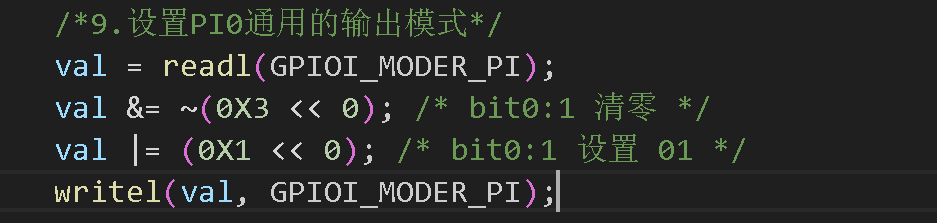
2.4.8、设置PI0通用的输出模式
2.4.9、设置PI0为推挽模式

2.4.10、设置PI0为高速

2.4.11、设置PI0为上拉
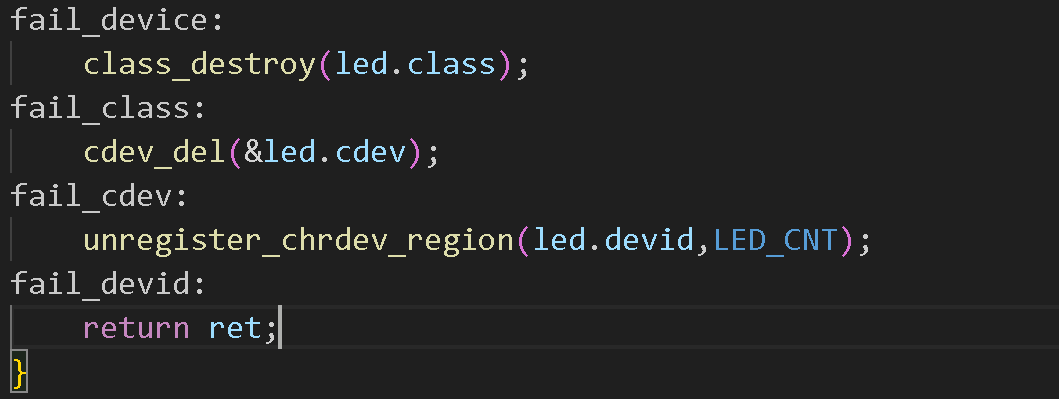
2.4.12、配置错误信息
2.5、配置操作集函数

其中模块化led灯的开灯关灯状态:
2.6、驱动总代码
leddriver.c
#include <linux/types.h>
#include <linux/kernel.h>
#include <linux/delay.h>
#include <linux/ide.h>
#include <linux/init.h>
#include <linux/module.h>
#include <linux/errno.h>
#include <linux/gpio.h>
#include <linux/cdev.h>
#include <linux/device.h>
#include <linux/of_gpio.h>
#include <linux/semaphore.h>
#include <linux/timer.h>
#include <linux/irq.h>
#include <linux/wait.h>
#include <linux/poll.h>
#include <linux/fs.h>
#include <linux/fcntl.h>
#include <linux/platform_device.h>
#include <asm/mach/map.h>
#include <asm/uaccess.h>
#include <asm/io.h>
#define LED_CNT 1 /* 设备号长度 */
#define LED_NAME "platled" /* 设备名字 */
#define LEDOFF 0
#define LEDON 1
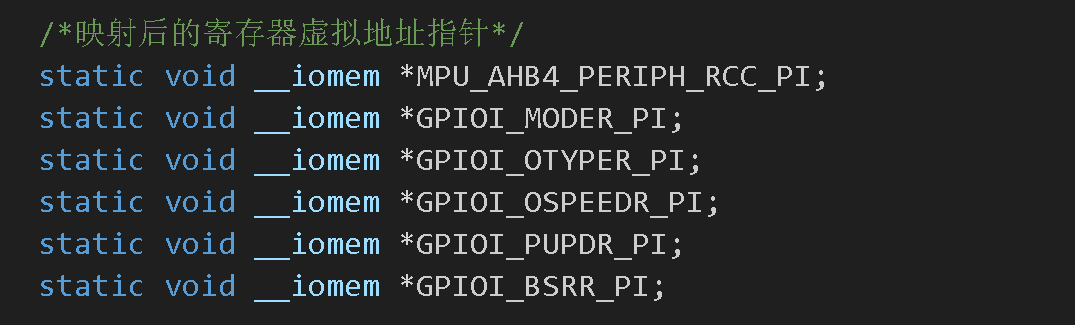
/*映射后的寄存器虚拟地址指针*/
static void __iomem *MPU_AHB4_PERIPH_RCC_PI;
static void __iomem *GPIOI_MODER_PI;
static void __iomem *GPIOI_OTYPER_PI;
static void __iomem *GPIOI_OSPEEDR_PI;
static void __iomem *GPIOI_PUPDR_PI;
static void __iomem *GPIOI_BSRR_PI;
/*led设备结构体*/
struct led_dev{
dev_t devid;//设备号
int major;//主设备号
int minor;//次设备号
struct cdev cdev;//关联字符设备对象
struct class *class; /*设备类*/
struct device *device; /*设备节点*/
};
struct led_dev led;//设备
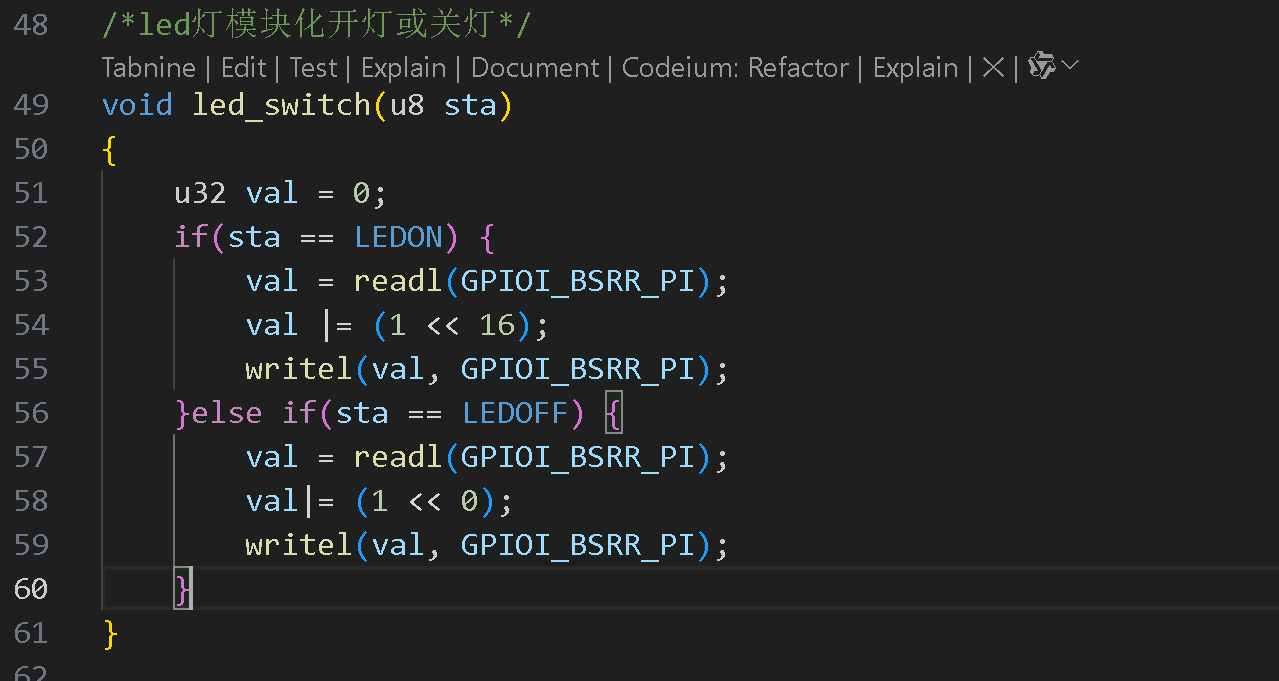
/*led灯模块化开灯或关灯*/
void led_switch(u8 sta)
{
u32 val = 0;
if(sta == LEDON) {
val = readl(GPIOI_BSRR_PI);
val |= (1 << 16);
writel(val, GPIOI_BSRR_PI);
}else if(sta == LEDOFF) {
val = readl(GPIOI_BSRR_PI);
val|= (1 << 0);
writel(val, GPIOI_BSRR_PI);
}
}
/*取消映射*/
void led_unmap(void)
{
iounmap(MPU_AHB4_PERIPH_RCC_PI);
iounmap(GPIOI_MODER_PI);
iounmap(GPIOI_OTYPER_PI);
iounmap(GPIOI_OSPEEDR_PI);
iounmap(GPIOI_PUPDR_PI);
iounmap(GPIOI_BSRR_PI);
}
static int led_open(struct inode *inode, struct file *filp)
{
return 0;
}
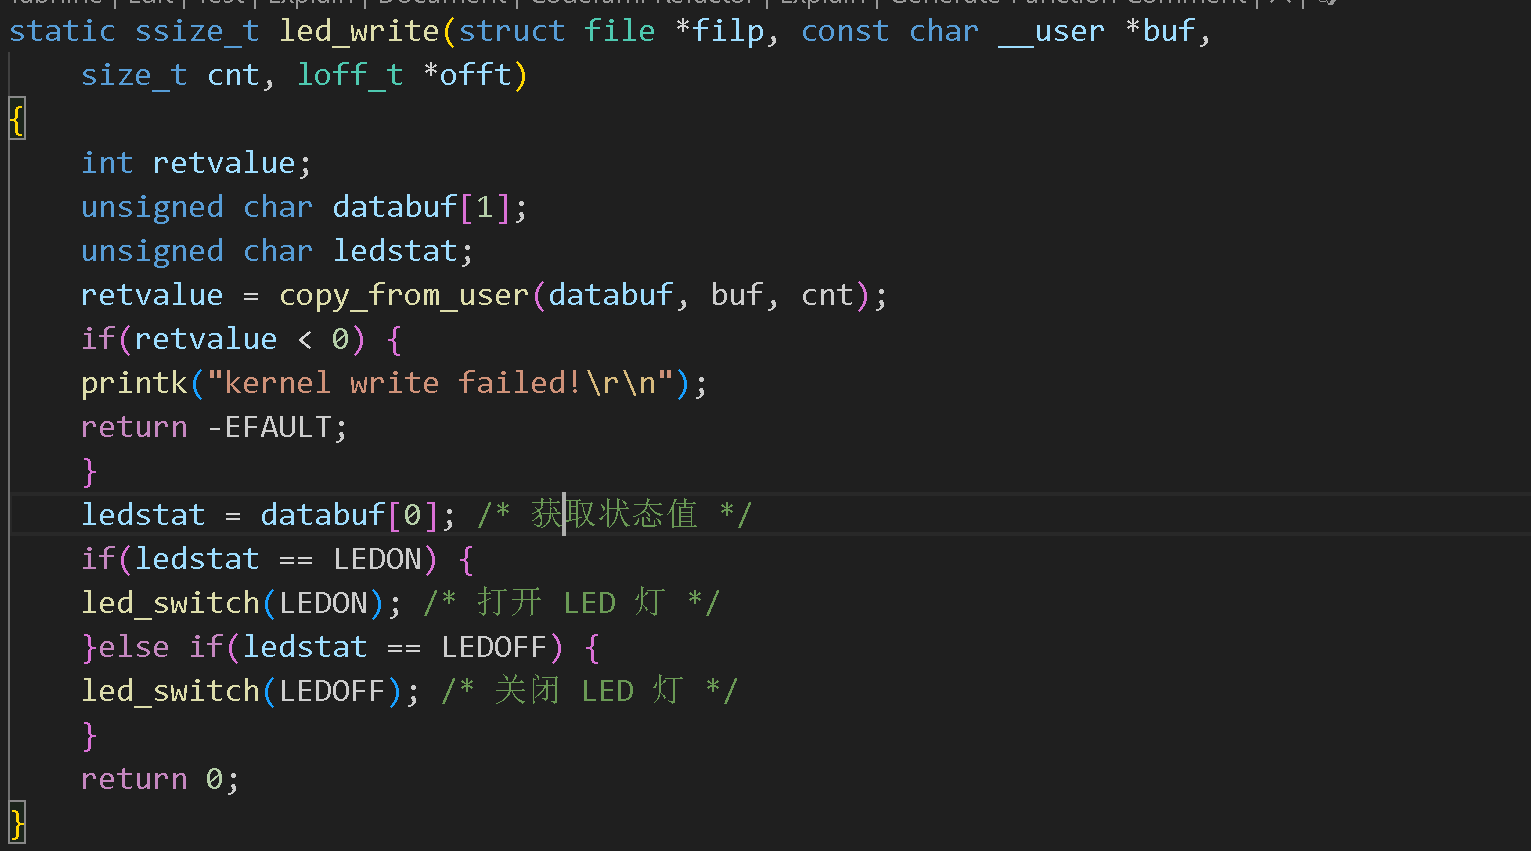
static ssize_t led_write(struct file *filp, const char __user *buf,
size_t cnt, loff_t *offt)
{
int retvalue;
unsigned char databuf[1];
unsigned char ledstat;
retvalue = copy_from_user(databuf, buf, cnt);
if(retvalue < 0) {
printk("kernel write failed!\r\n");
return -EFAULT;
}
ledstat = databuf[0]; /* 获取状态值 */
if(ledstat == LEDON) {
led_switch(LEDON); /* 打开 LED 灯 */
}else if(ledstat == LEDOFF) {
led_switch(LEDOFF); /* 关闭 LED 灯 */
}
return 0;
}
static int led_release(struct inode *inode, struct file *filp)
{
return 0;
}
/*设备操作函数*/
static struct file_operations led_fops = {
.owner = THIS_MODULE,
.open = led_open,
.write = led_write,
.release = led_release,
};
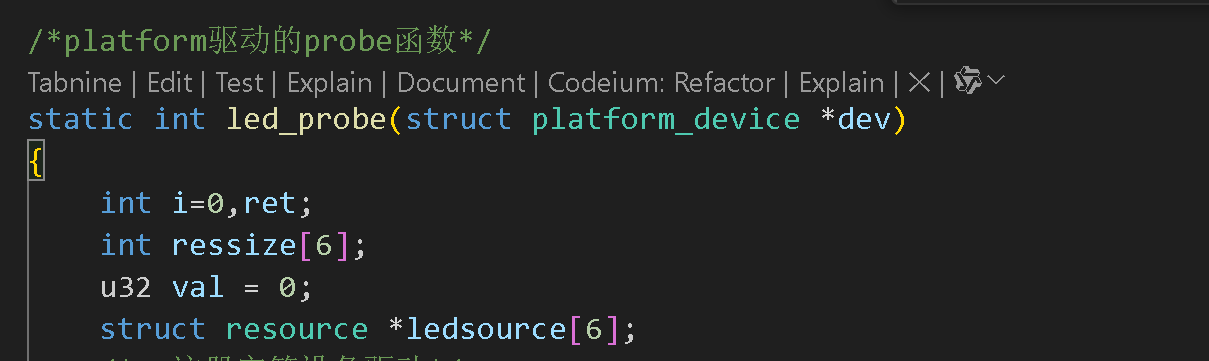
/*platform驱动的probe函数*/
static int led_probe(struct platform_device *dev)
{
int i=0,ret;
int ressize[6];
u32 val = 0;
struct resource *ledsource[6];
/*1.注册字符设备驱动*/
led.major=0;
if(led.major){//若给定主设备号
led.devid=MKDEV(led.major,0);
ret=register_chrdev_region(led.devid,LED_CNT,LED_NAME);
}else{//若未给定主设备号
ret=alloc_chrdev_region(&led.devid,0,LED_CNT,LED_NAME);
led.major=MAJOR(led.devid);
led.minor=MINOR(led.devid);
}
if(ret<0){
goto fail_devid;
}
printk("major=%d,minor=%d,NUm=%d,NAME=%s\r\n",led.major,led.minor,LED_CNT,LED_NAME);
/*2.初始化cdev*/
led.cdev.owner=THIS_MODULE;
cdev_init(&led.cdev,&led_fops);
/*3.添加cdev*/
ret=cdev_add(&led.cdev,led.devid,LED_CNT);
if(ret<0){
goto fail_cdev;
}
/*4.创建设备类*/
led.class=class_create(THIS_MODULE,LED_NAME);
if(IS_ERR(led.class)){
ret = PTR_ERR(led.class);
goto fail_class;
}
/*5.创建设备节点*/
led.device=device_create(led.class,NULL,led.devid,
NULL,LED_NAME);
if(IS_ERR(led.device)){
ret = PTR_ERR(led.device);
goto fail_device;
}
/*6.从设备信息中获取资源*/
for(i=0;i<6;i++) {
ledsource[i]=platform_get_resource(dev,IORESOURCE_MEM,i);
if(!ledsource[i]) {
dev_err(&dev->dev,"No MEM resource for always on\n");
return -ENXIO;
}
ressize[i] = resource_size(ledsource[i]);
}
/*7.寄存器地址映射*/
MPU_AHB4_PERIPH_RCC_PI = ioremap(ledsource[0]->start,
ressize[0]);
GPIOI_MODER_PI = ioremap(ledsource[1]->start, ressize[1]);
GPIOI_OTYPER_PI = ioremap(ledsource[2]->start, ressize[2]);
GPIOI_OSPEEDR_PI = ioremap(ledsource[3]->start, ressize[3]);
GPIOI_PUPDR_PI = ioremap(ledsource[4]->start, ressize[4]);
GPIOI_BSRR_PI = ioremap(ledsource[5]->start, ressize[5]);
/*8.使能PI时钟*/
val = readl(MPU_AHB4_PERIPH_RCC_PI);
val &= ~(0X1 << 8); /* 清除以前的设置 */
val |= (0X1 << 8); /* 设置新值 */
writel(val, MPU_AHB4_PERIPH_RCC_PI);
/*9.设置PI0通用的输出模式*/
val = readl(GPIOI_MODER_PI);
val &= ~(0X3 << 0); /* bit0:1 清零 */
val |= (0X1 << 0); /* bit0:1 设置 01 */
writel(val, GPIOI_MODER_PI);
/*10.设置PI0为推挽模式*/
val = readl(GPIOI_OTYPER_PI);
val &= ~(0X1 << 0); /* bit0 清零,设置为上拉*/
writel(val, GPIOI_OTYPER_PI);
return 0;
/*11.设置PI0为高速*/
val = readl(GPIOI_OSPEEDR_PI);
val &= ~(0X3 << 0); /* bit0:1 清零 */
val |= (0x2 << 0); /* bit0:1 设置为 10 */
writel(val, GPIOI_OSPEEDR_PI);
/*12.设置PI0为上拉*/
val = readl(GPIOI_PUPDR_PI);
val &= ~(0X3 << 0); /* bit0:1 清零 */
val |= (0x1 << 0); /*bit0:1 设置为 01 */
writel(val,GPIOI_PUPDR_PI);
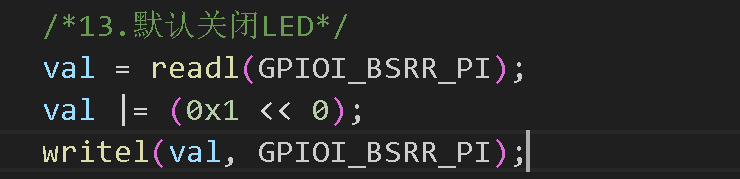
/*13.默认关闭LED*/
val = readl(GPIOI_BSRR_PI);
val |= (0x1 << 0);
writel(val, GPIOI_BSRR_PI);
return 0;
fail_device:
class_destroy(led.class);
fail_class:
cdev_del(&led.cdev);
fail_cdev:
unregister_chrdev_region(led.devid,LED_CNT);
fail_devid:
return ret;
}
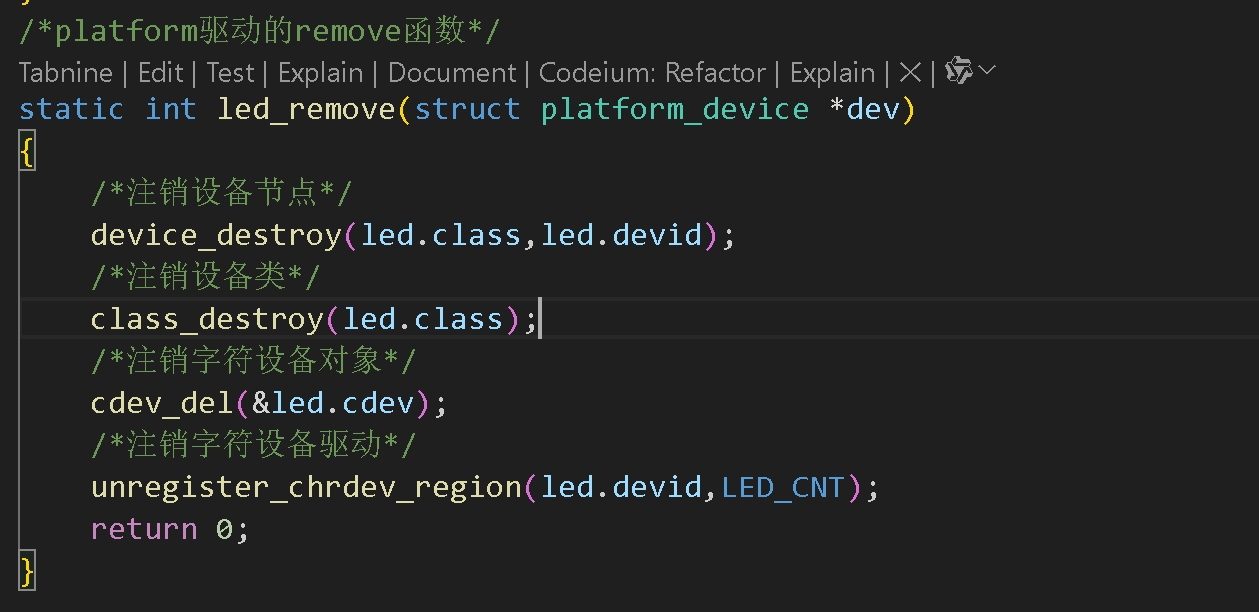
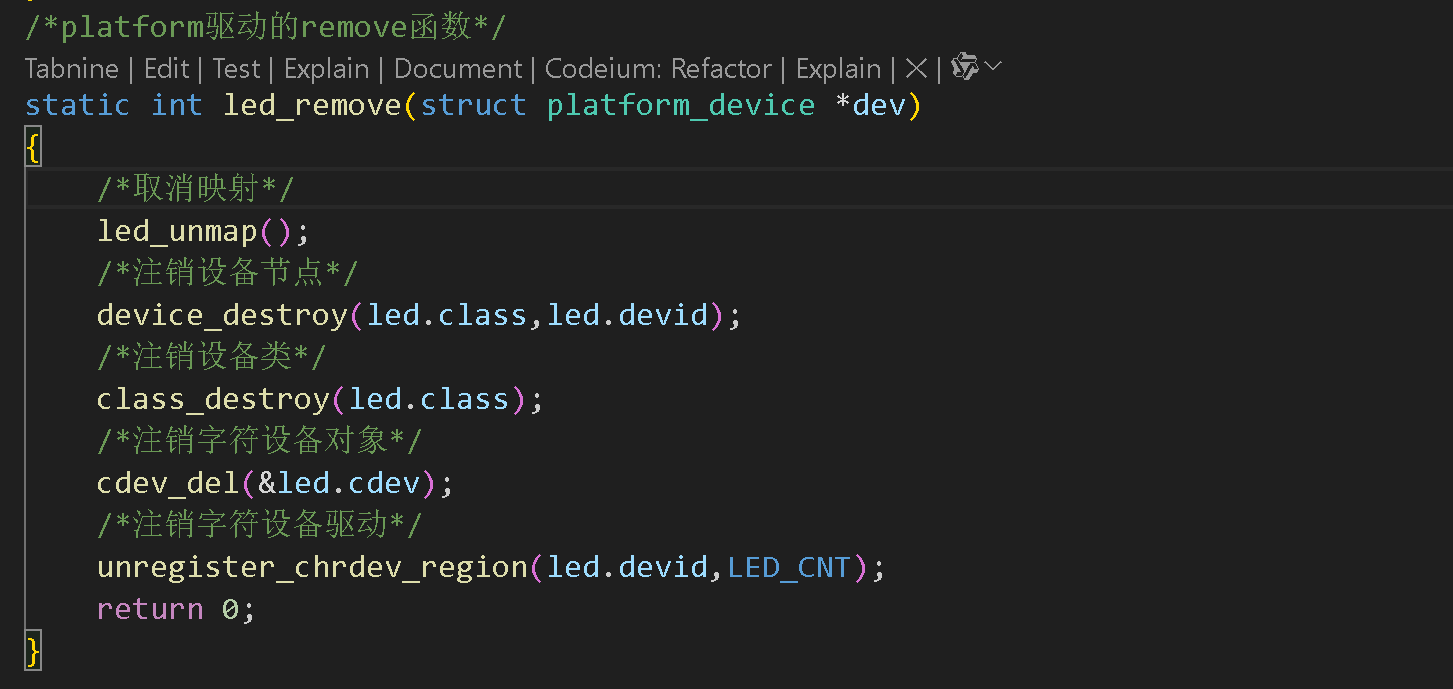
/*platform驱动的remove函数*/
static int led_remove(struct platform_device *dev)
{
/*取消映射*/
led_unmap();
/*注销设备节点*/
device_destroy(led.class,led.devid);
/*注销设备类*/
class_destroy(led.class);
/*注销字符设备对象*/
cdev_del(&led.cdev);
/*注销字符设备驱动*/
unregister_chrdev_region(led.devid,LED_CNT);
return 0;
}
/*platform驱动结构体*/
static struct platform_driver led_driver = {
.driver = {
.name = "stm32mp1-led", /* 驱动名字,用于和设备匹配 */
},
.probe = led_probe,
.remove = led_remove,
};
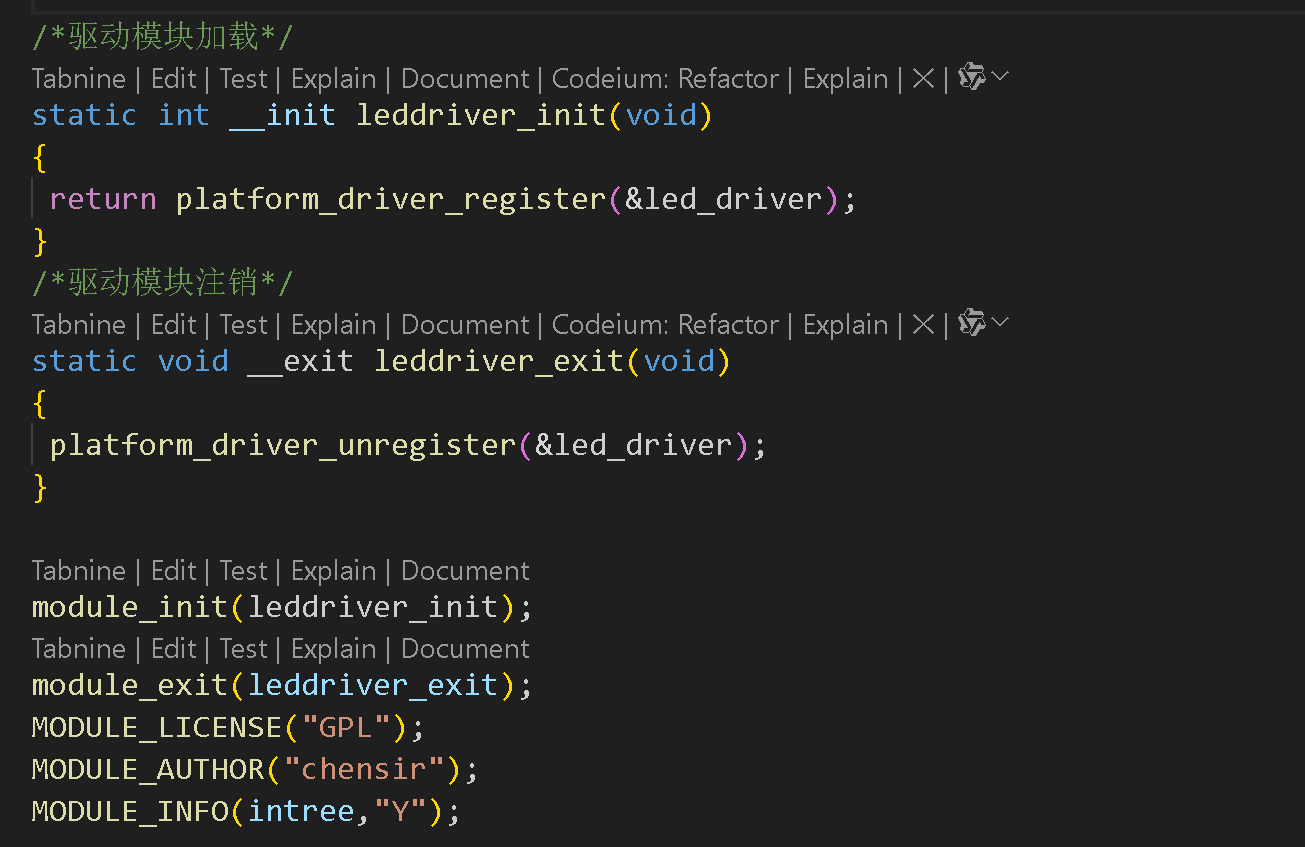
/*驱动模块加载*/
static int __init leddriver_init(void)
{
return platform_driver_register(&led_driver);
}
/*驱动模块注销*/
static void __exit leddriver_exit(void)
{
platform_driver_unregister(&led_driver);
}
module_init(leddriver_init);
module_exit(leddriver_exit);
MODULE_LICENSE("GPL");
MODULE_AUTHOR("chensir");
MODULE_INFO(intree,"Y");
3、LEDapp函数
这个之前就写过了,就不解释了!
ledApp.c
#include "stdio.h"
#include "unistd.h"
#include "sys/types.h"
#include "sys/stat.h"
#include "fcntl.h"
#include "stdlib.h"
#include "string.h"
#define LEDOFF 0
#define LEDON 1
int main(int argc, char *argv[])
{
    int fd, retvalue;
    char *filename;
    unsigned char databuf[1];

    if(argc != 3){
    printf("Error Usage!\r\n");
    return -1;
 }
    filename = argv[1];
    /* 打开 led 驱动 */
    fd = open(filename, O_RDWR);
    if(fd < 0){
    printf("file %s open failed!\r\n", argv[1]);
    return -1;
 }
    databuf[0] = atoi(argv[2]); /* 要执行的操作:打开或关闭 */
    retvalue = write(fd, databuf, sizeof(databuf));
    if(retvalue < 0){
    printf("LED Control Failed!\r\n");
    close(fd);
    return -1;
 }
    retvalue = close(fd); /* 关闭文件 */
    if(retvalue < 0){
    printf("file %s close failed!\r\n", argv[1]);
    return -1;
    }
    return 0;
 }
4、编写Makefile文件
makefile:
KERNELDIR := /home/chensir/linux/atk-mp1/linux/my_linux/linux-5.4.31
CURRENT_PATH := $(shell pwd)
obj-m := leddevice.o
obj-m += leddriver.o
build: kernel_modules
kernel_modules:
	$(MAKE) -C $(KERNELDIR) M=$(CURRENT_PATH) modules
clean:
	$(MAKE) -C $(KERNELDIR) M=$(CURRENT_PATH) clean
其中跟以前不一样的是多了obj-m +:
obj-m := leddevice.o
obj-m += leddriver.o
该写法会生成两个独立模块:leddevice.ko 和 leddriver.ko。
5、测试效果
我发现这两个命令:
modprobe leddevice.ko
modprobe leddriver.ko
发现 modprobe leddevice.ko 和 modprobe leddriver.ko 可以不分先后,这是因为 modprobe 能够处理模块之间的依赖关系。
leddevice.ko 可能是定义设备相关资源的模块,leddriver.ko 是实现驱动功能的模块。这两个模块之间存在一种相互依赖的关系,使得它们在加载顺序上有一定的灵活性。


./ledApp /dev/platled 1 //打开 LED 灯
./ledApp /dev/platled 0 //关闭 LED 灯


![【GPT入门】第33 课 一文吃透 LangChain:chain 结合 with_fallbacks ([]) 的实战指南](https://i-blog.csdnimg.cn/direct/d2e1f65ca9ff456bb3caeb4cd6149429.png)