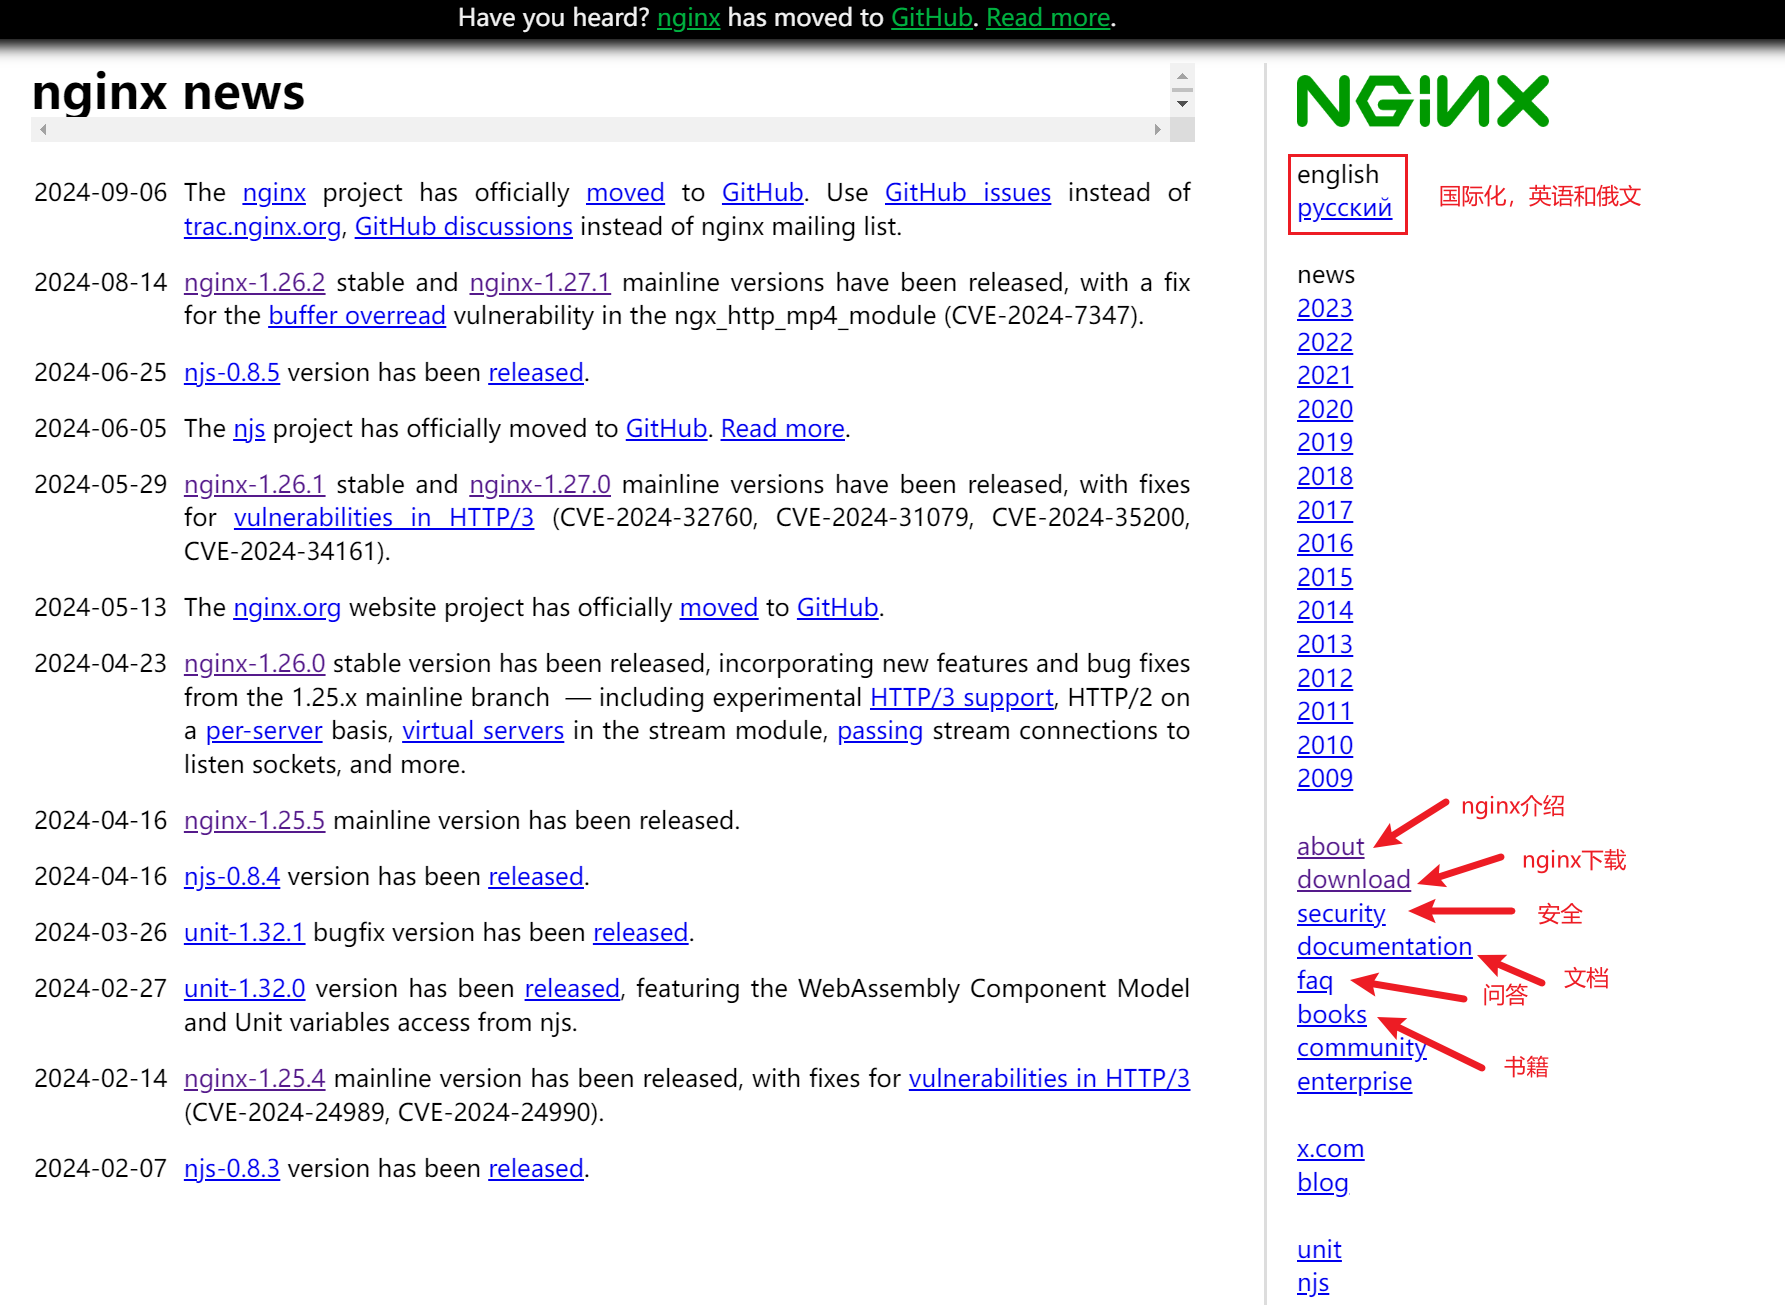
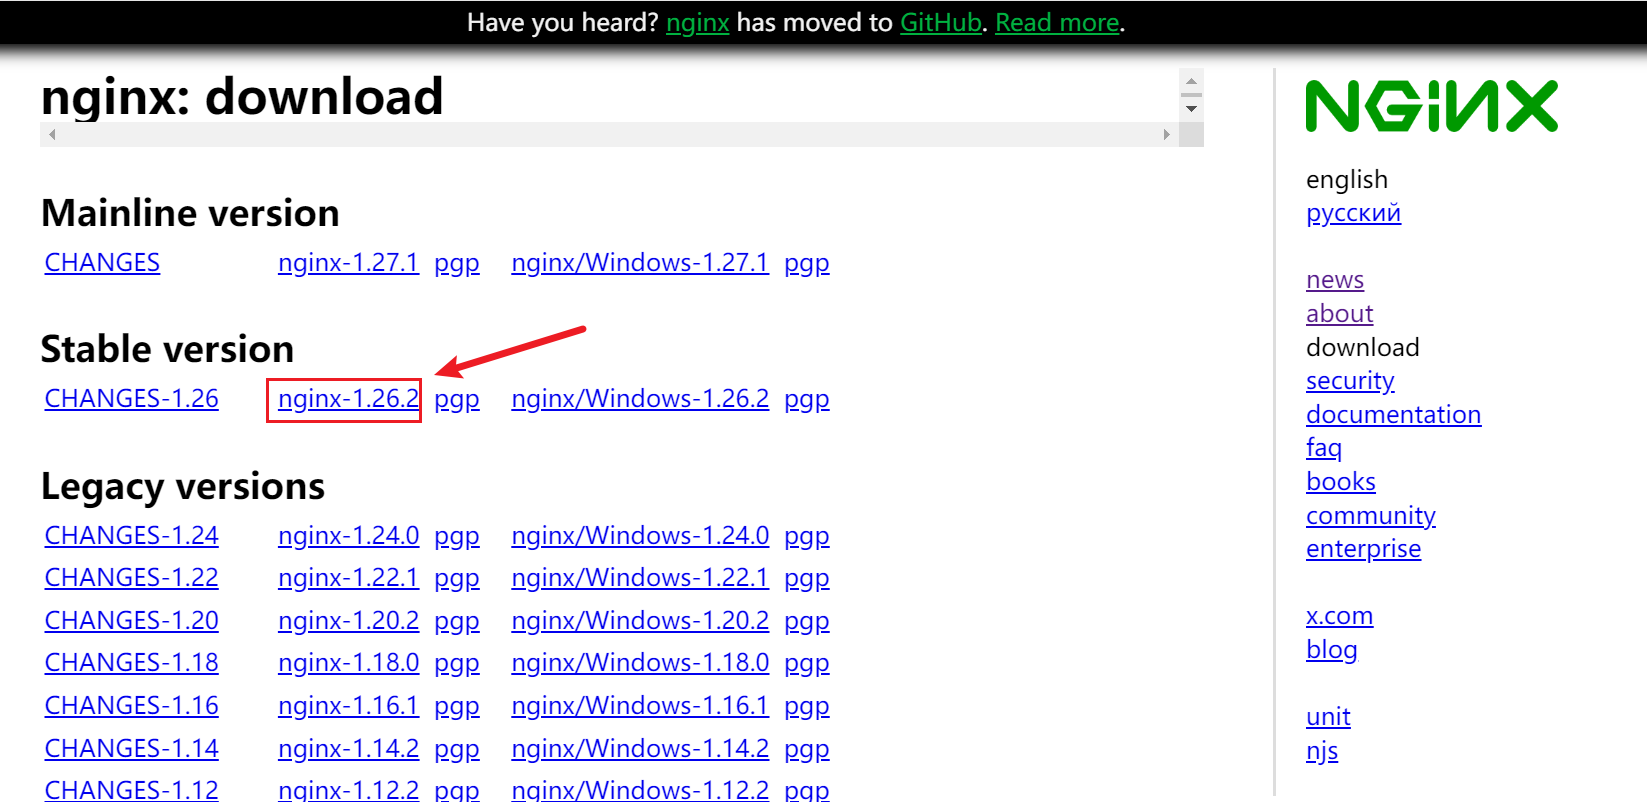
Nginx官网地址:http://nginx.org/
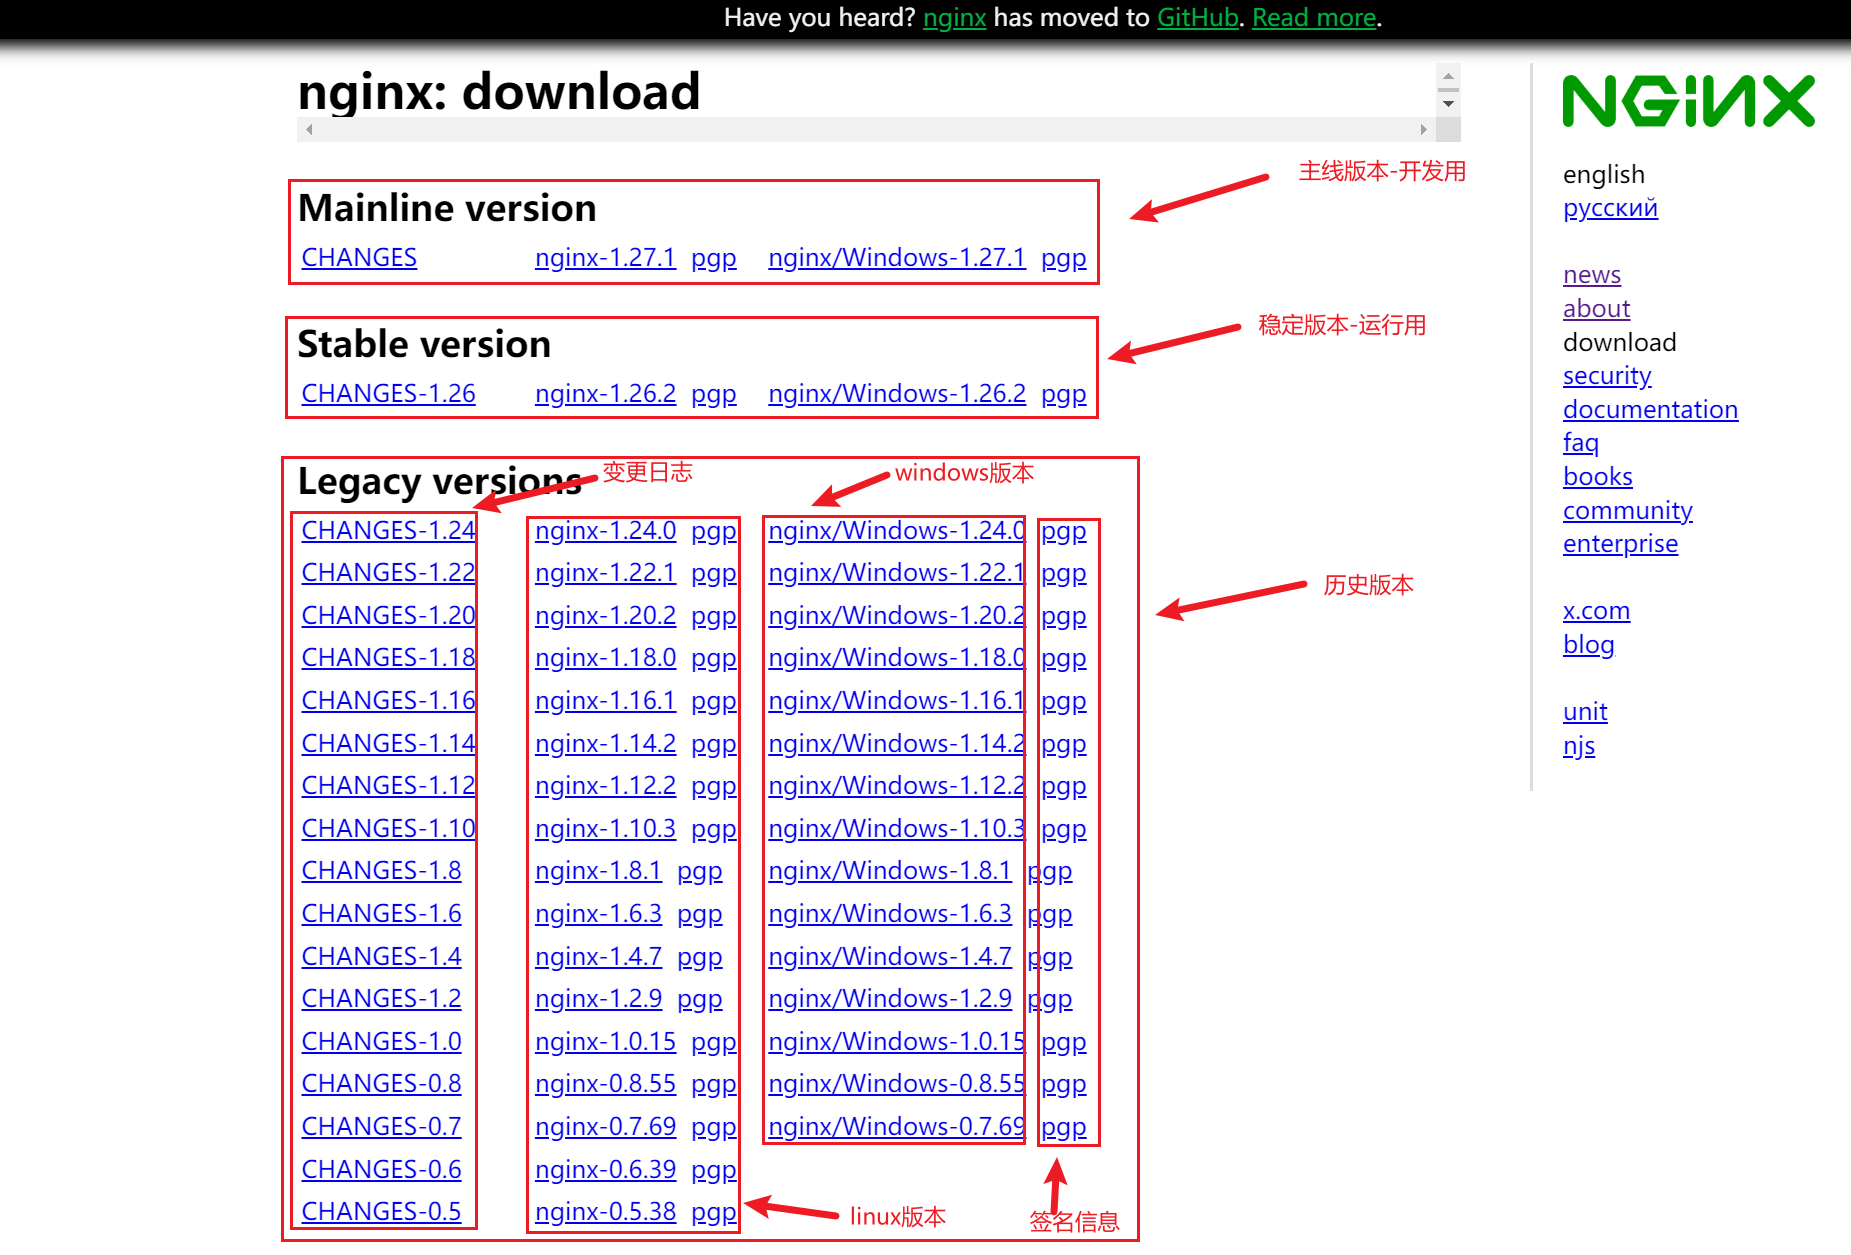
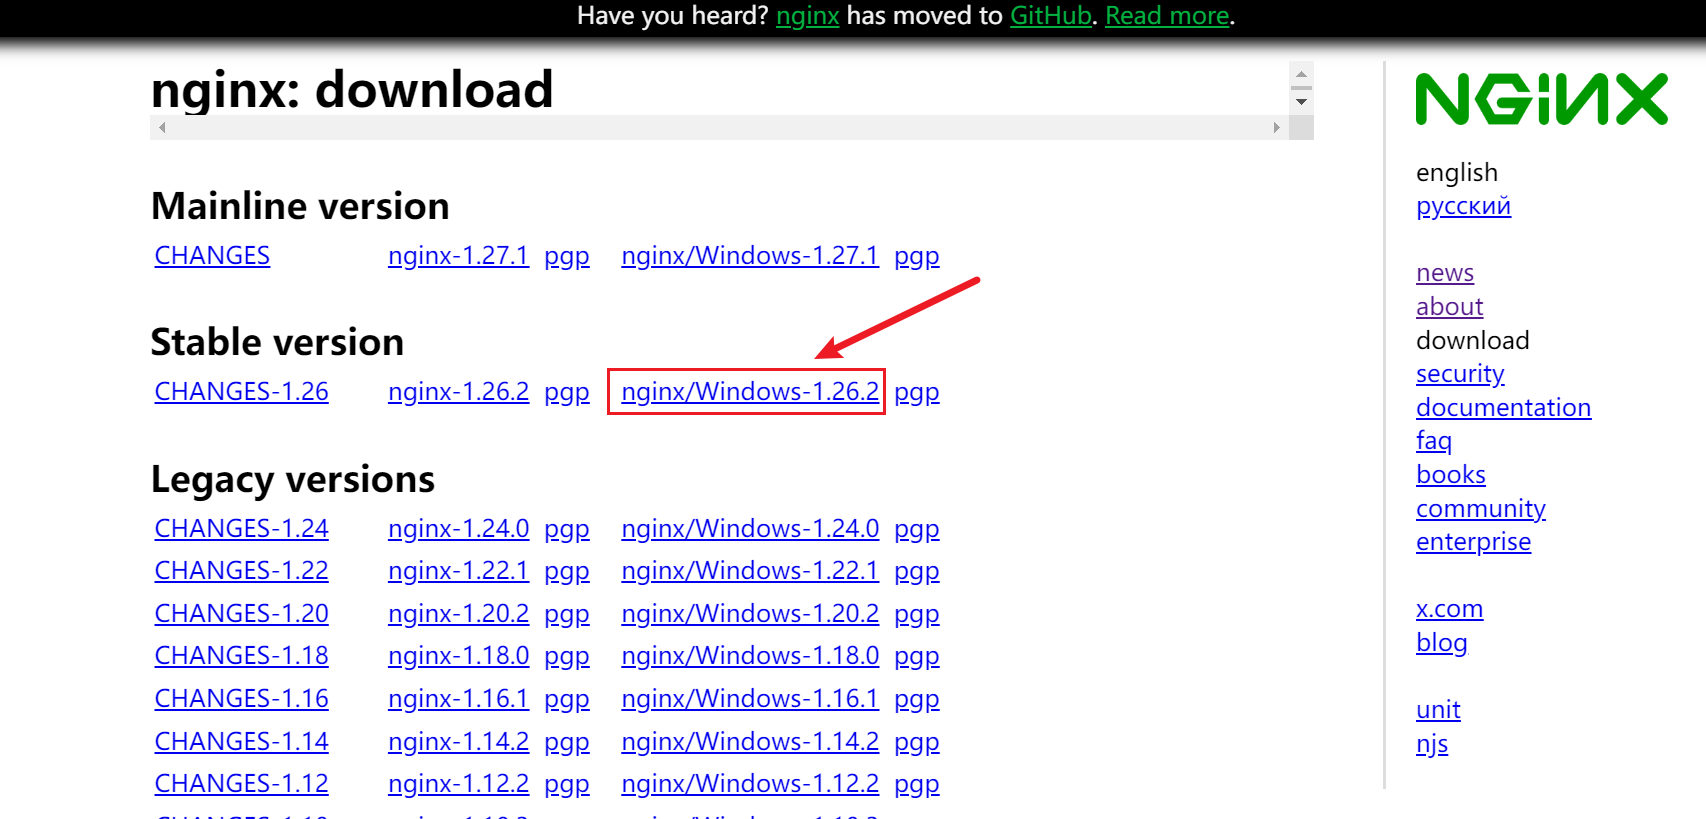
下载页地址:http://nginx.org/en/download.html
下载页地址:http://nginx.org/download/
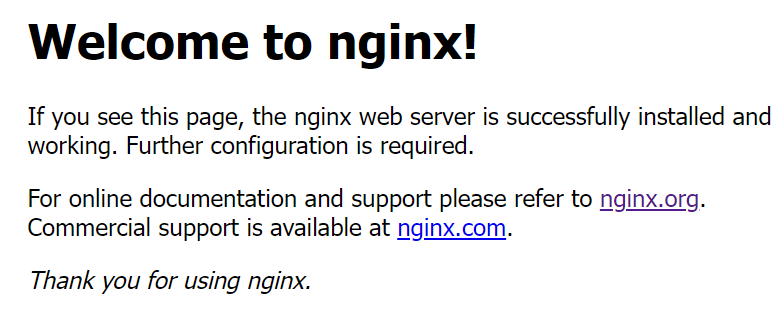
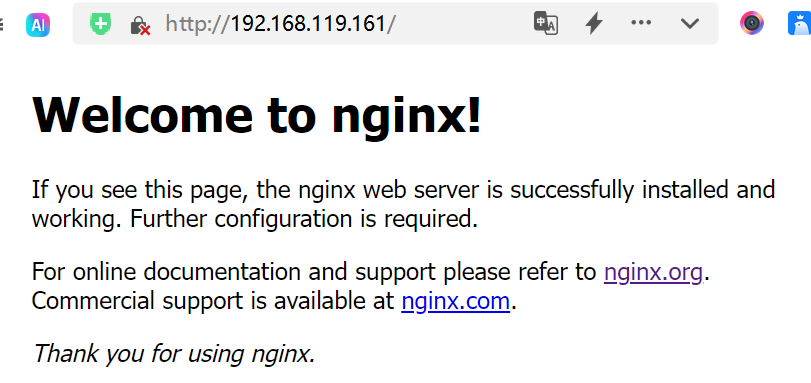
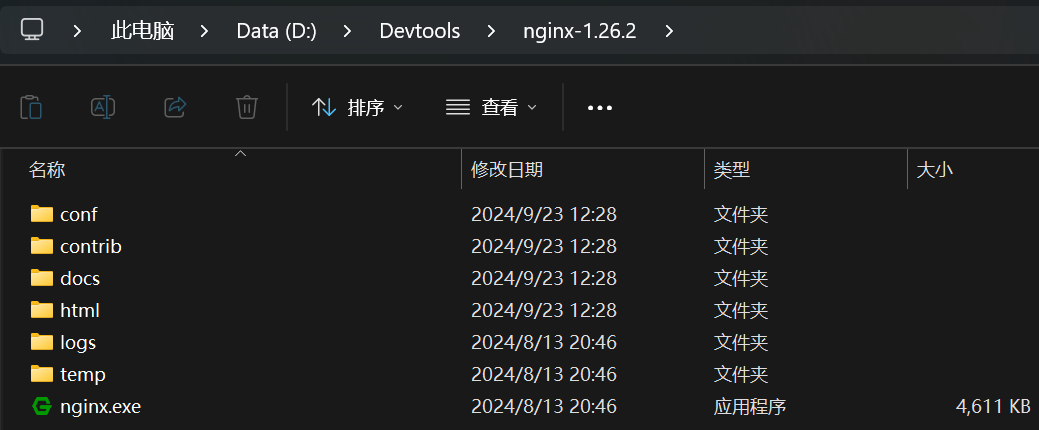
直接双击nginx.exe,双击后一个黑色的弹窗一闪而过 打开cmd命令窗口,切换到nginx解压目录下,输入命令nginx.exe,回车即可 直接在浏览器地址栏输入网址 http://localhost:80 回车,出现以下页面说明启动成功!
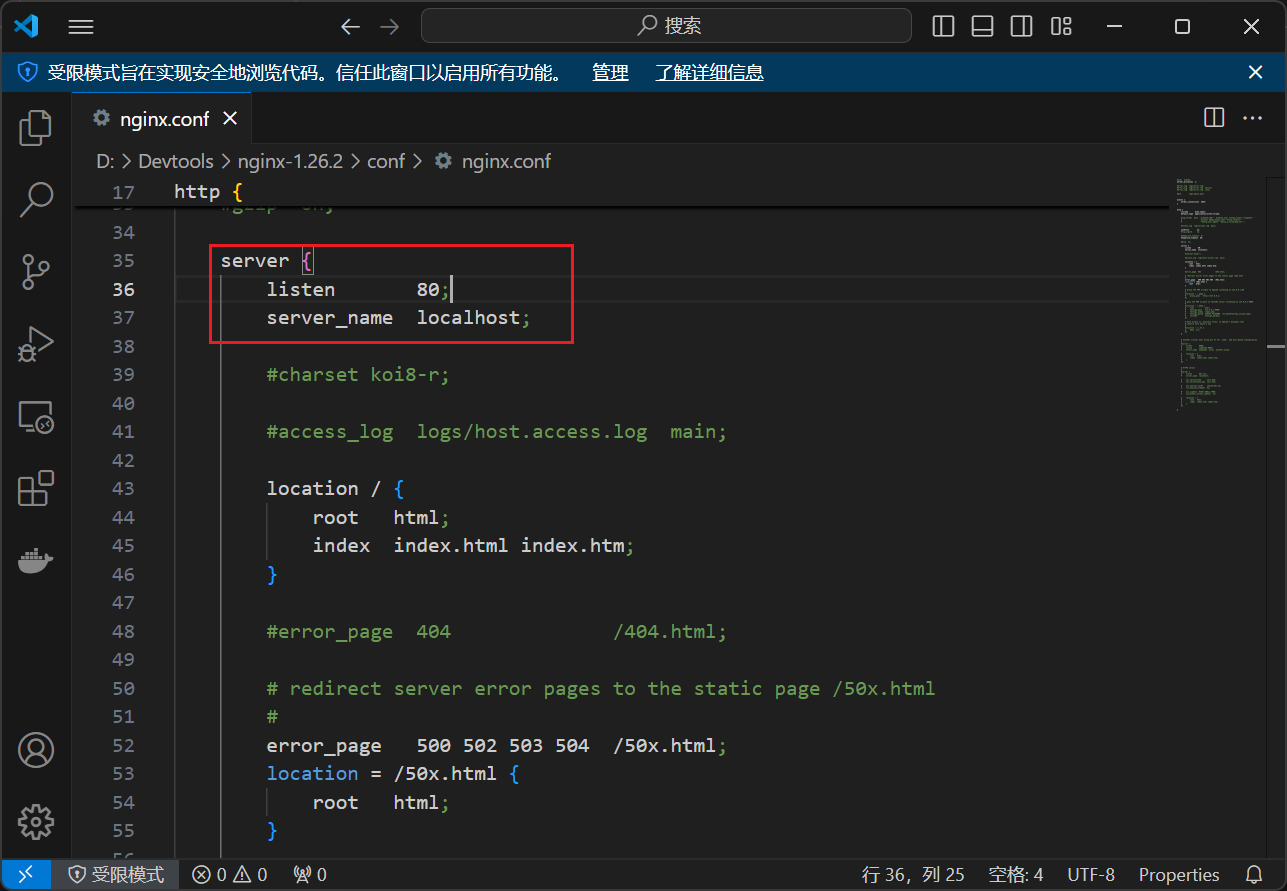
nginx的配置文件是conf目录下的nginx.conf,默认配置的nginx监听的端口为80,如果80端口被占用可以修改为未被占用的端口即可。 当我们修改了nginx的配置文件nginx.conf 时,不需要关闭nginx后重新启动nginx,只需要执行命令 nginx -s reload 即可让改动生效。
nginx -s stop
nginx -s quit
taskkill是用来终止进程的,
/f是强制终止 .
/t终止指定的进程和任何由此启动的子进程。
/im示指定的进程名称
taskkill /f /t /im nginx.exe
虚拟机:VMware WorkStation,安装教程参考VMware Workstation Pro详解 Linux 系统:Centos7.9 上传软件工具:FinalShell 网络:NAT 192.168.119.161 准备一个内核为 2.6 及以上版本的操作系统,因为 linux2.6 及以上内核才支持 epoll,而 Nginx 需要解决高并发压力问题是需要用到 epoll,所以我们需要有这样的版本要求。 我们可以使用 uname -a 命令来查询linux的内核版本 [ root@localhost ~]
Linux localhost.localdomain 3.10 .0-1160.71.1.el7.x86_64
虚拟机设定NAT网络,参考VMware Workstation Pro详解 [ root@localhost ~]
PING www.a.shifen.com ( 183.2 .172.42) 56 ( 84 ) bytes of data.
64 bytes from 183.2 .172.42 ( 183.2 .172.42) : icmp_seq = 1 ttl = 128 time = 35.1 ms
64 bytes from 183.2 .172.42 ( 183.2 .172.42) : icmp_seq = 2 ttl = 128 time = 34.4 ms
64 bytes from 183.2 .172.42 ( 183.2 .172.42) : icmp_seq = 3 ttl = 128 time = 31.0 ms
64 bytes from 183.2 .172.42 ( 183.2 .172.42) : icmp_seq = 4 ttl = 128 time = 31.2 ms
64 bytes from 183.2 .172.42 ( 183.2 .172.42) : icmp_seq = 5 ttl = 128 time = 34.9 ms
64 bytes from 183.2 .172.42 ( 183.2 .172.42) : icmp_seq = 6 ttl = 128 time = 30.5 ms
.. .
这一项的要求仅针对于那些对 Linux 系统的防火墙设置规则不太清楚的,建议大家把防火墙都关闭掉,因为把防火墙关闭掉,可以省掉后续 Nginx 使用过程中遇到的诸多问题。 systemctl stop firewalld
systemctl disable firewalld
systemctl status firewalld
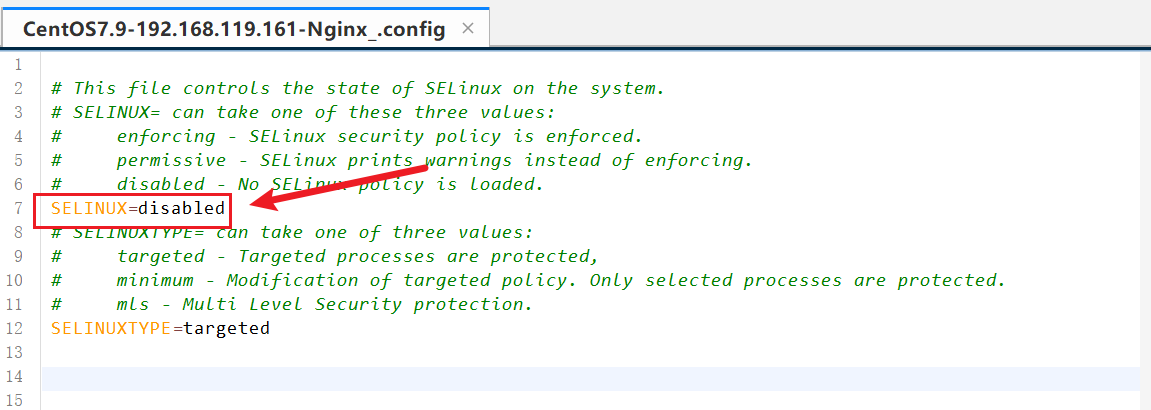
selinux(security-enhanced linux),美国安全局对于强制访问控制的实现,在 Linux2.6 内核以后的版本中,selinux 已经成功内核中的一部分。可以说selinux 是 Linux 史上最杰出的新安全子系统之一。虽然有了 selinux,我们的系统会更安全,但是对于使用 Nginx 或者其他的学习过程中,会有很多设置,所以这块建议大家将 selinux 进行关闭。 修改配置文件/etc/selinux/config来进行设置,修改 SELINUX=disabled,然后重启下系统即可生效。
[ root@localhost ~]
SELinux status: disabled
默认的源是国外的,网速较慢,经常会连不上,更换为国内镜像源
mv /etc/yum.repos.d/CentOS-Base.repo /etc/yum.repos.d/CentOS-Base.repo.backup
curl -o /etc/yum.repos.d/CentOS-Base.repo http://mirrors.aliyun.com/repo/Centos-7.repo
sudo yum clean all
sudo yum makecache
Nginx 是使用 C 语言编写的程序,因此想要运行 Nginx 就需要安装一个编译工具。GCC 就是一个开源的编译器集合,用于处理各种各样的语言,其中就包含了 C 语言。
yum install -y gcc
gcc --version
Nginx 在编译过程中需要使用到 PCRE 库(perl Compatible Regular Expressoin 兼容正则表达式库),因为在 Nginx 的 Rewrite 模块和 Http 核心模块都会使用到 PCRE 正则表达式语法。
yum install -y pcre pcre-devel
rpm -qa pcre pcre-devel
zlib 库提供了开发人员的压缩算法,在 Nginx 的各个模块中需要使用 gzip 压缩,所以我们也需要提前安装其库及源代码 zlib 和 zlib-devel。
yum install -y zlib zlib-devel
rpm -qa zlib zlib-devel
OpenSSL 是一个开放源代码的软件库包,应用程序可以使用这个包进行安全通信,并且避免被窃听。 SSL:Secure Sockets Layer 安全套接协议的缩写,可以在 Internet 上提供秘密性传输,其目标是保证两个应用间通信的保密性和可靠性。在 Nginx 中,如果服务器需要提供安全网页时就需要用到 OpenSSL 库,所以我们需要对 OpenSSL 的库文件及它的开发安装包进行一个安装。
yum install -y openssl openssl-devel
rpm -qa openssl openssl-devel
上述命令,一个个来的话比较麻烦,我们也可以通过一条命令来进行安装
yum install -y gcc pcre pcre-devel zlib zlib-devel openssl openssl-devel
rpm -qa pcre pcre-devel zlib zlib-devel openssl openssl-devel
在 /opt目录下创建 nginx/core 目录,-p 代表允许创建多级目录,进入官网获取最新版本地址链接,然后使用 wget 命令进行下载,如果 wget 命令下载速度慢,可以先下载到 Windows 系统,再使用工具上传到 Linux 下。
mkdir -p /opt/nginx/core
cd /opt/nginx/core
wget http://nginx.org/download/nginx-1.26.2.tar.gz
tar -xzf nginx-1.26.2.tar.gz
cd nginx-1.26.2/
./configure --prefix= /usr/local/nginx
make && make install
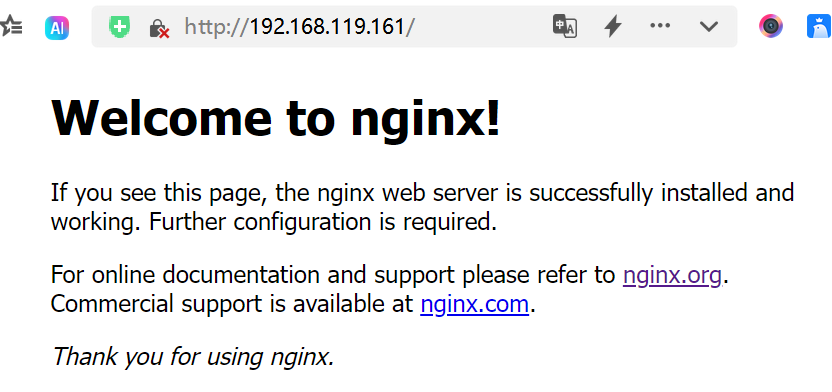
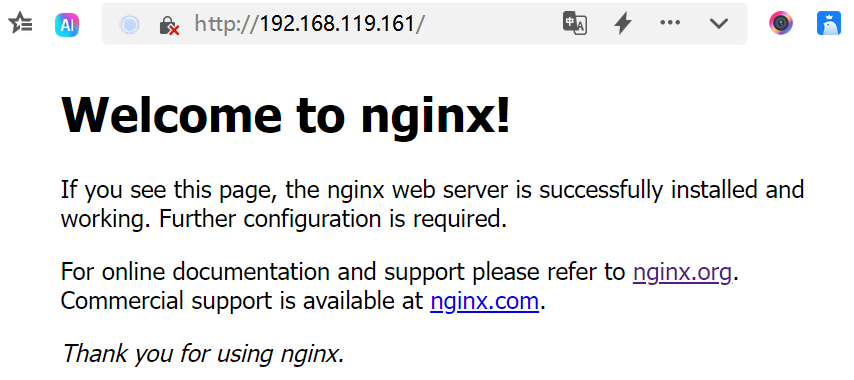
启动测试,访问服务器的IP地址http://192.168.119.161/
/usr/local/nginx/sbin/nginx
/usr/local/nginx/sbin/nginx -s stop
rm -rf /usr/local/nginx
rm -rf /opt/nginx
sudo yum install -y yum-utils
vim /etc/yum.repos.d/nginx.repo
[nginx-stable]
name=nginx stable repo
baseurl=http://nginx.org/packages/centos/$releasever/$basearch/
gpgcheck=1
enabled=1
gpgkey=https://nginx.org/keys/nginx_signing.key
module_hotfixes=true

[nginx-mainline]
name=nginx mainline repo
baseurl=http://nginx.org/packages/mainline/centos/$releasever/$basearch/
gpgcheck=1
enabled=0
gpgkey=https://nginx.org/keys/nginx_signing.key
module_hotfixes=true
sudo yum install -y nginx
[ root@localhost nginx-1.26.2]
nginx.x86_64 1 :1.26.1-2.el7.ngx @nginx-stable
nginx-debug.x86_64 1 :1.8.0-1.el7.ngx nginx-stable
nginx-debuginfo.x86_64 1 :1.26.1-2.el7.ngx nginx-stable
nginx-module-geoip.x86_64 1 :1.26.1-2.el7.ngx nginx-stable
nginx-module-geoip-debuginfo.x86_64 1 :1.26.1-2.el7.ngx nginx-stable
nginx-module-image-filter.x86_64 1 :1.26.1-2.el7.ngx nginx-stable
nginx-module-image-filter-debuginfo.x86_64
1 :1.26.1-2.el7.ngx nginx-stable
nginx-module-njs.x86_64 1 :1.26.1+0.8.5-2.el7.ngx nginx-stable
nginx-module-njs-debuginfo.x86_64 1 :1.26.1+0.8.5-2.el7.ngx nginx-stable
nginx-module-perl.x86_64 1 :1.26.1-2.el7.ngx nginx-stable
nginx-module-perl-debuginfo.x86_64 1 :1.26.1-2.el7.ngx nginx-stable
nginx-module-xslt.x86_64 1 :1.26.1-2.el7.ngx nginx-stable
nginx-module-xslt-debuginfo.x86_64 1 :1.26.1-2.el7.ngx nginx-stable
nginx-nr-agent.noarch 2.0 .0-12.el7.ngx nginx-stable
pcp-pmda-nginx.x86_64 4.3 .2-13.el7_9 updates
[ root@localhost ~]
nginx: /usr/sbin/nginx /usr/lib64/nginx /etc/nginx /usr/share/nginx /usr/share/man/man8/nginx.8.gz
启动测试,访问服务器的IP地址http://192.168.119.161/ /usr/sbin/nginx
简单安装VSyum安装:yum安装会默认设设定一大堆参数,大部分是不需要贴别修改的,所以yum安装更简单。 /usr/sbin/nginx -s stop
yum remove nginx
在 /opt目录下创建 nginx/core 目录,-p 代表允许创建多级目录,进入官网获取最新版本地址链接,然后使用 wget 命令进行下载,如果 wget 命令下载速度慢,可以先下载到 Windows 系统,再使用工具上传到 Linux 下。
mkdir -p /opt/nginx/core
cd /opt/nginx/core
wget http://nginx.org/download/nginx-1.26.2.tar.gz
tar -xzf nginx-1.26.2.tar.gz
cd nginx-1.26.2/
./configure --prefix= /usr/local/nginx \
--sbin-path= /usr/local/nginx/sbin/nginx \
--modules-path= /usr/local/nginx/modules \
--conf-path= /usr/local/nginx/conf/nginx.conf \
--error-log-path= /usr/local/nginx/logs/error.log \
--http-log-path= /usr/local/nginx/logs/access.log \
--pid-path= /usr/local/nginx/logs/nginx.pid \
--lock-path= /usr/local/nginx/logs/nginx.lock
make && make install
启动测试,访问服务器的IP地址http://192.168.119.161/
/usr/local/nginx/sbin/nginx
简答安装VS复杂安装:差异主要是/configure参数不同,说明如下 指令 作用 默认值 –prefix=PATH 指向 Nginx 的安装目录 /usr/local/nginx –sbin-path=PATH 指向(执行)程序文件(nginx)的路径 <安装目录>/sbin/nginx –modules-path=PATH 指向 Nginx 动态模块安装目录 <安装目录>//modules –conf-path=PATH 指向配置文件(nginx.conf)的路径 <安装目录>/conf/nginx.conf –error-log-path=PATH 指向错误日志文件的路径 <安装目录>/logs/error.log –http-log-path=PATH 指向访问日志文件的路径 <安装目录>/logs/access.log –pid-path=PATH 指向 Nginx 启动后进行ID的文件路径 <安装目录>/logs/nginx.pid –lock-path=PATH 指向 Nginx 锁文件的存放路径 <安装目录>/logs/nginx.lock
/usr/local/nginx/sbin/nginx -s stop
rm -rf /usr/local/nginx
rm -rf /opt/nginx
yum install -y tree
CGI(Common Gateway Interface):通用网关【接口】,主要解决的问题是从客户端发送一个请求和数据,服务端获取到请求和数据后可以调用CGI【程序】处理及相应结果给客户端的。 fastcgi scgi uwsgi等是一些速度比较快的协议 [ root@localhost nginx-1.26.2]
/usr/local/nginx
├── client_body_temp
├── conf
│ ├── fastcgi.conf
│ ├── fastcgi.conf.default
│ ├── fastcgi_params
│ ├── fastcgi_params.default
│ ├── koi-utf
│ ├── koi-win
│ ├── mime.types
│ ├── mime.types.default
│ ├── nginx.conf
│ ├── nginx.conf.default
│ ├── scgi_params
│ ├── scgi_params.default
│ ├── uwsgi_params
│ ├── uwsgi_params.default
│ └── win-utf
├── fastcgi_temp
├── html
│ ├── 50x.html
│ └── index.html
├── logs
│ ├── access.log
│ ├── error.log
│ └── nginx.pid
├── proxy_temp
├── sbin
│ └── nginx
├── scgi_temp
└── uwsgi_temp
9 directories, 21 files
nginx 二进制可执行文件(启动、关闭、加载 Nginx) nginx.conf 配置文件 error.log 错误的日志记录 access.log 访问日志记录 client_body_temp:存放客户端请求体的临时文件。 conf:存放Nginx的配置文件。
fastcgi.conf 和 fastcgi.conf.default:FastCGI 配置文件及其默认配置。fastcgi_params 和 fastcgi_params.default:FastCGI 参数文件及其默认配置。koi-utf 和 koi-win:字符编码转换文件。mime.types 和 mime.types.default:定义MIME类型的文件及其默认配置。nginx.conf 和 nginx.conf.default:Nginx 主配置文件及其默认配置。scgi_params 和 scgi_params.default:SCGI 参数文件及其默认配置。uwsgi_params 和 uwsgi_params.default:uWSGI 参数文件及其默认配置。win-utf:Windows 平台的字符编码转换文件。 fastcgi_temp:存放FastCGI的临时文件。 html:存放静态网页文件。
50x.html:错误页面,通常用于显示服务器内部错误。index.html:默认首页。 logs:存放Nginx的日志文件。
access.logerror.lognginx.pid proxy_temp:存放代理请求的临时文件。 sbin:存放Nginx的可执行文件。
scgi_temp:存放SCGI的临时文件。uwsgi_temp:存放uWSGI的临时文件。
