1. 下载
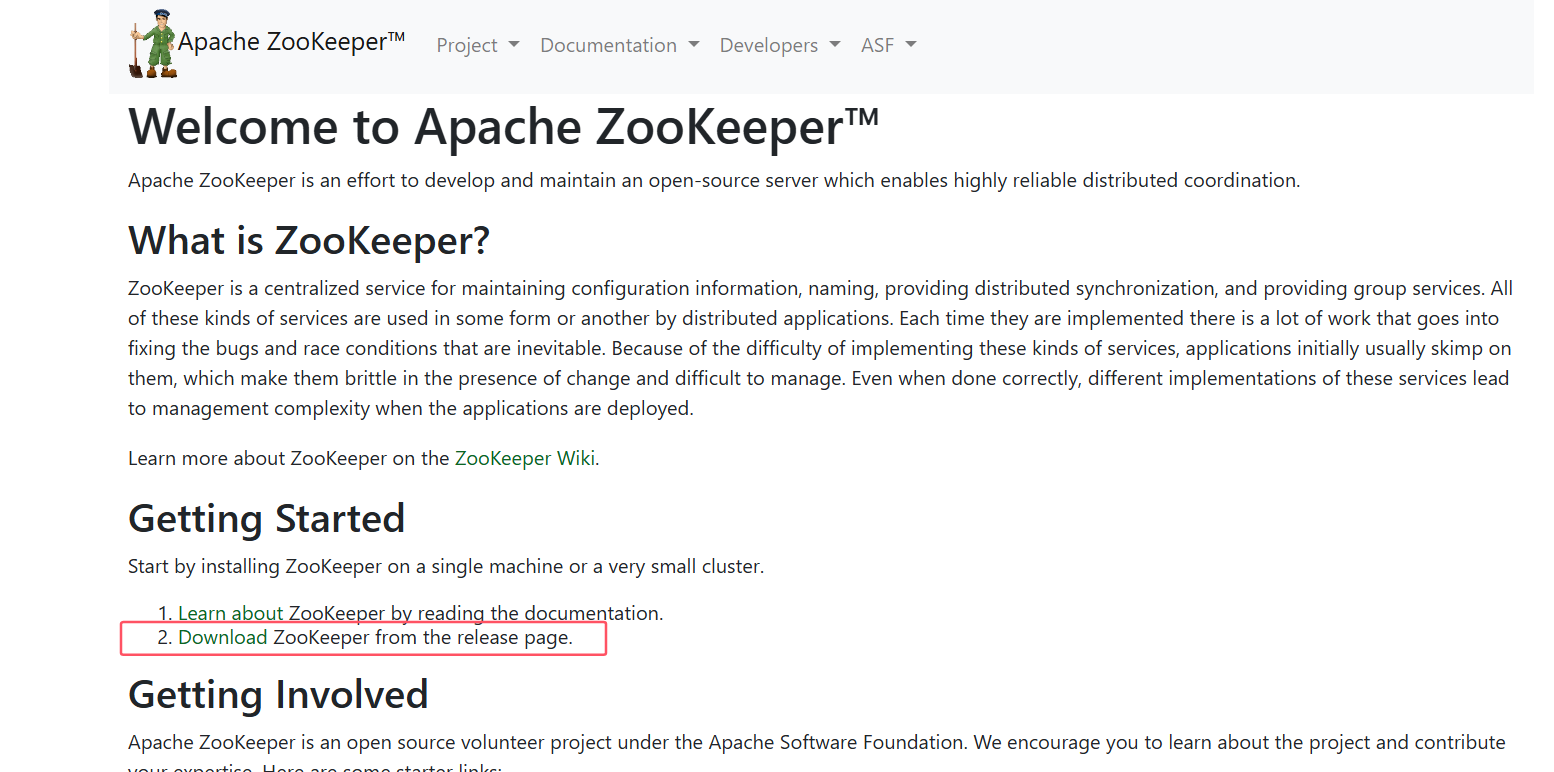
官网地址:Apache ZooKeeper
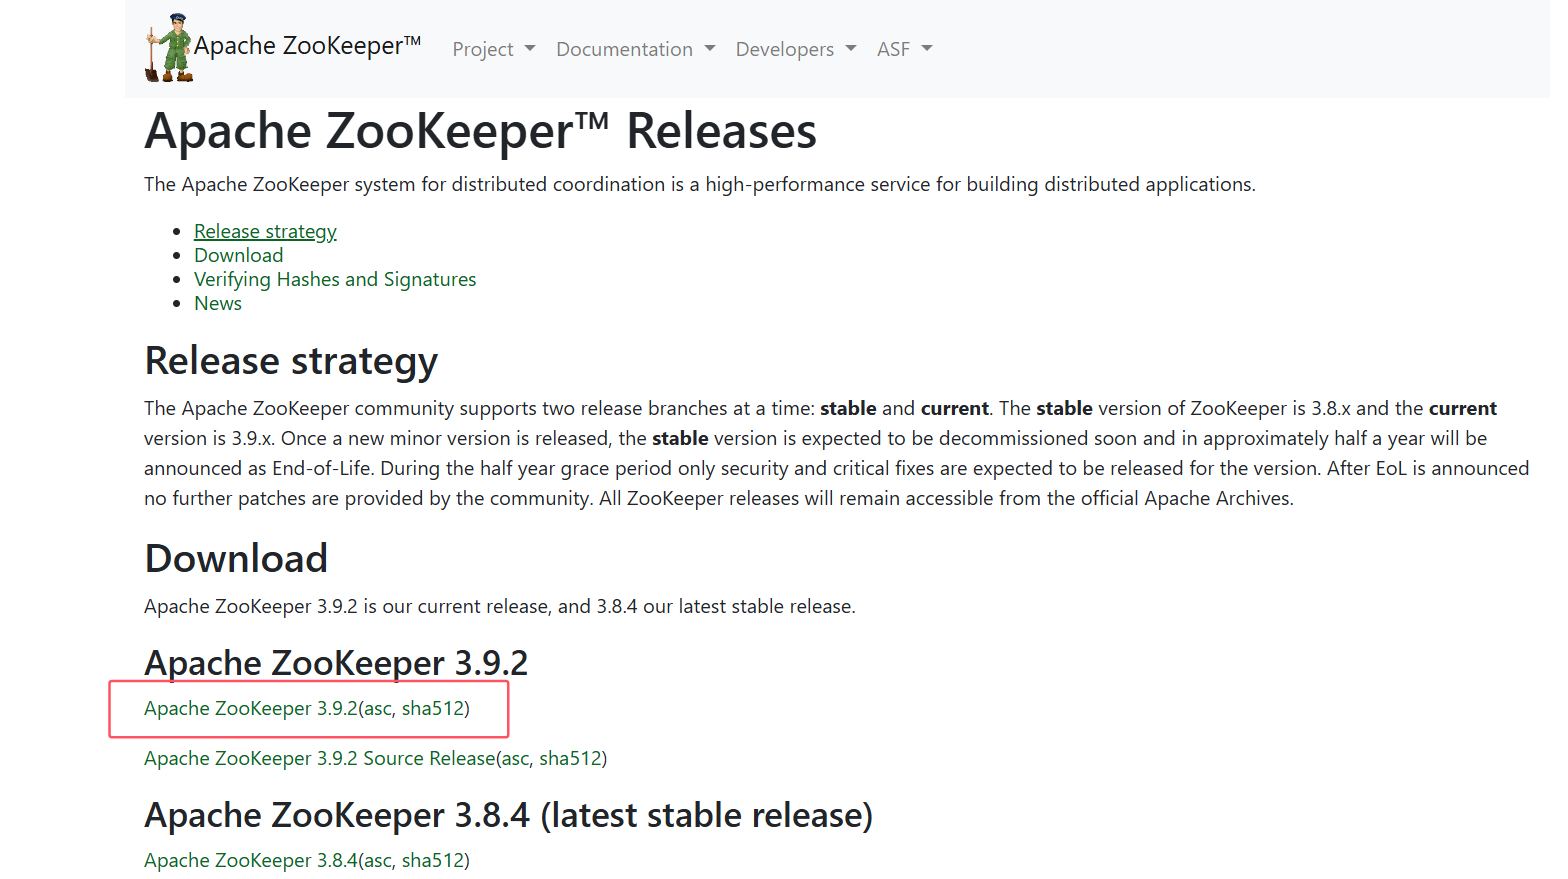
点击下载按钮

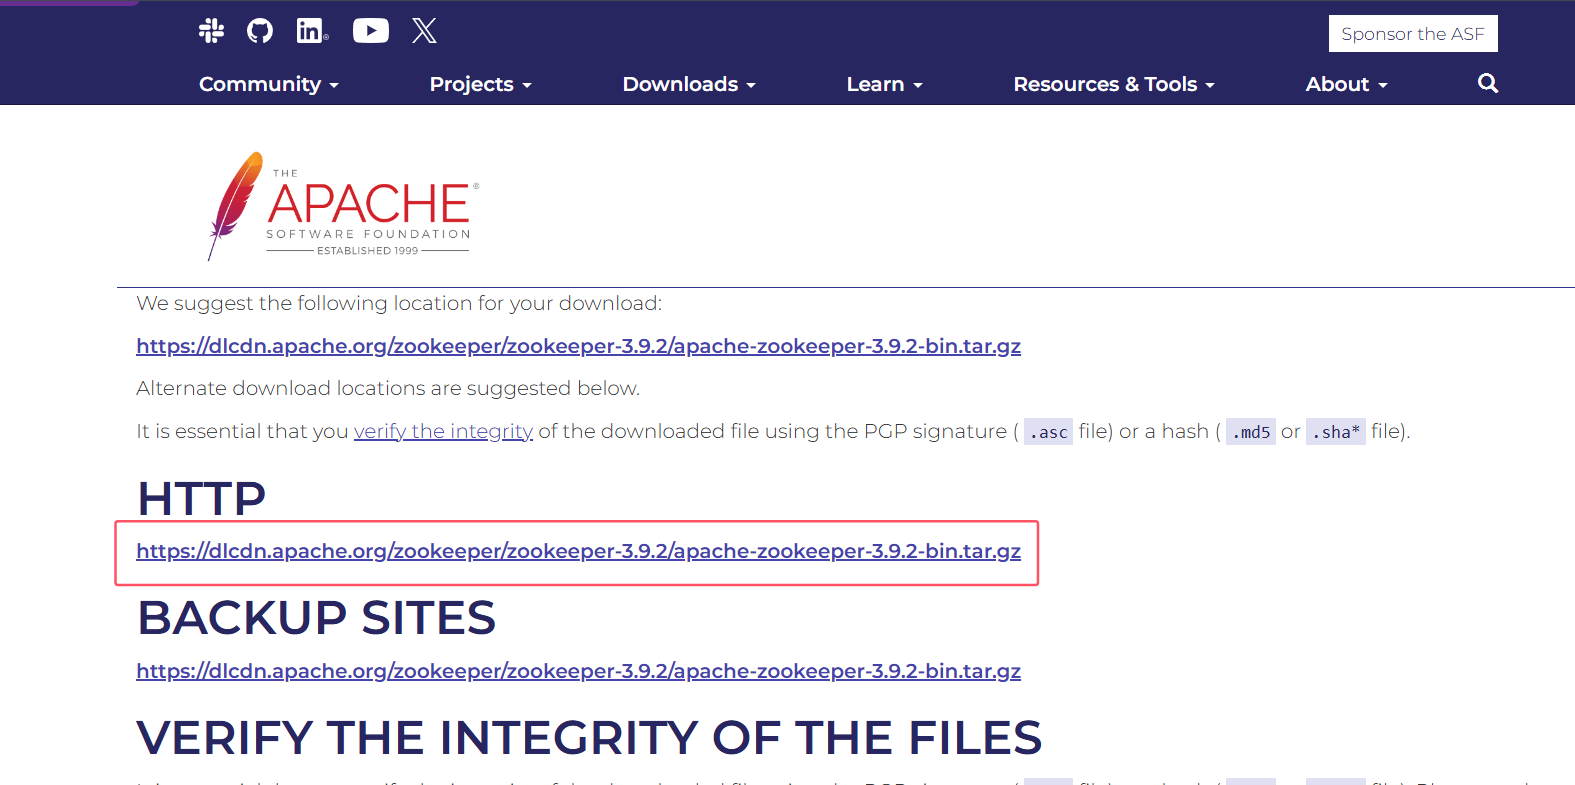
选择对应的版本进行下载


2. 使用
1、解压
tar -zxf apache-zookeeper-3.9.2-bin.tar.gz
2、复制配置文件,有一个示例配置文件 conf/zoo_sample.cfg,此文件不能生效,需要名称为 zoo.cfg 的文件才能生效,因此改名复制一份配置文件
cp conf/zoo_sample.cfg conf/zoo.cfg
3、修改配置,其他配置暂不做修改,只重新指定一下 dataDir 的路径
# The number of milliseconds of each tick
tickTime=2000
# The number of ticks that the initial
# synchronization phase can take
initLimit=10
# The number of ticks that can pass between
# sending a request and getting an acknowledgement
syncLimit=5
# the directory where the snapshot is stored.
# do not use /tmp for storage, /tmp here is just
# example sakes.
#dataDir=/tmp/zookeeper
dataDir=../data
# the port at which the clients will connect
clientPort=2181
4、启动 ZooKeeper 服务端
./bin/zkServer.sh start
5、ZooKeeper 客户端连接,本机连接可以不写 ip:port
./bin/zkCli.sh -server ip:port
3. 常用命令
通过 help 命令可查看 ZooKeeper 常用命令
1、创建节点,create 命令
在根目录下创建 node1 节点,与它关联的内容是字符串 "node1"
create /node1 "node1"
在 node1 节点下创建 node1.1 节点,与它关联的内容是数字 123
create /node1/node1.1 123
2、获取节点的数据,get 命令
获取 node1 节点下 node1.1 子节点的数据,get /node1/node1.1
[zk: localhost:2181(CONNECTED) 7] get /node1/node1.1
123
3、更新节点数据内容,set 命令
set /node1/node1.1 "node1.1-123"
4、查看节点状态,stat 命令
查看 node1 节点的状态,stat /node1
[zk: localhost:2181(CONNECTED) 6] stat /node1
cZxid = 0x4
ctime = Tue Aug 20 17:01:23 CST 2024
mZxid = 0x4
mtime = Tue Aug 20 17:01:23 CST 2024
pZxid = 0x5
cversion = 1
dataVersion = 0
aclVersion = 0
ephemeralOwner = 0x0
dataLength = 5
numChildren = 1
5、查看某个目录下的子节点,ls 命令
查看根目录下的子节点,ls /
[zk: localhost:2181(CONNECTED) 4] ls /
[node1, zookeeper]
查看 node1 节点下的子节点和状态,ls -s /node1
[zk: localhost:2181(CONNECTED) 9] ls -s /node1
[node1.1]
cZxid = 0x4
ctime = Tue Aug 20 17:01:23 CST 2024
mZxid = 0x4
mtime = Tue Aug 20 17:01:23 CST 2024
pZxid = 0x5
cversion = 1
dataVersion = 0
aclVersion = 0
ephemeralOwner = 0x0
dataLength = 5
numChildren = 1
6、删除节点,delete 命令,要删除的节点必须没有子节点才行
删除 node1 节点,delete /node1,提示该节点不为空
[zk: localhost:2181(CONNECTED) 11] delete /node1
Node not empty: /node1
删除 node1 节点下 node1.1 子节点,delete /node1/node1.1
[zk: localhost:2181(CONNECTED) 12] delete /node1/node1.1
4. Curator
Curator 是 Netflix 公司开源的一套 ZooKeeper Java 客户端框架,相比于 Zookeeper 自带的客户端 zookeeper 来说,Curator 的封装更加完善,各种 API 都可以比较方便地使用
4.1 引入依赖
版本自行选择
<dependency>
    <groupId>org.apache.curator</groupId>
    <artifactId>curator-framework</artifactId>
    <version>${curator.version}</version>
</dependency>
<dependency>
    <groupId>org.apache.curator</groupId>
    <artifactId>curator-client</artifactId>
    <version>${curator.version}</version>
</dependency>
<dependency>
    <groupId>org.apache.curator</groupId>
    <artifactId>curator-recipes</artifactId>
    <version>${curator.version}</version>
</dependency>
4.2 连接 ZooKeeper 客户端
1、使用工厂类 CuratorFrameworkFactory 的静态 newClient() 方法
import org.apache.curator.RetryPolicy;
import org.apache.curator.framework.CuratorFramework;
import org.apache.curator.framework.CuratorFrameworkFactory;
import org.apache.curator.retry.ExponentialBackoffRetry;

/**
 * Curator 客户端
 *
 * @author GreyFable
 * @since 2024/8/22 11:33
 */
public class CuratorClient {
    public static void main(String[] args) {
        // 重试策略
        RetryPolicy retryPolicy = new ExponentialBackoffRetry(1000, 3);
        // 创建客户端实例
        CuratorFramework client = CuratorFrameworkFactory.newClient("localhost:2181", retryPolicy);
        // 启动客户端
        client.start();
    }
}
2、使用工厂类 CuratorFrameworkFactory 的静态 builder() 构造者方法
import org.apache.curator.RetryPolicy;
import org.apache.curator.framework.CuratorFramework;
import org.apache.curator.framework.CuratorFrameworkFactory;
import org.apache.curator.retry.ExponentialBackoffRetry;

/**
 * Curator 客户端
 *
 * @author GreyFable
 * @since 2024/8/22 11:33
 */
public class CuratorClient {
    public static void main(String[] args) {
        RetryPolicy retryPolicy = new ExponentialBackoffRetry(1000, 3);
        CuratorFramework client = CuratorFrameworkFactory.builder()
                .connectString("localhost:2181")
                // 会话超时时间
                .sessionTimeoutMs(5000)
                // 连接超时时间
                .connectionTimeoutMs(5000)
                .retryPolicy(retryPolicy)
                .build();
        client.start();
    }
}
4.3 操作 ZooKeeper
1、判断节点是否存在
Stat stat = client.checkExists().forPath("/node1/0001");
if (null != stat) {
    System.out.println("节点已存在");
}
2、创建节点
通常是将 znode 分为 4 大类:
- 持久(PERSISTENT)节点 :一旦创建就一直存在,即使 ZooKeeper 集群宕机,直到将其删除
- 临时(EPHEMERAL)节点 :临时节点的生命周期是与 客户端会话(session) 绑定的,会话消失则节点消失 。并且,临时节点 只能做叶子节点 ,不能创建子节点
- 持久顺序(PERSISTENT_SEQUENTIAL)节点 :除了具有持久(PERSISTENT)节点的特性之外, 子节点的名称还具有顺序性。比如 /node1/app0000000001 、/node1/app0000000002
- 临时顺序(EPHEMERAL_SEQUENTIAL)节点 :除了具备临时(EPHEMERAL)节点的特性之外,子节点的名称还具有顺序性
在使用 ZooKeeper 的时候,会发现 CreateMode 类中实际有 7 种 znode 类型 ,但是用的最多的还是上面介绍的 4 种
创建默认持久化节点,只有当父节点 /node1 存在时才会成功创建,否则会报错
client.create().forPath("/node1/0001");
创建指定类型的节点,只有当父节点 /node1 存在时才会成功创建,否则会报错
client.create().withMode(CreateMode.PERSISTENT).forPath("/node1/0002");
父节点不存在时自动创建父节点,使用 creatingParentsIfNeeded() 方法
client.create().creatingParentsIfNeeded()
                .withMode(CreateMode.PERSISTENT).forPath("/node1/0003");
创建节点并指定数据内容,注意数据内容要是 byte 数组
client.create().creatingParentsIfNeeded()
                .withMode(CreateMode.PERSISTENT).forPath("/node1/0004", "0004".getBytes());
3、获取节点数据
byte[] bytes = client.getData().forPath("/node1/0001");
4、更新节点数据
client.setData().forPath("/node1/0001", "0001".getBytes());
5、删除节点
删除一个子节点
client.delete().forPath("/node1/0001");
删除一个节点以及其下的所有子节点
client.delete().deletingChildrenIfNeeded().forPath("/node1/0001");
6、获取某个节点的所有子节点路径
List<String> list = client.getChildren().forPath("/node1/0001");
4.4 监听器
Curator 引入了 Cache 来实现对 Zookeeper 服务端事件监听,Cache 事件监听可以理解为一个本地缓存视图与远程 Zookeeper 视图的对比过程,分为一下注册类型
NodeCache:对某一个节点进行监听,对当前节点数据变化进行处理PathChildrenCache:对子节点进行监听,但是不会对二级子节点进行监听,对当前节点的子节点数据变化进行处理TreeCache:对当前节点下所有节点进行监听,对当前节点的子节点,及递归子节点数据变化进行处理
不过在 Curator 5.1.0 以后,NodeCache 、PathChildrenCache 、TreeCache 均已被弃用,统一使用 CuratorCache 进行所有节点的事件监听,对应的方法如下:
forCreates():创建forChanges():设值,forCreatesAndChanges():创建和设值forDeletes():删除,如果删除多级节点,会触发多次forAll():所有事件
默认情况下,Listener 监听整个子树(指定节点及其子节点)的事件,如果指定了 SINGLE_NODE_CACHE 选项,则只监听单个节点的事件
CuratorCache curatorCache = CuratorCache.build(client, "/node1");
// CuratorCache curatorCache = CuratorCache.build(client, "/node1", CuratorCache.Options.SINGLE_NODE_CACHE);

CuratorCacheListener listener = CuratorCacheListener.builder()
                .forCreates(childData ->
                        System.out.println("create: " + childData.getPath() + " " + new String(childData.getData())))
                .forChanges((oldNode, node) -> System.out.println("change"))
                .forCreatesAndChanges((oldNode, node) -> System.out.println("createAndChange"))
                .forDeletes(childData -> System.out.println("delete"))
                .forAll((type, oldData, data) -> {
                    if (type.name().equals(CuratorCacheListener.Type.NODE_CREATED.name())) {
                        System.out.println("create");
                    } else if (type.name().equals(CuratorCacheListener.Type.NODE_CHANGED.name())) {
                        System.out.println("change");
                    } else if (type.name().equals(CuratorCacheListener.Type.NODE_DELETED.name())) {
                        System.out.println("delete");
                    }
                })
                .build();

curatorCache.listenable().addListener(listener);
curatorCache.start();


