你是否梦想过拥有一个独特、现代化的个人博客平台?今天,我们将一起动手,使用 Next.js 和 shadcn-ui 来创建一个功能丰富、外观精美的博客系统。无论你是刚接触 Web 开发,还是经验丰富的程序员,这个教程都将带你step by step地构建一个完整的博客平台,让你的文字创作之旅从此与众不同!
目录
- 1. 引言:为什么选择 Next.js 和 shadcn-ui 构建博客平台?
- 1.1 Next.js 在博客开发中的优势
- 1.2 shadcn-ui 简介及其特点
- 2. 项目设置和初始化
- 2.1 创建 Next.js 项目
- 2.2 集成 shadcn-ui
- 2.3 设置项目结构
- 3. 设计和实现博客的核心功能
- 3.1 创建博客首页
- 3.1.1 设计布局组件
- 3.1.2 实现文章列表展示
- 3.2 开发文章详情页
- 3.2.1 使用动态路由
- 3.2.2 实现 Markdown 渲染
- 3.3 添加评论功能
- 3.3.1 设计评论组件
- 3.3.2 实现评论提交和展示
- 4. 使用 Next.js API Routes 构建后端
- 4.1 创建文章 API
- 4.1.1 获取文章列表
- 4.1.2 获取单篇文章详情
- 4.2 实现评论 API
- 4.2.1 提交新评论
- 5. 集成数据库
- 5.1 选择和设置 MongoDB
- 5.2 创建数据模型
- 5.3 连接数据库并实现 CRUD 操作
- 6. 实现用户认证
- 6.1 设置 NextAuth.js
- 6.2 创建登录和注册页面
- 6.3 实现受保护的路由和操作
- 7. 优化用户界面和用户体验
- 7.1 响应式设计
- 7.2 添加加载状态和错误处理
- 7.3 实现无限滚动加载
- 8. 性能优化
- 8.1 实现静态生成(SSG)和增量静态再生(ISR)
- 8.2 图片优化
- 8.3 代码分割和懒加载
- 9. 部署博客平台
- 9.1 准备生产环境配置
- 9.2 选择合适的部署平台
- 9.3 部署过程和注意事项
- 10. 总结与下一步
- 10.1 回顾学到的核心概念
- 10.2 扩展功能的想法
- 10.3 持续学习的资源推荐
1. 引言:为什么选择 Next.js 和 shadcn-ui 构建博客平台?
在开始动手之前,让我们先了解为什么 Next.js 和 shadcn-ui 是构建现代博客平台的绝佳选择。

1.1 Next.js 在博客开发中的优势
Next.js 作为一个强大的 React 框架,为博客开发提供了许多优势:
- 服务器端渲染 (SSR): 提高首屏加载速度,对 SEO 友好。
- 静态站点生成 (SSG): 预渲染页面,提供极快的加载速度。
- 增量静态再生 (ISR): 在保持静态生成优势的同时,允许内容动态更新。
- API 路由: 轻松创建后端 API,无需单独的服务器。
- 图像优化: 自动优化图片,提升加载性能。
- 内置 CSS 支持: 简化样式管理,支持 CSS 模块和 Sass。
这些特性使 Next.js 成为构建高性能、SEO 友好的博客平台的理想选择。
1.2 shadcn-ui 简介及其特点
shadcn-ui 是一个现代化的 UI 组件库,它具有以下特点:
- 可定制性强: 组件设计灵活,易于根据需求进行定制。
- 无需安装: 直接复制组件代码到项目中使用。
- TypeScript 支持: 提供类型定义,增强开发体验。
- 暗黑模式: 内置暗黑模式支持,轻松实现主题切换。
- 无障碍设计: 组件符合 ARIA 标准,提高可访问性。
使用 shadcn-ui,我们可以快速构建出美观、功能丰富的用户界面,而无需从零开始设计每个组件。
2. 项目设置和初始化
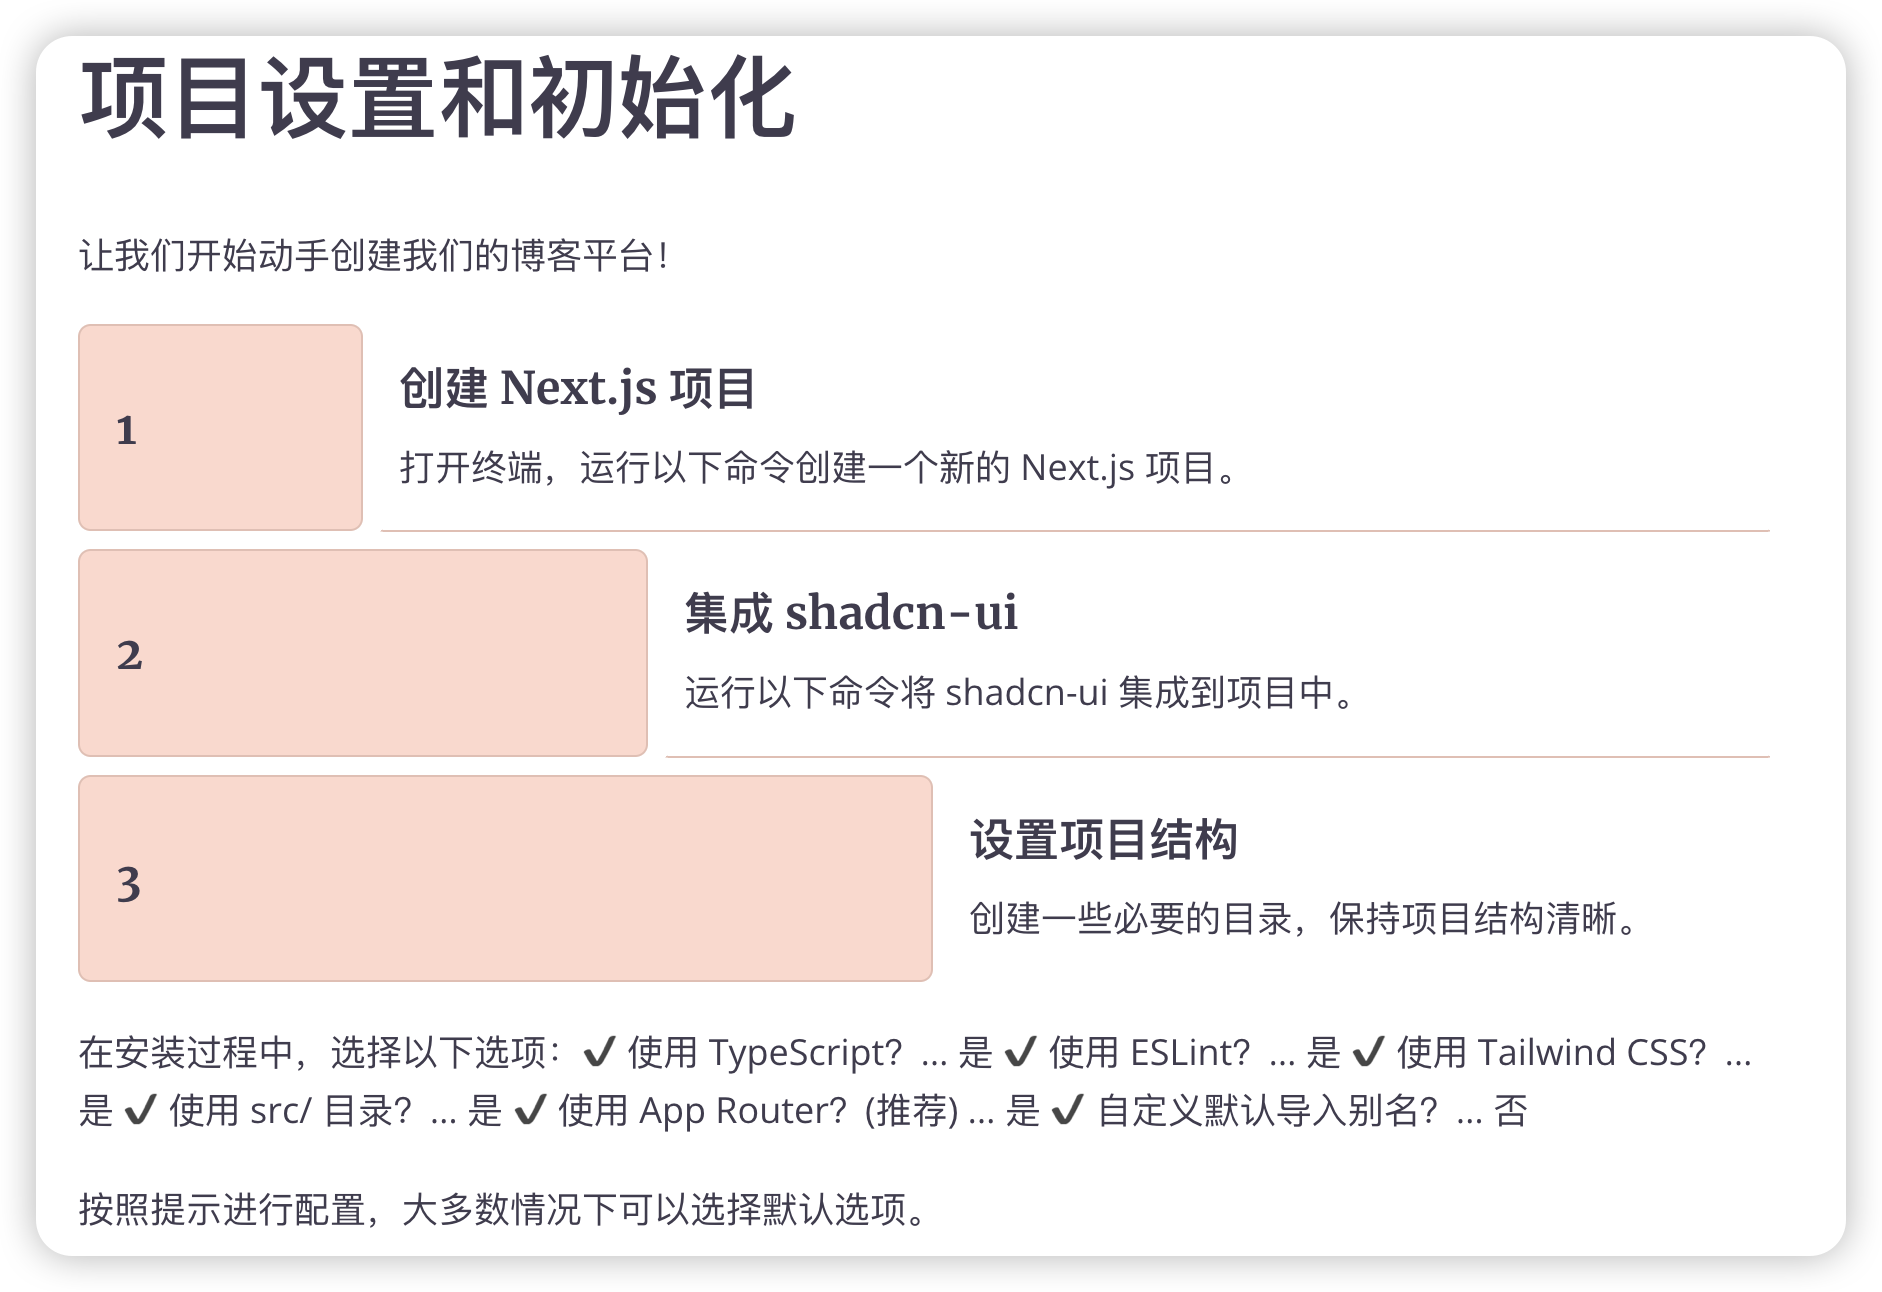
让我们开始动手创建我们的博客平台!
2.1 创建 Next.js 项目
首先,打开终端,运行以下命令创建一个新的 Next.js 项目:
npx create-next-app@latest my-blog-platform
cd my-blog-platform
在安装过程中,选择以下选项:
✔ Would you like to use TypeScript? … Yes
✔ Would you like to use ESLint? … Yes
✔ Would you like to use Tailwind CSS? … Yes
✔ Would you like to use `src/` directory? … Yes
✔ Would you like to use App Router? (recommended) … Yes
✔ Would you like to customize the default import alias? … No
2.2 集成 shadcn-ui
接下来,我们将集成 shadcn-ui 到我们的项目中。运行以下命令:
npx shadcn@latest init
按照提示进行配置,大多数情况下可以选择默认选项。
2.3 设置项目结构
为了保持项目结构清晰,让我们创建一些必要的目录:
mkdir -p src/{components,lib,styles,types}
现在我们的项目结构应该如下所示:
my-blog-platform/
├── src/
│   ├── app/
│   ├── components/
│   ├── lib/
│   ├── styles/
│   └── types/
├── public/
├── .eslintrc.json
├── next.config.js
├── package.json
└── tsconfig.json
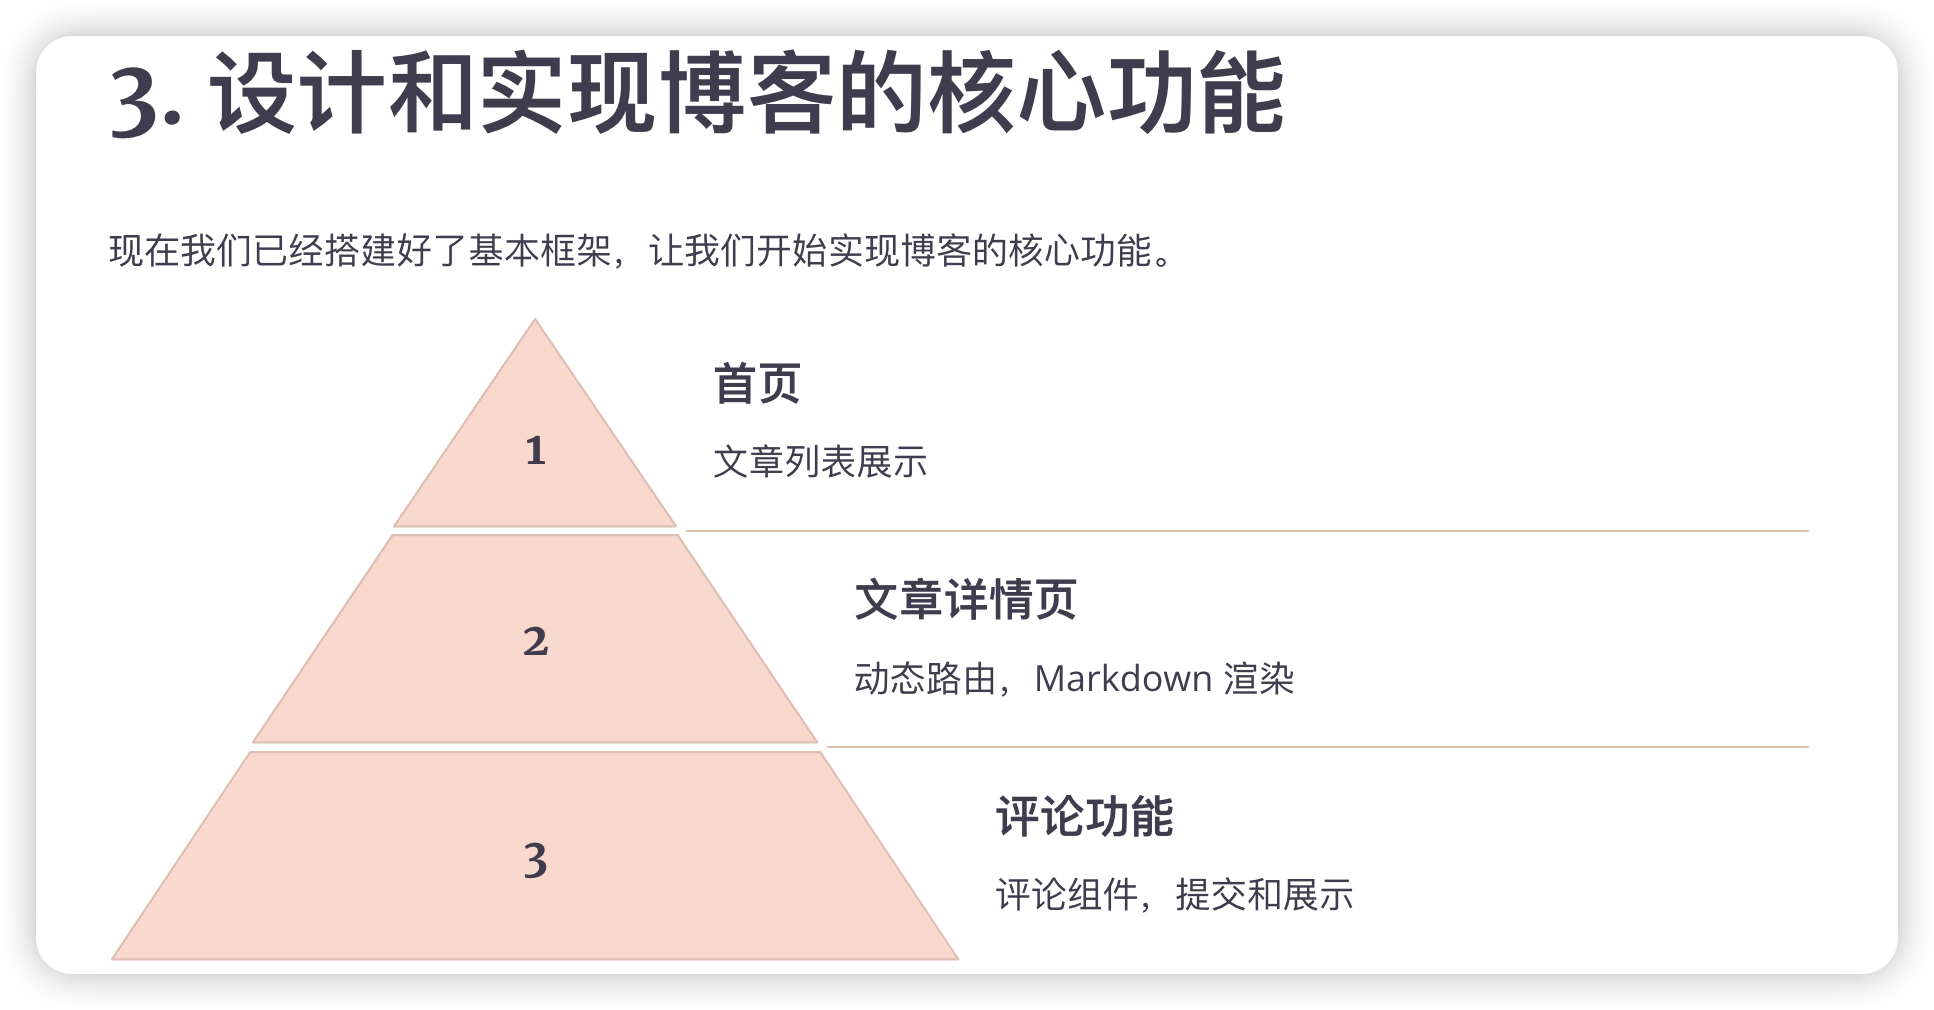
3. 设计和实现博客的核心功能
现在我们已经搭建好了基本框架,让我们开始实现博客的核心功能。
3.1 创建博客首页
3.1.1 设计布局组件
首先,我们需要创建一个基础布局组件。在 src/components 目录下创建 Layout.tsx 文件:
// src/components/Layout.tsx
import React from 'react'
import Link from 'next/link'

interface LayoutProps {
  children: React.ReactNode
}

export default function Layout({ children }: LayoutProps) {
  return (
    <div className="min-h-screen bg-background font-sans antialiased">
      <header className="border-b">
        <nav className="container mx-auto px-4 py-6">
          <Link href="/" className="text-2xl font-bold">
            My Blog
          </Link>
        </nav>
      </header>
      <main className="container mx-auto px-4 py-8">{children}</main>
      <footer className="border-t">
        <div className="container mx-auto px-4 py-6 text-center">
          © 2024 My Blog. All rights reserved.
        </div>
      </footer>
    </div>
  )
}
3.1.2 实现文章列表展示
接下来,我们将创建一个文章列表组件。新建 src/components/PostList.tsx 文件:
// src/components/PostList.tsx
import React from 'react'
import Link from 'next/link'
import { Card, CardContent, CardHeader, CardTitle } from './ui/card'

interface Post {
  id: string
  title: string
  excerpt: string
}

interface PostListProps {
  posts: Post[]
}

export default function PostList({ posts }: PostListProps) {
  return (
    <div className="grid gap-6 md:grid-cols-2 lg:grid-cols-3">
      {posts.map((post) => (
        <Card key={post.id}>
          <CardHeader>
            <CardTitle>
              <Link href={`/post/${post.id}`} className="hover:underline">
                {post.title}
              </Link>
            </CardTitle>
          </CardHeader>
          <CardContent>
            <p className="text-muted-foreground">{post.excerpt}</p>
          </CardContent>
        </Card>
      ))}
    </div>
  )
}
增加依赖
npx shadcn@latest add card
现在,我们可以更新首页来使用这些组件。编辑 src/app/page.tsx:
// src/app/page.tsx
import Layout from '@/components/Layout'
import PostList from '@/components/PostList'

const dummyPosts = [
  { id: '1', title: 'First Post', excerpt: 'This is the first post' },
  { id: '2', title: 'Second Post', excerpt: 'This is the second post' },
  { id: '3', title: 'Third Post', excerpt: 'This is the third post' },
]

export default function Home() {
  return (
    <Layout>
      <h1 className="text-3xl font-bold mb-6">Latest Posts</h1>
      <PostList posts={dummyPosts} />
    </Layout>
  )
}
3.2 开发文章详情页
3.2.1 使用动态路由
Next.js 提供了强大的动态路由功能。让我们创建文章详情页。新建 src/app/post/[id]/page.tsx 文件:
// src/app/post/[id]/page.tsx
import Layout from '@/components/Layout'

interface PostPageProps {
  params: { id: string }
}

export default function PostPage({ params }: PostPageProps) {
  return (
    <Layout>
      <h1 className="text-3xl font-bold mb-6">Post {params.id}</h1>
      <p>This is the content of post {params.id}</p>
    </Layout>
  )
}
3.2.2 实现 Markdown 渲染
大多数博客使用 Markdown 格式。让我们添加 Markdown 渲染功能。首先,安装必要的包:
npm install react-markdown
然后,创建一个 Markdown 渲染组件。新建 src/components/MarkdownRenderer.tsx 文件:
// src/components/MarkdownRenderer.tsx
import React from 'react'
import ReactMarkdown from 'react-markdown'

interface MarkdownRendererProps {
  content: string
}

export default function MarkdownRenderer({ content }: MarkdownRendererProps) {
  return <ReactMarkdown>{content}</ReactMarkdown>
}
更新文章详情页以使用 Markdown 渲染:
// src/app/post/[id]/page.tsx
import Layout from '@/components/Layout'
import MarkdownRenderer from '@/components/MarkdownRenderer'

interface PostPageProps {
  params: { id: string }
}

const dummyPost = {
  id: '1',
  title: 'First Post',
  content: '# Hello\n\nThis is the content of the first post.',
}

export default function PostPage({ params }: PostPageProps) {
  return (
    <Layout>
      <h1 className="text-3xl font-bold mb-6">{dummyPost.title}</h1>
      <MarkdownRenderer content={dummyPost.content} />
    </Layout>
  )
}
3.3 添加评论功能
3.3.1 设计评论组件
让我们创建一个评论组件。新建 src/components/Comments.tsx 文件:
// src/components/Comments.tsx
import React from 'react'
import { Card, CardContent, CardHeader, CardTitle } from './ui/card'

interface Comment {
  id: string
  author: string
  content: string
  createdAt: string
}

interface CommentsProps {
  comments: Comment[]
}

export default function Comments({ comments }: CommentsProps) {
  return (
    <div className="mt-8">
      <h2 className="text-2xl font-bold mb-4">Comments</h2>
      {comments.map((comment) => (
        <Card key={comment.id} className="mb-4">
          <CardHeader>
            <CardTitle>{comment.author}</CardTitle>
            <p className="text-sm text-muted-foreground">
              {new Date(comment.createdAt).toLocaleDateString()}
            </p>
          </CardHeader>
          <CardContent>
            <p>{comment.content}</p>
          </CardContent>
        </Card>
      ))}
    </div>
  )
}
3.3.2 实现评论提交和展示
现在,让我们在文章详情页中添加评论功能。更新 src/app/post/[id]/page.tsx:
// src/app/post/[id]/page.tsx
"use client"

import Layout from '@/components/Layout'
import MarkdownRenderer from '@/components/MarkdownRenderer'
import Comments from '@/components/Comments'
import { Button } from '@/components/ui/button'
import { Textarea } from '@/components/ui/textarea'
import { useState } from 'react'

interface PostPageProps {
  params: { id: string }
}

const dummyPost = {
  id: '1',
  title: 'First Post',
  content: '# Hello\n\nThis is the content of the first post.',
}

const dummyComments = [
  { id: '1', author: 'Alice', content: 'Great post!', createdAt: '2023-09-01T12:00:00Z' },
  { id: '2', author: 'Bob', content: 'Thanks for sharing.', createdAt: '2023-09-02T10:30:00Z' },
]

export default function PostPage({ params }: PostPageProps) {
  const [comments, setComments] = useState(dummyComments)
  const [newComment, setNewComment] = useState('')

  const handleSubmitComment = (e: React.FormEvent) => {
    e.preventDefault()
    if (newComment.trim()) {
      const comment = {
        id: String(comments.length + 1),
        author: 'Anonymous', // We'll update this when we add authentication
        content: newComment.trim(),
        createdAt: new Date().toISOString(),
      }
      setComments([...comments, comment])
      setNewComment('')
    }
  }

  return (
    <Layout>
      <h1 className="text-3xl font-bold mb-6">{dummyPost.title}</h1>
      <MarkdownRenderer content={dummyPost.content} />
      <Comments comments={comments} />
      <form onSubmit={handleSubmitComment} className="mt-8">
        <Textarea
          value={newComment}
          onChange={(e) => setNewComment(e.target.value)}
          placeholder="Write a comment..."
          className="mb-4"
        />
        <Button type="submit">Submit Comment</Button>
      </form>
    </Layout>
  )
}
这段代码添加了评论列表和评论提交表单。现在,用户可以查看现有评论并添加新评论。
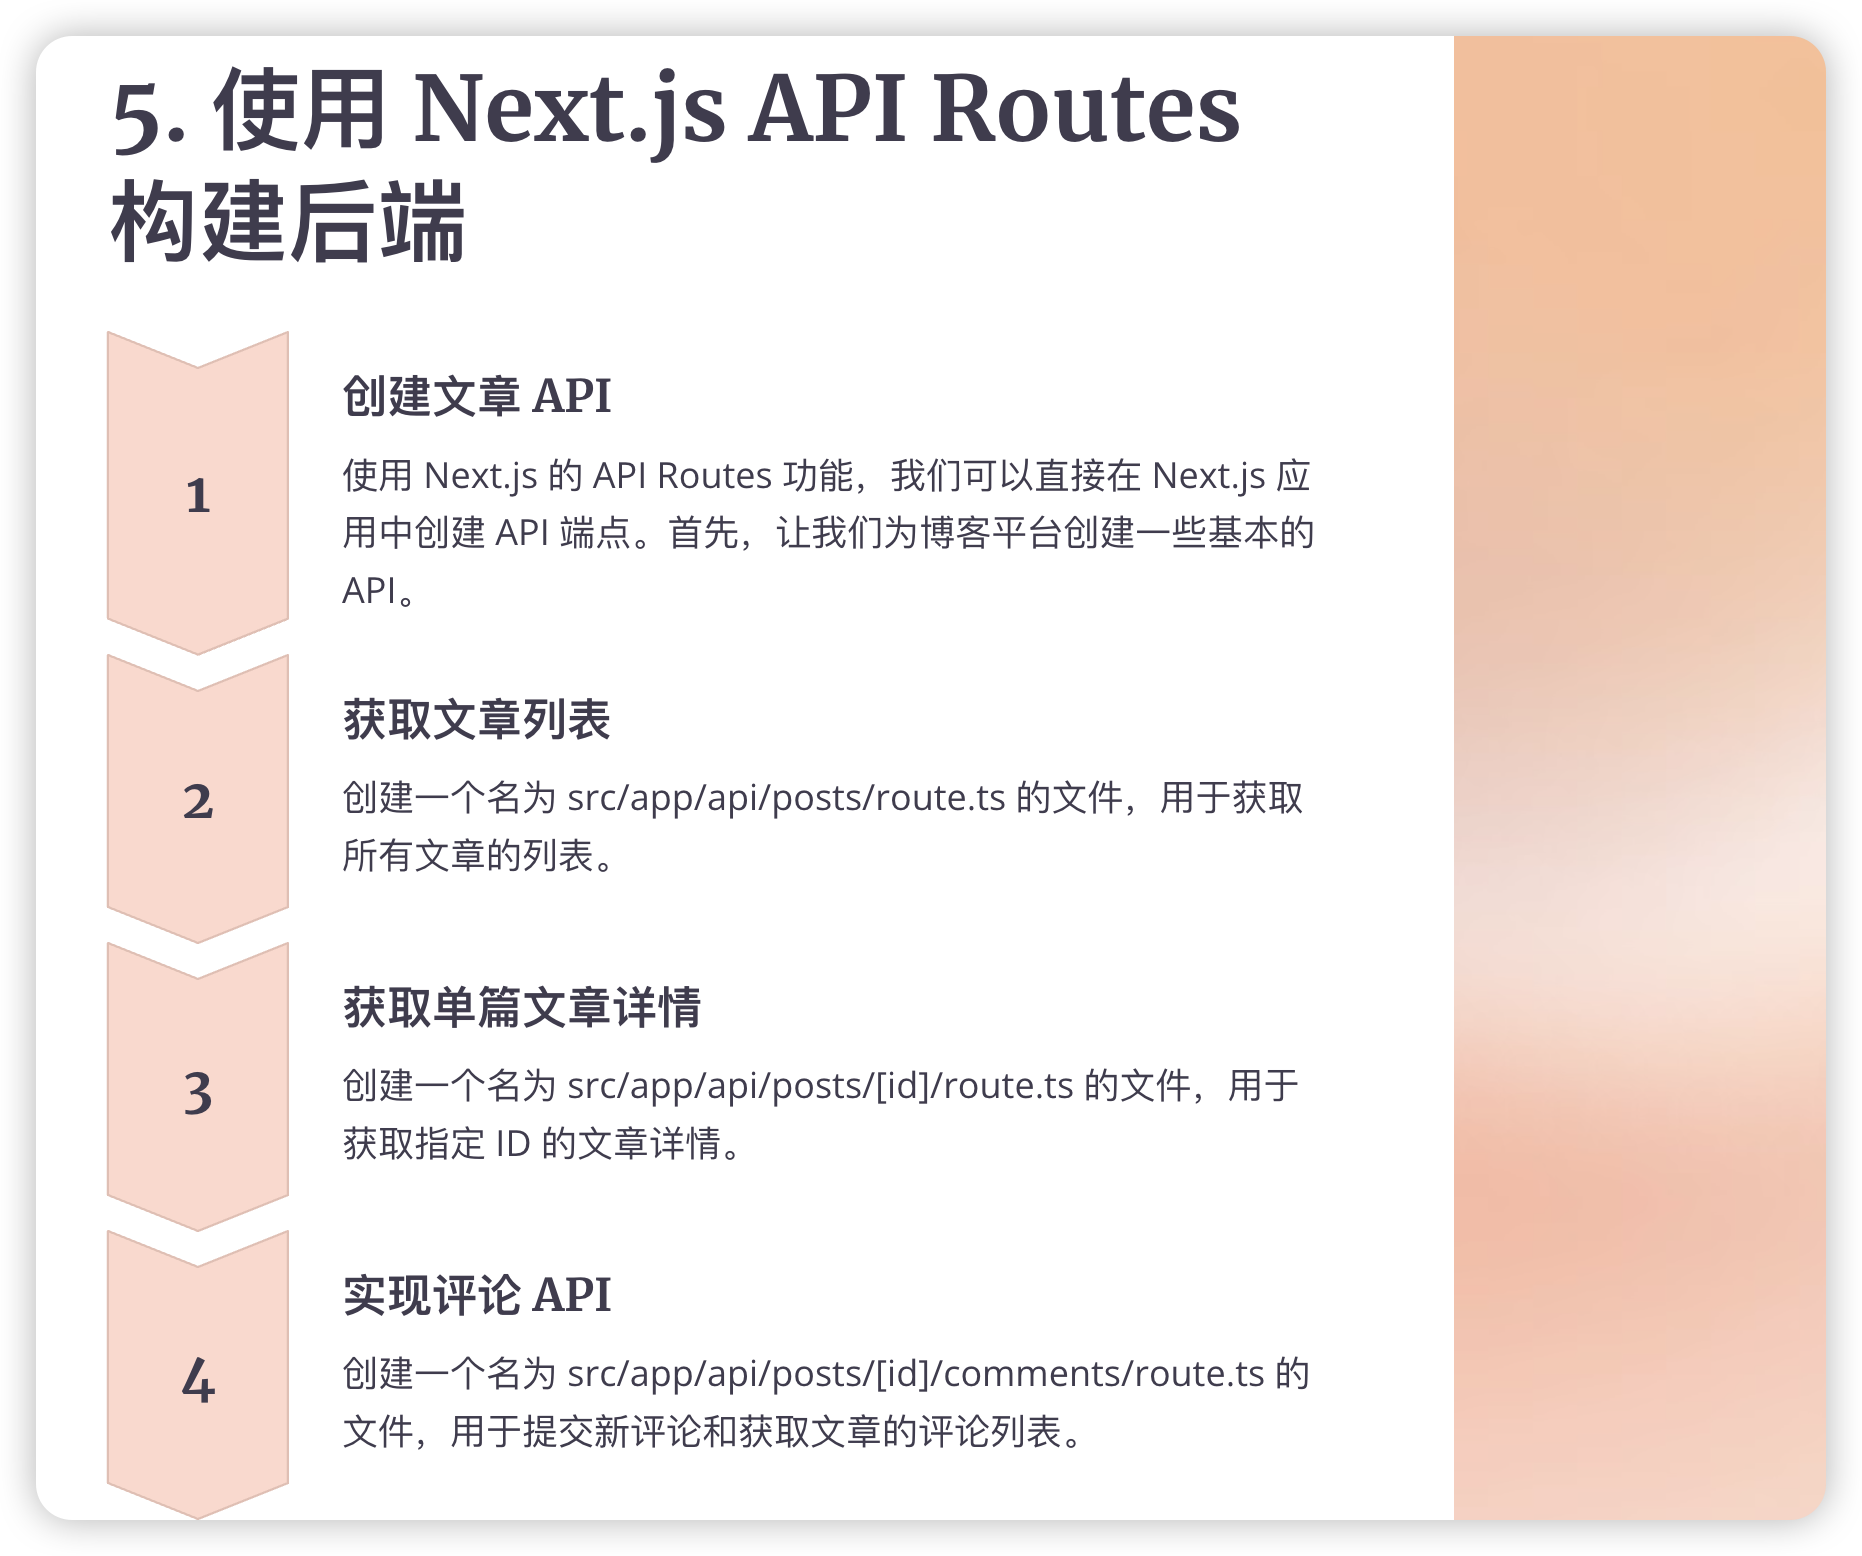
4. 使用 Next.js API Routes 构建后端
Next.js 的 API Routes 功能允许我们直接在 Next.js 应用中创建 API 端点。让我们为我们的博客平台创建一些基本的 API。
4.1 创建文章 API
4.1.1 获取文章列表
创建 src/app/api/posts/route.ts 文件:
// src/app/api/posts/route.ts
import { NextResponse } from 'next/server'

const posts = [
  { id: '1', title: 'First Post', excerpt: 'This is the first post' },
  { id: '2', title: 'Second Post', excerpt: 'This is the second post' },
  { id: '3', title: 'Third Post', excerpt: 'This is the third post' },
]

export async function GET() {
  return NextResponse.json(posts)
}
4.1.2 获取单篇文章详情
创建 src/app/api/posts/[id]/route.ts 文件:
// src/app/api/posts/[id]/route.ts
import { NextResponse } from 'next/server'

const posts = {
  '1': { id: '1', title: 'First Post', content: '# Hello\n\nThis is the content of the first post.' },
  '2': { id: '2', title: 'Second Post', content: '# Greetings\n\nThis is the content of the second post.' },
  '3': { id: '3', title: 'Third Post', content: '# Welcome\n\nThis is the content of the third post.' },
}

export async function GET(request: Request, { params }: { params: { id: string } }) {
  const post = posts[params.id]
  if (post) {
    return NextResponse.json(post)
  } else {
    return NextResponse.json({ error: 'Post not found' }, { status: 404 })
  }
}
4.2 实现评论 API
4.2.1 提交新评论
创建 src/app/api/posts/[id]/comments/route.ts 文件:
// src/app/api/posts/[id]/comments/route.ts
import { NextResponse } from 'next/server'

let comments: { [key: string]: any[] } = {
  '1': [
    { id: '1', author: 'Alice', content: 'Great post!', createdAt: '2023-09-01T12:00:00Z' },
    { id: '2', author: 'Bob', content: 'Thanks for sharing.', createdAt: '2023-09-02T10:30:00Z' },
  ],
}

export async function GET(request: Request, { params }: { params: { id: string } }) {
  const postComments = comments[params.id] || []
  return NextResponse.json(postComments)
}

export async function POST(request: Request, { params }: { params: { id: string } }) {
  const { author, content } = await request.json()
  const newComment = {
    id: String(Date.now()),
    author,
    content,
    createdAt: new Date().toISOString(),
  }

  if (!comments[params.id]) {
    comments[params.id] = []
  }
  comments[params.id].push(newComment)

  return NextResponse.json(newComment, { status: 201 })
}
现在我们有了基本的 API 端点,可以获取文章列表、单篇文章详情,以及提交和获取评论。
5. 集成数据库
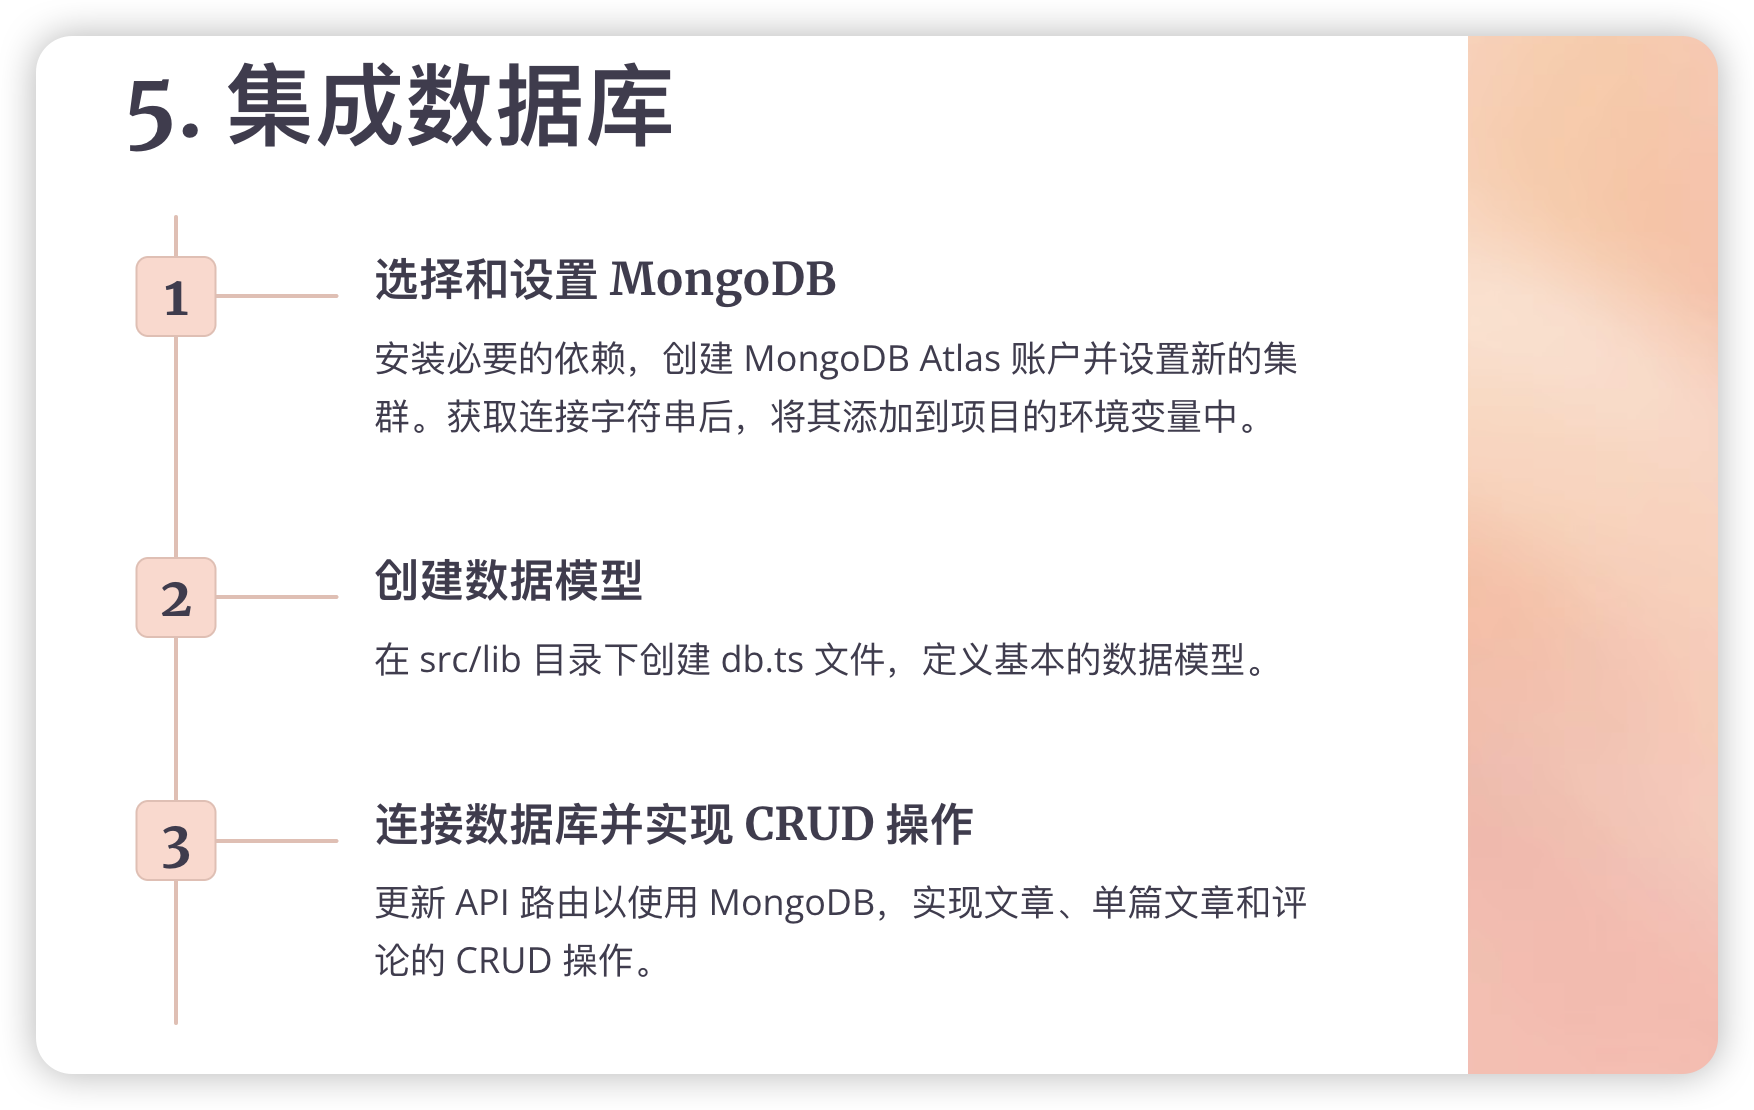
为了使我们的博客平台更加动态和可扩展,我们需要集成一个数据库。在这个例子中,我们将使用 MongoDB,因为它易于设置和使用。
5.1 选择和设置 MongoDB
首先,我们需要安装必要的依赖:
npm install mongodb
然后,创建一个 MongoDB Atlas 账户并设置一个新的集群。获取连接字符串后,将其添加到项目的环境变量中。创建一个 .env.local 文件:
MONGODB_URI=your_mongodb_connection_string_here
5.2 创建数据模型
让我们创建一些基本的数据模型。在 src/lib 目录下创建 db.ts 文件:
// src/lib/db.ts
import { MongoClient } from 'mongodb'

if (!process.env.MONGODB_URI) {
  throw new Error('Invalid/Missing environment variable: "MONGODB_URI"')
}

const uri = process.env.MONGODB_URI
const options = {}

let client
let clientPromise: Promise<MongoClient>

if (process.env.NODE_ENV === 'development') {
  // 在开发模式下,使用全局变量,以便在 HMR(热模块替换)导致的模块重新加载之间保留该值。
  if (!(global as any)._mongoClientPromise) {
    client = new MongoClient(uri, options)
    ;(global as any)._mongoClientPromise = client.connect()
  }
  clientPromise = (global as any)._mongoClientPromise
} else {
  // In production mode, it's best to not use a global variable.
  client = new MongoClient(uri, options)
  clientPromise = client.connect()
}

export default clientPromise
5.3 连接数据库并实现 CRUD 操作
现在,让我们更新我们的 API 路由以使用 MongoDB。首先,更新文章 API:
// src/app/api/posts/route.ts
import { NextResponse } from 'next/server'
import clientPromise from '@/lib/db'

export async function GET() {
  try {
    const client = await clientPromise
    const db = client.db('blog')
    const posts = await db.collection('posts').find({}).toArray()
    return NextResponse.json(posts)
  } catch (e) {
    console.error(e)
    return NextResponse.json({ error: 'Failed to fetch posts' }, { status: 500 })
  }
}
同样,更新单篇文章 API:
// src/app/api/posts/[id]/route.ts
import { NextResponse } from 'next/server'
import clientPromise from '@/lib/db'
import { ObjectId } from 'mongodb'

export async function GET(request: Request, { params }: { params: { id: string } }) {
  try {
    const client = await clientPromise
    const db = client.db('blog')
    const post = await db.collection('posts').findOne({ _id: new ObjectId(params.id) })

    if (post) {
      return NextResponse.json(post)
    } else {
      return NextResponse.json({ error: 'Post not found' }, { status: 404 })
    }
  } catch (e) {
    console.error(e)
    return NextResponse.json({ error: 'Failed to fetch post' }, { status: 500 })
  }
}
最后,更新评论 API:
// src/app/api/posts/[id]/comments/route.ts
import { NextResponse } from 'next/server'
import clientPromise from '@/lib/db'
import { ObjectId } from 'mongodb'

export async function GET(request: Request, { params }: { params: { id: string } }) {
  try {
    const client = await clientPromise
    const db = client.db('blog')
    const comments = await db.collection('comments').find({ postId: new ObjectId(params.id) }).toArray()
    return NextResponse.json(comments)
  } catch (e) {
    console.error(e)
    return NextResponse.json({ error: 'Failed to fetch comments' }, { status: 500 })
  }
}

export async function POST(request: Request, { params }: { params: { id: string } }) {
  try {
    const { author, content } = await request.json()
    const client = await clientPromise
    const db = client.db('blog')
    const newComment = {
      postId: new ObjectId(params.id),
      author,
      content,
      createdAt: new Date().toISOString(),
    }
    const result = await db.collection('comments').insertOne(newComment)
    return NextResponse.json({ ...newComment, _id: result.insertedId }, { status: 201 })
  } catch (e) {
    console.error(e)
    return NextResponse.json({ error: 'Failed to add comment' }, { status: 500 })
  }
}
这些更新将使我们的博客平台使用 MongoDB 数据库来存储和检索数据。
6. 实现用户认证
为了让用户能够发表评论和管理自己的文章,我们需要实现用户认证。我们将使用 NextAuth.js,它是一个灵活的认证解决方案,专为 Next.js 设计。
6.1 设置 NextAuth.js
首先,安装 NextAuth.js:
npm install next-auth
然后,创建一个 NextAuth.js 配置文件。在 src/app 目录下创建 api/auth/[...nextauth]/route.ts 文件:
// src/app/api/auth/[...nextauth]/route.ts
import NextAuth from "next-auth"
import GithubProvider from "next-auth/providers/github"

const handler = NextAuth({
  providers: [
    GithubProvider({
      clientId: process.env.GITHUB_ID as string,
      clientSecret: process.env.GITHUB_SECRET as string,
    }),
  ],
})

export { handler as GET, handler as POST }
确保在 .env.local 文件中添加 GitHub OAuth 应用的凭证:
GITHUB_ID=your_github_client_id
GITHUB_SECRET=your_github_client_secret
NEXTAUTH_SECRET=your_nextauth_secret
6.2 创建登录和注册页面
创建一个简单的登录页面。在 src/app/login/page.tsx 中:
// src/app/login/page.tsx
'use client'

import { signIn } from 'next-auth/react'
import { Button } from '@/components/ui/button'

export default function LoginPage() {
  return (
    <div className="flex items-center justify-center min-h-screen">
      <Button onClick={() => signIn('github')}>Sign in with GitHub</Button>
    </div>
  )
}
6.3 实现受保护的路由和操作
为了保护某些路由或操作,我们可以创建一个高阶组件。在 src/components 目录下创建 ProtectedRoute.tsx:
// src/components/ProtectedRoute.tsx
'use client'

import { useSession } from 'next-auth/react'
import { useRouter } from 'next/navigation'
import { useEffect } from 'react'

export default function ProtectedRoute({ children }: { children: React.ReactNode }) {
  const { data: session, status } = useSession()
  const router = useRouter()

  useEffect(() => {
    if (status === 'loading') return // Do nothing while loading
    if (!session) router.push('/login')
  }, [session, status])

  if (status === 'loading') {
    return <div>Loading...</div>
  }

  return session ? <>{children}</> : null
}
现在,你可以在需要用户登录的页面中使用这个组件。例如,在创建新文章的页面:
// src/app/new-post/page.tsx
import ProtectedRoute from '@/components/ProtectedRoute'
import NewPostForm from '@/components/NewPostForm'

export default function NewPostPage() {
  return (
    <ProtectedRoute>
      <NewPostForm />
    </ProtectedRoute>
  )
}
这样,只有登录的用户才能访问创建新文章的页面。
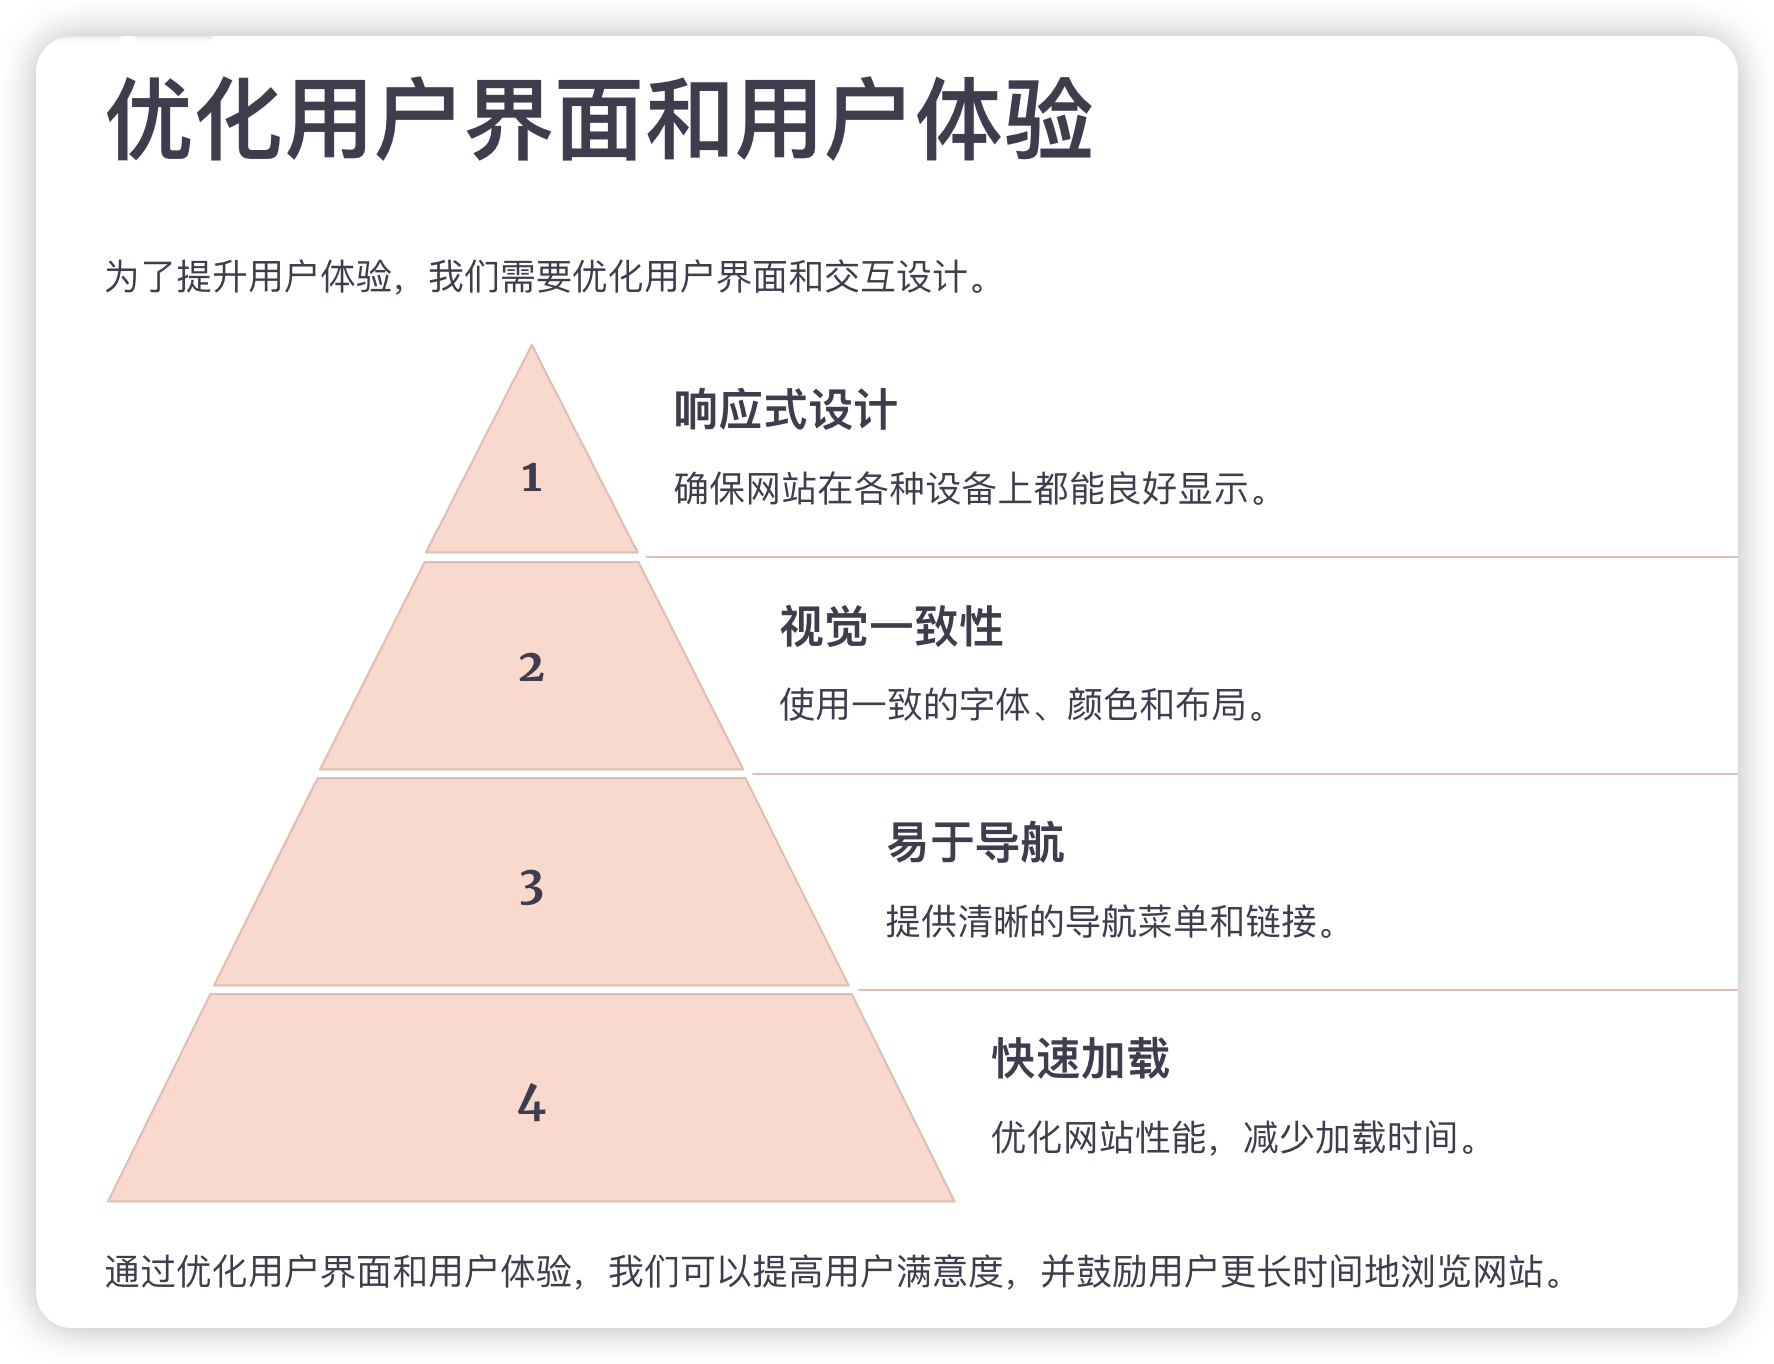
7. 优化用户界面和用户体验
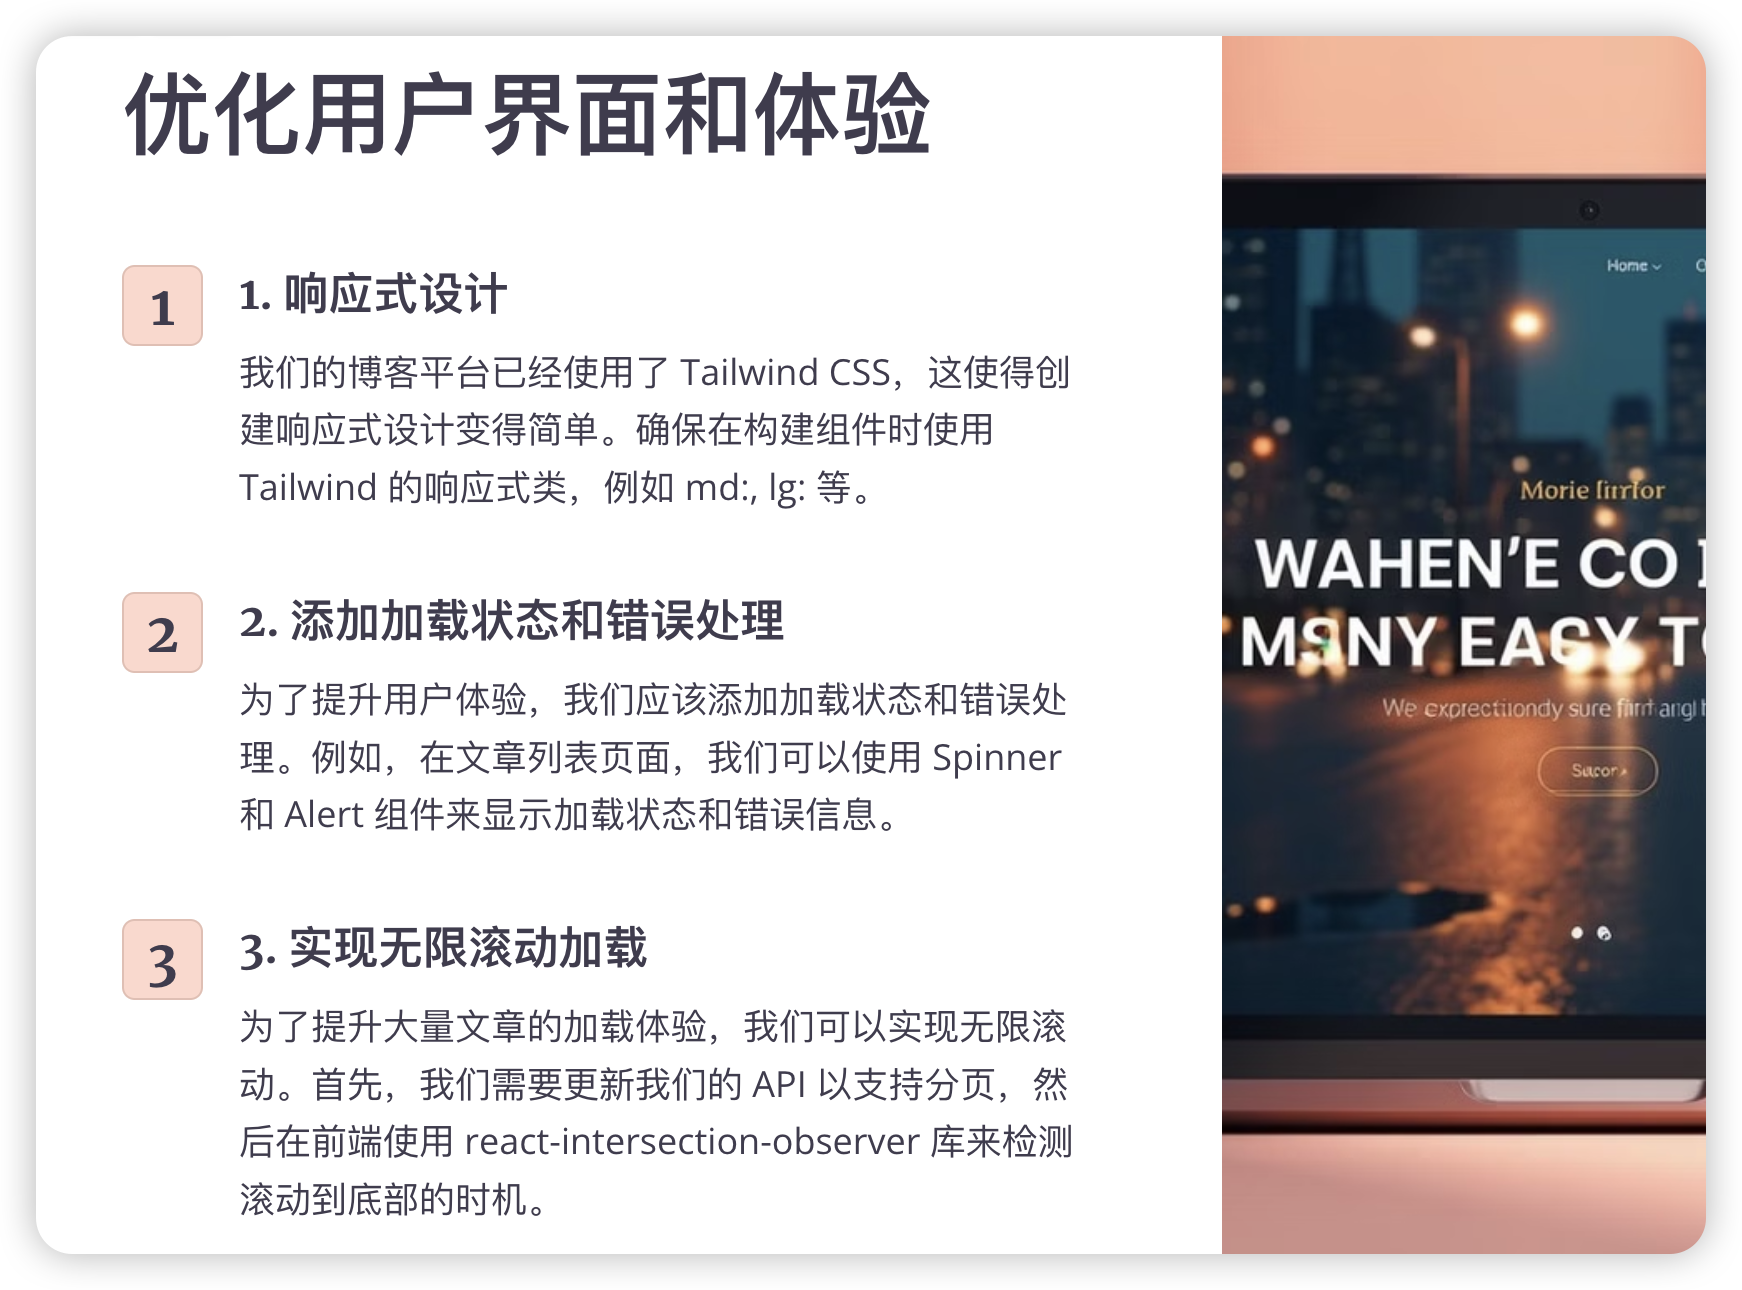
7.1 响应式设计
我们的博客平台已经使用了 Tailwind CSS,这使得创建响应式设计变得简单。确保在构建组件时使用 Tailwind 的响应式类,例如 md:, lg: 等。
7.2 添加加载状态和错误处理
为了提升用户体验,我们应该添加加载状态和错误处理。例如,在文章列表页面:
// src/app/page.tsx
'use client'

import { useState, useEffect } from 'react'
import Layout from '@/components/Layout'
import PostList from '@/components/PostList'
import { Spinner } from '@/components/ui/spinner'
import { Alert, AlertDescription, AlertTitle } from '@/components/ui/alert'

export default function Home() {
  const [posts, setPosts] = useState([])
  const [isLoading, setIsLoading] = useState(true)
  const [error, setError] = useState(null)

  useEffect(() => {
    async function fetchPosts() {
      try {
        const response = await fetch('/api/posts')
        if (!response.ok) {
          throw new Error('Failed to fetch posts')
        }
        const data = await response.json()
        setPosts(data)
      } catch (err) {
        setError(err.message)
      } finally {
        setIsLoading(false)
      }
    }

    fetchPosts()
  }, [])

  return (
    <Layout>
      <h1 className="text-3xl font-bold mb-6">Latest Posts</h1>
      {isLoading ? (
        <div className="flex justify-center">
          <Spinner size="lg" />
        </div>
      ) : error ? (
        <Alert variant="destructive">
          <AlertTitle>Error</AlertTitle>
          <AlertDescription>{error}</AlertDescription>
        </Alert>
      ) : (
        <PostList posts={posts} />
      )}
    </Layout>
  )
}
7.3 实现无限滚动加载
为了提升大量文章的加载体验,我们可以实现无限滚动。首先,我们需要更新我们的 API 以支持分页:
// src/app/api/posts/route.ts
import { NextResponse } from 'next/server'
import clientPromise from '@/lib/db'

export async function GET(request: Request) {
  const { searchParams } = new URL(request.url)
  const page = parseInt(searchParams.get('page') || '1', 10)
  const limit = parseInt(searchParams.get('limit') || '10', 10)

  try {
    const client = await clientPromise
    const db = client.db('blog')
    const posts = await db.collection('posts')
      .find({})
      .sort({ createdAt: -1 })
      .skip((page - 1) * limit)
      .limit(limit)
      .toArray()

    const total = await db.collection('posts').countDocuments()

    return NextResponse.json({
      posts,
      currentPage: page,
      totalPages: Math.ceil(total / limit)
    })
  } catch (e) {
    console.error(e)
    return NextResponse.json({ error: 'Failed to fetch posts' }, { status: 500 })
  }
}
然后,我们可以在前端实现无限滚动。我们将使用 react-intersection-observer 库来检测滚动到底部的时机:
npm install react-intersection-observer
更新 src/app/page.tsx:
'use client'

import { useState, useEffect } from 'react'
import { useInView } from 'react-intersection-observer'
import Layout from '@/components/Layout'
import PostList from '@/components/PostList'
import { Spinner } from '@/components/ui/spinner'
import { Alert, AlertDescription, AlertTitle } from '@/components/ui/alert'

export default function Home() {
  const [posts, setPosts] = useState([])
  const [page, setPage] = useState(1)
  const [isLoading, setIsLoading] = useState(true)
  const [error, setError] = useState(null)
  const [hasMore, setHasMore] = useState(true)

  const { ref, inView } = useInView({
    threshold: 0,
  })

  useEffect(() => {
    if (inView && hasMore) {
      loadMorePosts()
    }
  }, [inView, hasMore])

  async function loadMorePosts() {
    setIsLoading(true)
    try {
      const response = await fetch(`/api/posts?page=${page}&limit=10`)
      if (!response.ok) {
        throw new Error('Failed to fetch posts')
      }
      const data = await response.json()
      setPosts((prevPosts) => [...prevPosts, ...data.posts])
      setPage((prevPage) => prevPage + 1)
      setHasMore(data.currentPage < data.totalPages)
    } catch (err) {
      setError(err.message)
    } finally {
      setIsLoading(false)
    }
  }

  return (
    <Layout>
      <h1 className="text-3xl font-bold mb-6">Latest Posts</h1>
      {posts.length > 0 && <PostList posts={posts} />}
      {error && (
        <Alert variant="destructive">
          <AlertTitle>Error</AlertTitle>
          <AlertDescription>{error}</AlertDescription>
        </Alert>
      )}
      {isLoading && (
        <div className="flex justify-center mt-4">
          <Spinner size="lg" />
        </div>
      )}
      <div ref={ref} style={{ height: '10px' }} />
    </Layout>
  )
}
8. 性能优化
8.1 实现静态生成(SSG)和增量静态再生(ISR)
Next.js 提供了强大的静态生成和增量静态再生功能。对于博客文章这种不经常更新的内容,我们可以使用这些功能来提高性能。
更新 src/app/post/[id]/page.tsx:
import { Suspense } from 'react'
import { notFound } from 'next/navigation'
import Layout from '@/components/Layout'
import MarkdownRenderer from '@/components/MarkdownRenderer'
import Comments from '@/components/Comments'
import clientPromise from '@/lib/db'
import { ObjectId } from 'mongodb'

async function getPost(id: string) {
  const client = await clientPromise
  const db = client.db('blog')
  const post = await db.collection('posts').findOne({ _id: new ObjectId(id) })
  if (!post) {
    notFound()
  }
  return post
}

export async function generateStaticParams() {
  const client = await clientPromise
  const db = client.db('blog')
  const posts = await db.collection('posts').find({}, { projection: { _id: 1 } }).toArray()

  return posts.map((post) => ({
    id: post._id.toString(),
  }))
}

export default async function PostPage({ params }: { params: { id: string } }) {
  const post = await getPost(params.id)

  return (
    <Layout>
      <h1 className="text-3xl font-bold mb-6">{post.title}</h1>
      <MarkdownRenderer content={post.content} />
      <Suspense fallback={<div>Loading comments...</div>}>
        <Comments postId={params.id} />
      </Suspense>
    </Layout>
  )
}

export const revalidate = 3600 // Revalidate every hour
8.2 图片优化
Next.js 提供了内置的图像优化组件。确保在整个应用中使用 next/image 组件:
import Image from 'next/image'

// In your component
<Image src="/path/to/image.jpg" alt="Description" width={500} height={300} />
8.3 代码分割和懒加载
Next.js 默认进行代码分割,但我们可以通过动态导入进一步优化:
import dynamic from 'next/dynamic'

const DynamicComponent = dynamic(() => import('@/components/HeavyComponent'), {
  loading: () => <p>Loading...</p>,
})
9. 部署博客平台

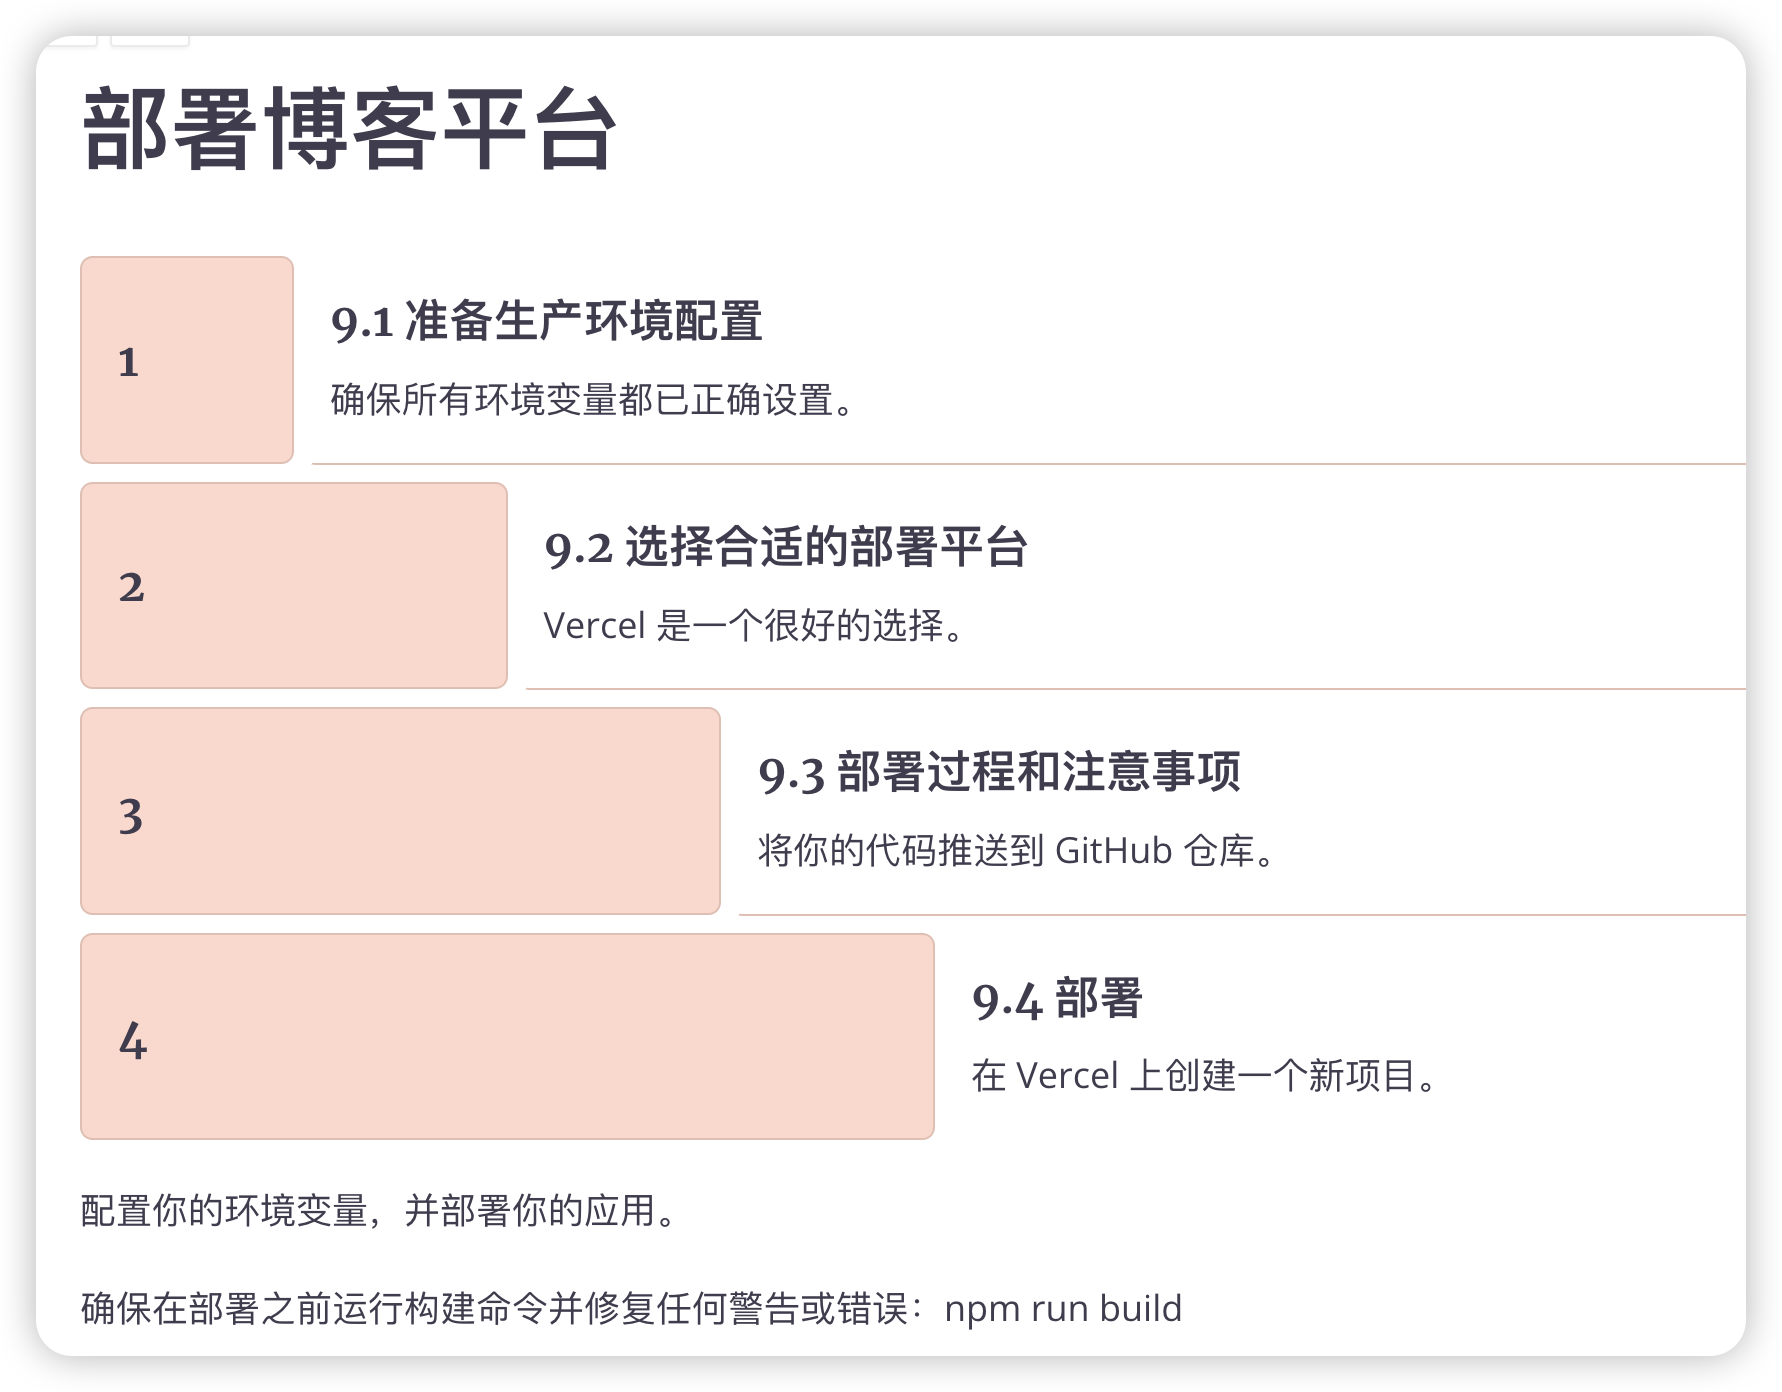
9.1 准备生产环境配置
确保所有环境变量都已正确设置。创建一个 .env.production 文件来存储生产环境特定的变量。
9.2 选择合适的部署平台
对于 Next.js 应用,Vercel 是一个很好的选择,因为它是由 Next.js 的创建者开发的。
9.3 部署过程和注意事项
- 将你的代码推送到 GitHub 仓库。
- 在 Vercel 上创建一个新项目,并连接到你的 GitHub 仓库。
- 配置你的环境变量。
- 部署你的应用。
确保在部署之前运行构建命令并修复任何警告或错误:
npm run build
10. 总结与下一步
10.1 回顾学到的核心概念
在这个项目中,我们学习了:
- 使用 Next.js 创建全栈应用
- 集成 shadcn-ui 构建美观的用户界面
- 实现服务器端渲染和 API 路由
- 使用 MongoDB 进行数据持久化
- 实现用户认证和授权
- 优化应用性能和用户体验
10.2 扩展功能的想法
- 实现文章搜索功能
- 添加标签和分类系统
- 集成富文本编辑器
- 实现用户个人资料页面
- 添加社交分享功能
10.3 持续学习的资源推荐
- Next.js 官方文档
- React 官方文档
- MongoDB 大学
- Vercel 部署文档
通过这个项目,你已经掌握了使用 Next.js 和 shadcn-ui 构建现代博客平台的核心技能。继续探索和实践,你将能够构建更加复杂和功能丰富的 Web 应用。记住,学习是一个持续的过程,保持好奇心和实践精神,你将在 Web 开发领域取得更大的进步!
