简介
Springboot Admin是一个管理和监控Springboot项目的组件,分为服务端和客户端,两端通过http进行通信。由于其轻量级的特性,所以特别适合中小项目使用。
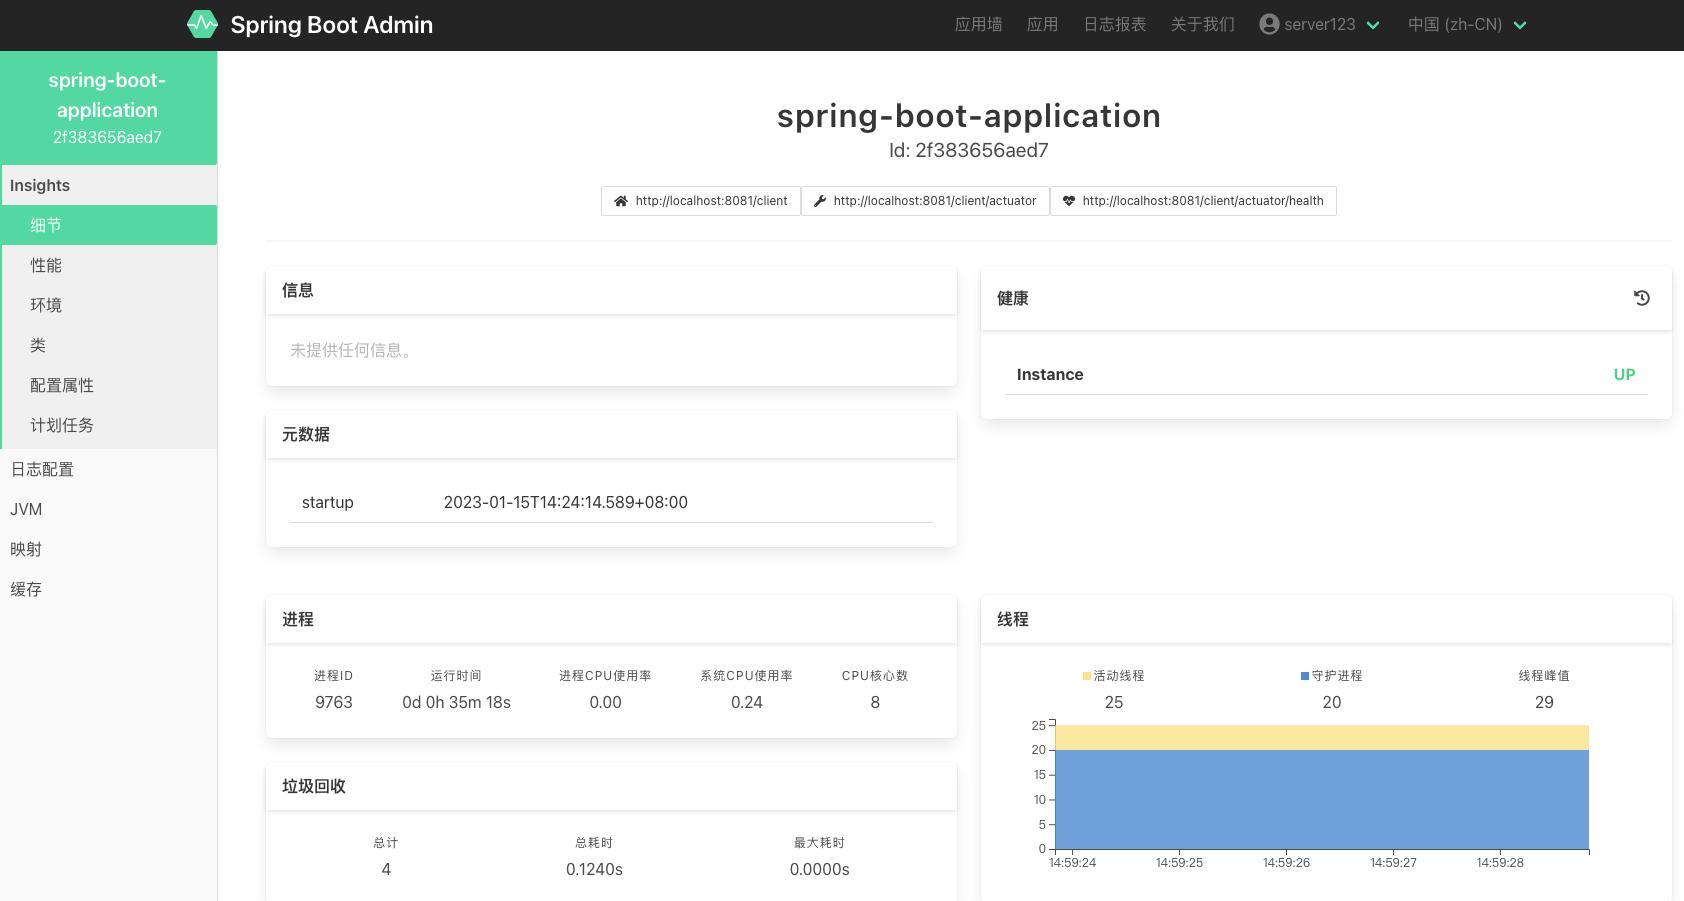
其效果图如下:
服务端配置
1,引入Springboot admin和Spring Security依赖。
<dependency>
    <groupId>de.codecentric</groupId>
    <artifactId>spring-boot-admin-starter-server</artifactId>
    <version>2.5.1</version>
</dependency>
<dependency>
      <groupId>org.springframework.boot</groupId>
			<artifactId>spring-boot-starter-security</artifactId>
</dependency>
2,配置相关属性。
server:
  port: 8080
  servlet:
    context-path: /server
spring:
  security:
    user:
      #admin Server端登录时用的账户密码
      name: server123
      password: 123456
  boot:
    admin:
      instance-auth:
        #启用header验证
        enabled: true
        #Server访问client接口时会使用下面的配置生成authorization
        default-user-name: "name_shishan"
        default-password: "pwd_shishan"
3,配置@EnableAdminServer注解
@SpringBootApplication
@Configuration
@EnableAdminServer
public class ServerApplication {
    public static void main(String[] args) {
        SpringApplication.run(ServerApplication.class, args);
    }
}
经过以上3步,服务端就可以启动了。
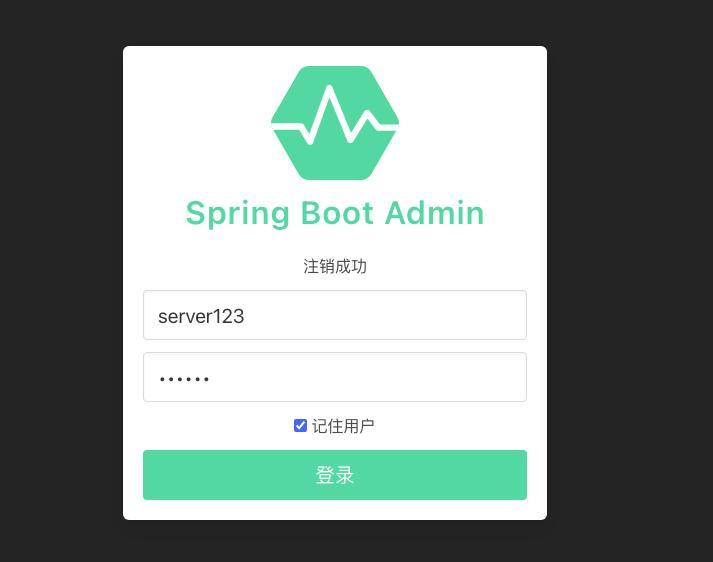
访问http://localhost:8080/server/,就可以看到以下登录界面。
使用在yml文件中配置的账户密码就可以登录了。
客户端配置
1,在我们要监控的客户端中加入以下依赖。
<dependency>
    <groupId>de.codecentric</groupId>
    <artifactId>spring-boot-admin-starter-client</artifactId>
    <version>2.5.1</version>
</dependency>
2,暴露监控接口以及配置Server地址。
客户端在启动后会向配置的Server发起注册申请,此时为了安全性还需要Server端的账户密码进行校验。
spring:
  boot:
    admin:
      client:
        #admin注册地址
        url: http://localhost:8080/server
        #配置admin的账户
        username: server123
        password: 123456
admin:
  header:
    auth:
      name: "name_shishan"
      password: "pwd_shishan"
#暴露出端口
management:
  endpoints:
    web:
      exposure:
        include: "*"
3,对暴露的接口进行权限校验。
由于我们将监控接口进行了暴露,所以必须对相关的接口进行权限校验,否则就有可能泄露相关信息。
对接口进行权限过滤有很多种选择,比如设置IP访问的白名单,只允许admin Server所在的服务器访问,也可以配置相关的token等等。
下面我们以一个简单的接口过滤器实现对/actuator/**相关接口的权限校验。
@Component
public class PathFilter implements Filter {

    @Value("${admin.header.auth.name}")
    private String username;
    @Value("${admin.header.auth.password}")
    private String password;

    @Override
    public void doFilter(ServletRequest servletRequest, ServletResponse servletResponse, FilterChain filterChain) throws IOException, ServletException {
        HttpServletRequest request = (HttpServletRequest) servletRequest;
        HttpServletResponse response = (HttpServletResponse) servletResponse;
        AntPathMatcher antPathMatcher = new AntPathMatcher();
        if (antPathMatcher.match("/actuator/**", request.getServletPath())) {
            String authorization = request.getHeader("authorization");
            if (StringUtils.hasText(authorization)) {
                String token = Base64Utils.encodeToString((username + ":" + password).getBytes(StandardCharsets.UTF_8));
                if (authorization.equals("Basic " + token)) {
                    //token匹配才放行
                    filterChain.doFilter(request, servletResponse);
                    return;
                }
            }
            response.setContentType("application/json;charset=UTF-8");
            response.setStatus(HttpStatus.UNAUTHORIZED.value());
            response.getWriter().print("权限不足");
            return;
        }
        //其他接口直接放行
        filterChain.doFilter(request, servletResponse);
    }
}
在这个filter中,对actuator相关的接口进行了header参数的校验,只有通过校验才可以访问暴露出的actuator接口。
当然,如果我们使用了SpringSecurity或者SaToken这样的第三方权限框架,也可以去重写相关的配置完成权限的判断,原理都是一样的。
下面我们看一下最终的监控效果:
最后
除了通过普通http请求方式获取监控信息以外,Springboot admin还支持通过注册中心的方式获取相关信息,在其官方文档大家也可以看到相关的配置。
官方文档:https://codecentric.github.io/spring-boot-admin/2.5.1/#_what_is_spring_boot_admin
写文不易,感谢您的点赞和关注。

