1.什么是qwen:0.5b?
模型介绍:
Qwen1.5是阿里云推出的一系列大型语言模型。 Qwen是阿里云推出的一系列基于Transformer的大型语言模型,在大量数据(包括网页文本、书籍、代码等)进行了预训练。
硬件要求:
CPU配置:CPU最低第六代intel酷睿4核,AMD ZEN 4核以上;推荐12代intel酷睿8核,AMD ZEN 8核以上 内存要求:运行内存4G及以上
Qwen 1.5版本的新增功能如下:
6个模型大小,包括0.5B、1.8B、4B(默认)、7B、14B、32B(新)和72B 人类对话模型的偏好显著改善 基础模型和对话模型都支持多语言 所有大小的模型都稳定支持32K上下文长度 原始的Qwen模型提供了四种不同的参数大小:1.8B、7B、14B和72B。
模型功能:
低成本的部署:推理过程的最低内存要求小于2GB。 大规模高质量的训练语料库:模型在超过22万亿个令牌的语料库上进行了预训练,包括中文、英文、多语言文本、代码和数学,涵盖了一般和专业领域。通过大量的消融实验,对预训练语料库的分布进行了优化。 良好的性能:Qwen支持较长的上下文长度(在1.8b、7b和14b参数模型上为8K,在72b参数模型上为32K),在多个中英文下游评估任务(包括常识、推理、代码、数学等)上显著超过了现有的开源模型,甚至在一些基准测试中超过了一些更大规模的模型。 更全面的词汇覆盖:与其他基于中英文词汇的开源模型相比,Qwen使用了超过15万个令牌的词汇表。这个词汇表对于多种语言更友好,使用户在不扩展词汇表的情况下,能够直接增强特定语言的能力。 系统提示:通过使用系统提示,Qwen可以实现角色扮演、语言风格转换、任务设置和行为设置等功能。
模型效果
| Model | MMLU | C-Eval | GSM8K | MATH | HumanEval | MBPP | BBH | CMMLU |
|---|---|---|---|---|---|---|---|---|
| GPT-4 | 86.4 | 69.9 | 92.0 | 45.8 | 67.0 | 61.8 | 86.7 | 71.0 |
| Llama2-7B | 46.8 | 32.5 | 16.7 | 3.3 | 12.8 | 20.8 | 38.2 | 31.8 |
| Llama2-13B | 55.0 | 41.4 | 29.6 | 5.0 | 18.9 | 30.3 | 45.6 | 38.4 |
| Llama2-34B | 62.6 | - | 42.2 | 6.2 | 22.6 | 33.0 | 44.1 | - |
| Llama2-70B | 69.8 | 50.1 | 54.4 | 10.6 | 23.7 | 37.7 | 58.4 | 53.6 |
| Mistral-7B | 64.1 | 47.4 | 47.5 | 11.3 | 27.4 | 38.6 | 56.7 | 44.7 |
| Mixtral-8x7B | 70.6 | - | 74.4 | 28.4 | 40.2 | 60.7 | - | - |
| Qwen1.5-7B | 61.0 | 74.1 | 62.5 | 20.3 | 36.0 | 37.4 | 40.2 | 73.1 |
| Qwen1.5-14B | 67.6 | 78.7 | 70.1 | 29.2 | 37.8 | 44.0 | 53.7 | 77.6 |
| Qwen1.5-32B | 73.4 | 83.5 | 77.4 | 36.1 | 37.2 | 49.4 | 66.8 | 82.3 |
| Qwen1.5-72B | 77.5 | 84.1 | 79.5 | 34.1 | 41.5 | 53.4 | 65.5 | 83.5 |
2.什么是ollama?
Ollama 是一个便于本地部署和运行大型语言模型(Large Language Models, LLMs)的工具。使用通俗的语言来说,如果你想在自己的电脑上运行如 GPT-3 这样的大型人工智能模型,而不是通过互联网连接到它们,那么 Ollama 是一个实现这一目标的工具。下面我们来详细总结一下 Ollama 的功能和使用场景。
主要功能
- 本地运行大型语言模型:Ollama 允许用户在自己的设备上直接运行各种大型语言模型,包括 Llama 2、Mistral、Dolphin Phi 等多种模型。这样用户就可以在没有网络连接的情况下也能使用这些先进的人工智能模型。
- 跨平台支持:Ollama 支持 macOS、Windows(预览版)、Linux 以及 Docker,这使得几乎所有主流操作系统的用户都可以利用这个工具。
- 语言库和第三方库支持:它提供了一个模型库,用户可以从中下载并运行各种模型。此外,也支持通过 ollama-python 和 ollama-js 等库与其他软件集成。
- 快速启动和易于定制:用户只需简单的命令就可以运行模型。对于想要自定义模型的用户,Ollama 也提供了如从 GGUF 导入模型、调整参数和系统消息以及创建自定义提示(prompt)的功能。
3.什么是open-webui?
Open WebUI(以前称为Ollama WebUI)是一款面向大型语言模型(LLMs)的用户友好型Web界面,支持Ollama和兼容OpenAI的API运行。通过一个直观的界面,它为用户提供了一种便捷的方式,与语言模型进行交互、训练和管理。
主要特点
- 直观的界面:灵感来源于ChatGPT,保证了用户友好的体验。
- 响应式设计:无论是在桌面还是移动设备上,都能享受到无缝的体验。
- 快速响应:性能快速且响应迅速。
- 简明的设置过程:通过Docker或Kubernetes安装,旨在提供无忧的体验。
- 代码语法高亮:提高代码的可读性。
- 完整的Markdown和LaTeX支持:为了丰富交互体验,提供广泛的Markdown和LaTeX功能。
- 本地RAG集成:未来聊天交互的特色功能,通过
#命令加载文档或添加文件。 - 网页浏览功能:使用
#命令来丰富聊天体验。 - 快捷预设支持:使用
/命令快速访问预设提示。 - RLHF注释:通过评分消息帮助构建用于RLHF的数据集。
- 对话标签:方便地分类和查找特定聊天。
- 多模型支持:无缝切换不同聊天模型。
- 多模态支持:允许与支持图像等多模态的模型进行交互。
4.环境准备
ollama
version: '3'

services:
  ollama:
    image: ollama/ollama
    container_name: ollama
    restart: unless-stopped
    ports:
      - 11434:11434
    volumes:
      - ./data:/root/.ollama
run
docker-compose up -dvisit http://localhost:11434/ return “Ollama is running ” into the docker shell and run command
ollama pull llama2-chinese:7brun model llama2-chinese:7b
ollama run llama2-chinese:7bopen-webui
version: '3'

services:
  ollama-webui:
    image: ghcr.io/open-webui/open-webui:main
    container_name: ollama-webui
    restart: unless-stopped
    ports:
      - 11433:8080
    volumes:
      - ./data:/app/backend/data
    environment:
      - OLLAMA_API_BASE_URL=http://10.11.68.77:11434/api
      - WEBUI_SECRET_KEY=TkjGEiQ@5K^j
run
docker-compose up -dhttp://localhost:11433/
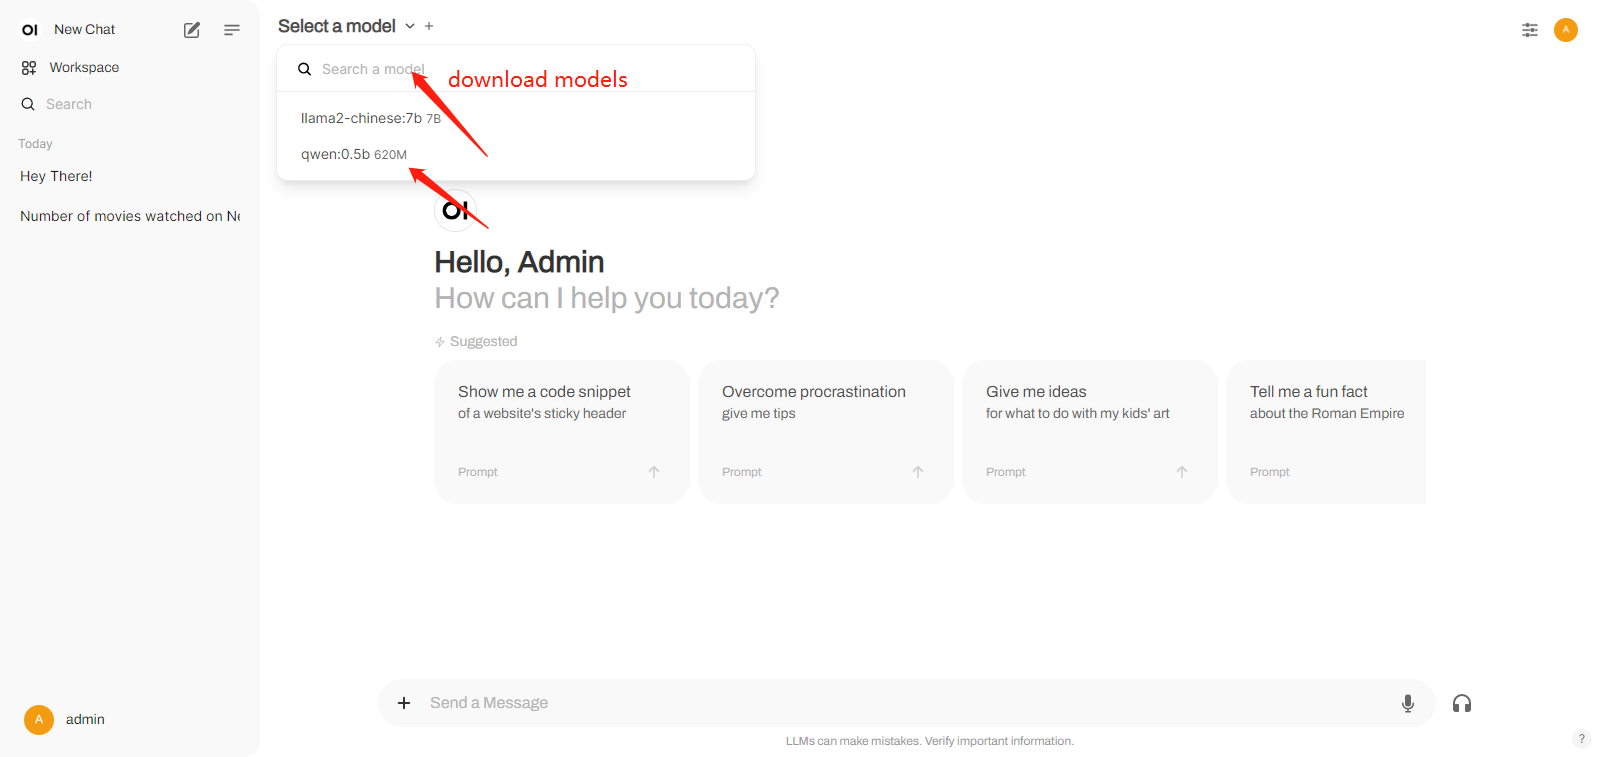
第一次需要注册账号
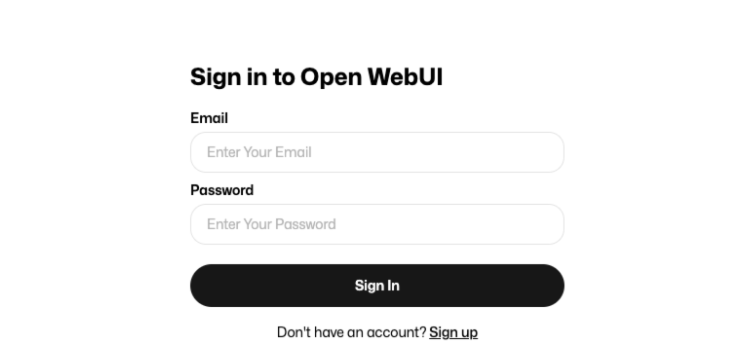
5.代码工程
实验目标
用open ai包对接qwen:0.5b
pom.xml
<?xml version="1.0" encoding="UTF-8"?>
<project xmlns="http://maven.apache.org/POM/4.0.0"
         xmlns:xsi="http://www.w3.org/2001/XMLSchema-instance"
         xsi:schemaLocation="http://maven.apache.org/POM/4.0.0 http://maven.apache.org/xsd/maven-4.0.0.xsd">
    <parent>
        <groupId>org.springframework.boot</groupId>
        <artifactId>spring-boot-starter-parent</artifactId>
        <version>3.2.1</version>
    </parent>
    <modelVersion>4.0.0</modelVersion>

    <artifactId>Qwen</artifactId>

    <properties>
        <maven.compiler.source>17</maven.compiler.source>
        <maven.compiler.target>17</maven.compiler.target>
    </properties>
    <dependencies>
        <dependency>
            <groupId>org.springframework.boot</groupId>
            <artifactId>spring-boot-starter-web</artifactId>
        </dependency>

        <dependency>
            <groupId>org.springframework.boot</groupId>
            <artifactId>spring-boot-autoconfigure</artifactId>
        </dependency>
        <dependency>
            <groupId>org.springframework.boot</groupId>
            <artifactId>spring-boot-starter-test</artifactId>
            <scope>test</scope>
        </dependency>
        <dependency>
            <groupId>org.springframework.ai</groupId>
            <artifactId>spring-ai-openai-spring-boot-starter</artifactId>
            <version>0.8.0-SNAPSHOT</version>
        </dependency>
    </dependencies>
    <repositories>
        <repository>
            <id>spring-snapshots</id>
            <name>Spring Snapshots</name>
            <url>https://repo.spring.io/snapshot</url>
            <releases>
                <enabled>false</enabled>
            </releases>
        </repository>
    </repositories>
    <build>
        <pluginManagement>
            <plugins>
                <!-- 配置 Maven Compiler 插件 -->
                <plugin>
                    <groupId>org.apache.maven.plugins</groupId>
                    <artifactId>maven-compiler-plugin</artifactId>
                    <version>3.8.1</version>
                    <configuration>
                        <fork>true</fork>
                        <failOnError>false</failOnError>
                    </configuration>
                </plugin>

                <!-- 配置 Maven Surefire 插件 -->
                <plugin>
                    <groupId>org.apache.maven.plugins</groupId>
                    <artifactId>maven-surefire-plugin</artifactId>
                    <version>2.22.2</version>
                    <configuration>
                        <forkCount>0</forkCount>
                        <failIfNoTests>false</failIfNoTests>
                    </configuration>
                </plugin>
            </plugins>
        </pluginManagement>
    </build>
</project>
controller
package com.et.qwen.controller;

import org.springframework.ai.chat.ChatClient;
import org.springframework.ai.chat.prompt.Prompt;
import org.springframework.beans.factory.annotation.Autowired;
import org.springframework.web.bind.annotation.GetMapping;
import org.springframework.web.bind.annotation.RequestMapping;
import org.springframework.web.bind.annotation.RequestParam;
import org.springframework.web.bind.annotation.RestController;

import java.util.HashMap;
import java.util.Map;

@RestController
public class HelloWorldController {
    @RequestMapping("/hello")
    public Map<String, Object> showHelloWorld(){
        Map<String, Object> map = new HashMap<>();
        map.put("msg", "HelloWorld");
        return map;
    }
    @Autowired
    ChatClient chatClient;
    @GetMapping("/ai/chat")
    public String chat(@RequestParam(value = "message", defaultValue = "Tell me a joke") String message) {
        Prompt prompt = new Prompt(message);
        return chatClient.call(prompt).getResult().getOutput().getContent();
    }

}
application.yaml
server:
  port: 8088

spring:
  ai:
    openai:
      base-url: https://api.openai.com/
      api-key: sk-xxx
      embedding:
        options:
          model: text-davinci-003
      chat:
        #指定某一个API配置(覆盖全局配置)
        api-key: sk-xxx
        base-url: http://localhost:11434
        options:
          model: qwen:0.5b # 模型配置
以上只是一些关键代码,所有代码请参见下面代码仓库
代码仓库
- https://github.com/Harries/springboot-demo(qwen)
6.测试
- 启动Spring boot应用程序
- 访问http://127.0.0.1:8088/ai/chat,你将看到qwen:0.5返回的信息
- ollama服务端查看日志
2024-07-15 15:06:28 [GIN] 2024/07/15 - 07:06:28 | 200 | 4.810762037s | 172.20.0.1 | POST "/api/chat"
2024-07-15 15:06:29 [GIN] 2024/07/15 - 07:06:29 | 200 | 1.081850365s | 172.20.0.1 | POST "/v1/chat/completions"
2024-07-15 15:06:46 [GIN] 2024/07/15 - 07:06:46 | 200 | 46.802µs | 172.20.0.1 | GET "/api/version"
7.引用
- Introducing Qwen1.5 | Qwen
- https://ollama.com/blog/openai-compatibility
- https://github.com/open-webui/open-webui
- https://ollama.com/blog


