目录
VM安装
安装centos
VM安装
VMware Workstation Pro是VMware(威睿公司发布的一袋虚拟机软件),它主要功能是可以给用户在单一的桌面上同时运行不同的操作系统,也是可以进行开发、测试、部署新的应用程序的最佳解决方案。
开始安装
下一步

同意条款

选择安装位置,不将vmware配置到环境变量

不检查更新,不加入用户体验

依次点击下一步,安装
安装完成

第一次运行需要需要秘钥证书

输入秘钥完成即可

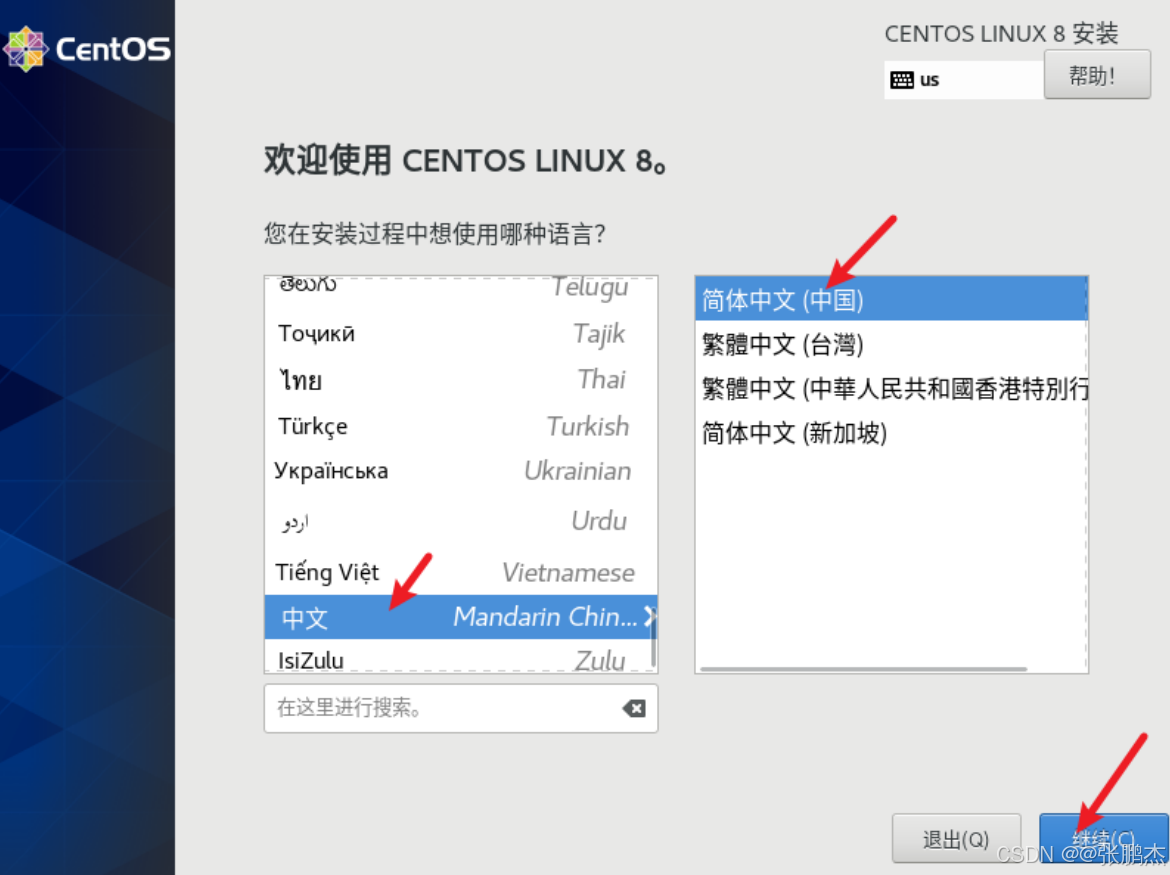
安装centos
创建虚拟机
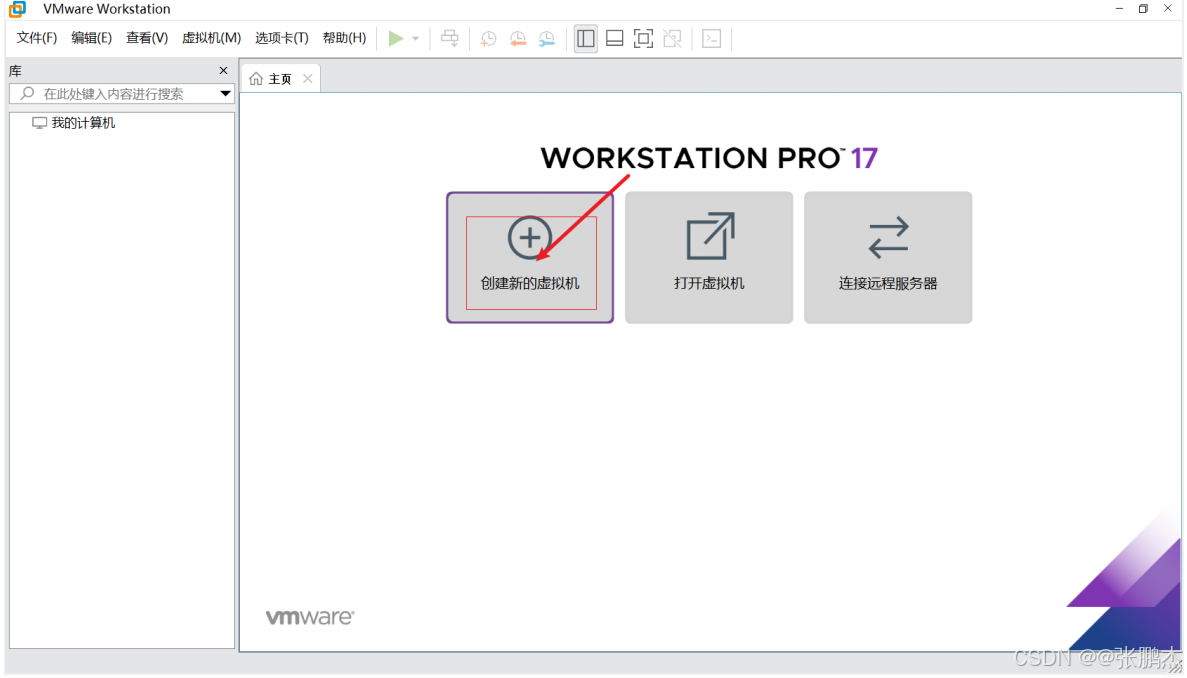
选择典型安装
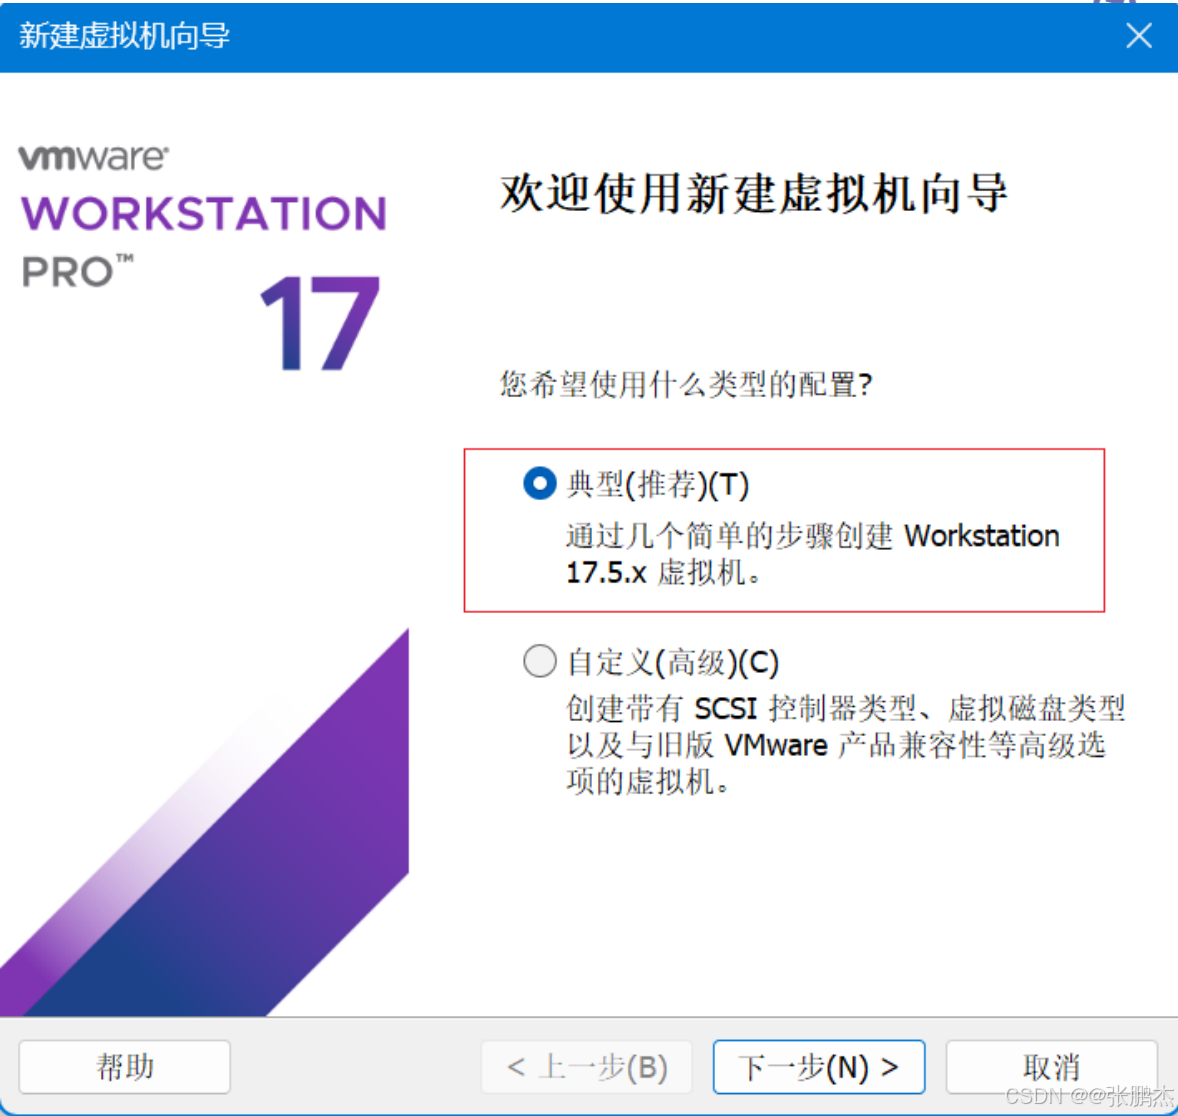
选择稍后安装操作系统
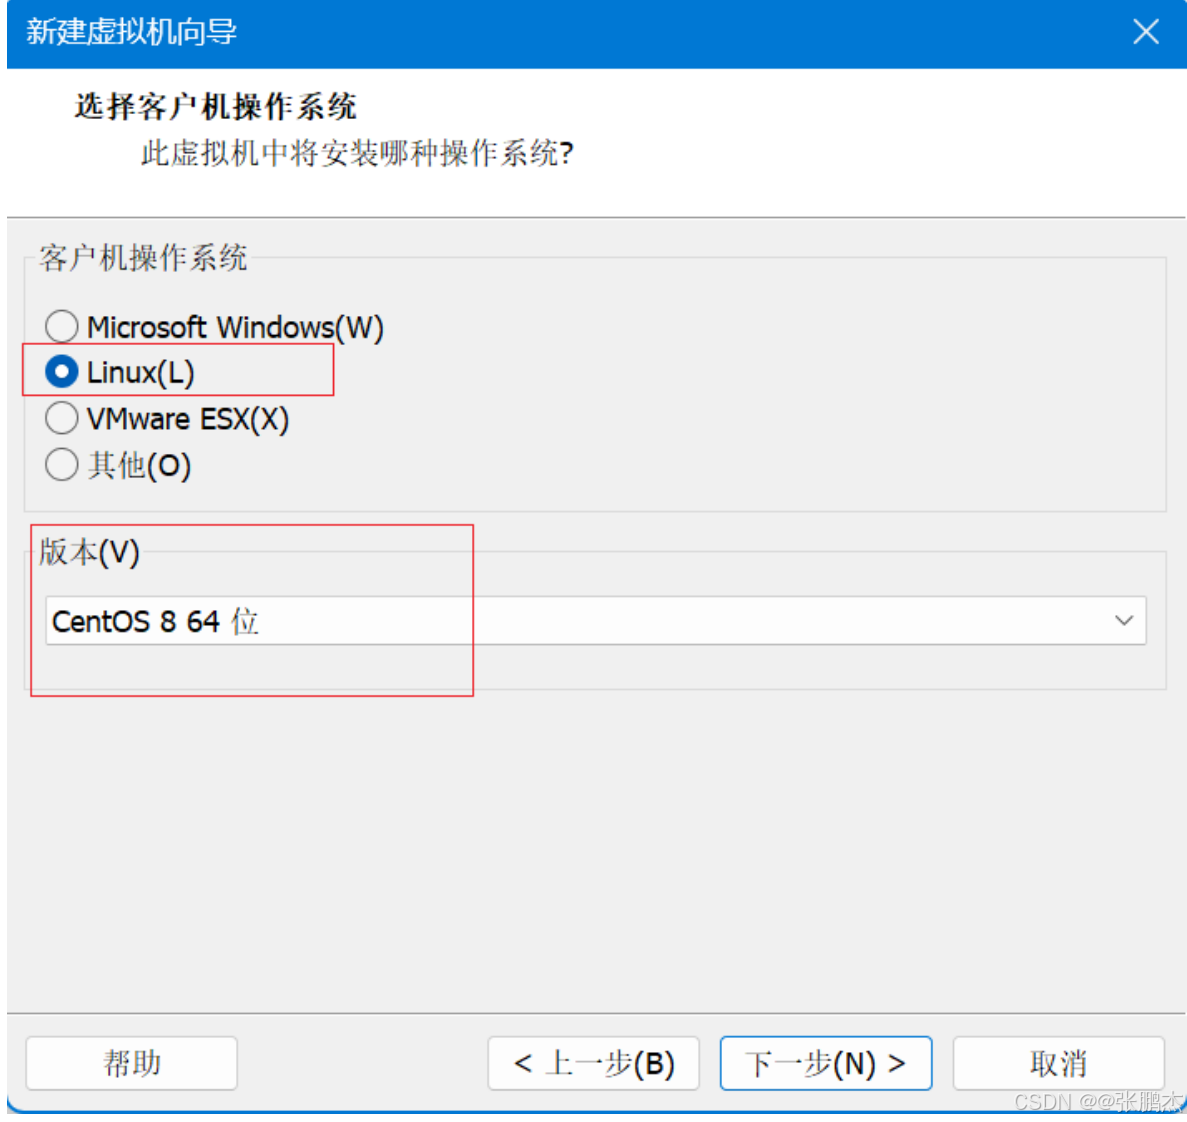
选择Linux版本
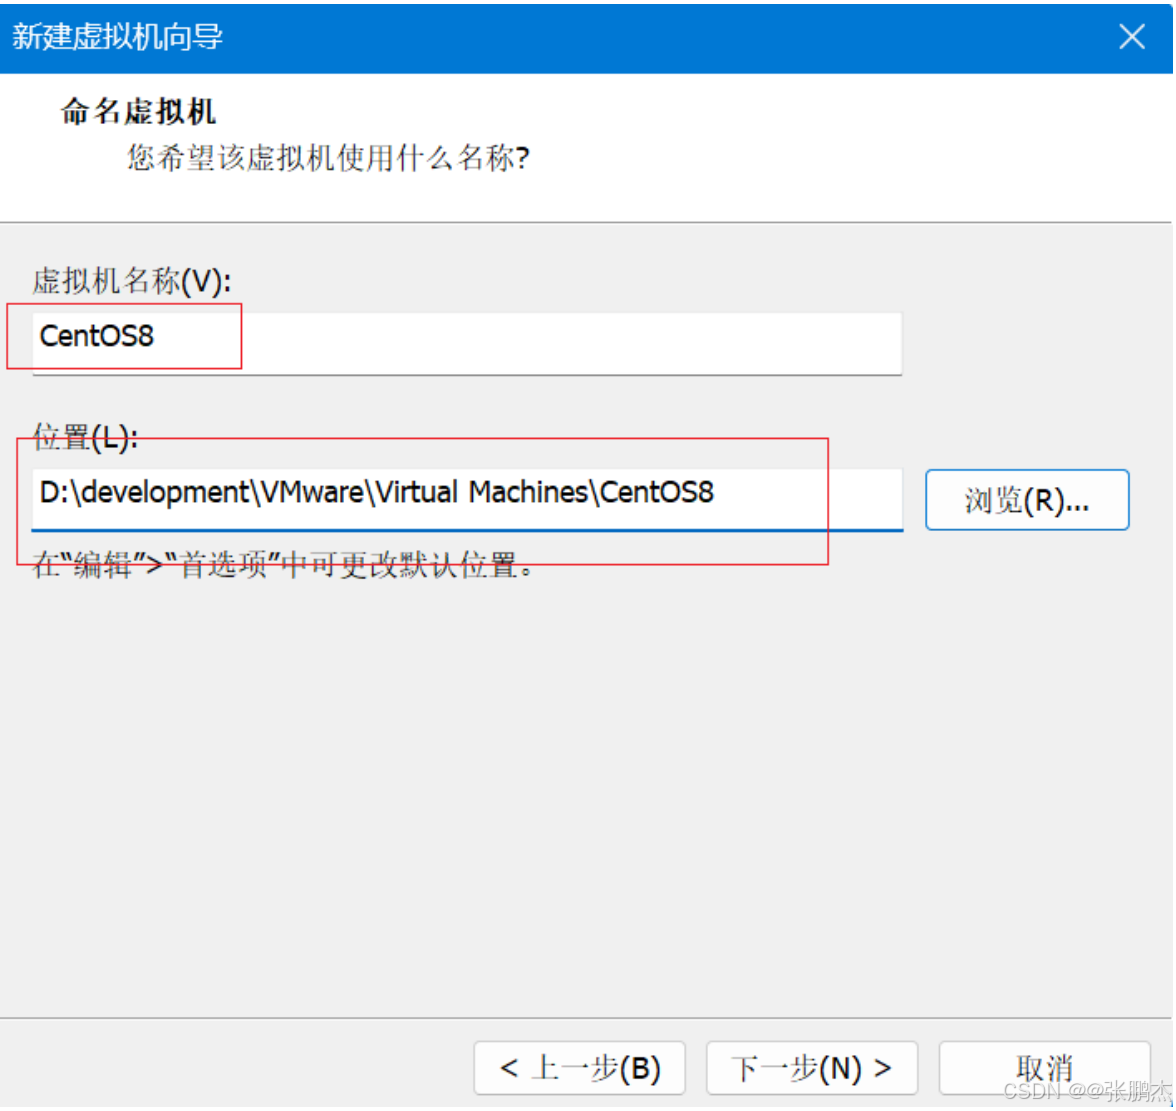
定义虚拟机名称,选择安装位置
默认即可
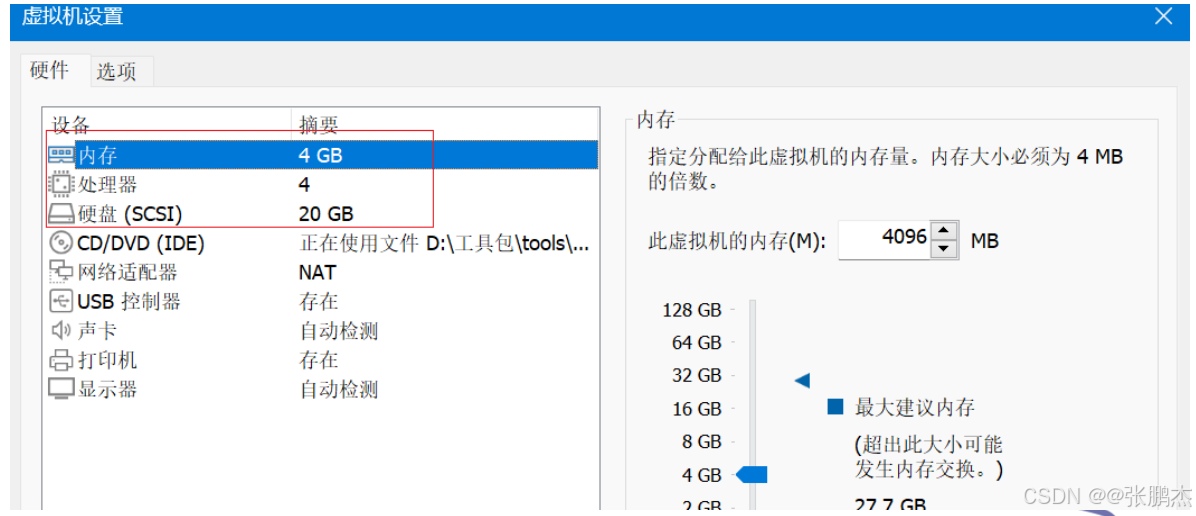
配置虚拟机
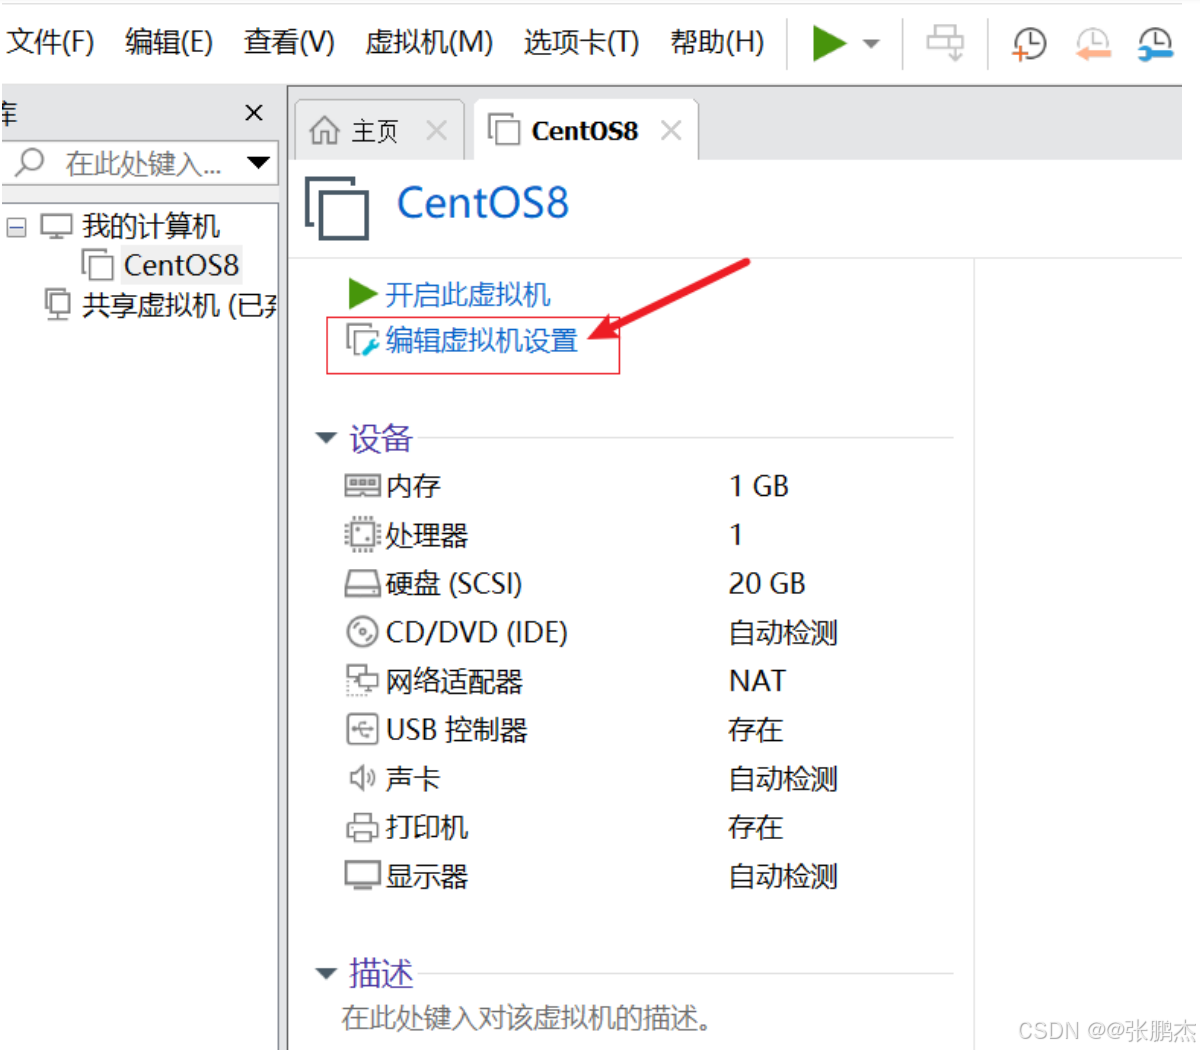
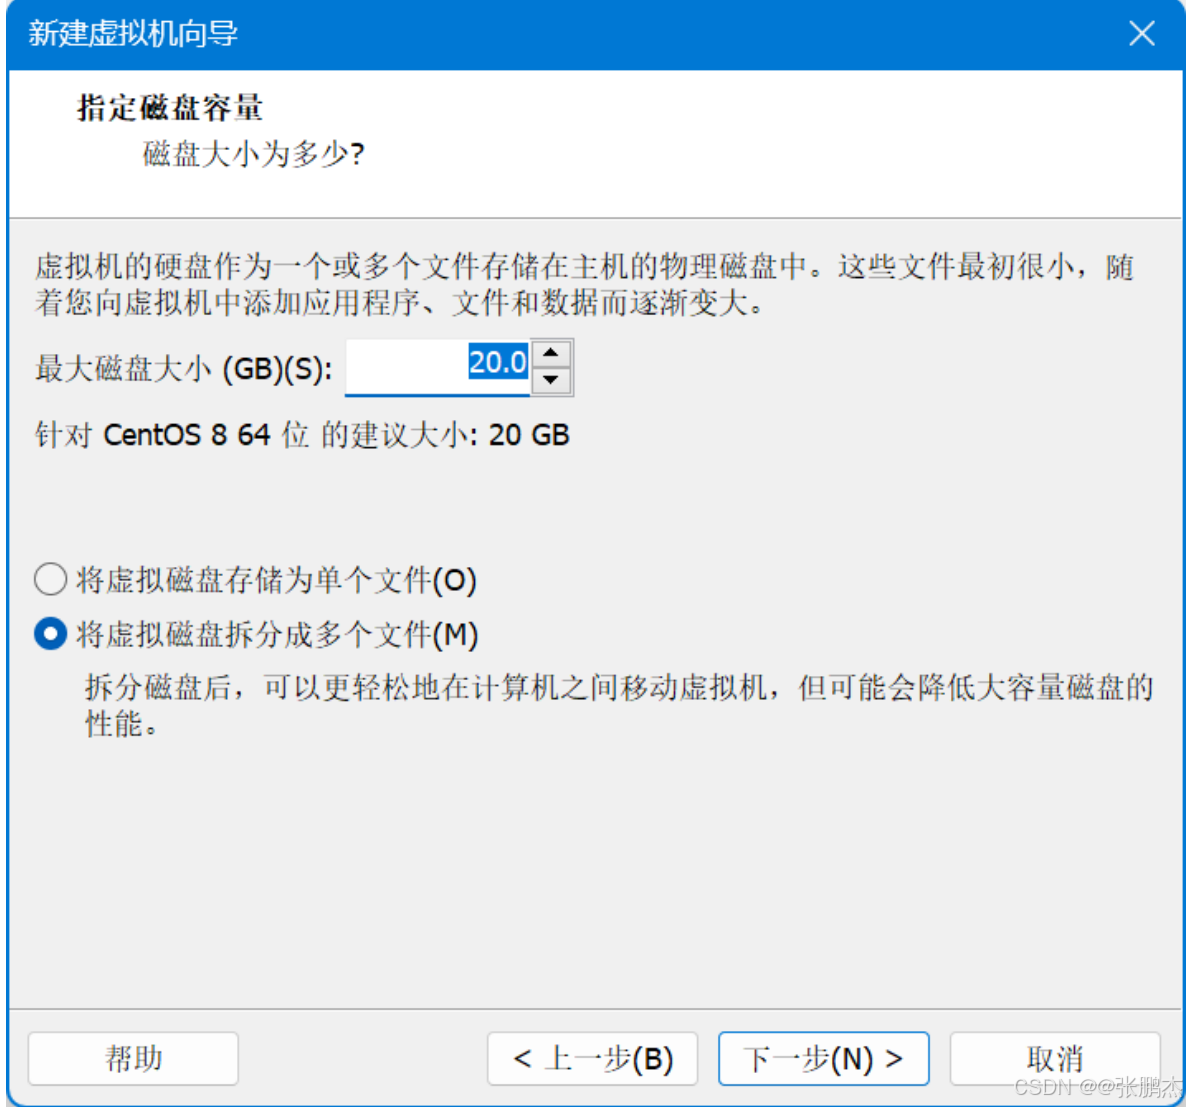
内存,硬盘,处理器配置,建议大一点
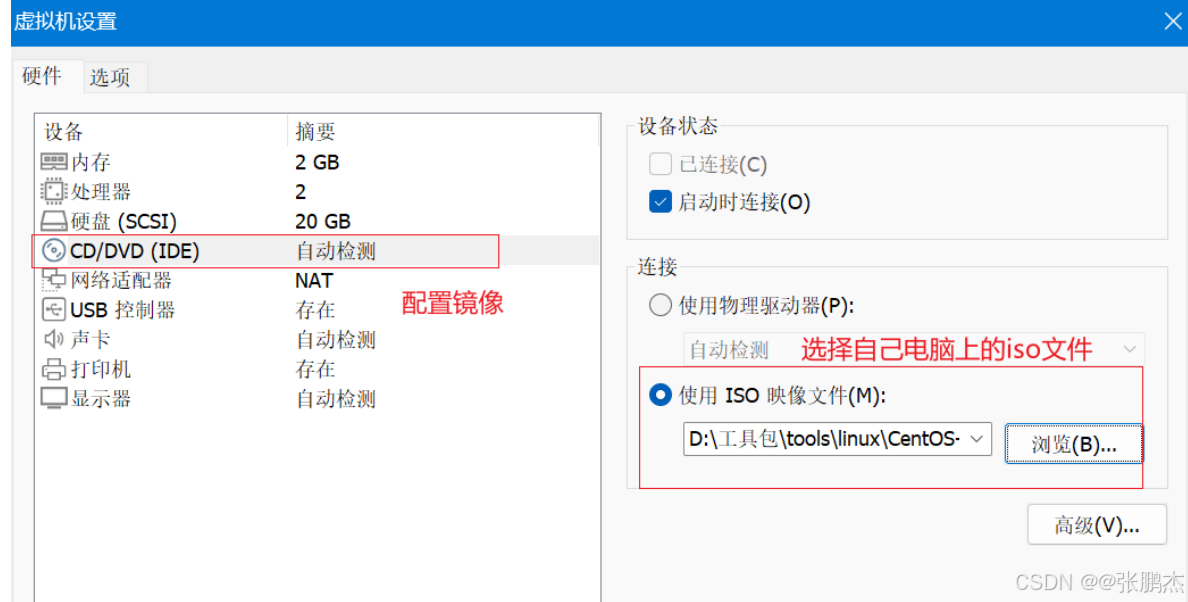
镜像配置
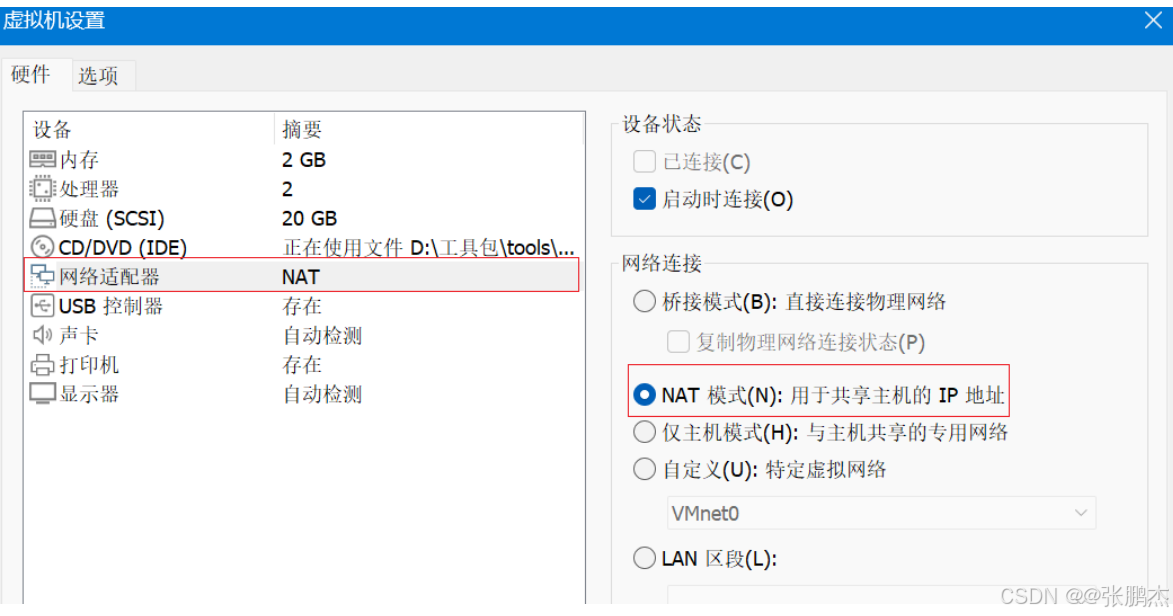
网络配置
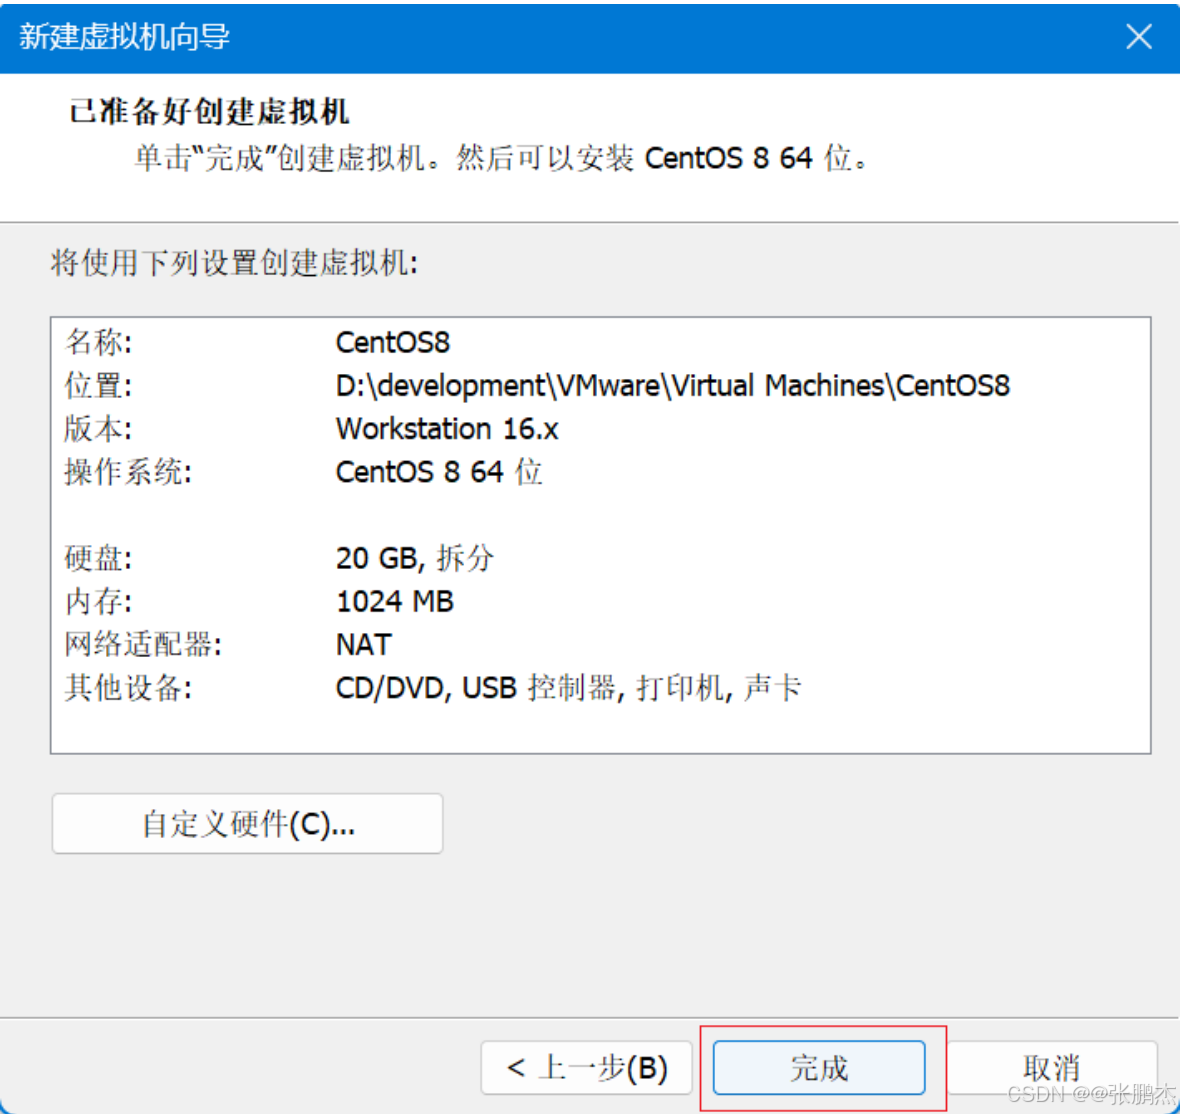
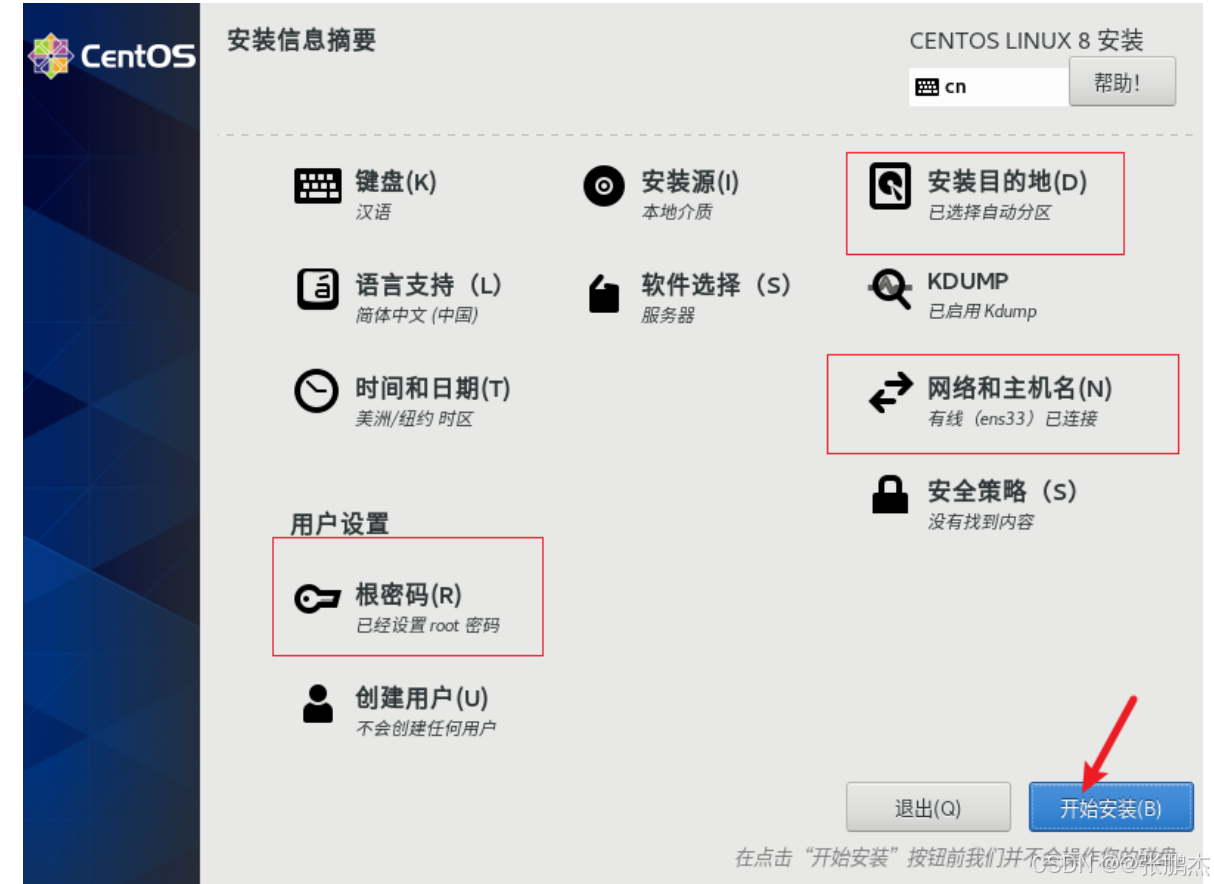
开始安装,这才是真正的安装
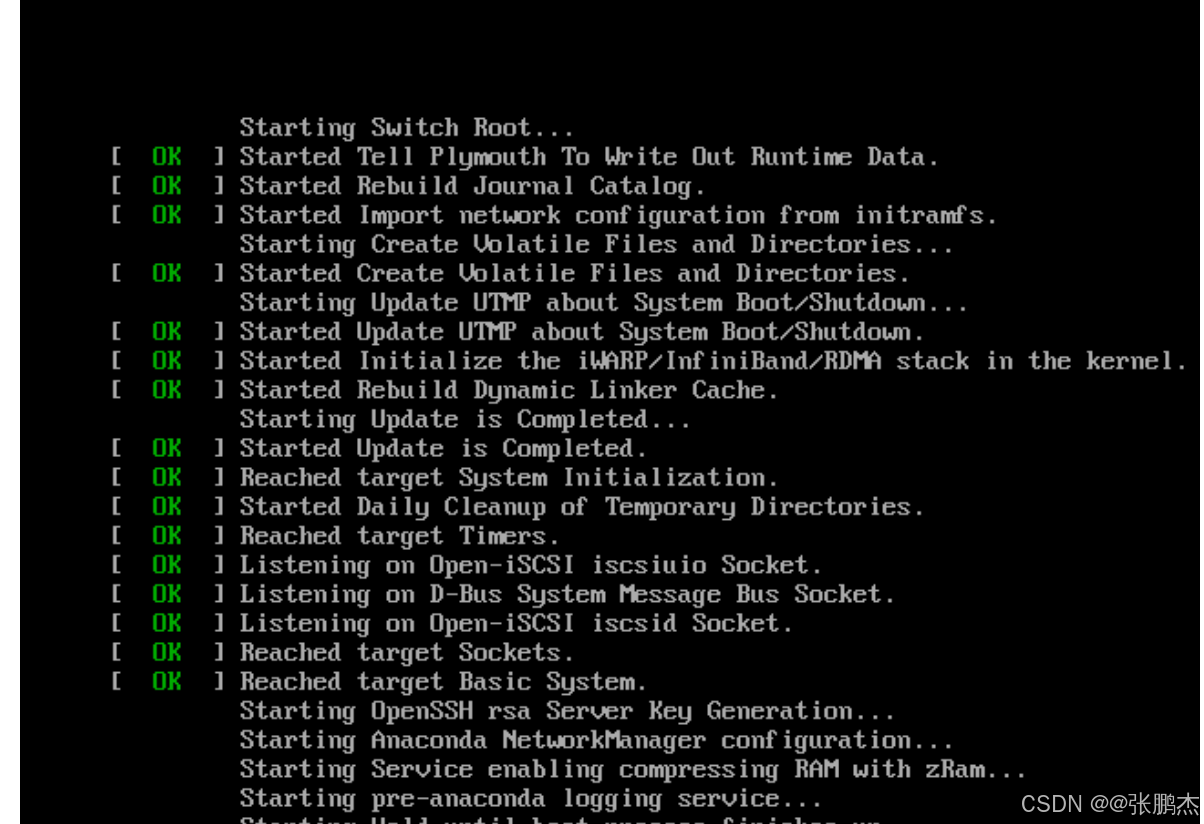
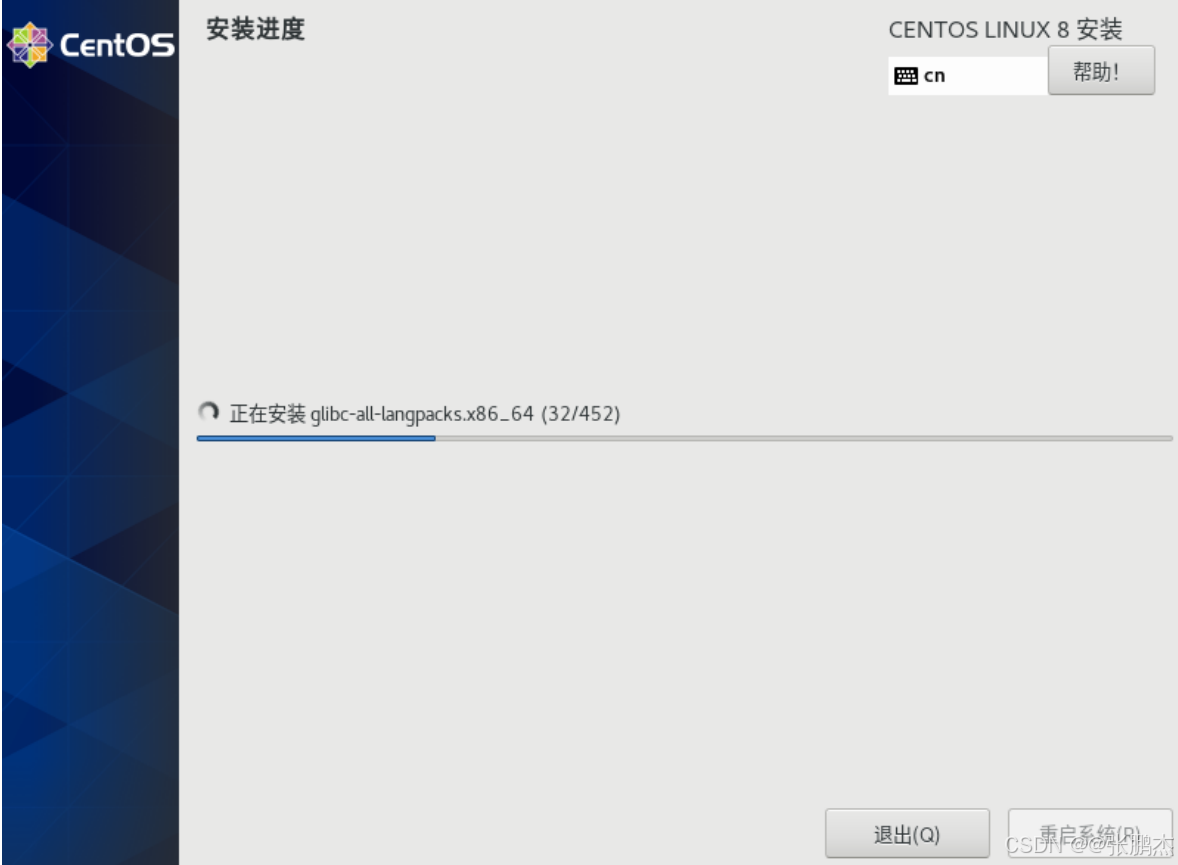
耐心等待
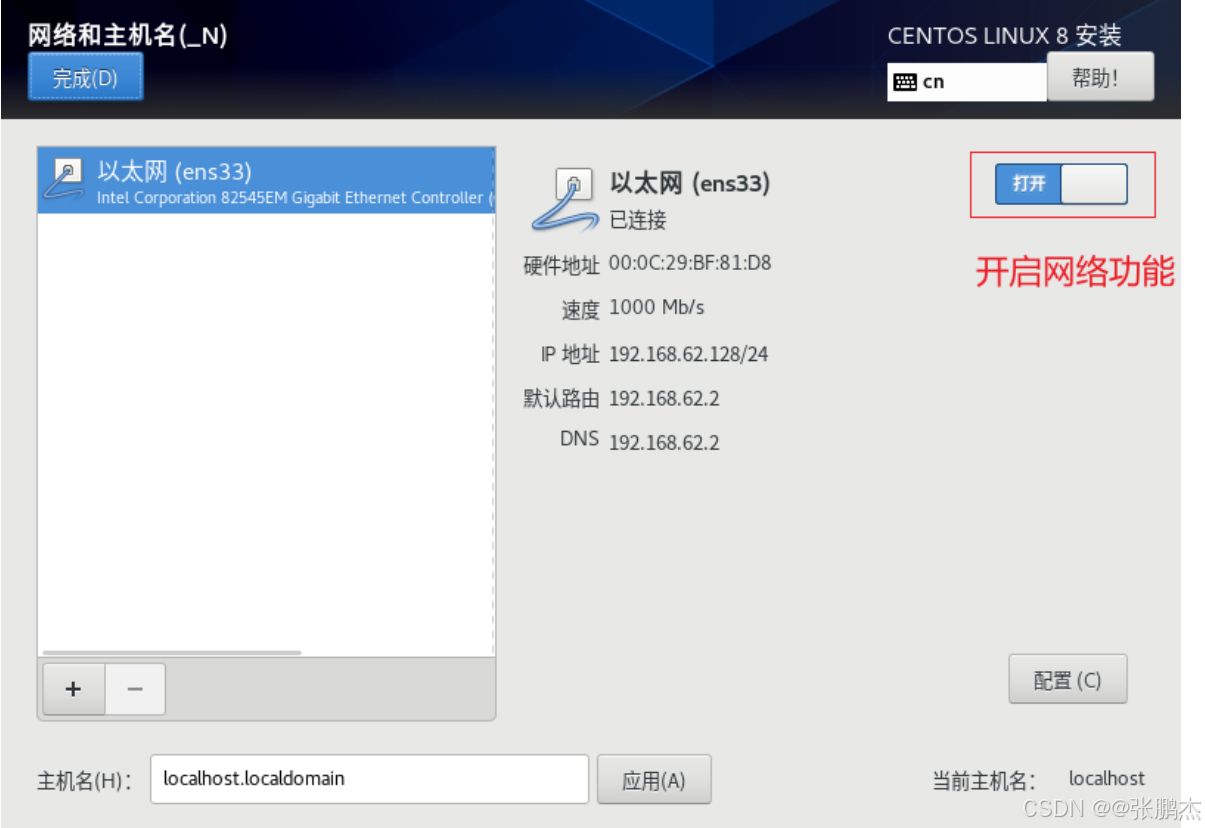
配置密码,安装目的地,网络
网络配置,一定要在此开启网络网络功能
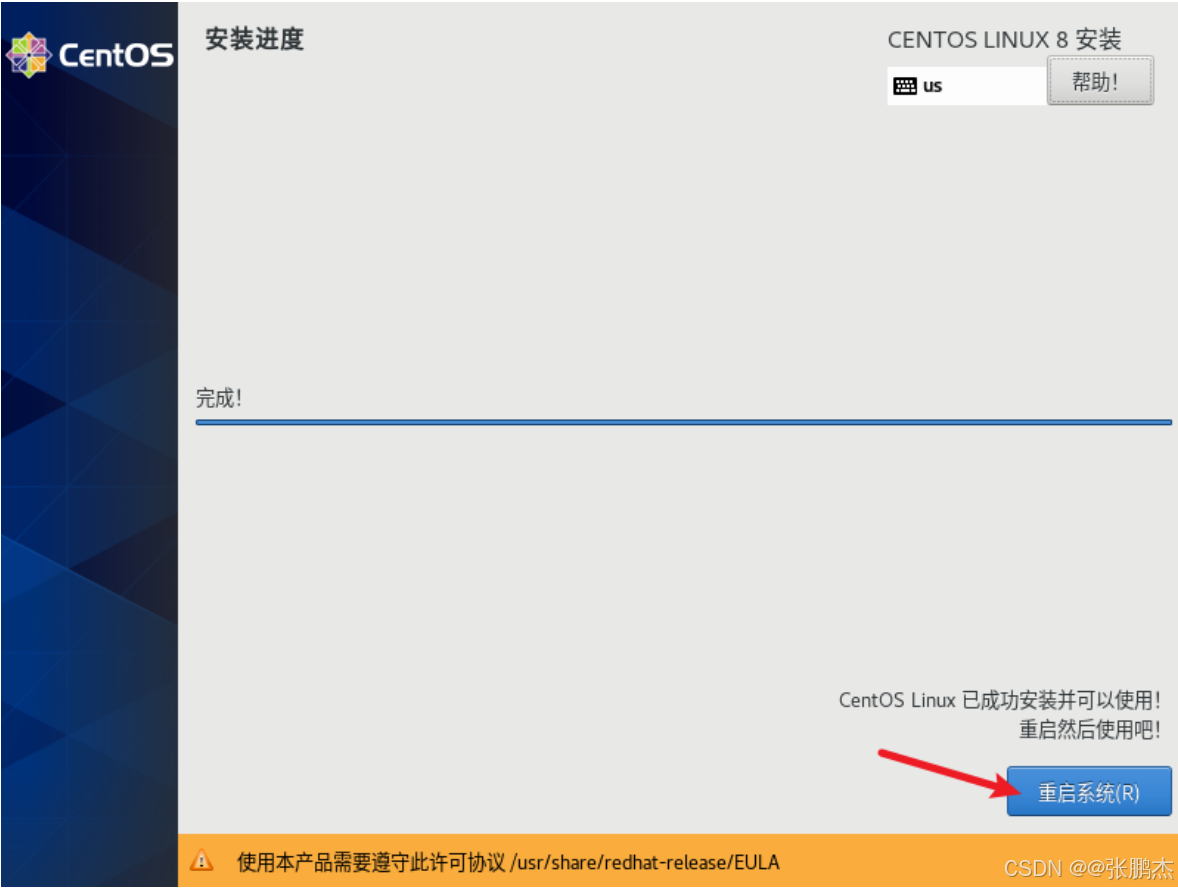
最后安装
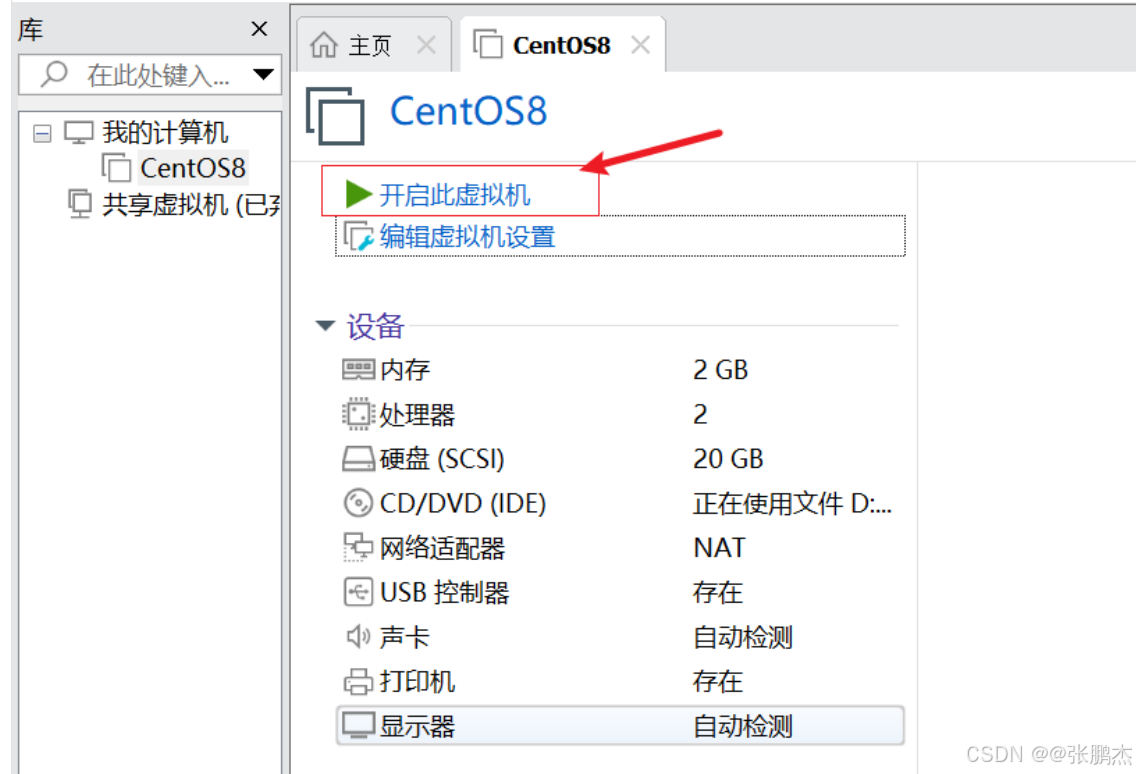
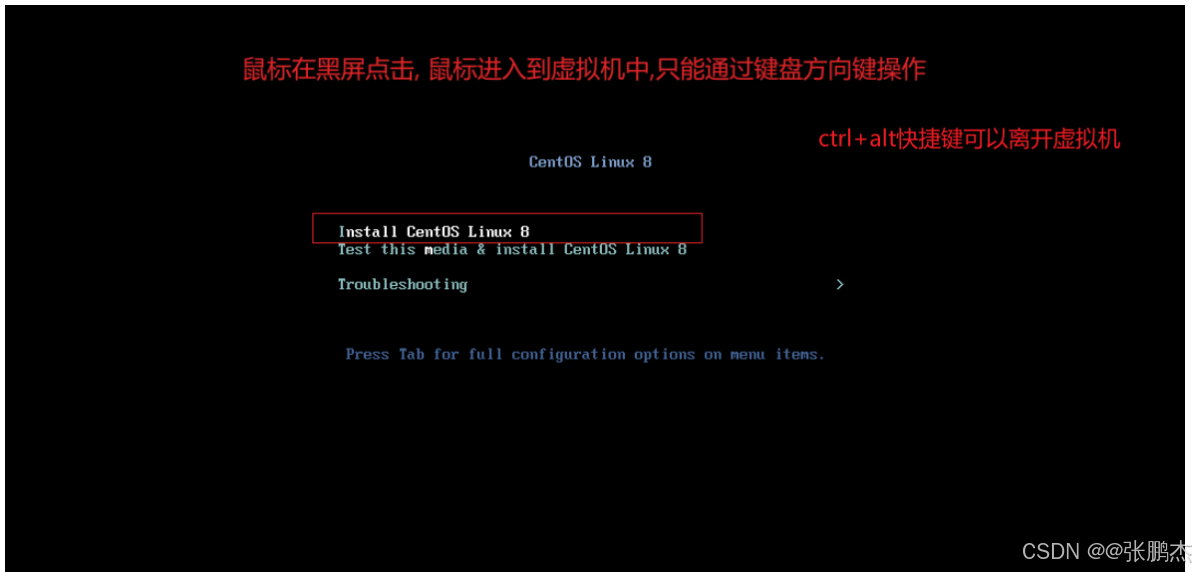
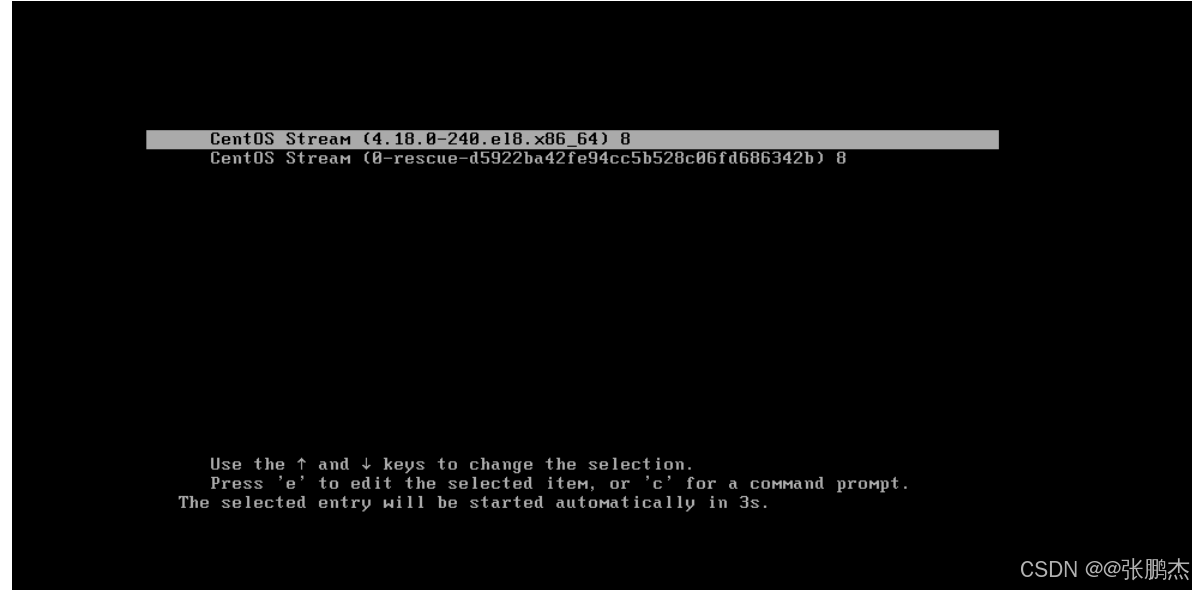
启动虚拟机,选择第一项
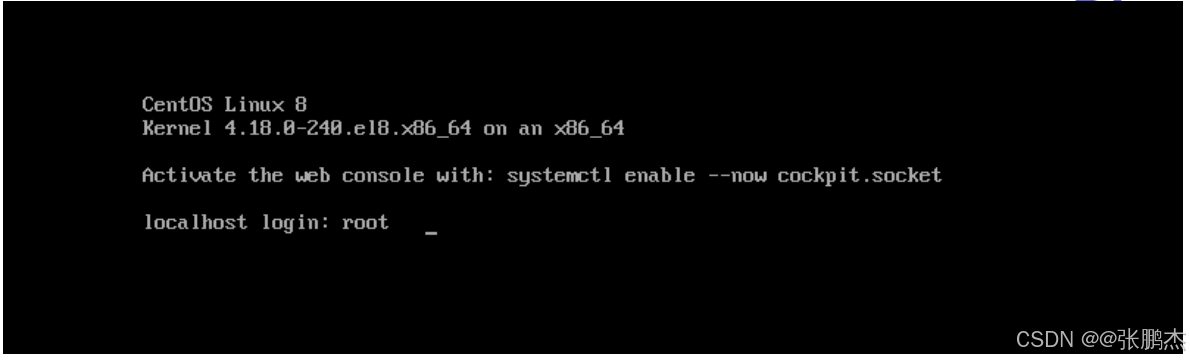
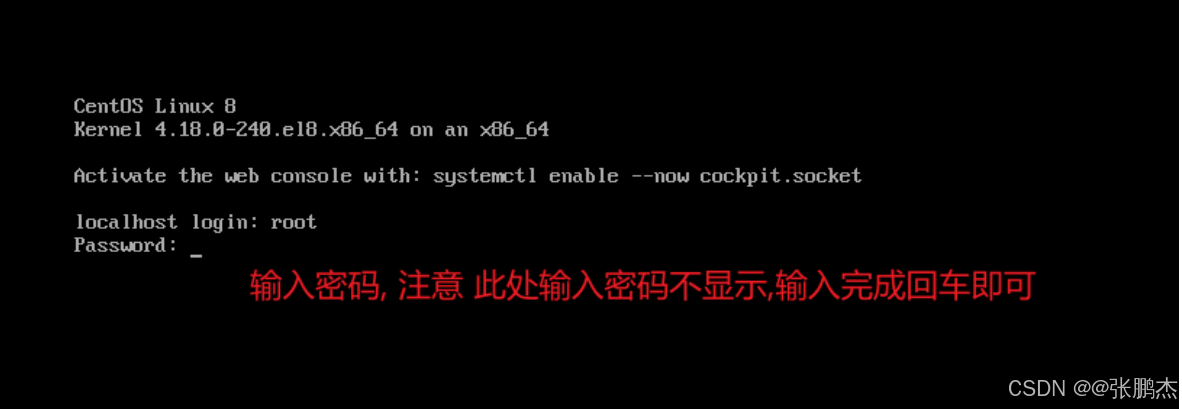
输入账号root
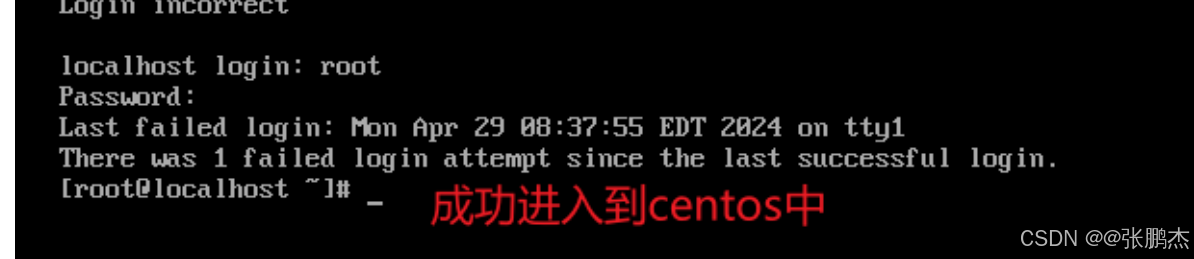
到此,所有流程完成