[spring] Spring MVC - security(上)
这部分的内容基本上和 [spring] rest api security 是重合的,主要就是添加 验证(authentication)和授权(authorization)这两个功能
即:
- 用户提供的验证信息是否正确
- 用户是否有权限访问当前资源
整体流程大致如下:

项目设置
这里依旧使用 https://start.spring.io/ 去进行配置,需要的 POM 如下:
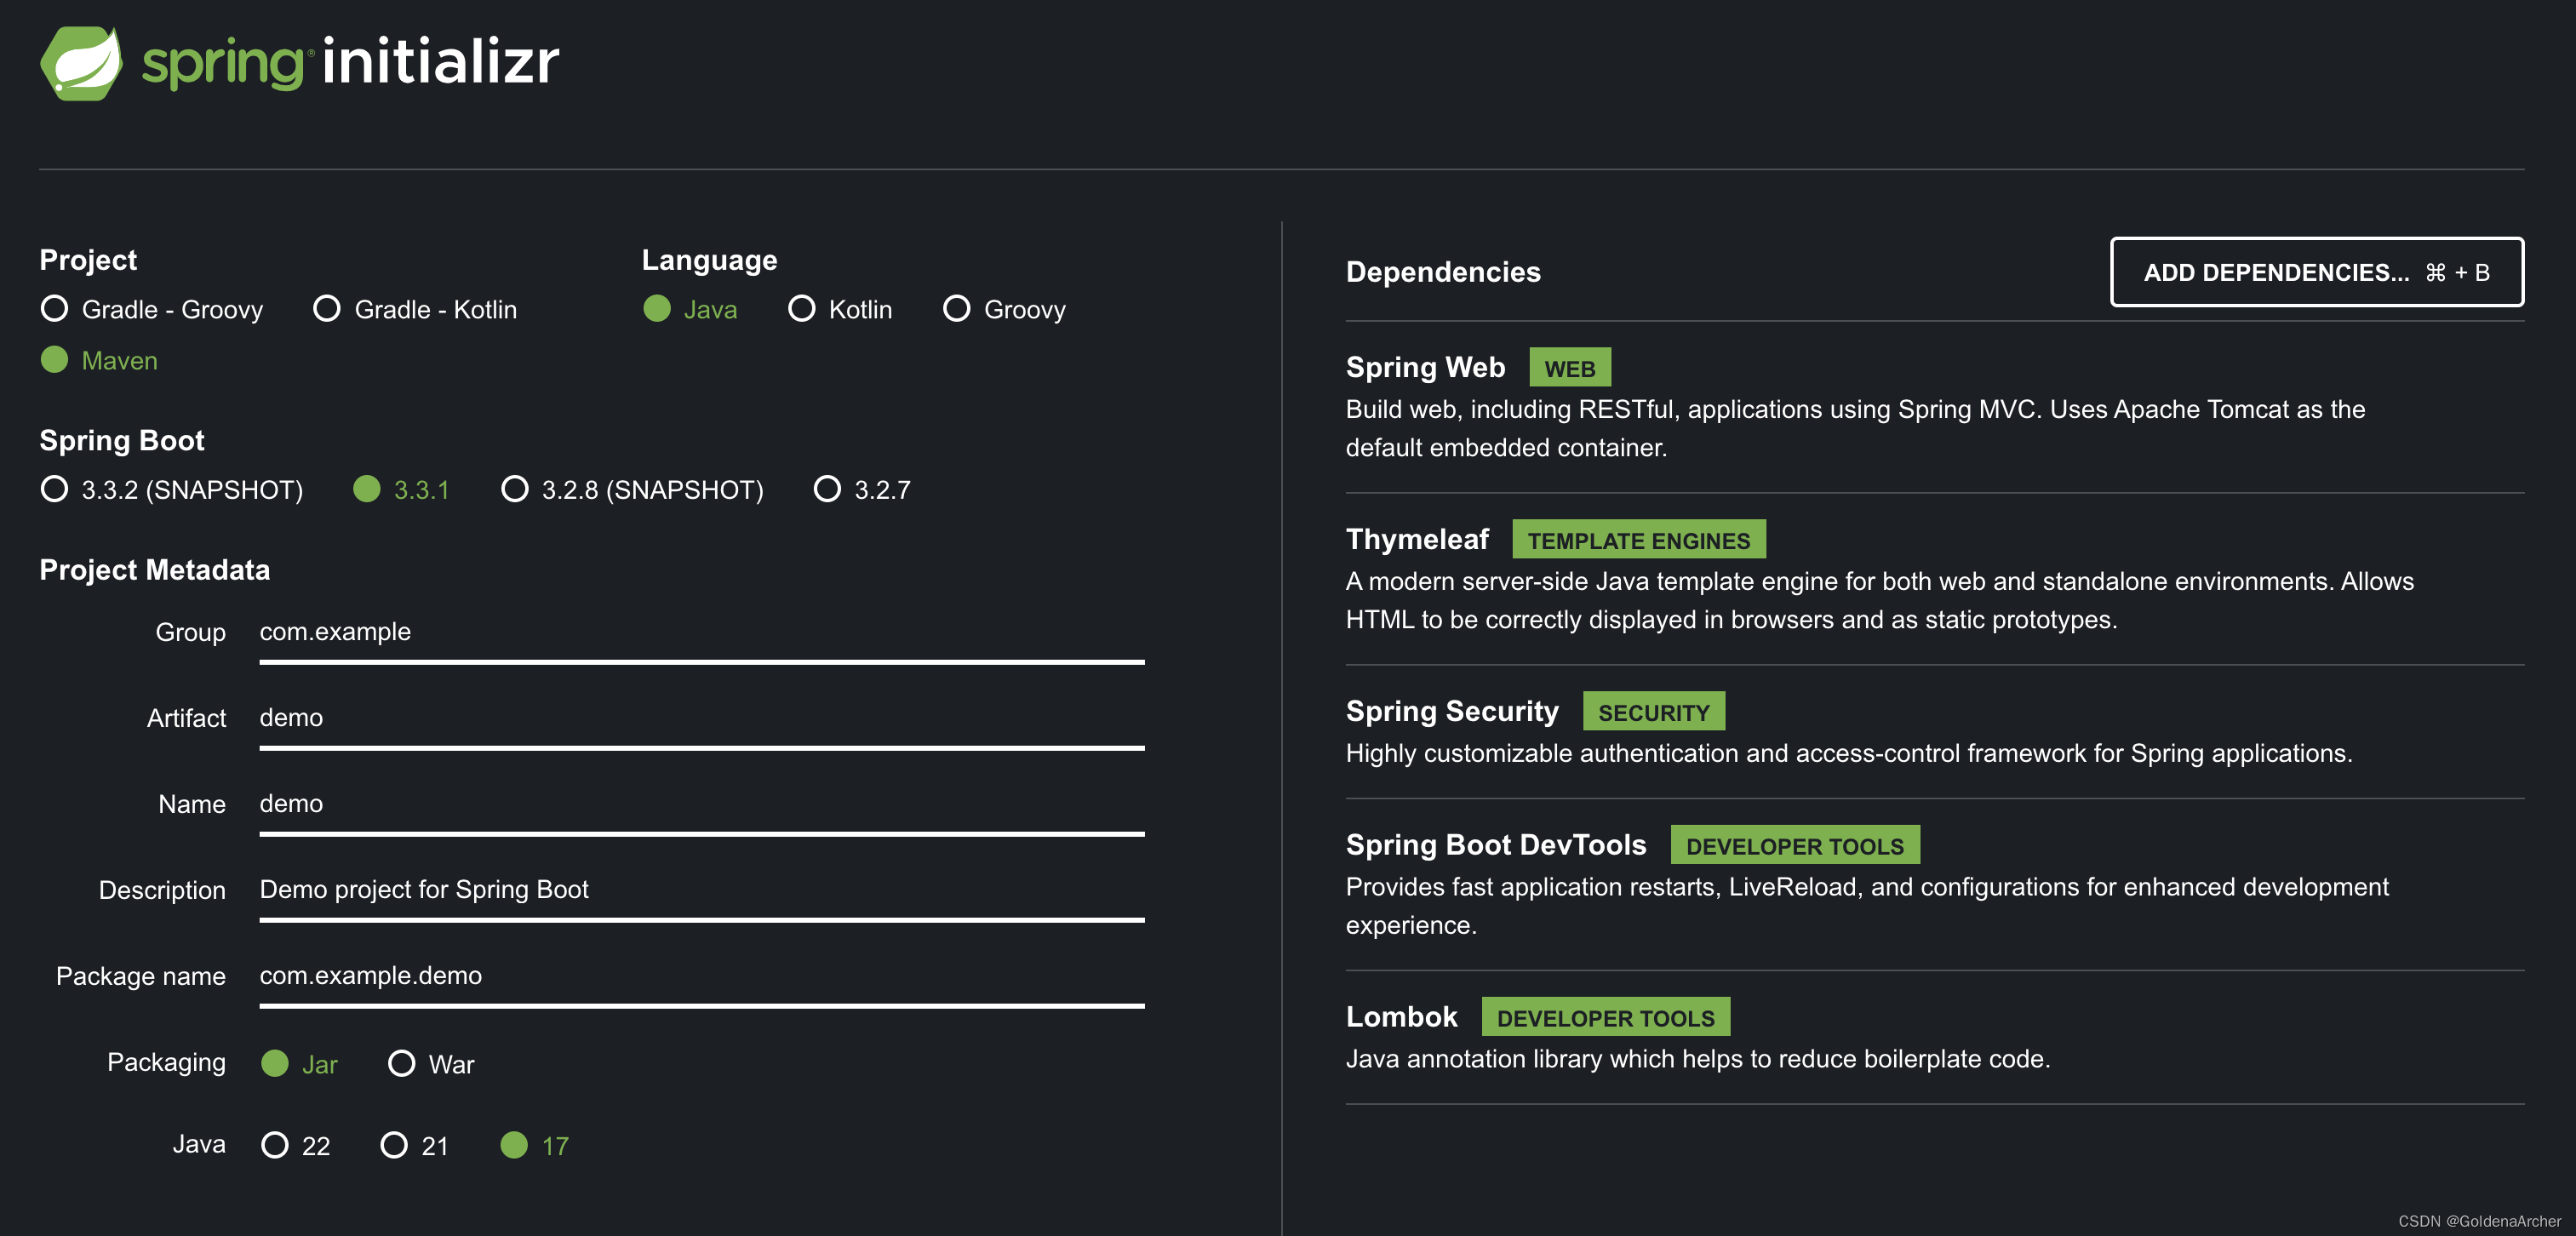
这里和 [spring] rest api security 有区别的地方在于添加了一个 thymeleaf 的依赖:
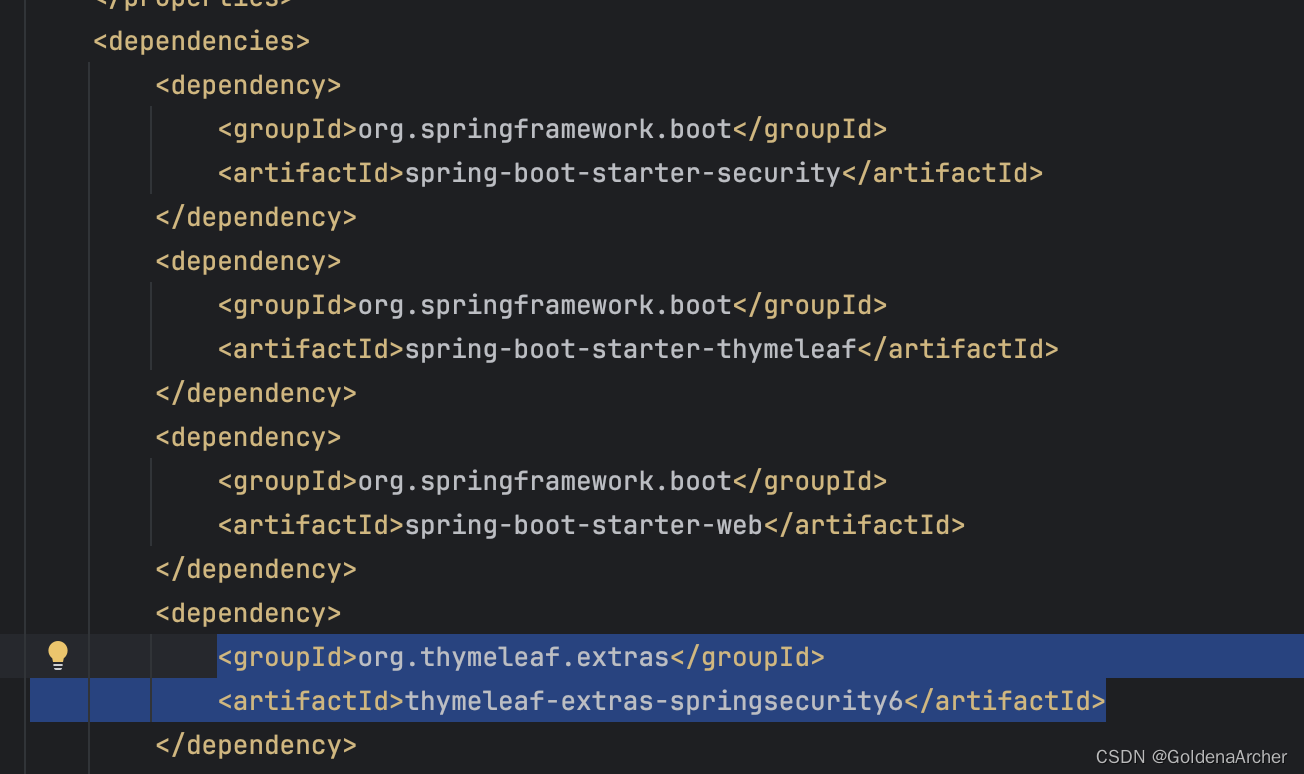
这个也是 https://start.spring.io/ 自动添加的
基础 view
spring boot 会自动实现一个登录的页面,这里主要是新建一个 DemoController 去进行路径的 mapping,即提供一个登录完成后重定向的页面
代码实现如下:
-
java controller
@Controller public class DemoController { @GetMapping("/") public String showHome() { return "home"; } } -
HTML 模板
<!DOCTYPE html>
<html lang="en">
  <head>
    <meta charset="UTF-8" />
    <title>Home</title>
  </head>
  <body>
    <h2>Home Page</h2>
    <hr />
    Dummy Home Page
  </body>
</html>
实现效果如下:
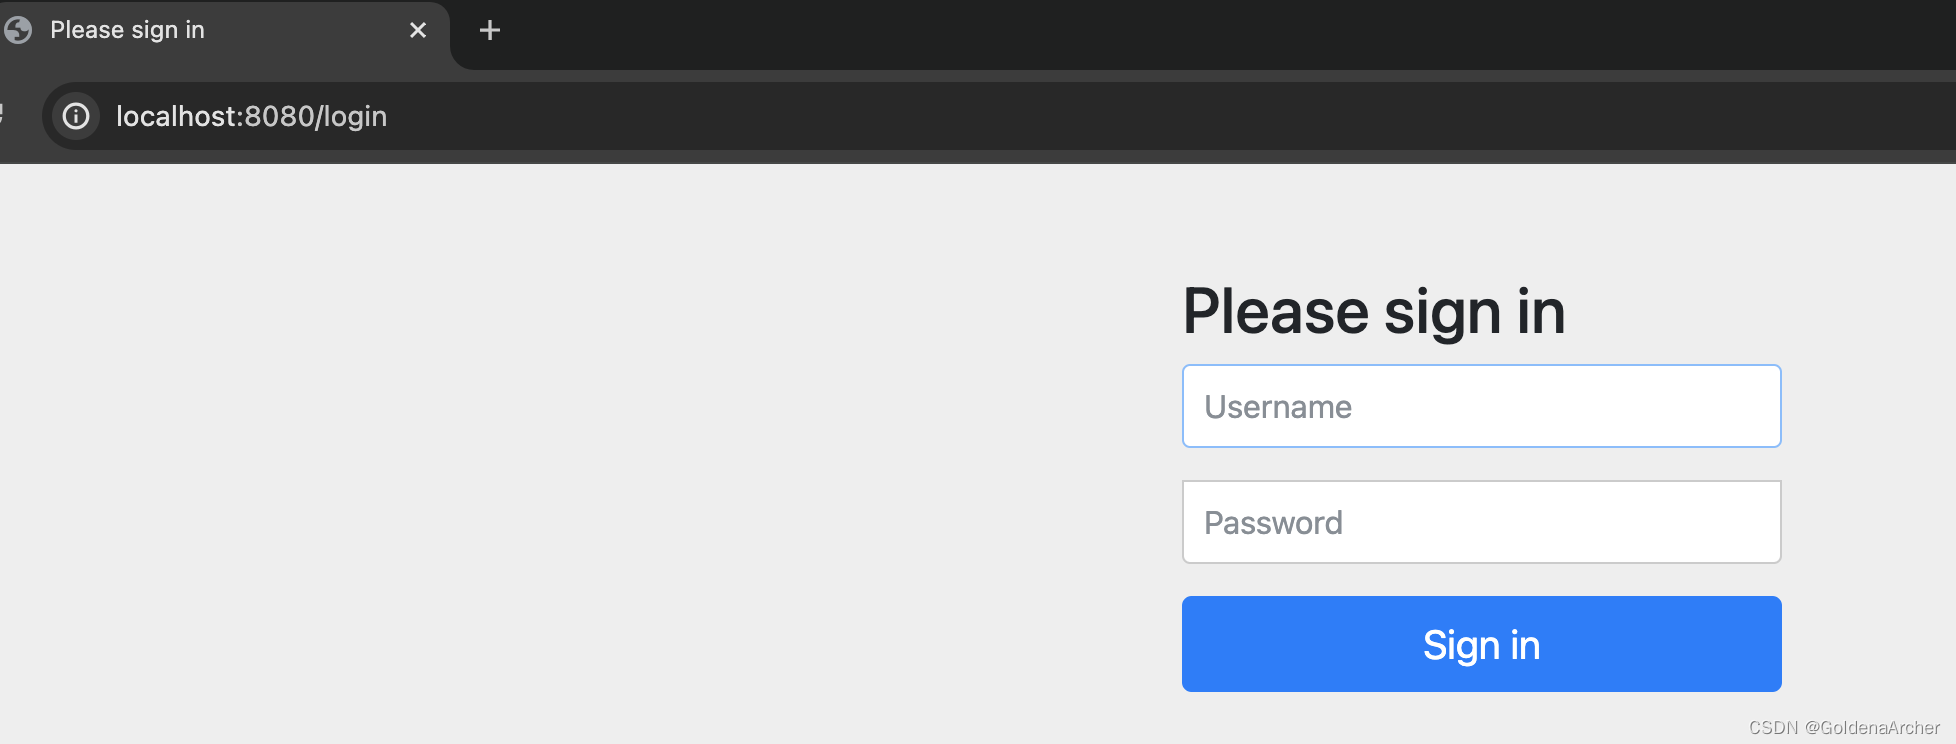
⚠️:这个登录页面是 spring boot 实现的
在没有任何配置的情况下,spring boot 默认提供的用户名是 admin,密码则是自动生成的一串哈希值,会在终端显现:

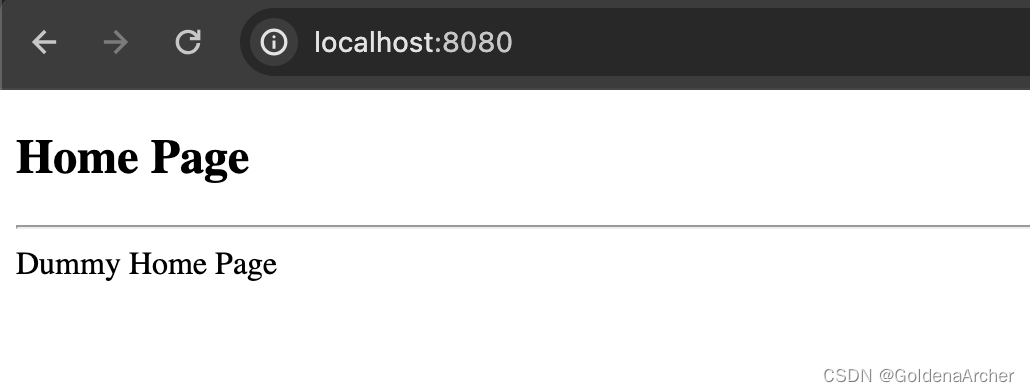
用户信息验证成功后,就会重定向到 mapping 好的首页:
基本安全配置
这里就是在代码里手动写死用户名、密码和权限,这个目前是为了简单实现,后面会添加数据库部分的实现
java 代码如下:
@Configuration
public class DemoSecurityConfig {
    @Bean
    public InMemoryUserDetailsManager userDetailsManager() {
        UserDetails john = User.builder()
                .username("john")
                .password("{noop}test123")
                .roles("EMPLOYEE")
                .build();

        UserDetails mary = User.builder()
                .username("mary")
                .password("{noop}test123")
                .roles("EMPLOYEE", "MANAGER")
                .build();

        UserDetails susan = User.builder()
                .username("susan")
                .password("{noop}test123")
                .roles("EMPLOYEE", "MANAGER", "ADMIN")
                .build();

        return new InMemoryUserDetailsManager(john, mary, susan);
    }
}
配置完并自动重启项目后,内存中的用户信息就具有更高的权重值,spring boot 也不会自动生成哈希值去和 admin 进行适配
自定义登录页面
这里有 3 个步骤要去做:
-
重新写 spring 的安全配置,使用自己的 HTML 模板取代 spring boot 内置的 HTML 模板
具体实现如下:
@Configuration
public class DemoSecurityConfig {
    // 省略 inMemoryUserDetails 的实现

    @Bean
    public SecurityFilterChain filterChain(HttpSecurity httpSecurity) throws Exception {
        httpSecurity.authorizeHttpRequests(configurer ->
                configurer
                        .anyRequest().authenticated()
                ).formLogin(form ->
                    form
                            .loginPage("/showMyLoginPage")
                            .loginProcessingUrl("/authenticateUser")    // no controller request mapping for this
                            .permitAll()
                );

        return httpSecurity.build();
    }
}
其中:
-
SecurityFilterChain主要是用来处理 HTTP 请求,对其进行安全处理 -
HttpSecurity则是具体对 HTTP 请求进行安全处理的配置 -
authorizeHttpRequests代表所有的 HTTP 请求都必须要进行安全处理,即登录验证简单的说,访客是没有权限访问当前应用
-
formLogin是表单登录验证这里主要进行 3 个处理
-
loginPage是登录页面的路径 -
loginProcessingUrl是提交登录信息的路径参考之前在 [spring] Spring MVC & Thymeleaf(上) 中实现的
@RequestMapping("/processForm")"不过这个路径会被 spring 在内部处理,所以不需要手动实现一个 controller 去完成功能
-
-
permitAll()代表所有人都可以访问,包括访客这是一定要加的,不然登录页面本身就会需要用户验证
-
-
在 controller 层进行配置,对登录页面进行重定向
@Controller
public class LoginController {
    @GetMapping("/showLoginPage")
    public String showLoginPage() {
        return "plain-login";
    }
}
这是另一个 controller,专门负责登录页面的重定向,与 DemoController 不一样
可以理解成这个 controller 负责的是所有不需要验证信息的访问,包括后面会处理的报错页面
-
实现 HTML 模板引擎
<!DOCTYPE html>
<html lang="en" xmlns:th="http://www.thymeleaf.org">
  <head>
    <meta charset="UTF-8" />
    <title>Custom Login Page</title>
  </head>
  <body>
    <h3>My Custom Login Page</h3>
    <form method="post" action="#" th:action="@{/authenticateUser}">
      <p>
        <label for="username">Username:</label>
        <input type="text" name="username" id="username" />
      </p>

      <p>
        <label for="password">Password:</label>
        <input type="password" name="password" id="password" />
      </p>

      <input type="submit" value="Login" />
    </form>

    <script src="http://localhost:35729/livereload.js"></script>
  </body>
</html>
其中
th:action="@{/authenticateUser}"这个语法是将authenticateUser绑定到当前路径下。如当前路径为http://localhost:8080/sighup,那么这个表单提交的 URL 为http://localhost:8080/sighup/authenticateUser。这样实现的优点在于不用写死路径
添加错误信息
目前登录页面是没有报错信息的,想要解决这个方法也很简单,可以使用 error 这个状态:
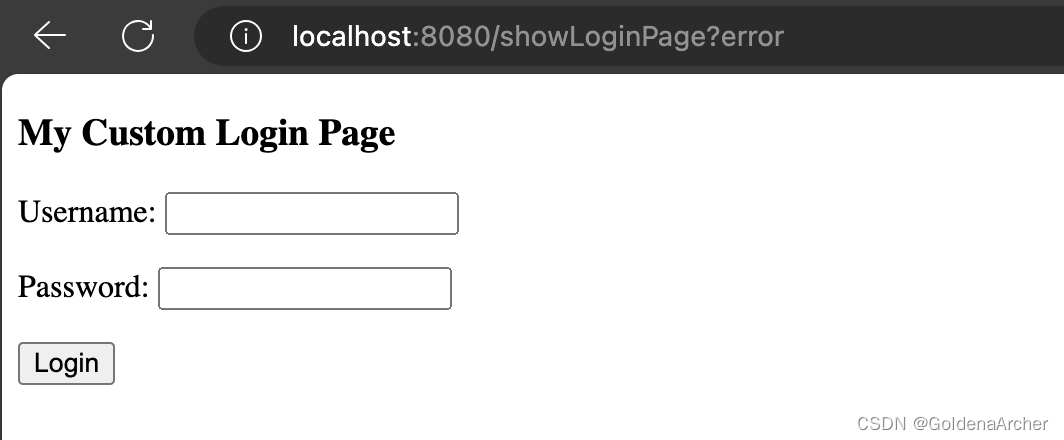
⚠️:这是 spring boot 实现的自动重定向,想要修改的话也可以在 formLogin 进行自定义配置
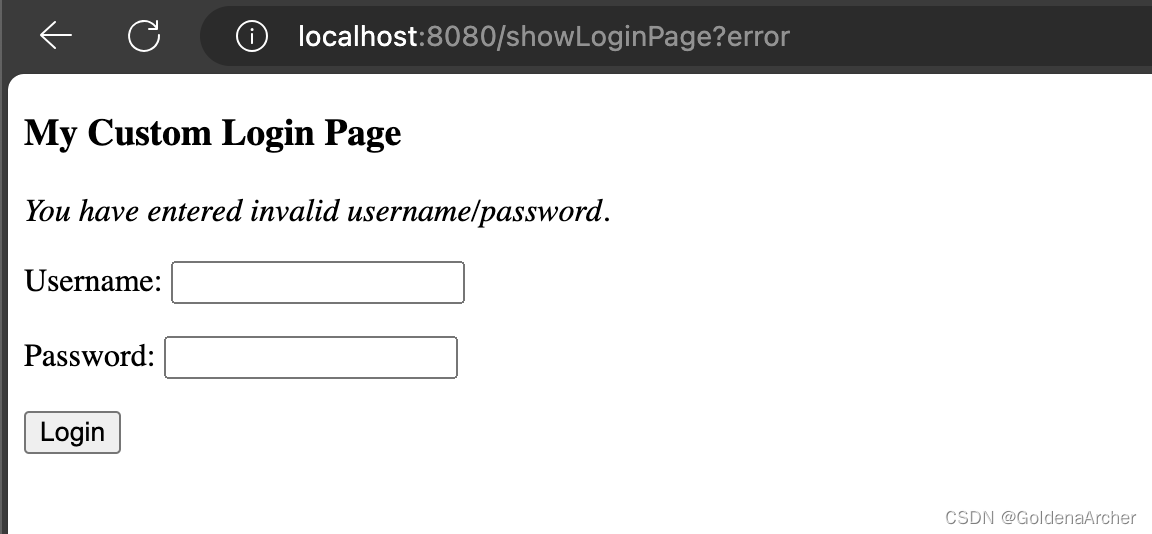
这里实现一个比较通用的报错信息:
<div th:if="${param.error}">
  <i>You have entered invalid username/password.</i>
</div>
最终显示效果:
添加登出功能
这里 logout 也使用 spring boot 的默认方法,config 修改如下:
    @Bean
    public SecurityFilterChain filterChain(HttpSecurity httpSecurity) throws Exception {
        httpSecurity.authorizeHttpRequests(configurer ->
                configurer
                        .anyRequest().authenticated()
                ).formLogin(form ->
                    form
                            .loginPage("/showLoginPage")
                            .loginProcessingUrl("/authenticateUser")    // no controller request mapping for this
                            .permitAll()
                ).logout(LogoutConfigurer::permitAll);

        return httpSecurity.build();
    }
HTML 模板更新如下:
<form action="#" method="post" th:action="@{/logout}">
  <input type="submit" value="Logout " />
</form>
实现效果:

这里 CSS 修改了一下,不过主要核心内容还是一样的
用户 & 权限
下面会实现根据用户权限限制用户访问的功能
显示用户名和权限
spring security 会将当前用户的验证信息传导 view 层,获取方法如下:
<!DOCTYPE html>
<html
  lang="en"
  xmlns:th="http://www.thymeleaf.org"
  xmlns:sec="http://www.thymeleaf.org/extras/spring-security"
>
  <body>
    <p>
      User: <span sec:authentication="principal.username"></span> <br /><br />
      Role(s): <span sec:authentication="principal.authorities"></span>
    </p>

    <script src="http://localhost:35729/livereload.js"></script>
  </body>
</html>
渲染结果:
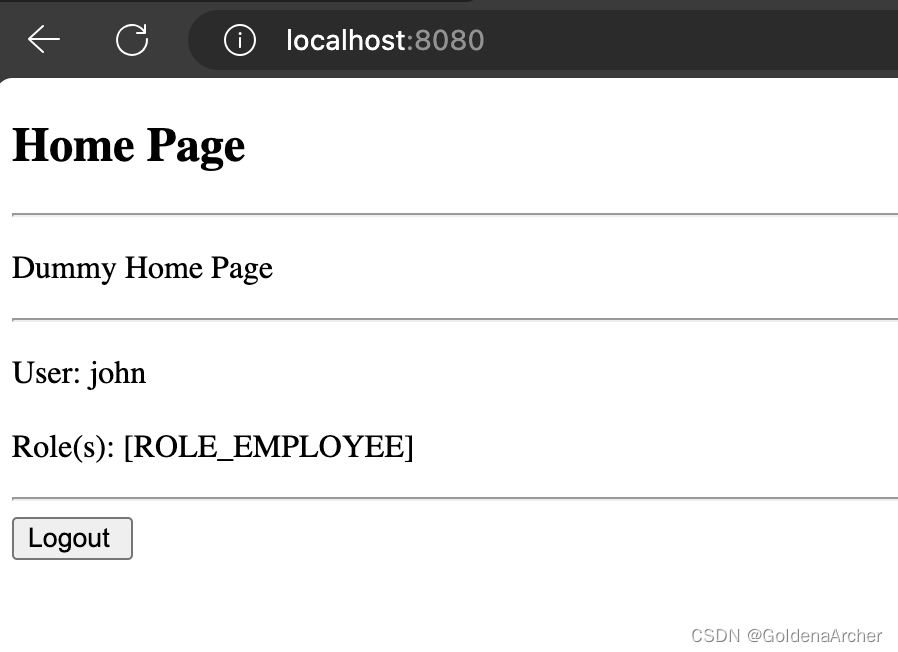
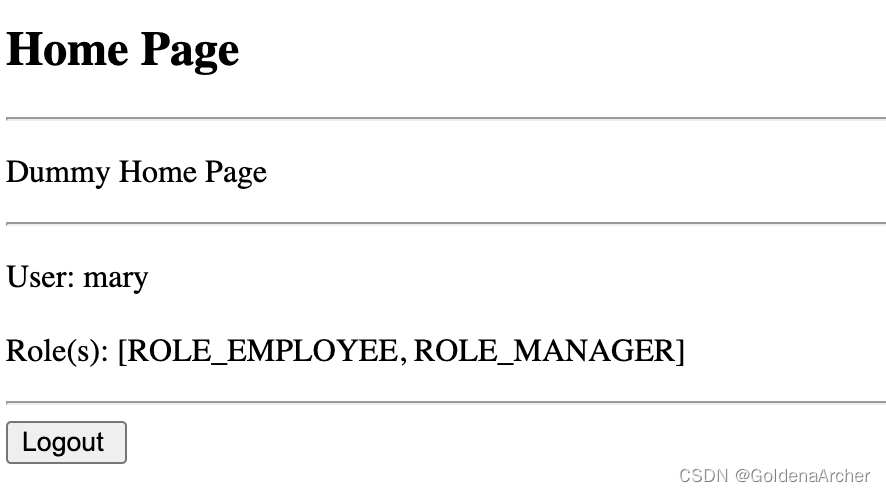
根据权限限制访问
这里可以通过两步实现:
-
添加对应的 controller & view 层实现重定向功能
⚠️:这里用户已经登录成功了,所以对应的功能在
DemoController中实现:@GetMapping("/leaders") public String showLeaders() { return "leaders"; }随后就是更新 Home 页面中,添加重定向的功能:
<p>
  <a th:href="@{/leaders}">Leadership Meeting</a>
  (Only for Manager peeps)
</p>
以及实现对应的 Leaders 页面:
<!DOCTYPE html> <html lang="en" xmlns:th="http://www.thymeleaf.org"> <head> <meta charset="UTF-8" /> <title>Leaders</title> </head> <body> <h2>Leaders</h2> <hr /> <p>Page only available for Manager role</p> <a th:href="@{/}">Back to Home Page</a> <script src="http://localhost:35729/livereload.js"></script> </body> </html> -
在 security config 中限制用户的访问权限
实现如下:
    @Bean
    public SecurityFilterChain filterChain(HttpSecurity httpSecurity) throws Exception {
        httpSecurity.authorizeHttpRequests(configurer ->
                configurer
                        .requestMatchers("/").hasRole("EMPLOYEE")
                        .requestMatchers("/leaders/**").hasRole("MANAGERS")
                        .requestMatchers("/systems/**").hasRole("ADMIN")
                        .anyRequest().authenticated())
                .formLogin(form ->
                    form
                            .loginPage("/showLoginPage")
                            .loginProcessingUrl("/authenticateUser")    // no controller request mapping for this
                            .permitAll()
                ).logout(LogoutConfigurer::permitAll)
                ;

        return httpSecurity.build();
    }
完成这一步后,只有有对应权限的用户可以访问对应的页面
John 只有
EMPLOYEE的权限,因此只能访问首页,而 mary 和 susan 有MANAGERS的权限,所以它们可以访问leaders下的资源
实现效果如下:

⚠️:同样的变化也可以加到 admin 权限和 system 页面上,这里就不重复了
拒绝访问页面
目前因为 spring 没有对相应的报错页面进行配置,因此当权限不够(403)时,会显示 whitelabel 页面。鉴于大多数用户并不能够了解 HTTP 状态码,显然这不是一个用户友好型的实现
重定向一个对应的报错页面的实现就能够很好的提升用户体验
这里的实现和自定义登录/登出页面相似,主要是在 exceptionHandling 添加对应的报错页面:
    @Bean
    public SecurityFilterChain filterChain(HttpSecurity httpSecurity) throws Exception {
        httpSecurity.authorizeHttpRequests(configurer ->
                configurer
                        .requestMatchers("/").hasRole("EMPLOYEE")
                        .requestMatchers("/leaders/**").hasRole("MANAGER")
                        .requestMatchers("/systems/**").hasRole("ADMIN")
                        .anyRequest().authenticated())
                .formLogin(form ->
                    form
                            .loginPage("/showLoginPage")
                            .loginProcessingUrl("/authenticateUser")    // no controller request mapping for this
                            .permitAll())
                .logout(LogoutConfigurer::permitAll)
                .exceptionHandling(configurer ->
                        configurer.accessDeniedPage("/access-denied"))
                ;

        return httpSecurity.build();
    }
controller 的实现如下:
    @GetMapping("/access-denied")
    public String showAccessDenied() {
        return "access-denied";
    }
⚠️:这里的实现我也放在了 LoginController 下面……其实感觉这个 controller 应该重命名为 auth controller 比较好
HTML 模板实现如下:
<!DOCTYPE html>
<html lang="en" xmlns:th="http://www.thymeleaf.org">
  <head>
    <meta charset="UTF-8" />
    <title>Access Denied</title>
  </head>
  <body>
    <h2>Access Denied - You are not ahtorized to access this resource.</h2>

    <a th:href="@{/}">Back to Home Page</a>

    <script src="http://localhost:35729/livereload.js"></script>
  </body>
</html>
最终效果:

根据权限显示用户信息
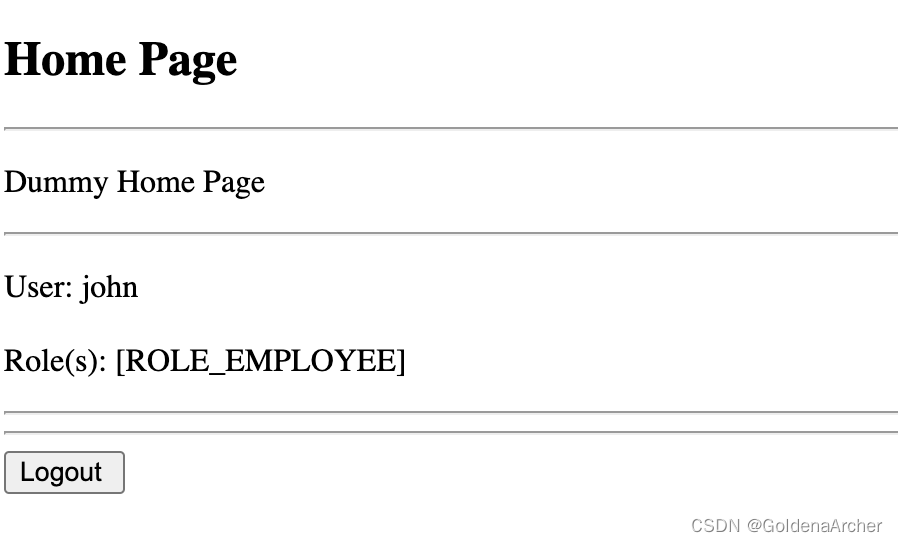
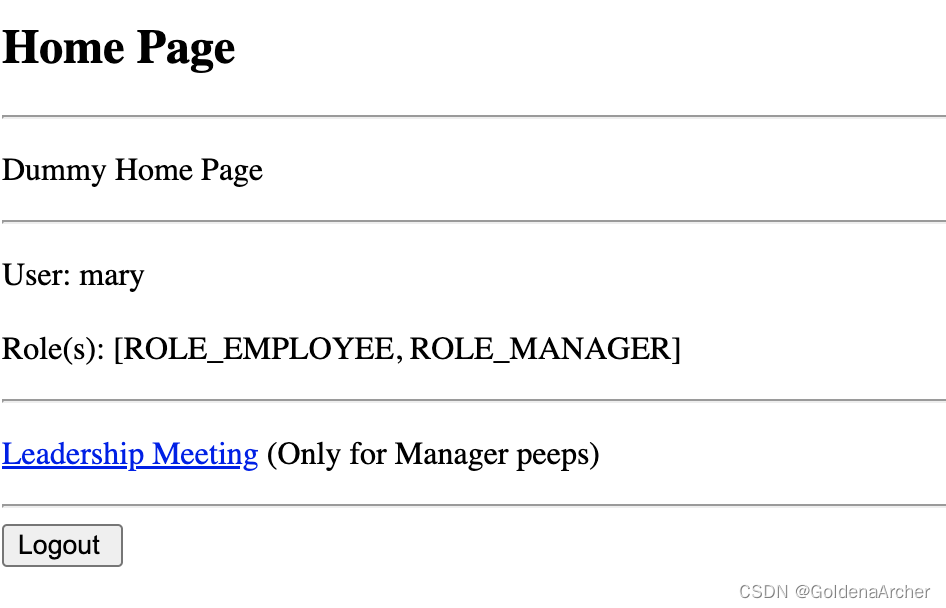
目前的首页显示时完全一致的,不过对于 EMPLOYEE 权限的用户显示无法访问的页面,意义不是很大
这时候可以使用 spring security 提供的 sec:authorize="hasRole('ROLE')" 语法:
<p sec:authorize="hasRole('MANAGER')">
  <a th:href="@{/leaders}">Leadership Meeting</a>
  (Only for Manager peeps)
</p>

<p sec:authorize="hasRole('ADMIN')">
  <a th:href="@{/systems}">System Meeting</a>
  (Only for ADMIN peeps)
</p>
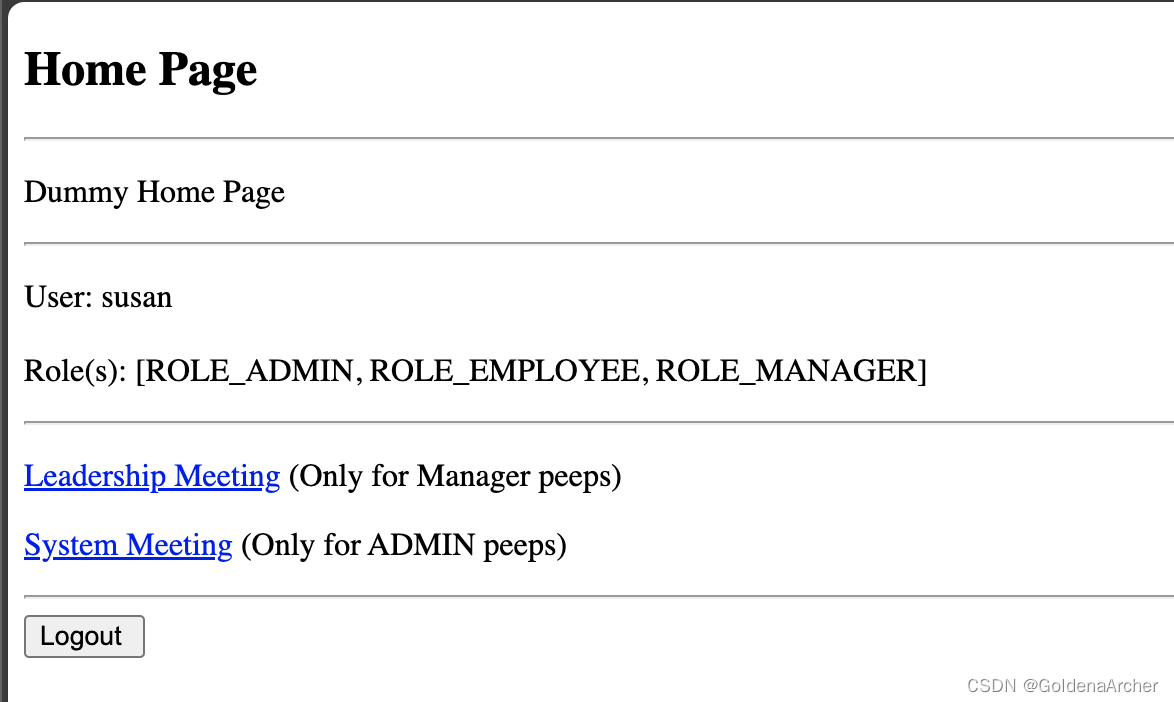
效果如下:
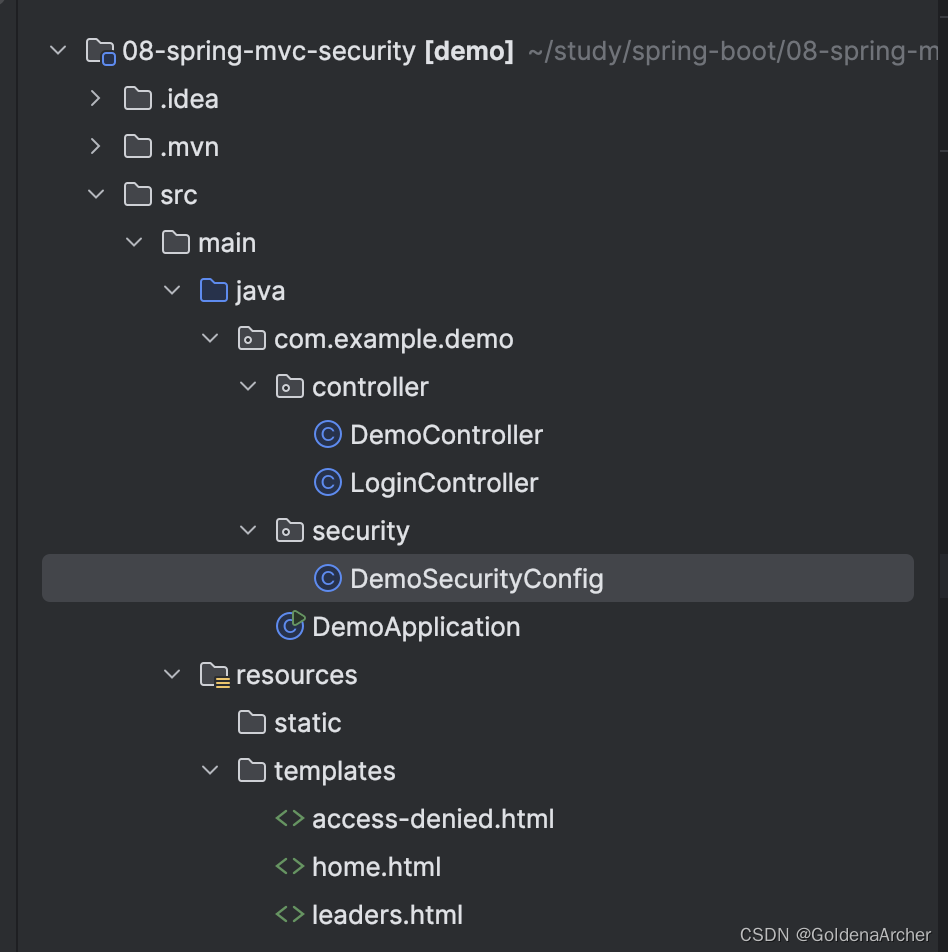
目前的项目结构如下:
