今天有空,使用前端三件套html、css、js制作了一个非常简单的产品制作页面,与大家分享,希望可以满足大家应急的需求。本页面可以对产品进行“抢购”、对产品进行介绍,同时可以安排一张产品的高清大图,我也加入了页面的背景。
下面我们上具体流程。
HTML
首先是主体部分,我主要是用div盒子对页面的各个部分进行分割,在一层大的div当中潜逃两个小的div盒子,其中一个div中再次嵌套一个div进行文字介绍。具体的结构图如下:
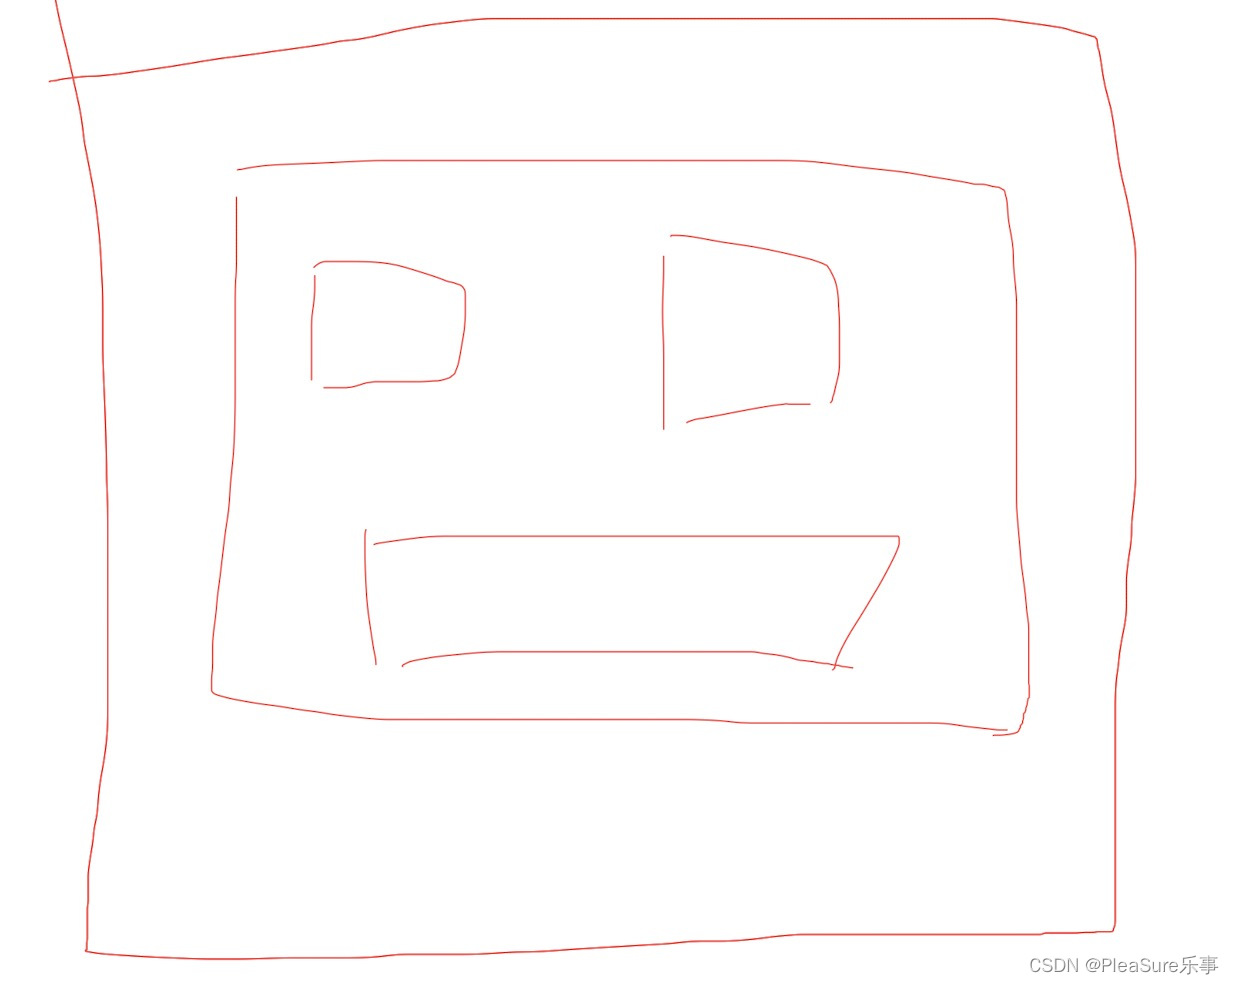
看完大致结构和原理,我们就开始具体的开发与实践。我们用到的主体上面已经说过,主要用div进行完成,文字部分主要是用h系列的标签和p标签实现。图片直接使用img即可使用。需要注意的是我们需要加入id或class来方便后续css的设置。接下来上代码和具体效果图供大家参考:
<div class="container">
<div class="image-section">
<img src="imgimg.png" alt="内容" class="image">
<div class="image-info">
<h2> xxx秒杀产品 </h2>
<p id="miaosha">秒杀价:¥1000 </p>
<p id="miaosha">正在秒杀;</p>
<p>总量:100</p>
<p>余量:20</p>
<p>开始抢货时间:2024.6.2 15:30</p>
<p>结束抢货时间:2024.6.4 15:30</p>
<button class="large-btn">立即秒杀</button>
<br>
<button class="small-btn">返回上一页</button>
</div>
</div>
<div class="text-section">
<h2>商品详情</h2>
<p>一款新推出的智能产品</p>
</div>
</div>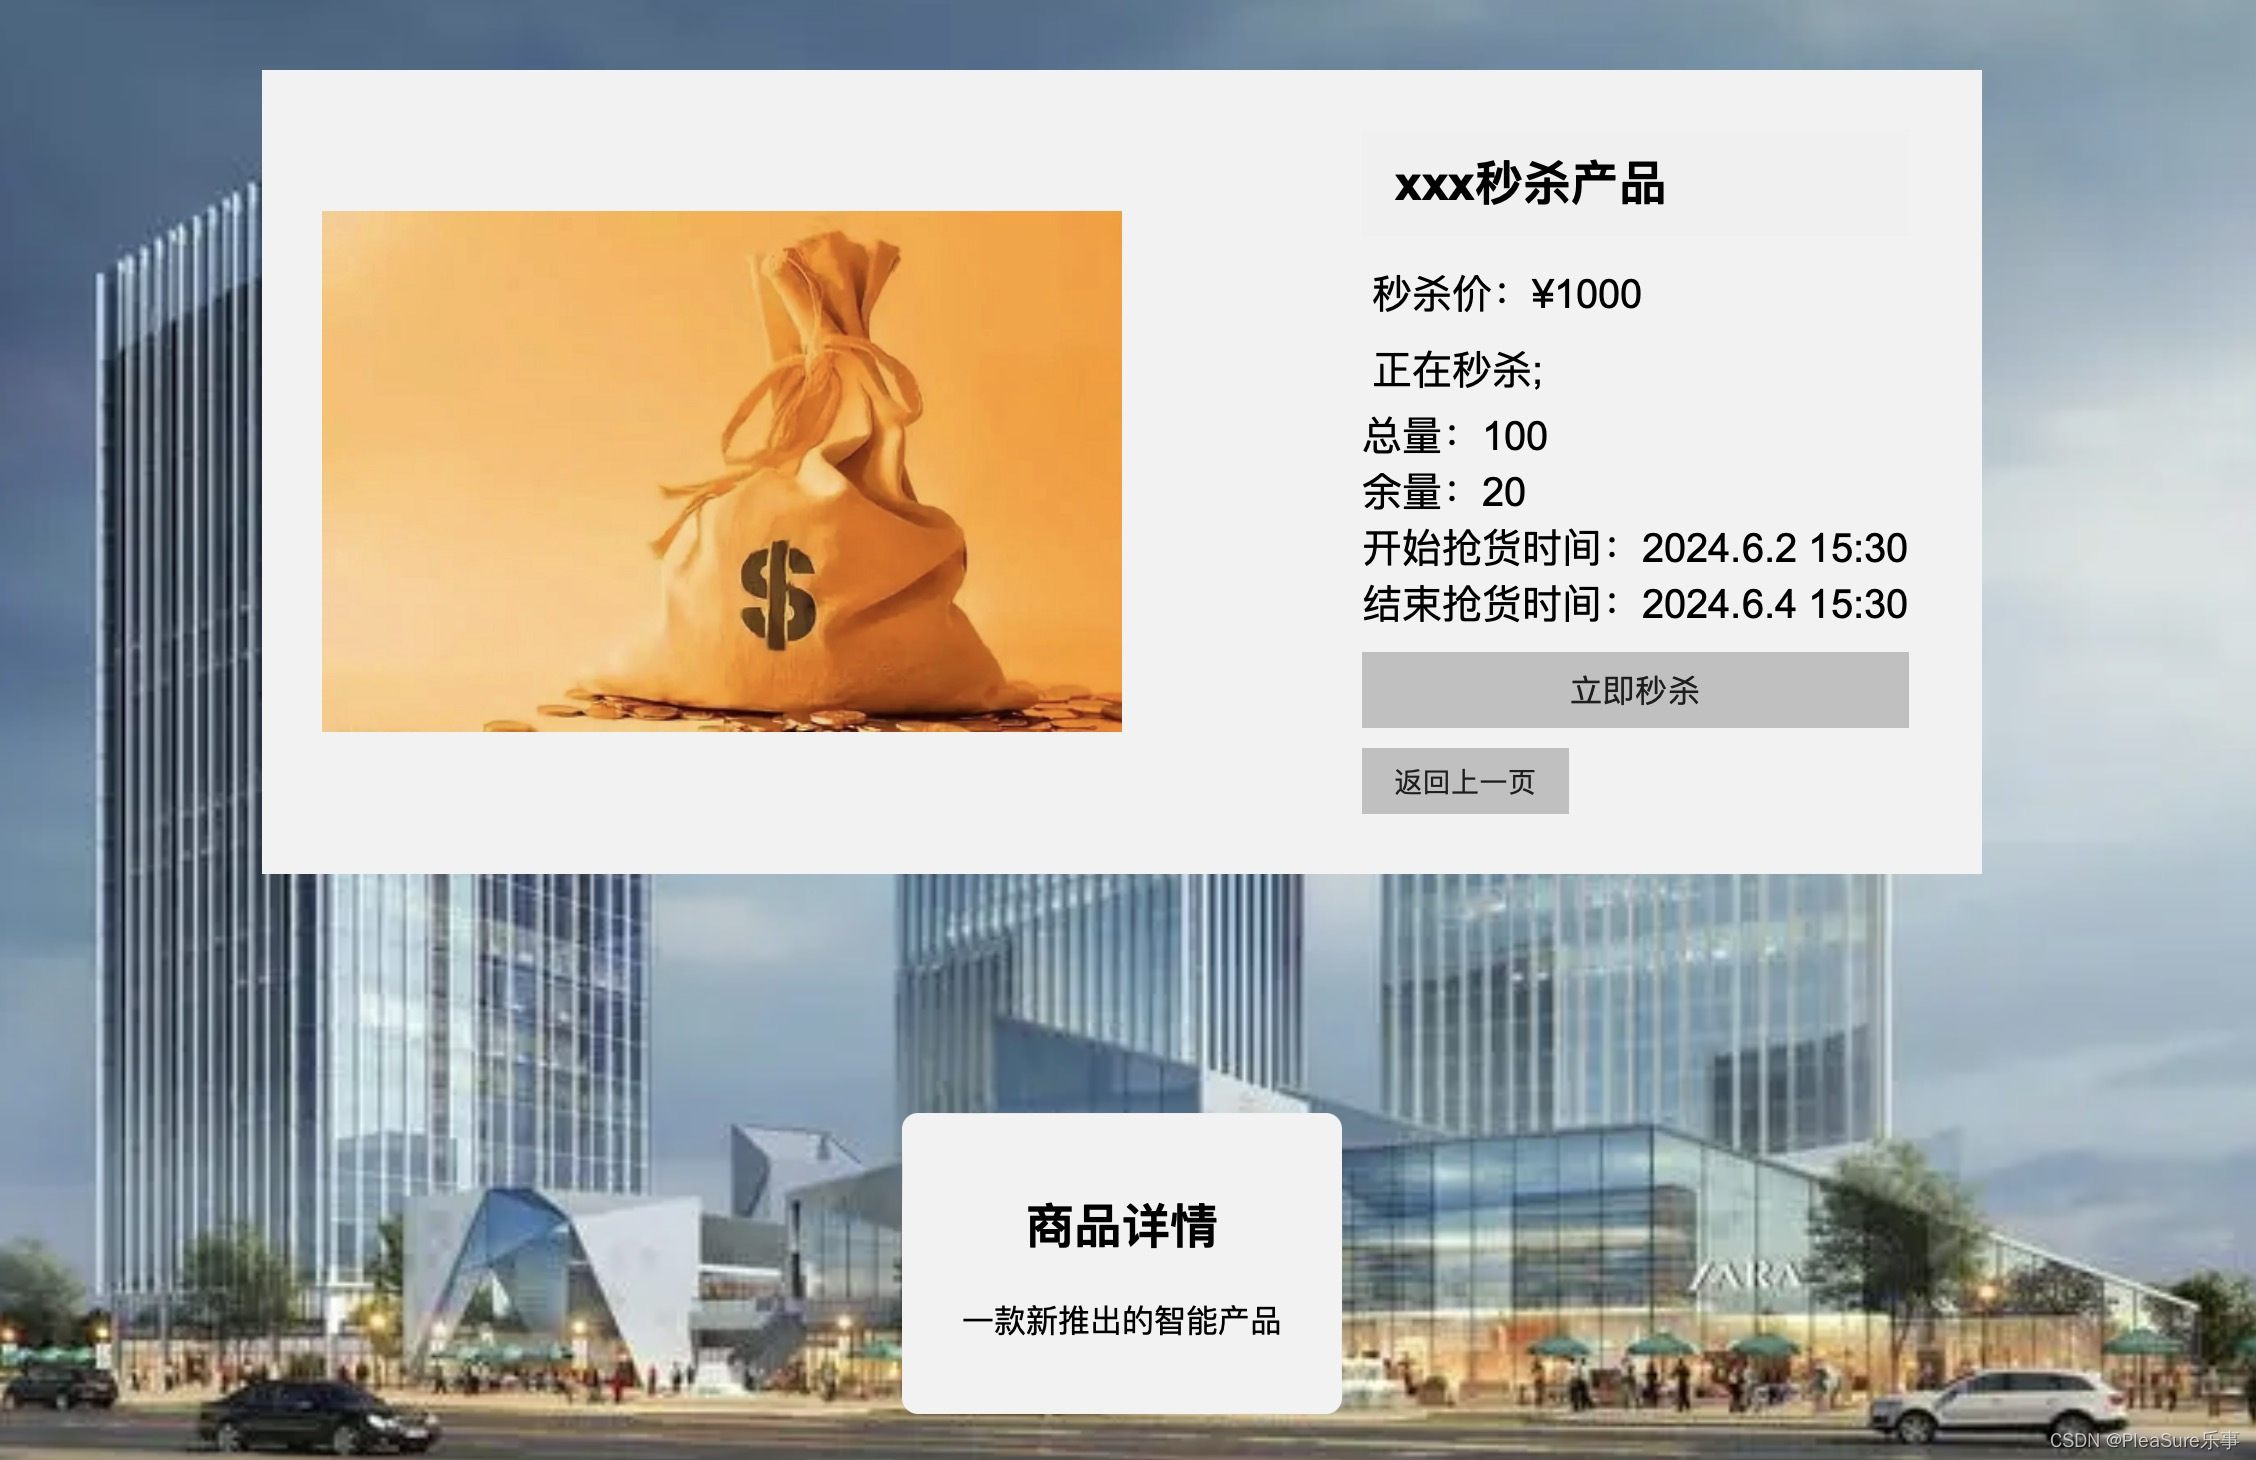
PS:这里的效果已经加入了最终的CSS代码,并非最初的html所呈现的效果。最终css代码如何使用请听我娓娓道来。
CSS
CSS部分我们主要加入了对字体大小font-size、内外边距padding和margin、按钮button、div的背景色backgroundcolor、背景图backgroundimage的多重设置。同时我们也针对字体样式font-family进行了修改,为大家设置出一款还算好看的字体。
但是大家需要注意的是实际开发中我们需要尽可能多的使用%进行设置,而非使用px等设置,因为实际开发中我们的代码需要保证在多台电脑上得到的效果尽量一样,因此使用百分比等方式再适合不过。
我们的代码如下,大家使用后就可以得到如上图的代码:
<style>
    body, html {
        margin: 0;
        padding: 0;
        width: 100%;
        height: 100%;
        font-family: Arial, sans-serif;
    }
    .container {
        display: flex;
        flex-direction: column;
        align-items: center;
        justify-content: space-around;
        height: 100vh;
    }
    .image-section {
        display: flex;
        align-items: center;
        width: 100%;
        max-width: 800px;
    }
    .image {
        max-width: 50%;
        height: auto;
        margin-right: 100px;
    }
    .image-info {
        margin-left: 20px;
    }
    .image-info h2 {
        margin: 0 0 10px 0;
        background-color: #f0f0f0;
        padding: 10px;
    }
    .image-info p {
        margin: 0;
        font-size: 20px;
    }
    .large-btn, .small-btn {
        margin-top: 10px;
        padding: 10px 20px;
        border: none;
        cursor: pointer;
        outline: none;
    }
    .large-btn {
        font-size: 16px;
        width: 100%;
        box-sizing: border-box;
    }
    .small-btn {
        font-size: 14px;
        padding: 8px 16px;
        margin-left: auto;
    }
    .text-section p {
        max-width: 600px;
        text-align: center;
    }
    .text-section {
        max-width: 600px;
        text-align: center;
        background-color: #f2f2f2;
        padding: 20px;
        margin-top: 20px;
        border-radius: 8px;
        padding-left: 30px;
        padding-right: 30px;
    }
    #productname{
        background-color: #f2f2f2;
        padding: 10px;
    }
    #miaosha{
        background-color: #f2f2f2;
        padding: 5px;
    }
    body{
        background-image: url("test.webp");
        background-size: cover;
        background-position: center;
    }
    .image-section{
        background-color: #f2f2f2;
        padding: 30px;
    }
</style>
JS
最后我们如果想要实现网页之间的跳转和购买等功能,我们需要对按钮设置一些js代码来完成。这里我们直接使用addEventListener即可实现页面跳转等功能,直接秒杀。我也在代码中給出一些注释,希望对大家有帮助:
<script>
        // 等待DOM加载完成
        document.addEventListener('DOMContentLoaded', function() {
            // 使用querySelector获取第一个class为small-btn的按钮
            var smallBtn = document.querySelector('.small-btn');

            // 为按钮添加点击事件监听器
            smallBtn.addEventListener('click', function() {
                // 改变当前窗口的URL,实现页面跳转
                window.location.href = 'conductlist.html';
            });
        });
        document.addEventListener('DOMContentLoaded', function() {
            // 使用querySelector获取第一个class为small-btn的按钮
            var smallBtn = document.querySelector('.large-btn');

            // 为按钮添加点击事件监听器
            smallBtn.addEventListener('click', function() {
                // 改变当前窗口的URL,实现页面跳转
                window.location.href = 'sucess.html';
            });
        });
    </script>
将上述代码结合起来,我们就可以得到一个可以跳转页面的html网站了。希望对大家有所帮助,希望您也可以为我留下点赞、收藏和关注,这对我很重要,谢谢!
