Arduino - 旋转编码器 - 伺服电机
Arduino - Rotary Encoder
In this tutorial, We are going to learn how to program Arduino to rotate a servo motor according to the rotary encoder’s output value.
在本教程中,我们将学习如何对Arduino进行编程,使其根据旋转编码器的输出值旋转伺服电机。
About Servo Motor and Rotary Encoder 关于伺服电机和旋转编码器
If you do not know about servo motor and rotary encoder (pinout, how it works, how to program …), learn about them in the following tutorials:
如果您不了解伺服电机和旋转编码器(引脚排列、工作原理、如何编程等),请在以下教程中了解它们:
- Arduino - Servo Motor tutorial
Arduino - 伺服电机教程 - Arduino - Rotary Encoder tutorial
Arduino - 旋转编码器教程
Wiring Diagram 接线图
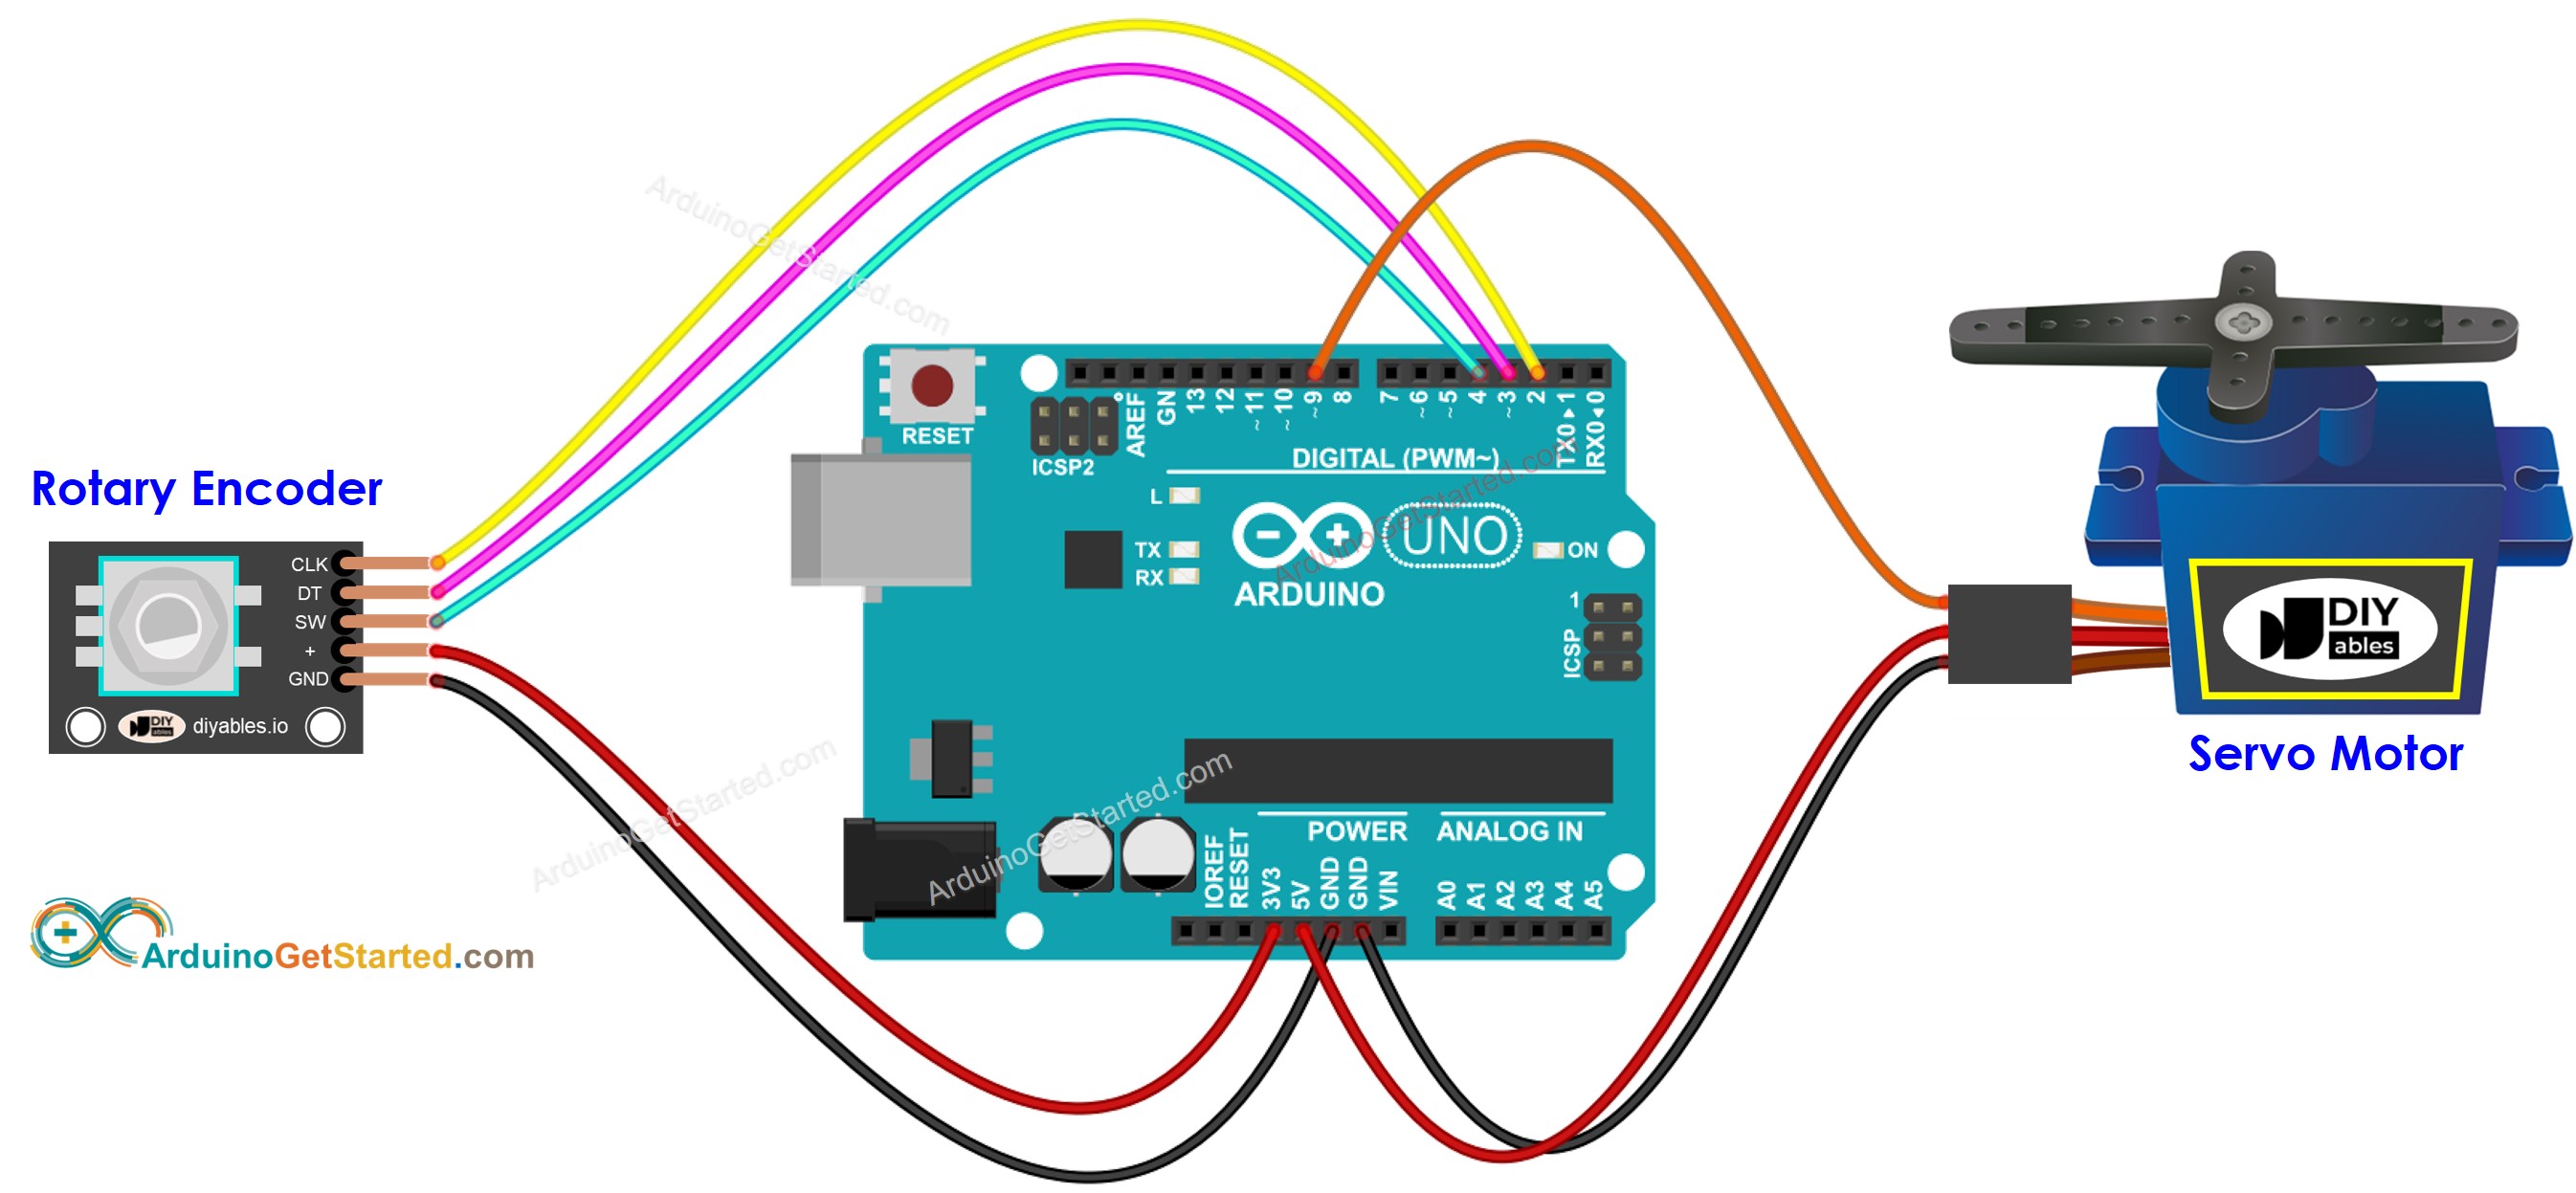
This image is created using Fritzing. Click to enlarge image
此图像是使用 Fritzing 创建的。点击放大图片
Arduino Code Arduino代码
/*
* Created by ArduinoGetStarted.com
*
* This example code is in the public domain
*
* Tutorial page: https://arduinogetstarted.com/tutorials/arduino-rotary-encoder-servo-motor
*/
#include <Servo.h>
#define CLK_PIN 2
#define DT_PIN 3
#define SW_PIN 4
#define SERVO_PIN 9
#define DIRECTION_CW 0 // clockwise direction
#define DIRECTION_CCW 1 // counter-clockwise direction
int counter = 0;
int direction = DIRECTION_CW;
int CLK_state;
int prev_CLK_state;
Servo servo; // create servo object to control a servo
void setup() {
Serial.begin(9600);
// configure encoder pins as inputs
pinMode(CLK_PIN, INPUT);
pinMode(DT_PIN, INPUT);
// read the initial state of the rotary encoder's CLK pin
prev_CLK_state = digitalRead(CLK_PIN);
servo.attach(SERVO_PIN); // attaches the servo on pin 9 to the servo object
servo.write(0);
}
void loop() {
// read the current state of the rotary encoder's CLK pin
CLK_state = digitalRead(CLK_PIN);
// If the state of CLK is changed, then pulse occurred
// React to only the rising edge (from LOW to HIGH) to avoid double count
if (CLK_state != prev_CLK_state && CLK_state == HIGH) {
// if the DT state is HIGH
// the encoder is rotating in counter-clockwise direction => decrease the counter
if (digitalRead(DT_PIN) == HIGH) {
counter--;
direction = DIRECTION_CCW;
} else {
// the encoder is rotating in clockwise direction => increase the counter
counter++;
direction = DIRECTION_CW;
}
Serial.print("DIRECTION: ");
if (direction == DIRECTION_CW)
Serial.print("Clockwise");
else
Serial.print("Counter-clockwise");
Serial.print(" | COUNTER: ");
Serial.println(counter);
if (counter < 0)
counter = 0;
else if (counter > 180)
counter = 180;
// sets the servo angle according to the counter
servo.write(counter);
}
// save last CLK state
prev_CLK_state = CLK_state;
}
Quick Steps 快速步骤
- Connect Arduino to PC via USB cable
通过USB线将Arduino连接到PC - Open Arduino IDE, select the right board and port
打开Arduino IDE,选择正确的板卡和端口 - Copy the above code and open with Arduino IDE
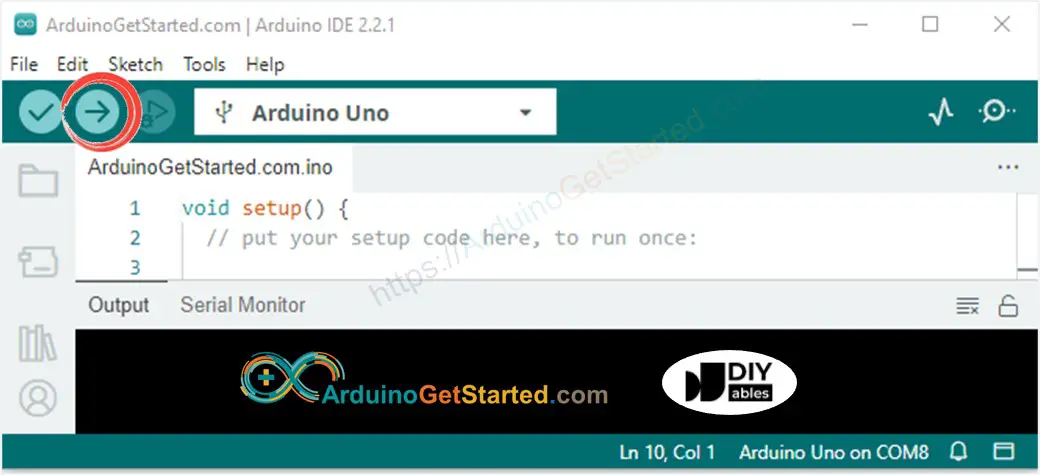
复制上面的代码并使用Arduino IDE打开 - Click Upload button on Arduino IDE to upload code to Arduino
单击Arduino IDE上的“上传”按钮,将代码上传到Arduino
- Open Serial Monitor 开放式串行监视器
- Rotate the rotary encoder
旋转旋转编码器 - See the servo motor’s rotation
查看伺服电机的旋转 - See the result on Serial Monitor
在串行监视器上查看结果
Function References
- analogRead()
- map()
- Servo.attach()
- Servo.write()
- Servo.writeMicroseconds()
- Servo.read()
- Servo.attached()
- Servo.detach()