参考:保姆级使用PyTorch训练与评估自己的ResNet网络教程_训练自己的图像分类网络resnet101 pytorch-CSDN博客
项目地址:GitHub - Fafa-DL/Awesome-Backbones: Integrate deep learning models for image classification | Backbone learning/comparison/magic modification project
视频手把手教程:我将维护一个集成各主干网络的图像分类项目_哔哩哔哩_bilibili
主要是复现和训练测试自己的数据集
复现部分
0.环境问题
pytorch官网里面找个合适的CUDA11.0安装一下,然后把requirements.txt安装一下
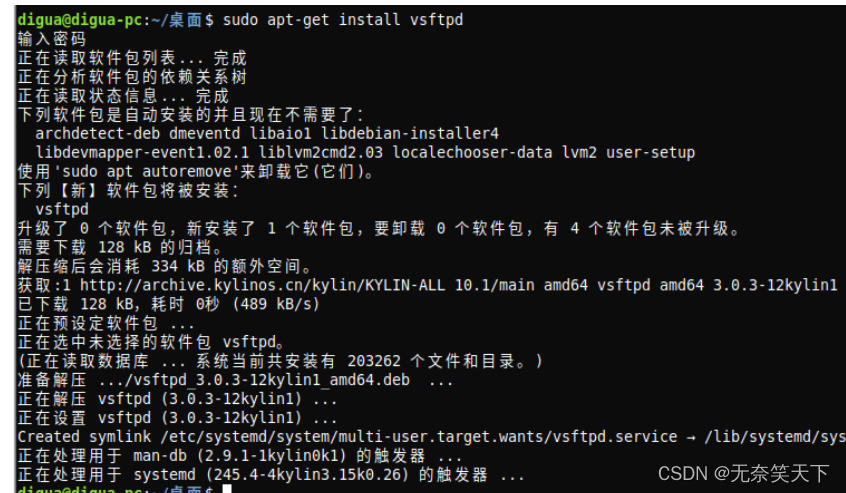
pip install -r requirements.txt
参考版本:
pip list
Package                Version
---------------------- ---------------
certifi                2021.5.30
cycler                 0.11.0
dataclasses            0.8
importlib-resources    5.4.0
joblib                 1.1.1
kiwisolver             1.3.1
matplotlib             3.3.4
mkl-fft                1.3.0
mkl-random             1.1.1
mkl-service            2.3.0
numpy                  1.19.2
olefile                0.46
opencv-contrib-python  4.0.1.24
opencv-python          4.0.1.24
opencv-python-headless 4.0.1.24
packaging              21.3
Pillow                 8.4.0
pip                    21.3.1
pyparsing              3.0.7
python-dateutil        2.9.0.post0
scikit-learn           0.24.2
scipy                  1.5.4
setuptools             36.4.0
six                    1.16.0
terminaltables         3.1.10
threadpoolctl          3.1.0
torch                  1.7.1
torchaudio             0.7.0a0+a853dff
torchvision            0.8.2
tqdm                   4.64.1
typing_extensions      4.1.1
wheel                  0.37.1
zipp                   3.6.0
- 下载MobileNetV3-Small权重至datas下
- 利用项目里的猫狗图片检验一下安装情况
python tools/single_test.py datas/cat-dog.png models/mobilenet/mobilenet_v3_small.py --classes-map datas/imageNet1kAnnotation.txt成功的话大概这样:
-

1.数据集问题
先下载花卉数据集(0zat):flower_photos.zip_免费高速下载|百度网盘-分享无限制 (baidu.com)
原始地址在项目的资料部分:GitHub - Fafa-DL/Awesome-Backbones: Integrate deep learning models for image classification | Backbone learning/comparison/magic modification project
目录结构,按照花卉类型存放
├─flower_photos
│  ├─daisy
│  │      100080576_f52e8ee070_n.jpg
│  │      10140303196_b88d3d6cec.jpg
│  │      ...
│  ├─dandelion
│  │      10043234166_e6dd915111_n.jpg
│  │      10200780773_c6051a7d71_n.jpg
│  │      ...
│  ├─roses
│  │      10090824183_d02c613f10_m.jpg
│  │      102501987_3cdb8e5394_n.jpg
│  │      ...
│  ├─sunflowers
│  │      1008566138_6927679c8a.jpg
│  │      1022552002_2b93faf9e7_n.jpg
│  │      ...
│  └─tulips
│  │      100930342_92e8746431_n.jpg
│  │      10094729603_eeca3f2cb6.jpg
│  │      ...
- 在
datas/中创建标签文件annotations.txt,按行将类别名的索引写入文件(应该已经写好了);即daisy 0 dandelion 1 roses 2 sunflowers 3 tulips 4之后进行数据集划分,随机分为训练和测试集。
-
在tools/split_data.py中修改原始数据集地址和划分后的数据集地址。(new_datasets最好别更改)
init_dataset = './flower_photos'
new_dataset = './Awesome-Backbones/datasets'
终端使用命令:
python tools/split_data.py划分后的数据集格式大概为:
├─...
├─datasets
│  ├─test
│  │  ├─daisy
│  │  ├─dandelion
│  │  ├─roses
│  │  ├─sunflowers
│  │  └─tulips
│  └─train
│      ├─daisy
│      ├─dandelion
│      ├─roses
│      ├─sunflowers
│      └─tulips
├─...
查看tools/get_annotation.py,看看路径要不要更改:
-
datasets_path = '你的数据集路径'
终端使用命令:
python tools/get_annotation.py
该命令应该会在datas/下形成train.txt和test.txt,里面是具体照片的位置
2.修改配置文件
/models下有许多的模型配置文件
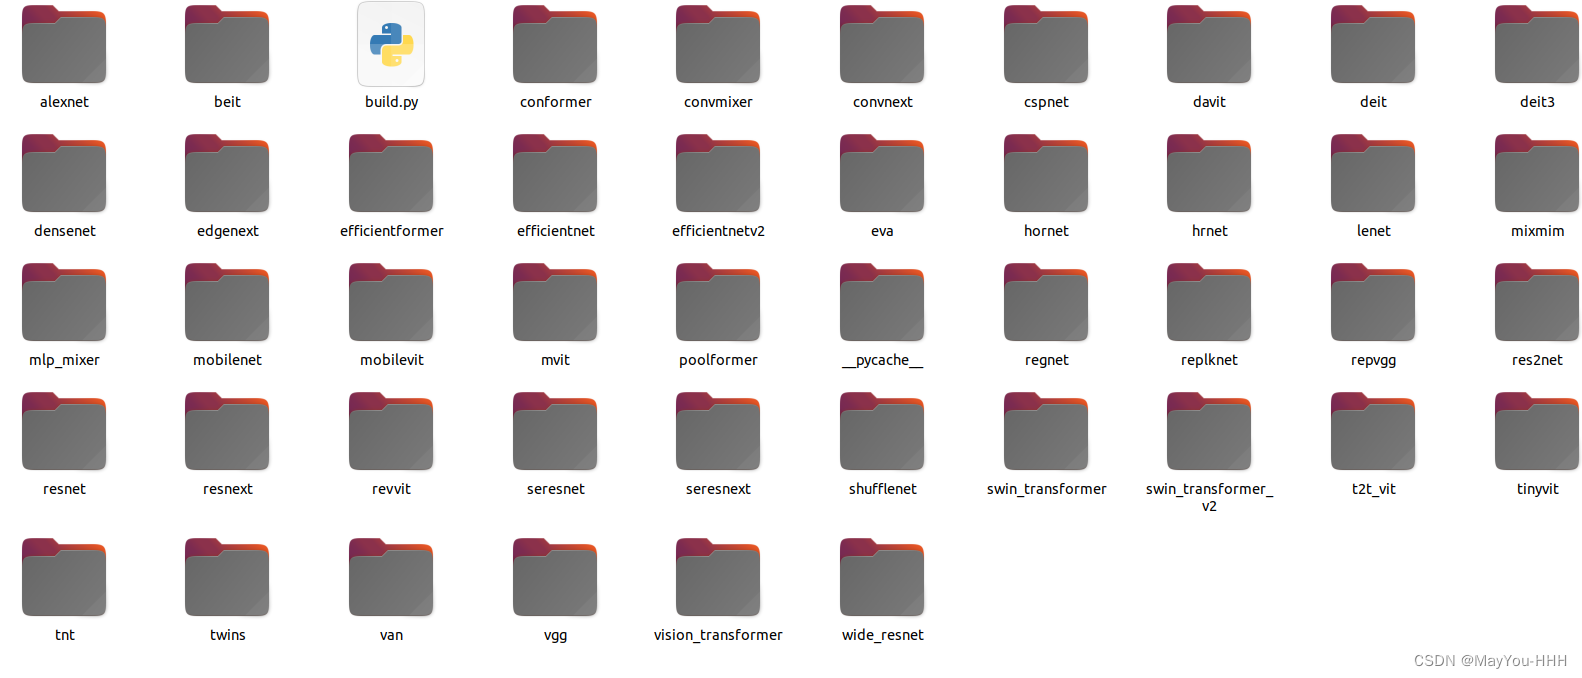
以resnet为例

挑一个顺眼的改改
以resnet101为例
# model settings

model_cfg = dict(
    backbone=dict(
        type='ResNet',
        depth=101,
        num_stages=4,
        out_indices=(3, ),
        style='pytorch'),
    neck=dict(type='GlobalAveragePooling'),
    head=dict(
        type='LinearClsHead',
        num_classes=5,
        in_channels=2048,
        loss=dict(type='CrossEntropyLoss', loss_weight=1.0),
        topk=(1, 5),))

# dataloader pipeline
img_lighting_cfg = dict(
    eigval=[55.4625, 4.7940, 1.1475],
    eigvec=[[-0.5675, 0.7192, 0.4009], [-0.5808, -0.0045, -0.8140],
            [-0.5836, -0.6948, 0.4203]],
    alphastd=0.1,
    to_rgb=True)
policies = [
    dict(type='AutoContrast', prob=0.5),
    dict(type='Equalize', prob=0.5),
    dict(type='Invert', prob=0.5),
    dict(
        type='Rotate',
        magnitude_key='angle',
        magnitude_range=(0, 30),
        pad_val=0,
        prob=0.5,
        random_negative_prob=0.5),
    dict(
        type='Posterize',
        magnitude_key='bits',
        magnitude_range=(0, 4),
        prob=0.5),
    dict(
        type='Solarize',
        magnitude_key='thr',
        magnitude_range=(0, 256),
        prob=0.5),
    dict(
        type='SolarizeAdd',
        magnitude_key='magnitude',
        magnitude_range=(0, 110),
        thr=128,
        prob=0.5),
    dict(
        type='ColorTransform',
        magnitude_key='magnitude',
        magnitude_range=(-0.9, 0.9),
        prob=0.5,
        random_negative_prob=0.),
    dict(
        type='Contrast',
        magnitude_key='magnitude',
        magnitude_range=(-0.9, 0.9),
        prob=0.5,
        random_negative_prob=0.),
    dict(
        type='Brightness',
        magnitude_key='magnitude',
        magnitude_range=(-0.9, 0.9),
        prob=0.5,
        random_negative_prob=0.),
    dict(
        type='Sharpness',
        magnitude_key='magnitude',
        magnitude_range=(-0.9, 0.9),
        prob=0.5,
        random_negative_prob=0.),
    dict(
        type='Shear',
        magnitude_key='magnitude',
        magnitude_range=(0, 0.3),
        pad_val=0,
        prob=0.5,
        direction='horizontal',
        random_negative_prob=0.5),
    dict(
        type='Shear',
        magnitude_key='magnitude',
        magnitude_range=(0, 0.3),
        pad_val=0,
        prob=0.5,
        direction='vertical',
        random_negative_prob=0.5),
    dict(
        type='Cutout',
        magnitude_key='shape',
        magnitude_range=(1, 41),
        pad_val=0,
        prob=0.5),
    dict(
        type='Translate',
        magnitude_key='magnitude',
        magnitude_range=(0, 0.3),
        pad_val=0,
        prob=0.5,
        direction='horizontal',
        random_negative_prob=0.5,
        interpolation='bicubic'),
    dict(
        type='Translate',
        magnitude_key='magnitude',
        magnitude_range=(0, 0.3),
        pad_val=0,
        prob=0.5,
        direction='vertical',
        random_negative_prob=0.5,
        interpolation='bicubic')
]
train_pipeline = [
    dict(type='LoadImageFromFile'),
    dict(
        type='RandAugment',
        policies=policies,
        num_policies=2,
        magnitude_level=12),
    dict(
        type='RandomResizedCrop',
        size=224,
        efficientnet_style=True,
        interpolation='bicubic',
        backend='pillow'),
    dict(type='RandomFlip', flip_prob=0.5, direction='horizontal'),
    dict(type='ColorJitter', brightness=0.4, contrast=0.4, saturation=0.4),
    dict(type='Lighting', **img_lighting_cfg),
    dict(
        type='Normalize',
        mean=[123.675, 116.28, 103.53],
        std=[58.395, 57.12, 57.375],
        to_rgb=False),
    dict(type='ImageToTensor', keys=['img']),
    dict(type='ToTensor', keys=['gt_label']),
    dict(type='Collect', keys=['img', 'gt_label'])
]
val_pipeline = [
    dict(type='LoadImageFromFile'),
    dict(
        type='CenterCrop',
        crop_size=224,
        efficientnet_style=True,
        interpolation='bicubic',
        backend='pillow'),
    dict(
        type='Normalize',
        mean=[123.675, 116.28, 103.53],
        std=[58.395, 57.12, 57.375],
        to_rgb=True),
    dict(type='ImageToTensor', keys=['img']),
    dict(type='Collect', keys=['img'])
]

# train
data_cfg = dict(
    batch_size = 32,
    num_workers = 0,
    train = dict(
        pretrained_flag = False,
        pretrained_weights = '',
        freeze_flag = False,
        freeze_layers = ('backbone',),
        epoches = 150,
    ),
    test=dict(
        ckpt = './logs/ResNet/2024-06-26-10-37-00/Last_Epoch150.pth',
        metrics = ['accuracy', 'precision', 'recall', 'f1_score', 'confusion'],
        metric_options = dict(
            topk = (1,5),
            thrs = None,
            average_mode='none'
    )
    )
)

# optimizer
optimizer_cfg = dict(
    type='SGD',
    lr=0.001,
    momentum=0.9,
    weight_decay=1e-4)

# learning
lr_config = dict(type='StepLrUpdater', step=[30, 60, 90])
主要改model_cfg里面的num_classes,data_cfg里的batch_size与num_workers
若有预训练权重则可以将pretrained_weights设置为True并将预训练的路径赋值给pretrained_weights
optimizer_cfg中修改初始学习率,根据batch_size调试
3.训练
终端运行
python tools/train.py models/resnet/resnet101.py
运行结果

4.评估
在实际使用的配置文件中将ckpt修改
ckpt = '你的训练权重路径'
终端运行
python tools/evaluation.py models/resnet/resnet101.py
运行结果
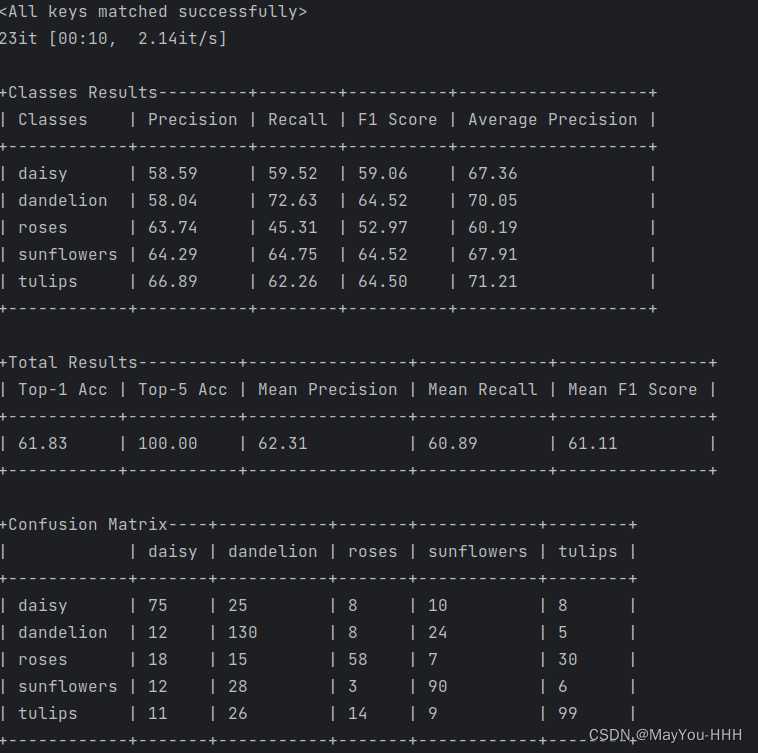
我跑出来的准确率不高哈
5.测试
单张测试
python tools/single_test.py datasets/test/dandelion/14283011_3e7452c5b2_n.jpg models/resnet/resnet101.py
多张测试
使用batch_test.py,路径使用文件夹路径。
----------------------------------------------------------------------------------------------
