项目实战第十八记
- 写在前面
- 1. 前台页面搭建(Front.vue)
- 2. 路由
- 3.改动登录页面Login.vue
- 4. 前台主页面搭建Home.vue
- 总结
- 写在最后
写在前面
本篇主要讲解系统前台搭建,通常较大的项目都会搭建前台
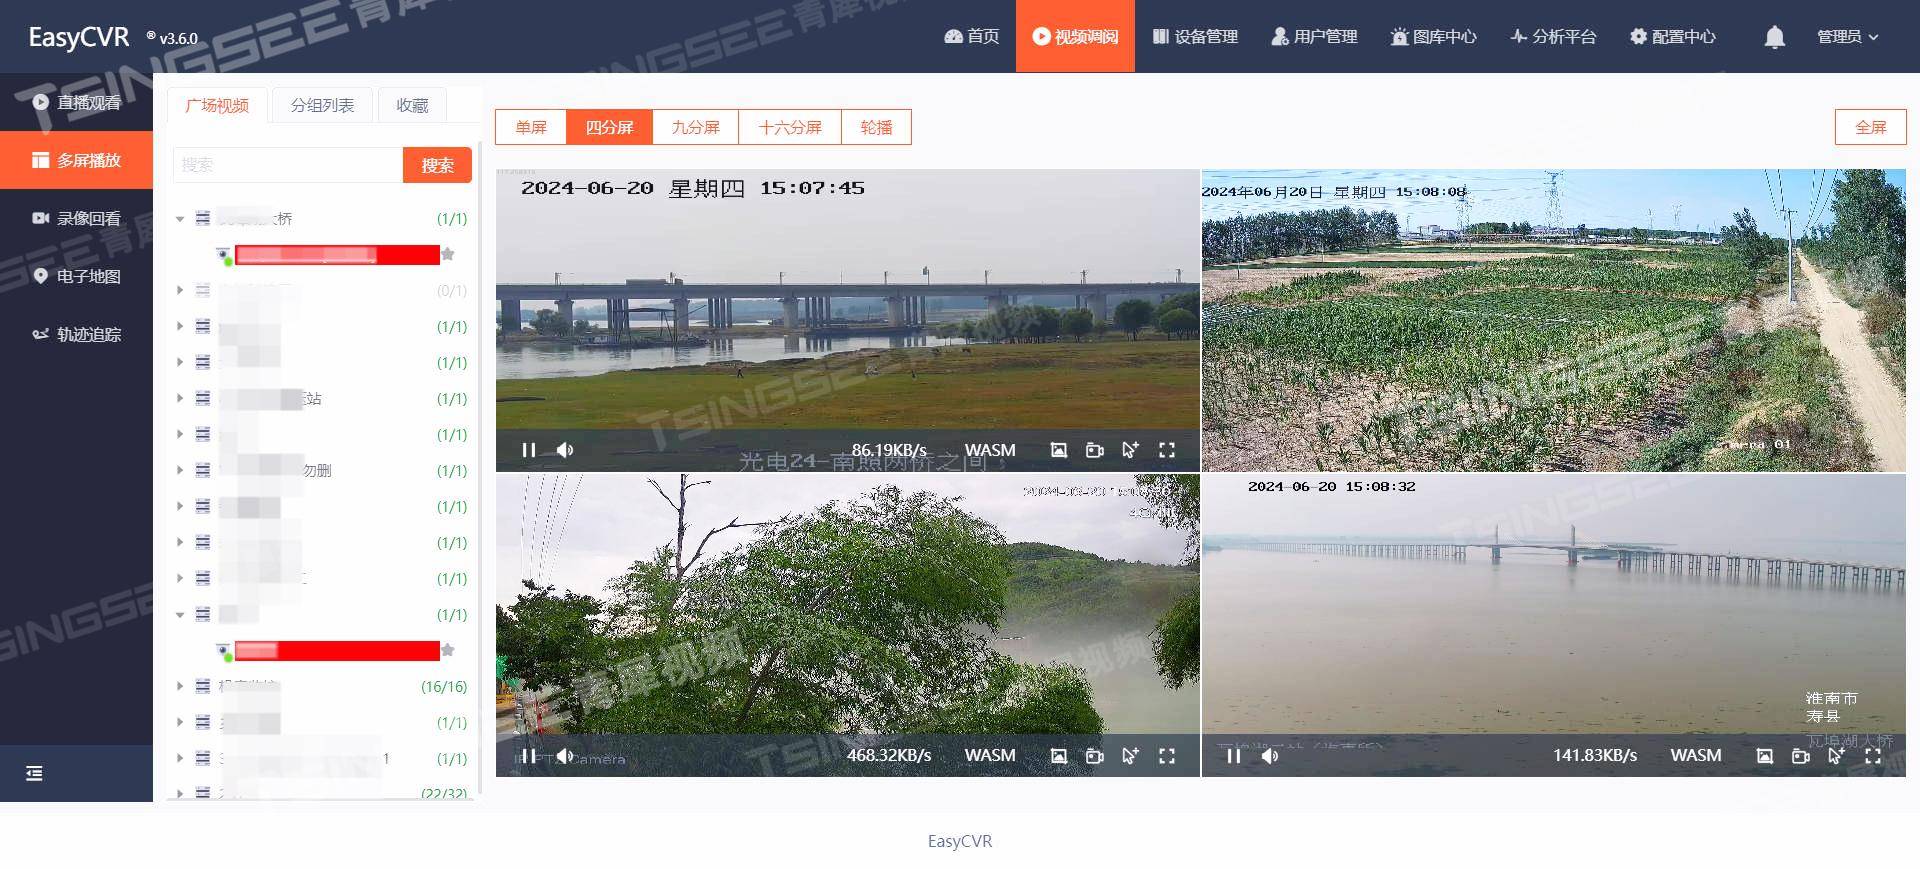
1. 普通用户登录成功后前台页面效果(缺少后台管理导航栏)
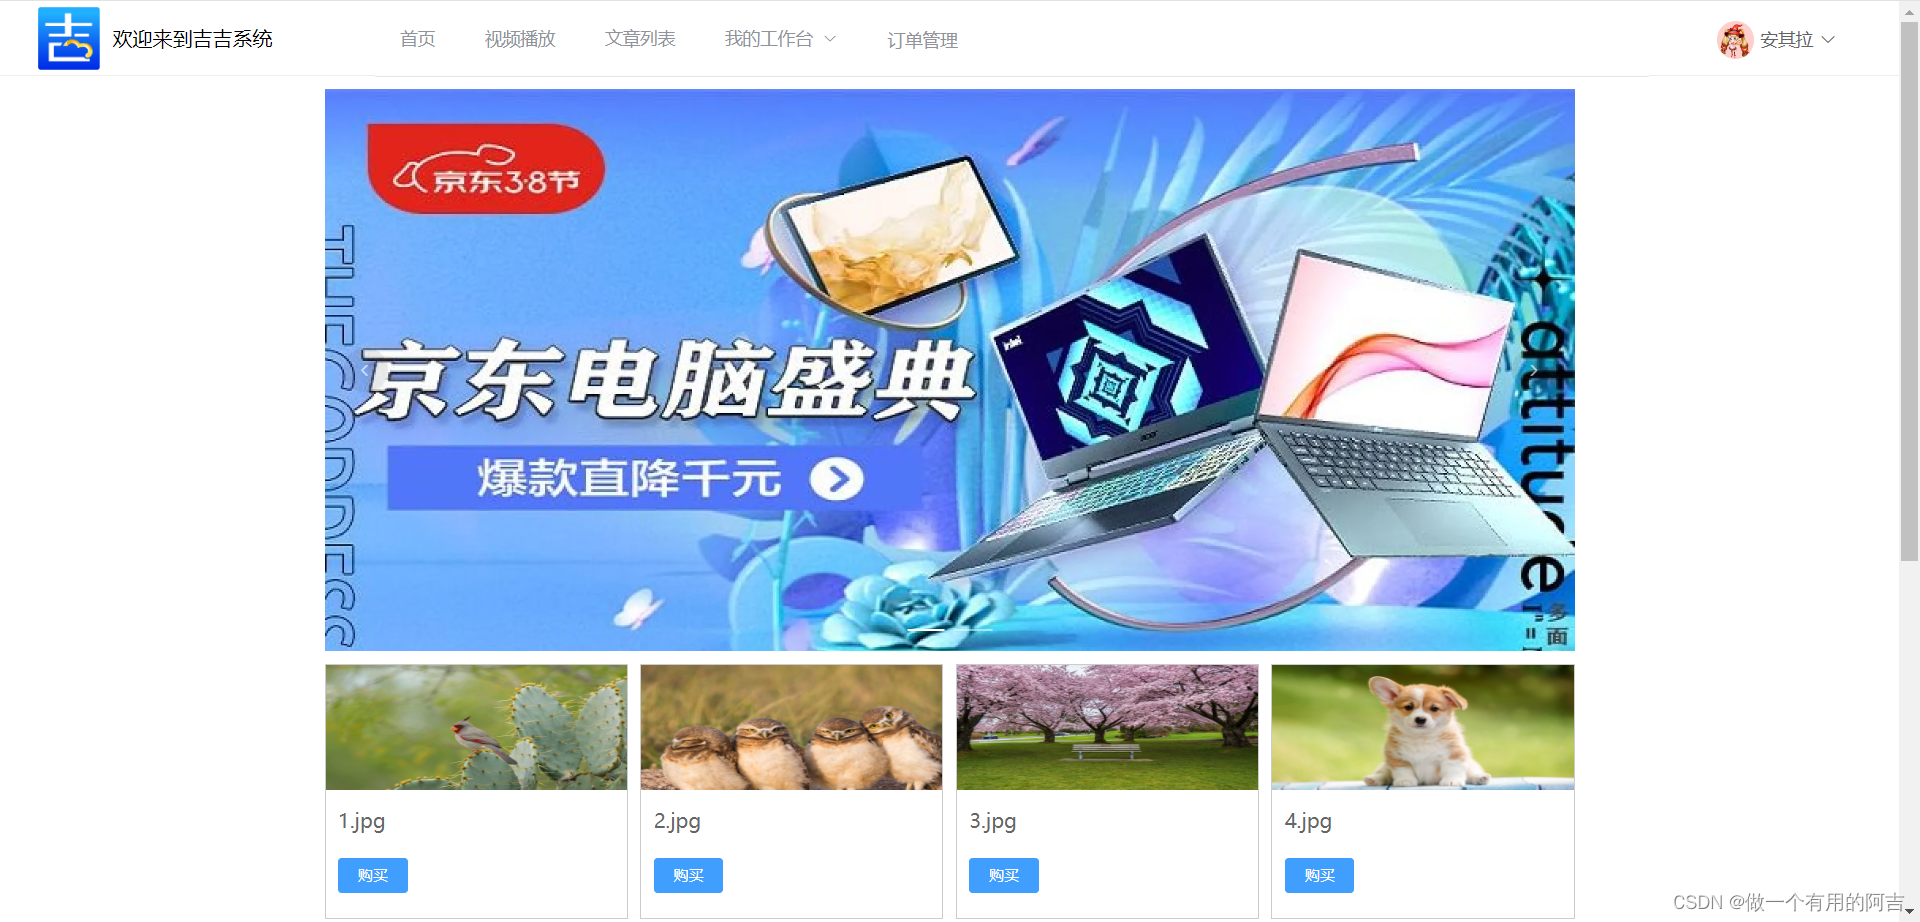
2. 管理员登录成功后前台页面效果
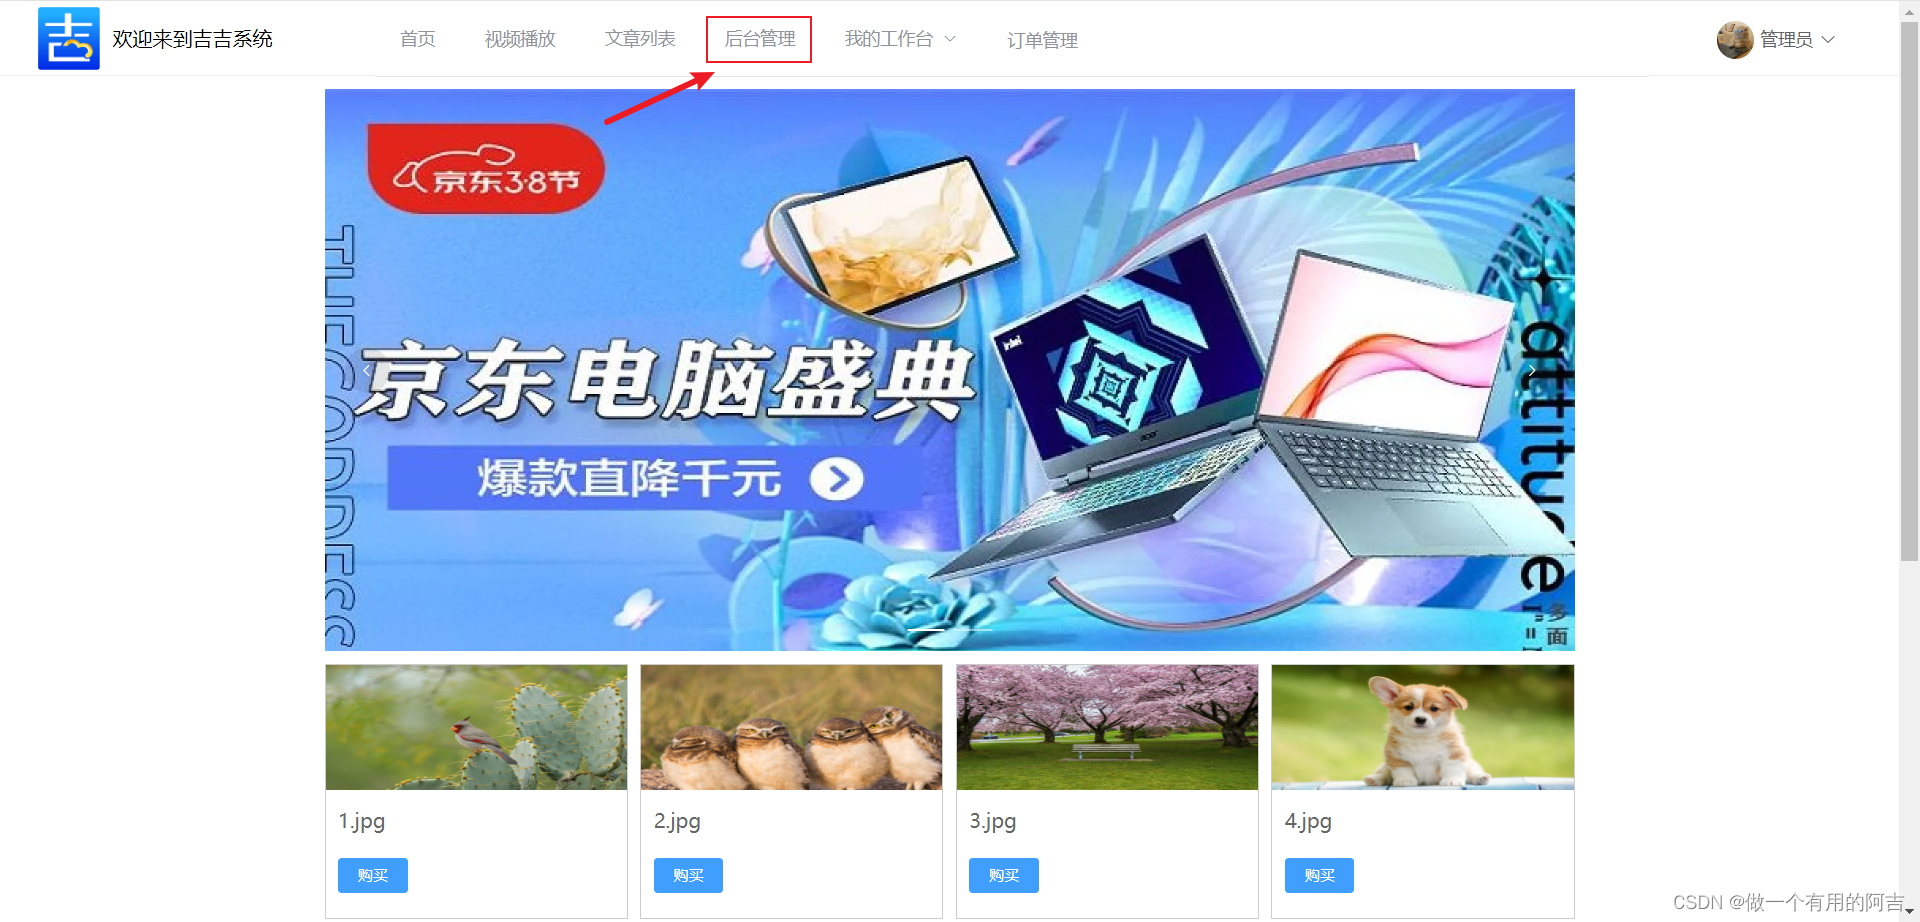
1. 前台页面搭建(Front.vue)
<template>
  <div>
<!--    头部-->
    <div style="display: flex; height: 60px; line-height: 60px; border-bottom: 1px solid #eee">
      <div style="width: 300px; display: flex; padding-left: 30px">
        <div style="width: 60px">
          <img src="../../assets/img/logo1.png" alt="" style="width: 50px; position: relative; top: 5px; right: 0">
        </div>
        <div style="flex: 1">欢迎来到吉吉系统</div>
      </div>
      <div style="flex: 1">
        <el-menu default-active="1" class="el-menu-demo" mode="horizontal" router>
          <el-menu-item index="/front/home">首页</el-menu-item>
          <el-menu-item index="/front/video">视频播放</el-menu-item>
          <el-menu-item index="*">文章列表</el-menu-item>
          <el-menu-item index="/" v-if="user.role === 'ADMIN'">后台管理</el-menu-item>
          <el-submenu index="2">
            <template slot="title">我的工作台</template>
            <el-menu-item index="/front/item1">选项1</el-menu-item>
            <el-menu-item index="2-2">选项2</el-menu-item>
            <el-menu-item index="2-3">选项3</el-menu-item>
            <el-submenu index="2-4">
              <template slot="title">选项4</template>
              <el-menu-item index="2-4-1">选项1</el-menu-item>
              <el-menu-item index="2-4-2">选项2</el-menu-item>
              <el-menu-item index="2-4-3">选项3</el-menu-item>
            </el-submenu>
          </el-submenu>
          <el-menu-item index="4"><a href="https://www.ele.me" target="_blank">订单管理</a></el-menu-item>
        </el-menu>
      </div>
      <div style="width: 200px">
        <div v-if="!user.username" style="text-align: right; padding-right: 30px">
          <el-button @click="$router.push('/login')">登录</el-button>
          <el-button @click="$router.push('/register')">注册</el-button>
        </div>
        <div v-else>
          <el-dropdown style="width: 150px; cursor: pointer; text-align: right">
            <div style="display: inline-block">
              <img :src="user.avatarUrl" alt=""
                   style="width: 30px; border-radius: 50%; position: relative; top: 10px; right: 5px">
              <span>{{ user.nickname }}</span><i class="el-icon-arrow-down" style="margin-left: 5px"></i>
            </div>
            <el-dropdown-menu slot="dropdown" style="width: 100px; text-align: center">
              <el-dropdown-item style="font-size: 14px; padding: 5px 0">
                <router-link to="/front/password">修改密码</router-link>
              </el-dropdown-item>
              <el-dropdown-item style="font-size: 14px; padding: 5px 0">
                <router-link to="/front/person">个人信息</router-link>
              </el-dropdown-item>
              <el-dropdown-item style="font-size: 14px; padding: 5px 0">
                <span style="text-decoration: none" @click="logout">退出</span>
              </el-dropdown-item>
            </el-dropdown-menu>
          </el-dropdown>
        </div>
      </div>
    </div>

    <div style="width: 1000px; margin: 0 auto">
      <router-view @refreshUser="getUser" />
    </div>
  </div>
</template>

<script>
export default {
  name: "Front",
  data() {
    return {
      user: localStorage.getItem("loginUser") ? JSON.parse(localStorage.getItem("loginUser")) : {}
    }
  },
  created() {

  },
  methods: {
    logout() {
      this.$store.commit("logout")
      this.$message.success("退出成功")
    },
    getUser() {
      let username = localStorage.getItem("loginUser") ? JSON.parse(localStorage.getItem("loginUser")).username : ""
      if (username) {
        // 从后台获取User数据
        this.request.get("/user/username/" + username).then(res => {
          // 重新赋值后台的最新User数据
          this.user = res.data
        })
      }
    }
  }
}
</script>

<style>
.item{
  display: inline-block;
  width: 100px;

  text-align: center;
  cursor: pointer
}
.item a {
  color: 	#1E90FF;
}
.item:hover{
  background-color: 	LightPink;
}
</style>
2. 路由
{
    path: '/front',
    name: '前台首页',
    component: () => import('../views/front/Front.vue'),
    children: [
      {
        path: 'home',
        name: '前台主页',
        component: () => import('../views/front/Home.vue')
      },
      {
        path: 'password',
        name: '修改密码',
        component: () => import('../views/front/Password.vue')
      },
      {
        path: 'person',
        name: '个人信息',
        component: () => import('../views/front/Person.vue')
      },
    ]
  }
完整的代码如下:
import Vue from 'vue'
import VueRouter from 'vue-router'
import Manage from '../views/Manage.vue'
import store from "@/store";

Vue.use(VueRouter)
//定义一个路由对象数组
const routes = [
  {
    path: '/login',
    name: '登录',
    component: () => import('../views/Login.vue')
  },
  {
    path: '/register',
    name: '注册',
    component: () => import('../views/Register.vue')
  },
  {
    path: '/404',
    name: '404',
    component: () => import('../views/404.vue')
  },
  {
    path: '/front',
    name: '前台首页',
    component: () => import('../views/front/Front.vue'),
    children: [
      {
        path: 'home',
        name: '前台主页',
        component: () => import('../views/front/Home.vue')
      },
      {
        path: 'password',
        name: '修改密码',
        component: () => import('../views/front/Password.vue')
      },
      {
        path: 'person',
        name: '个人信息',
        component: () => import('../views/front/Person.vue')
      },
      {
        path: 'video',
        name: '视频播放',
        component: () => import('../views/front/Video.vue')
      },
    ]
  }
]

//使用路由对象数组创建路由实例,供main.js引用
const router = new VueRouter({
  mode: 'history',
  base: process.env.BASE_URL,
  routes
})

// 注意:刷新页面会导致页面路由重置
export const setRoutes = () => {
  const storeMenus = localStorage.getItem("menus");
  if (storeMenus) {

    // 获取当前的路由对象名称数组
    const currentRouteNames = router.getRoutes().map(v => v.name)
    if (!currentRouteNames.includes('Manage')) {
      // 拼装动态路由
      const manageRoute = { path: '/', name: 'Manage', component: () => import('../views/Manage.vue'), redirect: "/home", children: [
          { path: 'person', name: '个人信息', component: () => import('../views/Person.vue'),meta: { title: '个人信息' }},
          { path: 'password', name: '修改密码', component: () => import('../views/Password.vue'),meta: { title: '修改密码' }}
        ] }
      const menus = JSON.parse(storeMenus)
      menus.forEach(item => {
        if (item.path) {  // 当且仅当path不为空的时候才去设置路由
          let itemMenu = { path: item.path.replace("/", ""), name: item.name, component: () => import('../views/' + item.pagePath + '.vue'),meta: { title: item.name }}
          manageRoute.children.push(itemMenu)
        } else if(item.children.length) {
          item.children.forEach(item => {
            if (item.path) {
              let itemMenu = { path: item.path.replace("/", ""), name: item.name, component: () => import('../views/' + item.pagePath + '.vue'),meta: { title: item.name }}
              manageRoute.children.push(itemMenu)
            }
          })
        }
      })
      // 动态添加到现在的路由对象中去
      router.addRoute(manageRoute)
    }

  }
}

// 重置我就再set一次路由
setRoutes()


// 路由守卫
router.beforeEach((to, from, next) => {
  // localStorage.setItem('currentPathName',to.name);   // 设置当前的路由名称,为了在Header组件中去使用
  // store.commit('setPath')    // 触发store的数据更新


  // 未找到路由情况
  if(!to.matched.length){
    const storeMenus = localStorage.getItem("menus");
    if(storeMenus){   // 有菜单没有找到路由,跳转至 404页面
      next("/404")
    }else {    // // 没有菜单,直接跳转至登录页
      next("/login")
    }
  }

  next()   // 放行路由
})

export default router
3.改动登录页面Login.vue
**逻辑:**登录成功后进入前台首页,而不是进入后台;后台只有管理员能进入,普通用户提供进入前台,但是不提供后台管理导航栏选项;
login() {
      this.$refs['userForm'].validate((valid) => {
        if (valid) {  // 表单校验合法
          this.request.post("/user/login", this.user).then(res => {
            if(res.code === 200 || res.code === '200') {
              localStorage.setItem('loginUser',JSON.stringify(res.data));
              localStorage.setItem("menus",JSON.stringify(res.data.menus));
              setRoutes()
              this.$router.push("/front/home")
              this.$message.success("登录成功")
            } else {
              this.$message.error(res.msg)
            }
          })
        } else {
          return false;
        }
      });
    }
4. 前台主页面搭建Home.vue
<template>
<div>
<div style="margin: 10px 0">
<el-carousel height="450px" :interval="10000">
<el-carousel-item v-for="item in imgs" :key="item">
<img :src="item" alt="" style="width: 100%">
</el-carousel-item>
</el-carousel>
</div>
<div style="margin: 10px 0">
<el-row :gutter="10">
<el-col :span="6" v-for="item in files" :key="item.id" style="margin-bottom: 10px">
<div style="border: 1px solid #ccc; padding-bottom: 10px">
<img :src="item.url" alt="" style="width: 100%;height: 100px;">
<div style="color: #666; padding: 10px">{{ item.name }}</div>
<div style="padding: 10px"><el-button type="primary">购买</el-button></div>
</div>
</el-col>
</el-row>
</div>
<div>
<p>© {{ new Date().getFullYear() }} 吉吉网站. All Rights Reserved.</p>
</div>
</div>
</template>
<script>
export default {
name: "FrontHome",
data() {
return {
imgs: [
'https://img30.360buyimg.com/babel/s1580x830_jfs/t1/109361/24/22897/74054/621ede58E099d37e3/f12730c81df6046a.jpg!cc_1580x830.webp',
'https://img13.360buyimg.com/babel/s1580x830_jfs/t1/96398/30/23715/70228/6221e9d0Ec1b9fe65/f66e2ad76314d6cd.jpg!cc_1580x830.webp'
],
files: []
}
},
created() {
this.getImg()
},
methods: {
getImg(){
this.request.get("/file").then(res => {
this.files = res.data.filter(v => v.type === 'png' || v.type === 'jpg' || v.type === 'webp')
})
}
}
}
</script>
<style scoped>
p {
font-size: 16px;
color: #555;
text-align: center;
}
</style>
后端查询所有文件的接口FileController
@GetMapping
public Result findAll() {
    return Result.success(fileService.list());
}
完整代码:
package com.ppj.controller;


import cn.hutool.core.io.FileUtil;
import cn.hutool.core.util.IdUtil;
import cn.hutool.core.util.StrUtil;
import cn.hutool.crypto.SecureUtil;
import com.baomidou.mybatisplus.extension.plugins.pagination.Page;
import com.ppj.entity.Files;
import org.springframework.beans.factory.annotation.Value;
import org.springframework.web.bind.annotation.*;
import javax.annotation.Resource;
import javax.servlet.ServletOutputStream;
import javax.servlet.http.HttpServletResponse;
import java.io.File;
import java.io.IOException;
import java.io.Serializable;
import java.net.URLEncoder;
import java.util.Arrays;
import java.util.List;
import com.baomidou.mybatisplus.core.conditions.query.QueryWrapper;
import com.ppj.common.Result;

import com.ppj.service.IFileService;

import org.springframework.web.bind.annotation.RestController;
import org.springframework.web.multipart.MultipartFile;

/**
 * <p>
 *  前端控制器
 * </p>
 *
 * @author ppj
 * @since 2024-05-21
 */
@RestController
@RequestMapping("/file")
public class FileController {

    @Resource
    private IFileService fileService;

    @Value("${files.upload.path}")
    private String fileUploadPath;

    // 新增或者更新
    @PostMapping
    public Result save(@RequestBody Files file) {
        fileService.saveOrUpdate(file);
        return Result.success();
    }

    @DeleteMapping("/{fileIds}")
    public Result delete(@PathVariable Integer[] fileIds) {
        fileService.removeByIds(Arrays.asList(fileIds));
        return Result.success();
    }

    @GetMapping
    public Result findAll() {
        return Result.success(fileService.list());
    }


    @GetMapping("/page")
    public Result findPage(@RequestParam Integer pageNum,
                                @RequestParam Integer pageSize,
                           @RequestParam String name) {
        QueryWrapper<Files> queryWrapper = new QueryWrapper<>();
        queryWrapper.like("name",name);
//        queryWrapper.orderByDesc("id");
        return Result.success(fileService.page(new Page<>(pageNum, pageSize), queryWrapper));
    }


    /**
     * 文件上传接口
     * @param file 前端传递过来的文件
     * @return
     * @throws IOException
     */
    @PostMapping("/upload")
    public String upload(@RequestParam MultipartFile file) throws IOException {
        String originalFilename = file.getOriginalFilename();
        String type = FileUtil.extName(originalFilename);
        long size = file.getSize();

        // 定义一个文件唯一的标识码
        String uuid = IdUtil.fastSimpleUUID();
        String fileUUID = uuid + StrUtil.DOT + type;

        File uploadFile = new File(fileUploadPath + fileUUID);
        // 判断配置的文件目录是否存在,若不存在则创建一个新的文件目录
        File parentFile = uploadFile.getParentFile();
        if(!parentFile.exists()) {
            parentFile.mkdirs();
        }

        String url;
        // 获取文件的md5
        String md5 = SecureUtil.md5(file.getInputStream());
        // 从数据库查询是否存在相同的记录
        Files dbFiles = getFileByMd5(md5);
        if (dbFiles != null) { // 文件已存在,直接返回数据库里的url
            url = dbFiles.getUrl();
        } else {  // 文件不存在才生成url,保存数据至数据库
            // 上传文件到磁盘
            file.transferTo(uploadFile);
            // 数据库若不存在重复文件,则不删除刚才上传的文件
            url = "http://localhost:9000/file/" + fileUUID;
            // 存储数据库
            Files saveFile = new Files();
            saveFile.setName(originalFilename);
            saveFile.setType(type);
            saveFile.setSize(size/1024);
            saveFile.setUrl(url);
            saveFile.setMd5(md5);
            fileService.saveOrUpdate(saveFile);
        }
        return url;
    }

    /**
     * 通过文件的md5查询文件
     * @param md5
     * @return
     */
    private Files getFileByMd5(String md5) {
        // 查询文件的md5是否存在
        QueryWrapper<Files> queryWrapper = new QueryWrapper<>();
        queryWrapper.eq("md5", md5);
        Files one = fileService.getOne(queryWrapper);
        return one != null ? one : null;
    }

    /**
     * 文件下载接口   http://localhost:9090/file/{fileUUID}
     * @param fileUUID
     * @param response
     * @throws IOException
     */
    @GetMapping("/{fileUUID}")
    public void download(@PathVariable String fileUUID, HttpServletResponse response) throws IOException {
        // 根据文件的唯一标识码获取文件
        File uploadFile = new File(fileUploadPath + fileUUID);
        // 设置输出流的格式
        ServletOutputStream os = response.getOutputStream();
        response.addHeader("Content-Disposition", "attachment;filename=" + URLEncoder.encode(fileUUID, "UTF-8"));
        response.setContentType("application/octet-stream");

        // 读取文件的字节流
        os.write(FileUtil.readBytes(uploadFile));
        os.flush();
        os.close();
    }

    @PostMapping("/update")
    public Result changeEnable(@RequestBody Files files){
        return fileService.saveOrUpdate(files)?Result.success():Result.error();
    }

}
总结
- 本篇主要的难点是前台页面的设计与实现
写在最后
如果此文对您有所帮助,请帅戈靓女们务必不要吝啬你们的Zan,感谢!!不懂的可以在评论区评论,有空会及时回复。
文章会一直更新

