目录标题
- 安装Pillow
- demo代码
- 初次代码
- 计划
个人需要,基于文字生成图片。
除了AI外,对于简单的图片,Python在这方面也非常擅长。
我算是一个Python小白,除了业余时尝试过Python基本语法的练习,从未真正使用过Python。
从生成图片开始Python的学习。
对于开发环境的部署及搭建,网上教程比比皆是,我就不在此介绍了。
安装Pillow
搜索了下Pillow库似乎是生成图片的不二选择。
控制台执行pip install Pillow后,

请注意上述Pillow版本过高很多方法不兼容
我本地安装的这个版本的库
pip install Pillow==9.4.0
demo代码
即时的反馈能够带来成就感,学习新的代码时,获取直观的结果很重要。
我先尝试网上搜一块demo代码能否运行
from PIL import Image, ImageDraw, ImageFont

# 设置图片大小
width, height = 800, 800
image = Image.new('RGB', (width, height), color = 'white')

# 设置文字
text = "Hello, World!"
font = ImageFont.truetype('arial.ttf', 60)

# 获取文字大小
text_width, text_height = font.getsize(text)

# 计算文字位置
x = (width - text_width) / 2
y = (height - text_height) / 2

# 创建画布
draw = ImageDraw.Draw(image)

# 绘制文字
draw.text((x, y), text, font=font, fill='black')

# 保存图片
image.save('text_image.png')
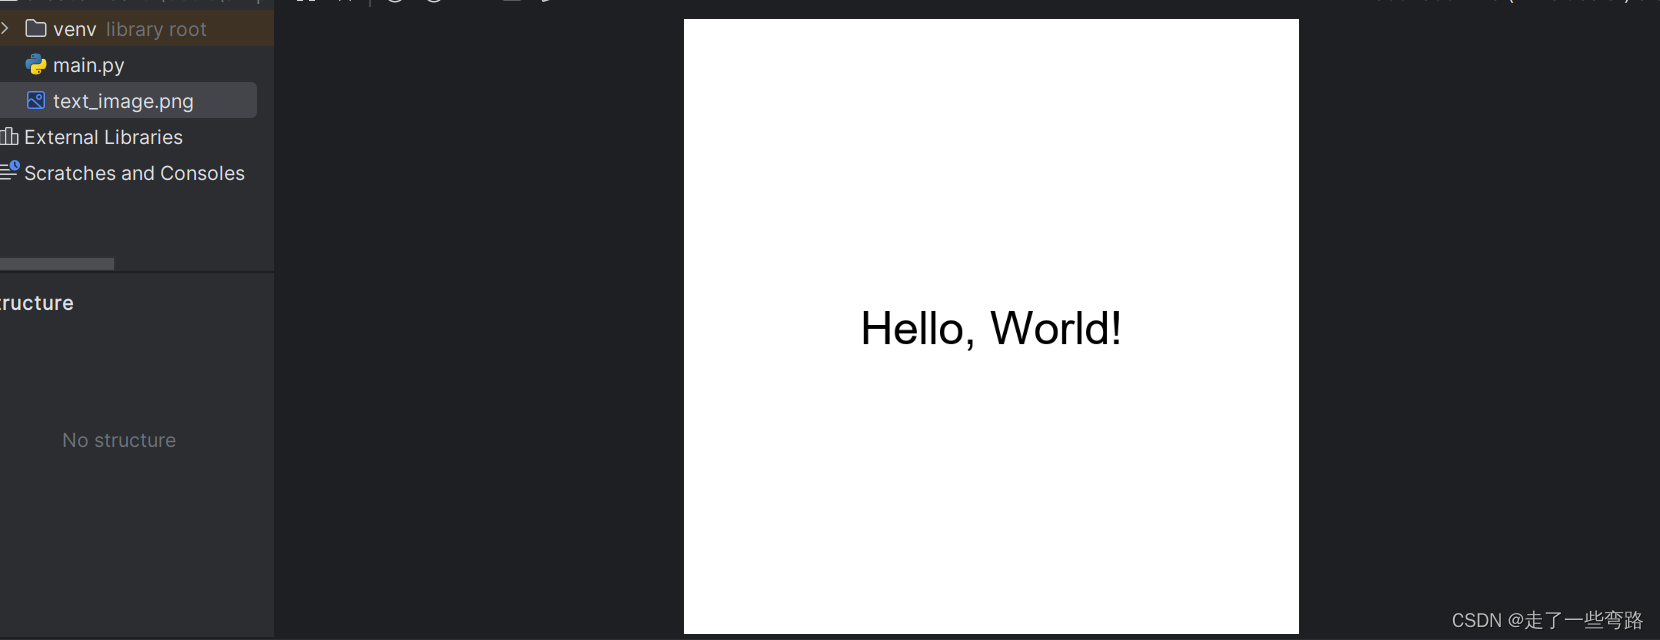
生成图片效果如下
初次代码
1.黑色背景,白色文字
2.更换下面文案测试
from PIL import Image, ImageDraw, ImageFont

# 设置图片大小
width, height = 800, 800
image = Image.new('RGB', (width, height), color='black')

# 设置文字
text = "123456"

# 加载字体文件,并设置字体大小
# 注意:确保arial.ttf字体文件路径是正确的
font = ImageFont.truetype('C:\\Windows\\Fonts\\arial.ttf', 60)
# font.color = 'yellow'
# 创建画布
draw = ImageDraw.Draw(image)

# 使用draw的textsize方法获取文本大小
text_width, text_height = draw.textsize(text, font=font)

# 计算文字位置,使其居中
x = (width - text_width) / 2
y = (height - text_height) / 2

# 绘制文字
draw.text((x, y), text, font=font, fill='white')

# 保存图片
image.save('text_image.png')
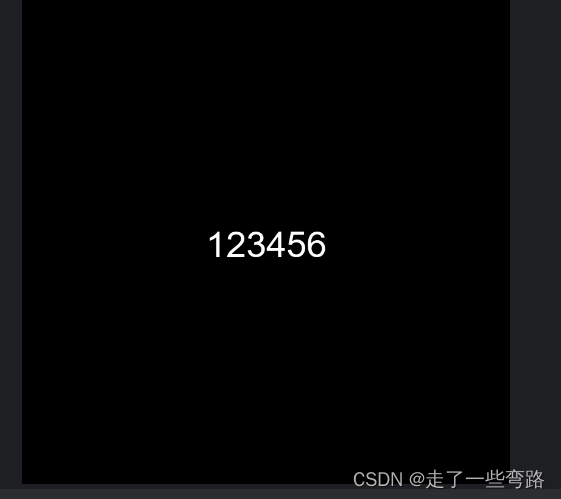
执行效果
计划
明天尝试从txt文本中读取文字,然后生成图片
