UI效果
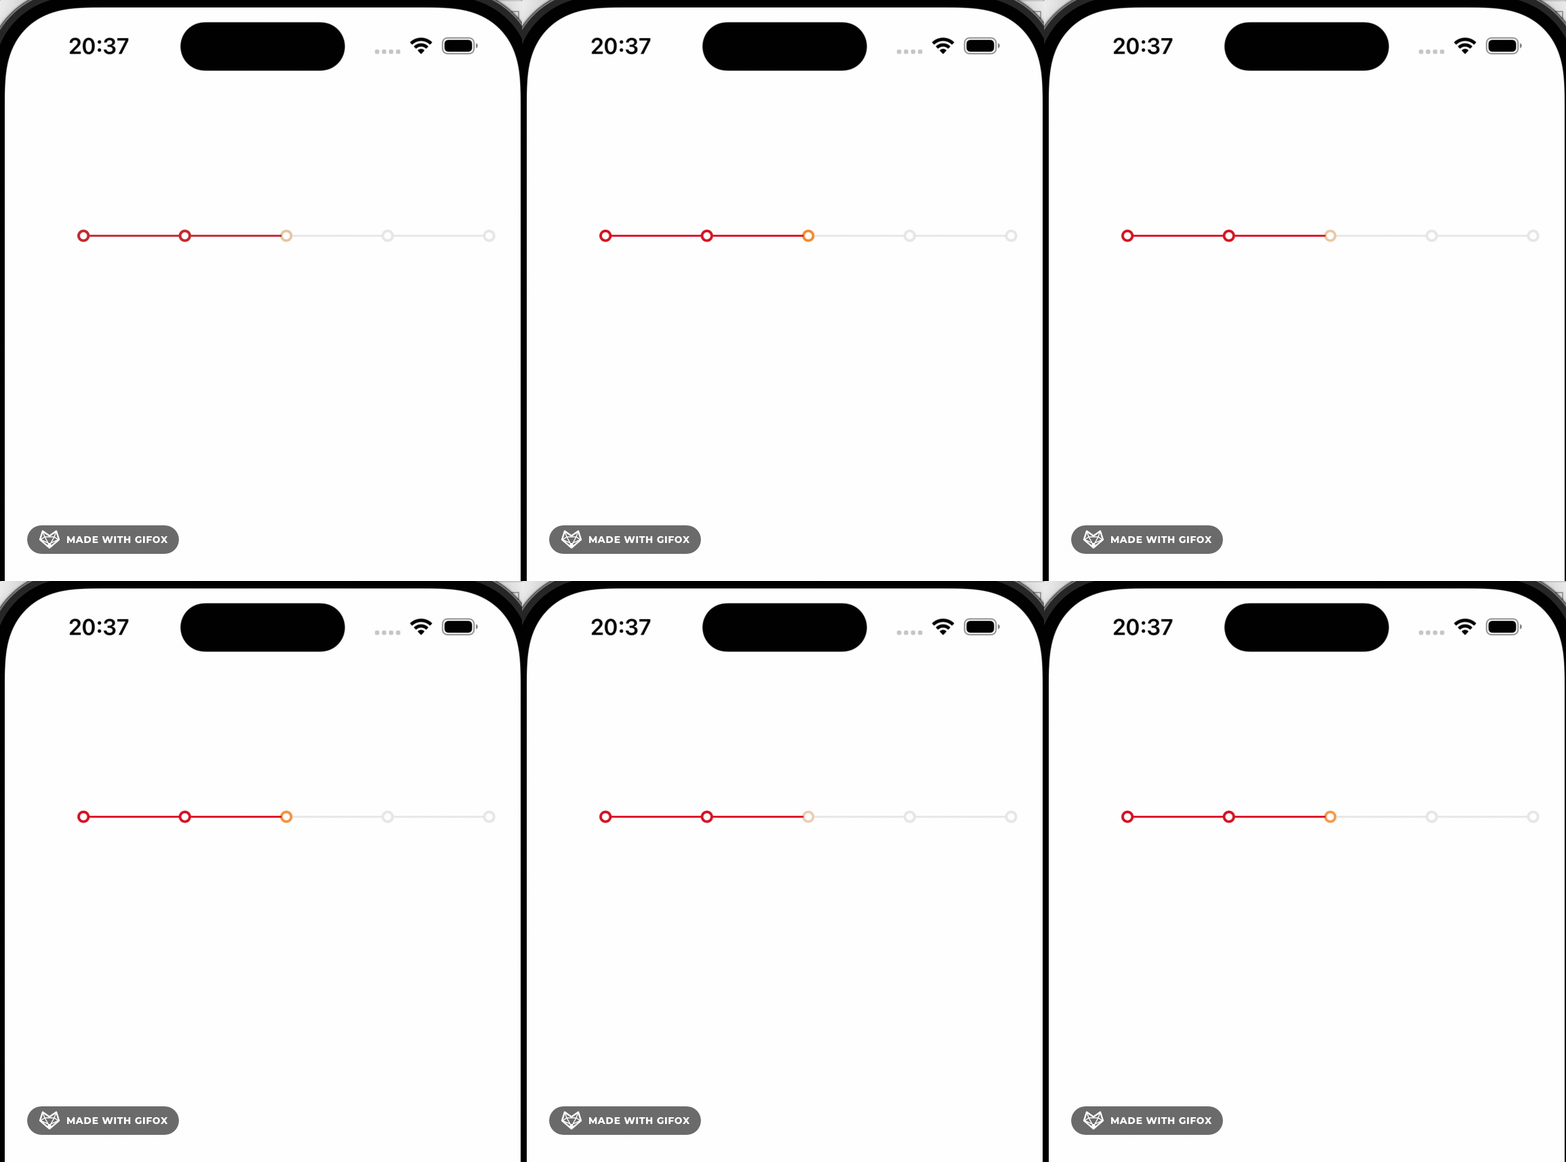
实现的思路
就是通过贝塞尔曲线画出时间轴的圆环的路径,然后
使用CAShaper来渲染UI,再通过
animation.beginTime = [cilrclLayer convertTime:CACurrentMediaTime() fromLayer:nil] + circleTimeOffset 来设置每个圆环的动画开始时间,
,每个地方都是有两层layer的,一层是底部灰色样式的(即没有到达时候的颜色)一层是到达得阶段的颜色,
到达的layer在上面,如果要开启动画,我们就得先将
到达的layer隐藏掉,然后开始动画的时候,将对应的那一条展示,开启动画的时候将hidden置为NO,这时候,其实layer是展示不了的(不会整个展示),因为我们添加了strokeEnd的动画,他会随者动画的进行而逐渐展示,所以我们在动画代理方法animationDidStart中,将layer 设置为可见,(如果没有设置动画代理,也可以在添加动画的时候设置为可见)
代码
//
//  LBTimeView.m
//  LBTimeLine
//
//  Created by mac on 2024/6/9.
//

#import "LBTimeView.h"
#define ScreenWidth [UIScreen mainScreen].bounds.size.width
#define RGB(r, g, b)    [UIColor colorWithRed:(r)/255.f green:(g)/255.f blue:(b)/255.f alpha:1.f]
#define SizeScale (([UIScreen mainScreen].bounds.size.width > 320) ? [UIScreen mainScreen].bounds.size.width/320 : 1)

const float BETTWEEN_LABEL_OFFSET = 20;
const float LINE_WIDTH = 1.9;
const float CIRCLE_RADIUS = 3.7;
const float INITIAL_PROGRESS_CONTAINER_WIDTH = 20.0;
const float PROGRESS_VIEW_CONTAINER_LEFT = 51.0;
const float VIEW_WIDTH = 225.0;

@interface LBTimeView ()
{
    CGPoint lastpoint;
    NSMutableArray *layers;
    NSMutableArray *circleLayers;
    int layerCounter;
    int circleCounter;
    CGFloat timeOffset;
    CGFloat leftWidth;
    CGFloat rightWidth;
    CGFloat viewWidth;
}

@end

@implementation LBTimeView

-(id)initWithFrame:(CGRect)frame sum:(NSInteger)sum current:(NSInteger)current{

    self = [super initWithFrame:frame];
    if (self) {
        self.frame = frame;
        [self configureTimeLineWithNum:sum andCurrentNum:current];
    }
    return self;
    // Do any additional setup after loading the view, typically from a nib.
}

- (void)configureTimeLineWithNum:(NSInteger)sum andCurrentNum:(NSInteger)currentStatus {
    // NSInteger  currentStatus = 3;

    circleLayers = [[NSMutableArray alloc] init];
    layers = [[NSMutableArray alloc] init];
    CGFloat U = (ScreenWidth - 80- sum+1)/(sum - 1);
    CGFloat betweenLineOffset = 0;
    //CGFloat totlaHeight = 8;

    // CGFloat yCenter = - 48 + (ScreenWidth - 248)/2;
    CGFloat yCenter = 40;
    // CGFloat xCenter;
    UIColor *strokeColor;
    CGPoint toPoint;
    CGPoint fromPoint;

    int i = 0;
    for (int j = 0;j < sum;j ++) {
        //configure circle
        strokeColor = i < currentStatus ? RGB(224, 0, 30) : RGB(233, 233, 233);
        UIBezierPath *circle = [UIBezierPath bezierPath];
        [self configureBezierCircle:circle withCenterY:yCenter];
        CAShapeLayer *circleLayer = [self getLayerWithCircle:circle andStrokeColor:strokeColor];
        //
        [circleLayers addObject:circleLayer];
        //add static background gray circle
        CAShapeLayer *grayStaticCircleLayer = [self getLayerWithCircle:circle andStrokeColor:RGB(233, 233, 233)];
        [self.layer addSublayer:grayStaticCircleLayer];
        [self.layer addSublayer:circleLayer];
        //configure line
        if (i > 0) {
            fromPoint = lastpoint;
            toPoint = CGPointMake(yCenter - CIRCLE_RADIUS,60*SizeScale);
            lastpoint = CGPointMake( yCenter + CIRCLE_RADIUS+ 1,60*SizeScale);

            UIBezierPath *line = [self getLineWithStartPoint:fromPoint endPoint:toPoint];
            CAShapeLayer *lineLayer = [self getLayerWithLine:line andStrokeColor:strokeColor];

            // CAShapeLayer *lineLayer2 = [self getLayerWithLine:line andStrokeColor:strokeColor];
            [layers addObject:lineLayer];
            //add static background gray line
            CAShapeLayer *grayStaticLineLayer = [self getLayerWithLine:line andStrokeColor:RGB(233, 233, 233)];

            [self.layer addSublayer:grayStaticLineLayer];
            [self.layer addSublayer:lineLayer];
        } else {
            lastpoint = CGPointMake( yCenter + CIRCLE_RADIUS+1,60*SizeScale);
        }
        betweenLineOffset = BETTWEEN_LABEL_OFFSET;
        yCenter += U;
        i++;
    }
}

- (CAShapeLayer *)getLayerWithLine:(UIBezierPath *)line andStrokeColor:(UIColor *)strokeColor {
    CAShapeLayer *lineLayer = [CAShapeLayer layer];
    lineLayer.path = line.CGPath;
    lineLayer.strokeColor = strokeColor.CGColor;
    lineLayer.fillColor = nil;
    lineLayer.lineWidth = 1.4;
    return lineLayer;
}

- (UIBezierPath *)getLineWithStartPoint:(CGPoint)start endPoint:(CGPoint)end {
    UIBezierPath *line = [UIBezierPath bezierPath];
    [line moveToPoint:start];
    [line addLineToPoint:end];

    return line;
}


- (CAShapeLayer *)getLayerWithCircle:(UIBezierPath *)circle andStrokeColor:(UIColor *)strokeColor {
    CAShapeLayer *circleLayer = [CAShapeLayer layer];
    circleLayer.path = circle.CGPath;
    circleLayer.strokeColor = strokeColor.CGColor;
    circleLayer.fillColor = nil;
    circleLayer.lineWidth = LINE_WIDTH;
    circleLayer.lineJoin = kCALineJoinBevel;
    return circleLayer;
}

- (void)configureBezierCircle:(UIBezierPath *)circle withCenterY:(CGFloat)centerY {
    [circle addArcWithCenter:CGPointMake( centerY,60*SizeScale)
                      radius:CIRCLE_RADIUS
                  startAngle:M_PI_2
                    endAngle:-M_PI_2
                   clockwise:YES];
    [circle addArcWithCenter:CGPointMake(centerY,60*SizeScale)
                      radius:CIRCLE_RADIUS
                  startAngle:-M_PI_2
                    endAngle:M_PI_2
                   clockwise:YES];
}

- (void)startAnimatingWithCurrentIndex:(NSInteger)index
{
    for (CAShapeLayer *layer in layers) {
        layer.hidden = YES;
    }
    [self startAnimatingLayers:circleLayers forStatus:index];
}

- (void)startAnimatingLayers:(NSArray *)layersToAnimate forStatus:(NSInteger)currentStatus {
    float circleTimeOffset = 1;
    circleCounter = 0;
    int i = 1;
    //add with animation
    for (CAShapeLayer *cilrclLayer in layersToAnimate) {
        [self.layer addSublayer:cilrclLayer];
        CABasicAnimation *animation = [CABasicAnimation animationWithKeyPath:@"strokeEnd"];
        animation.duration = 0.2;
        animation.beginTime = [cilrclLayer convertTime:CACurrentMediaTime() fromLayer:nil] + circleTimeOffset;
        animation.fromValue = [NSNumber numberWithFloat:0.0f];
        animation.toValue   = [NSNumber numberWithFloat:1.0f];
        animation.fillMode = kCAFillModeForwards;
        animation.delegate =(id <CAAnimationDelegate>) self;
        circleTimeOffset += .4;
        [cilrclLayer setHidden:YES];
        [cilrclLayer addAnimation:animation forKey:@"strokeCircleAnimation"];
        if (self.lastBlink && i == currentStatus && i != [layersToAnimate count]) {
            CABasicAnimation *strokeAnim = [CABasicAnimation animationWithKeyPath:@"strokeColor"];
            strokeAnim.fromValue         = (id) [UIColor orangeColor].CGColor;
            strokeAnim.toValue           = (id) [UIColor clearColor].CGColor;
            strokeAnim.duration          = 1.0;
            strokeAnim.repeatCount       = HUGE_VAL;
            strokeAnim.autoreverses      = NO;
            [cilrclLayer addAnimation:strokeAnim forKey:@"animateStrokeColor"];
        }
        i++;
    }
}

- (void)animationDidStart:(CAAnimation *)anim {
    if (circleCounter < circleLayers.count) {
        if (anim == [circleLayers[circleCounter] animationForKey:@"strokeCircleAnimation"]) {
            [circleLayers[circleCounter] setHidden:NO];
            circleCounter++;
        }
    }
}

- (void)animationDidStop:(CAAnimation *)anim finished:(BOOL)flag {
    if (layerCounter >= layers.count) {
        return;
    }
    CAShapeLayer *lineLayer = layers[layerCounter];
    CABasicAnimation *animation = [CABasicAnimation animationWithKeyPath:@"strokeEnd"];
    animation.duration = 0.200;

    animation.fromValue = [NSNumber numberWithFloat:0.0f];
    animation.toValue   = [NSNumber numberWithFloat:1.0f];
    animation.fillMode = kCAFillModeForwards;
    lineLayer.hidden = NO;
    [self.layer addSublayer:lineLayer];
    [lineLayer addAnimation:animation forKey:@"strokeEndAnimation"];
    layerCounter++;
}

@end
如果对您有帮助,欢迎给一个star
demo








![[ue5]建模场景学习笔记(5)——必修内容可交互的地形,交互沙(3)](https://img-blog.csdnimg.cn/direct/1d6b503f4b894614bab27861914d6ea3.png)
