文章目录
SpringMVC文件下载
一、下载之前的准备
二、下载的基本流程
三、下载的请求数据
1、下载的后台实现
2、下载的示例代码
SpringMVC文件下载
一、下载之前的准备
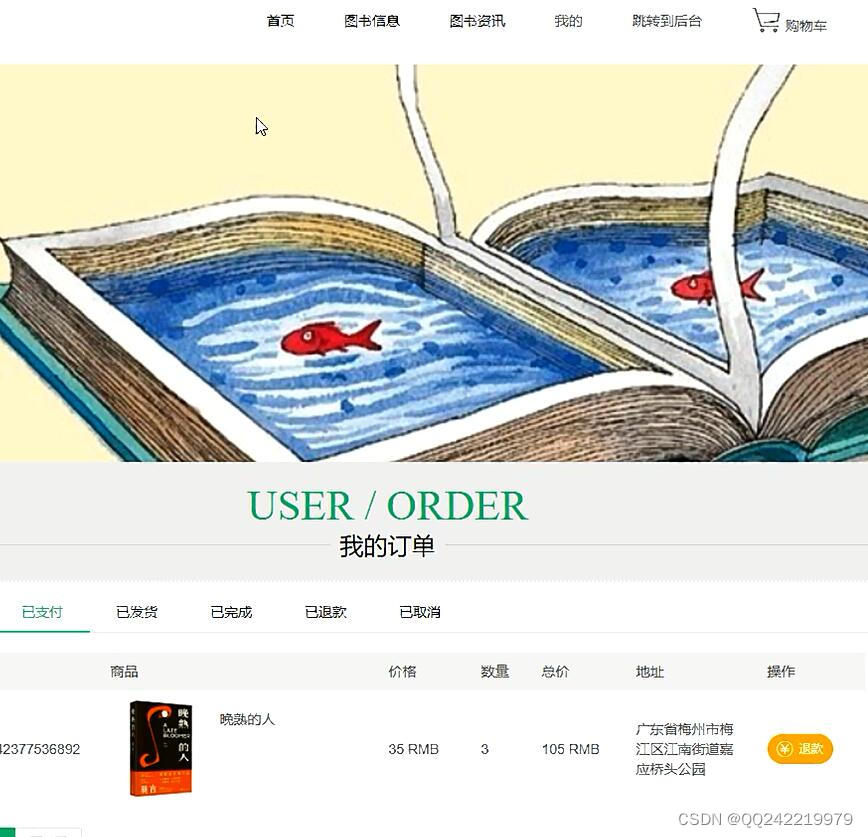
展示所有玩家信息,包括图片展示。
<%@ page contentType="text/html;charset=UTF-8" language="java" %>
<html>
<head>
    <title>Title</title>
    <style>
        #playerTable{
            width: 50%;
            border: 3px solid cadetblue;
            margin: 0px auto;
            text-align: center;
        }
        #playerTable th,td{
            border: 1px solid gray;
        }
        #playerTable img{
            width: 100px;
            height: 100px;
        }
    </style>
    <script type="text/javascript" src="js/jquery.min.js"></script>
    <script>
        $(function(){
            $.ajax({
                type:"get",
                url:"getAllPlayer",
                success:function(players){
                    $.each(players,function(i,e){
                        $("#playerTable").append('<tr>\n' +
                            '        <td>'+e.id+'</td>\n' +
                            '        <td>'+e.name+'</td>\n' +
                            '        <td>'+e.password+'</td>\n' +
                            '        <td>'+e.nickname+'</td>\n' +
                            '        <td>\n' +
                            '            <img src="http://192.168.8.109:8090/upload/'+e.photo+'" alt="" src>\n' +
                            '        </td>\n' +
                            '        <td>\n' +
                            '            <a href="">下载</a>\n' +
                            '        </td>\n' +
                            '    </tr>')
                    })
                }
            })
        })
    </script>
</head>
<body>
<table id="playerTable" cellspacing="0xp" cellpadding="0px">
    <tr>
        <th>编号</th>
        <th>用户名</th>
        <th>密码</th>
        <th>昵称</th>
        <th>头像</th>
        <th>操作</th>
    </tr>
</table>
</body>
</html>
PlayerController
package com.lanson.controller;
import com.lanson.pojo.Player;
import com.lanson.service.PlayerService;
import org.springframework.beans.factory.annotation.Autowired;
import org.springframework.stereotype.Controller;
import org.springframework.web.bind.annotation.RequestMapping;
import org.springframework.web.bind.annotation.ResponseBody;
import java.util.List;
/**
 * @Author: Lansonli
 * @Description: MircoMessage:Mark_7001
 */
@Controller
public class PlayerController  {
    @Autowired
    private PlayerService playerService;
    @RequestMapping("addPlayer")
    public String addPlayer(Player player){
        // 调用服务层方法,将数据保存进入数据库
        playerService.addPlayer(player);
        // 页面跳转至player信息展示页
        return "redirect:/showPlayer.jsp";
    }
    @RequestMapping("getAllPlayer")
    @ResponseBody
    public List<Player> getAllPlayer(){
        return playerService.getAllPlayer();
    }
}
二、下载的基本流程
文件的上传是将用户本地的资源发送到服务器,让服务器存储到其硬盘中的过程。而下载和上传正好是相反的过程。下载是用户发起请求,请求要下载的资源。服务器根据请求,将其硬盘中的文件资源发送给浏览器的过程。
三、下载的请求数据
用户通过浏览器发起下载请求,服务器在接收到请求后,根据当前请求的用户信息,去数据库中获取当前用户要下载的资源的文件路径,然后服务器再去其硬盘中读取对应的文件,将文件响应给浏览器,基于此过程,下载请求的请求数据为:简单的下载:文件的路径直接作为一个字段存储在用户信息表中用户的ID。
1、下载的后台实现
- 创建单元方法处理下载请求
- 根据请求获取要下载的资源的流对象
- 读取文件并将资源响应给浏览器
2、下载的示例代码
页面代码
<%@ page contentType="text/html;charset=UTF-8" language="java" %>
<html>
<head>
    <title>Title</title>
    <style>
        #playerTable{
            width: 50%;
            border: 3px solid cadetblue;
            margin: 0px auto;
            text-align: center;
        }
        #playerTable th,td{
            border: 1px solid gray;
        }
        #playerTable img{
            width: 100px;
            height: 100px;
        }
    </style>
    <script type="text/javascript" src="js/jquery.min.js"></script>
    <script>
        $(function(){
            $.ajax({
                type:"get",
                url:"getAllPlayer",
                success:function(players){
                    $.each(players,function(i,e){
                        $("#playerTable").append('<tr>\n' +
                            '        <td>'+e.id+'</td>\n' +
                            '        <td>'+e.name+'</td>\n' +
                            '        <td>'+e.password+'</td>\n' +
                            '        <td>'+e.nickname+'</td>\n' +
                            '        <td>\n' +
                            '            <img src="http://192.168.8.109:8090/upload/'+e.photo+'" alt="" src>\n' +
                            '        </td>\n' +
                            '        <td>\n' +
                            '            <a href="fileDownload.do?photo='+e.photo+'&filetype='+e.filetype+'">下载</a>\n' +
                            '        </td>\n' +
                            '    </tr>')
                    })
                }
            })
        })
    </script>
</head>
<body>
<table id="playerTable" cellspacing="0xp" cellpadding="0px">
    <tr>
        <th>编号</th>
        <th>用户名</th>
        <th>密码</th>
        <th>昵称</th>
        <th>头像</th>
        <th>操作</th>
    </tr>
</table>
</body>
</html>
controller层代码
@RequestMapping("fileDownload.do")
    public void fileDownLoad(String photo, String filetype, HttpServletResponse response) throws IOException {
        // 设置响应头
        // 告诉浏览器要将数据保存到磁盘上,不在浏览器上直接解析
        response.setHeader("Content-Disposition", "attachment;filename="+photo);
        // 告诉浏览下载的文件类型
        response.setContentType(filetype);
        // 获取一个文件的输入流
        InputStream inputStream = new URL(FILESERVER + photo).openStream();
        // 获取一个指向浏览器的输出流
        ServletOutputStream outputStream = response.getOutputStream();
        // 向浏览器响应文件即可
        IOUtils.copy(inputStream, outputStream);
}- 📢博客主页:https://lansonli.blog.csdn.net
- 📢欢迎点赞 👍 收藏 ⭐留言 📝 如有错误敬请指正!
- 📢本文由 Lansonli 原创,首发于 CSDN博客🙉
- 📢停下休息的时候不要忘了别人还在奔跑,希望大家抓紧时间学习,全力奔赴更美好的生活✨
