本文主要来分析 vue3 组件的初始化(基于runtime-core(核心运行时)包),将从createApp、mount 等常用 API 入手来分析组件的挂载、普通元素的挂载流程。
createApp
1、创建一个应用实例。使用方式如下:
import { createApp } from 'vue'
import App from './App.vue'

const rootContainer = document.querySelector("#app");
createApp(App).mount(rootContainer)
2、内部实现:
function createRenderer(options) {...function render(vnode, container) {patch(null, vnode, container)}function patch(n1, n2, container) { ...}...return {createApp: createAppAPI(render),}
}

function createAppAPI(render) {return function createApp(rootComponent) {const vnode = createVNode(rootComponent);return {mount(rootContainer) {render(vnode, rootContainer)}};};
}

function createVNode(type, props, children) {const vnode = {type,props,children,component: null,key: props && props.key,shapeFlag: typeof type === "string" ? ShapeFlags.ELEMENT : ShapeFlags.STATEFUL_COMPONENT,el: null,};if (typeof children === "string") {vnode.shapeFlag |= ShapeFlags.TEXT_CHILDREN;} else if (Array.isArray(children)) {vnode.shapeFlag |= ShapeFlags.ARRAY_CHILDREN;}return vnode;
}

export const enum ShapeFlags { // 基于位运算确保代码运行更高效ELEMENT = 1, // 00000001 1FUNCTIONAL_COMPONENT = 1 << 1, // 00000010 2STATEFUL_COMPONENT = 1 << 2, // 00000100 4TEXT_CHILDREN = 1 << 3, ARRAY_CHILDREN = 1 << 4,SLOTS_CHILDREN = 1 << 5,TELEPORT = 1 << 6,SUSPENSE = 1 << 7,COMPONENT_SHOULD_KEEP_ALIVE = 1 << 8,COMPONENT_KEPT_ALIVE = 1 << 9,COMPONENT = ShapeFlags.STATEFUL_COMPONENT | ShapeFlags.FUNCTIONAL_COMPONENT
}

const renderer = createRenderer({ // 传入dom操作相关方法,mountElement 会有说明createElement,patchProp,insert,remove,setElementText,
})


export function createApp(...args) {return renderer.createApp(...args);
}
上述代码主要做了如下几件事:1、定义 createRenderer 函数(用来创建一个自定义渲染器,通过提供平台特定的节点创建以及更改 API,用户可以在非 DOM 环境中也享受到 Vue 核心运行时的特性)。内部定义 render 函数,createRenderer 执行完后返回一个对象。 对象键名为 createApp ,键值是通过执行 createAppAPI 函数的返回值。
2、createAppAPI 是一个高阶函数,接收 render 函数作为参数,执行会返回 createApp 函数。
3、createApp 接收根组件 rootComponent 作为参数,首先会把 rootComponent 通过 createVnode 转化成该组件对应的 Vnode,然后返回 mount 函数用来挂载应用。
4、createVnode 会创建一个 Vnode, 该 Vnode 上会有 type、props、children、key、el(虚拟 DOM 到真实 DOM 的映射,diff 时会用到)、shapeFlag(标识节点类型)等。注: shapeFlag 基于二进制位运算,代码运行更高效。
4、mount 接收 rootContainer 作为参数 (它可以是一个实际的 DOM 元素或是一个 CSS 选择器字符串),执行 mount 时会执行上述传入的 render 函数, 并把组件 Vnode 和 rootContainer 作为参数传入。
5、执行 createRenderer 返回 renderer 对象,对外暴露 createApp。外界调用 createApp 时该函数内部会调用 renderer.createApp,调用 mount 时最终会调用 render 函数执行挂载流程。
render
function render(vnode, container) {...
}
先举一个例子,假设有以下一段代码:
App.vue
import { h, ref } from "vue";
// h 是 createVnode 函数的简写,内部会调用 createVnode 函数,后面会有说明

export const App = {name: "App",setup() {const count = ref(0);const onClick = () => {count.value++;}return {count,onClick}},render() {return h( // h 为 createVnode 的简写,内部会执行 createVnode"div", { id: "root" }, [h("div", {}, "count:" + this.count),h("button", { onClick: this.onClick }, "click")])}
}
main.js
import { createApp } from 'vue'
import App from './App.vue'

const rootContainer = document.querySelector("#app");
createApp(App).mount(rootContainer)
调用 createVnode 后生成的 Vnode 如下
接着执行 render 函数把组件 Vnode 及 rootContainer 传入。
patch
render 函数接收 Vnode 和 rootContainer 作为参数,内部会执行 patch 函数。由于 patch 函数在组件初始化和更新的时候都要执行,它接收n1(老的Vnode),n2(新的Vnode)作为参数。由于是首次渲染,n1 为 null
function render(vnode, container) {patch(null, vnode, container, null, null)
}

function patch(n1, n2, container, parentComponent, anchor) { const { type, shapeFlag } = n2switch (type) {case Fragment:processFragment(n1, n2, container, parentComponent, anchor)break;case Text:processText(n1, n2, container)breakdefault:if (shapeFlag & ShapeFlags.ELEMENT) {processElement(n1, n2, container, parentComponent, anchor)} else if (shapeFlag & ShapeFlags.COMPONENT) {processComponent(n1, n2, container, parentComponent, anchor)} else if(shapeFlag & ShapeFlags.TELEPORT){ // 执行 teleport 逻辑... }break}
}
patch 函数内部会根据 Vnode 的 type 来执行不同的处理逻辑。如果是 Fragment,会执行 processFragment;如果是 Text,会执行 processText。如果是 ELEMENT,会执行 processElement,如果是 COMPONENT, 会执行 processComponent,如果是 TELEPORT,会执行 teleport 处理逻辑。
由于我们传入的是组件类型,type 为组件配置对象,此时走到 processComponent 的处理逻辑
processComponent
function processComponent(n1,n2: any,container: any,parentComponent,anchor
 ) {if (!n1) {mountComponent(n2, container, parentComponent, anchor)} else {updateComponent(n1, n2)}
}
由于 n1 不存在,此时执行 mountComponent。
mountComponent
function mountComponent(initialVNode, // n2container,parentComponent,anchor
) {const instance = (initialVNode.component = createComponentInstance(initialVNode,parentComponent))setupComponent(instance)setupRenderEffect(instance, initialVNode, container, anchor)
}
mountComponent 会做如下操作:
一、创建组件实例
通过 createComponentInstance 生成组件实例 instance,并把 instance 赋值给 n2.component 属性,供组件更新使用。
function createComponentInstance(vnode, parent) {const component = {vnode,type: vnode.type,next: null,setupState: {},props: {},slots: {},provides: parent ? parent.provides : {}, // 依赖注入parent, // 父元素,构建组件父子关系isMounted: false, // 组件是否已挂载subTree: {}, // 组件的虚拟 DOMemit: () => {}}component.emit = emit.bind(null, component) as any;return component;
}
instance 结构如下:
二、丰富组件实例
1、 执行 setupComponent 函数并把 instance 传入。setupComponent 函数主要做如下操作:初始化实例 的 props、slots 属性。
function setupComponent(instance) {initProps(instance, instance.vnode.props) // 初始化propsinitSlots(instance, instance.vnode.children) // 初始化slotssetupStatefulComponent(instance);
}
2、执行 setupStatefulComponent
function setupStatefulComponent(instance) {const Component = instance.type;// 创建proxy,调用 redner 函数的时候传入, 并把 render 函数的 this 指向 proxy。在 render 函数内部访问 this 时访问的是 instanceinstance.proxy = new Proxy({ _: instance }, PublicInstanceProxyHandlers);const { setup } = Component;if (setup) {setCurrentInstance(instance);const setupResult = setup(shallowReadonly(instance.props), {emit: instance.emit,});setCurrentInstance(null);handleSetupResult(instance, setupResult);}
}

let currentInstance = null;

function getCurrentInstance() { // 必须在 setup 函数内使用return currentInstance;
}

export function setCurrentInstance(instance) {currentInstance = instance;
}
3、setupStatefulComponent 函数主要做以下几件事情:
(1)创建 proxy, 并挂载到 instance 上。
(2)判断组件有没有定义 setup,有的话会调用 setCurrentInstance 把全局的 currentInstance 赋值为当前的 instance。接着执行 setup 函数, 并把 instance.props 作为第一个参数传入。 第二个参数是一个对象,这里暂时只传入 emit,并用 setupResult 接收 setup 函数的返回值。setup 执行完后,把全局的 currentInstance 置空 。
(3)执行 handleSetupResult 把 setupResult 传入 。如果 setupResult 是对象,此时会将 instance.setupState 指向脱 ref 后的 setupResult(好处: 避免用户多写 .value 属性),然后执行 finishComponentSetup。
function handleSetupResult(instance, setupResult: any) {if (typeof setupResult === "object") {instance.setupState = proxyRefs(setupResult);}finishComponentSetup(instance);
}
(4).finishComponentSetup 主要做如下操作。
如果用户没有配置 render 函数, 此时会把template 通过 compiler 编译为可执行的 render 函数,并将 render 函数赋值给instance.render
function finishComponentSetup(instance: any) {const Component = instance.type;if (compiler && !Component.render) {if (Component.template) {Component.render = compiler(Component.template);}}instance.render = Component.render;
}
三、创建副作用渲染函数
接下来会执行副作用渲染函数 setupRenderEffect,在这个函数内会使用 响应式API effect创建副作用函数 componentEffect。这里只需要简单的理解为,当组件内的数据改动时这个由effect 包裹的 componentEffect 就会重新调用,通过 instance.isMounted 属性来判断当前组件是首次渲染还是更新。
1、如果是首次渲染,会把上一步生成的 proxy 取出。接着执行 render 函数( 首先矫正 render 函数 this 指向,把 this 指向 proxy, 然后传入 proxy),并用 instance.subTree 来接收 render 函数的返回值。
2、 再次调用 patch 函数,第一个参数为null, 然后传入 subTree
3、patch 函数执行完后,用 subTree.el 赋值 n2.el, 并且把 instance.isMounted 置为 true
function setupRenderEffect(instance, initialVNode, container, anchor) {instance.update = effect(() => {if (!instance.isMounted) { // 初次渲染const { proxy } = instance;const subTree = (instance.subTree = instance.render.call(proxy, proxy));patch(null, subTree, container, instance, anchor);initialVNode.el = subTree.el;instance.isMounted = true;} else { // updated...}}...
 )
}
以上面的 App.vue 为例,由于我们配置了 render 函数, 会生成如下 Vnode
再次执行 patch 函数时,由于传入的 Vnode 的 type 是普通元素(此处是 div),此时会走到 processElement 的逻辑
processElement
function processElement(n1, n2, container, parentComponent, anchor) {if (!n1) { // 挂载mountElement(n2, container, parentComponent, anchor);} else { // 更新patchElement(n1, n2, container, parentComponent, anchor);}
}
由于 n1 不存在, 此时会执行 mountElement 的逻辑,并把 n2 作为参数传入。
mountElement
function mountElement(vnode, container, parentComponent, anchor) {const el = (vnode.el = hostCreateElement(vnode.type)) // divconst { children, shapeFlag } = vnode;// childrenif (shapeFlag & ShapeFlags.TEXT_CHILDREN) {el.textContent = children;} else if (shapeFlag & ShapeFlags.ARRAY_CHILDREN) {mountChildren(vnode.children, el, parentComponent, anchor);}// propsconst { props } = vnode;for (const key in props) {const val = props[key];hostPatchProp(el, key, null, val);}hostInsert(el, container, anchor);
}
mountElement 会执行以下操作:
1、基于 vnode.type 使用 hostCreateElement 创建对应的 dom 节点,并将其赋值给vnode.el和 el 。
hostCreateElement 是从哪里来的呢? 当我们执行 createRenderer 时会传入与平台相关的操作方法,然后在 createRenderer 内部解构了这些方法。
function createElement(type) {return document.createElement(type)
}

function insert(child, parent, anchor = null) {parent.insertBefore(child, anchor) // anchor 为 null 相当于 appendChild
}

function remove(child) {const parent = child.parentNodeif (parent) {parent.removeChild(child)}
}

function setElementText(el, text) {el.textContent = text
}

function patchProp(el, key, prevVal, nextVal) {const isOn = (key: string) => /^on[A-Z]/.test(key); // 注册事件 onClickif (isOn(key)) {const event = key.slice(2).toLowerCase();el.addEventListener(event, nextVal);} else {if (nextVal === undefined || nextVal === null) {el.removeAttribute(key);} else {el.setAttribute(key, nextVal);}}
}

const renderer = createRenderer({createElement,patchProp,insert,remove,setElementText
})

function createRenderer(options) {const {createElement: hostCreateElement,patchProp: hostPatchProp,insert: hostInsert,remove: hostRemove,setElementText: hostSetElementText} = options
}
2、取出 children、shapeFlag。如果 children 是文本节点,直接将 children 赋值给 el.textContent;如果是数组,会执行 mountChildren。由于此处的 chidren 为数组,会调用 mountChildren 把 children 和 新创建的 el 传入(避免混淆,此处称为 父div)。
3、mountChildren 会遍历传入的 children,拿到每一个 子Vnode,再次调用 patch 方法(深度优先递归),把每一个 vnode 和 父div 作为参数传入。
function mountChildren(children, container, parentComponent, anchor) {children.forEach((v) => {patch(null, v, container, parentComponent, anchor);})
}
由于 children 长度为2,我们先来分析第1个:
-
再次调用
-
patch 函数,由于传入的
type 还是
div(截图如上), 此时还是会走
processElement ->
mountElement 的逻辑,然后创建真实 DOM 元素(此处简称
子div)。由于此时的
children 为文本(
count: 0),会走到
el.textContent = children 逻辑。由于我们没有传递
props,此时会调用
hostInsert 方法把
子div 添加到
父div 中。
第2个:由于传入的 type 是 button(截图如上), 此时依然会走 processElement -> mountElement 的逻辑,然后创建真实 DOM 元素(此处简称 子button)。由于此时的 children 为文本(click),依然会走到 el.textContent = children 逻辑。然后调用hostPatchProp 对 props 做处理(最终会给 button 添加点击事件)。最后依然调用 hostInsert 方法把 子button 添加到 父div 中。
5、处理完 children 后,此时会回溯到父元素的处理流程中,由于我们传递了 { id: "root" } 的 props 属性,此时会调用 hostPatchProp 给 父div 添加该属性,最后调用 hostInsert 方法把 父div 添加到 div#app 中。至此就完成了元素的 mount 流程。
总结
组件的挂载流程图如下:
以上是对组件挂载流程的分析,下一篇我们来分析组件更新的流程。
最后
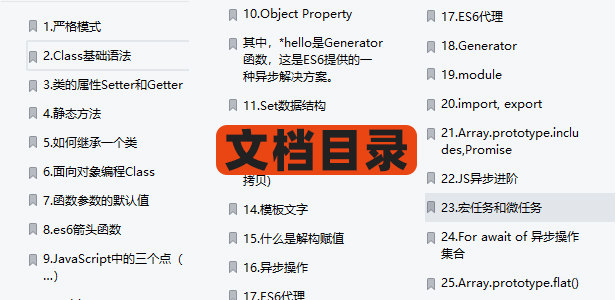
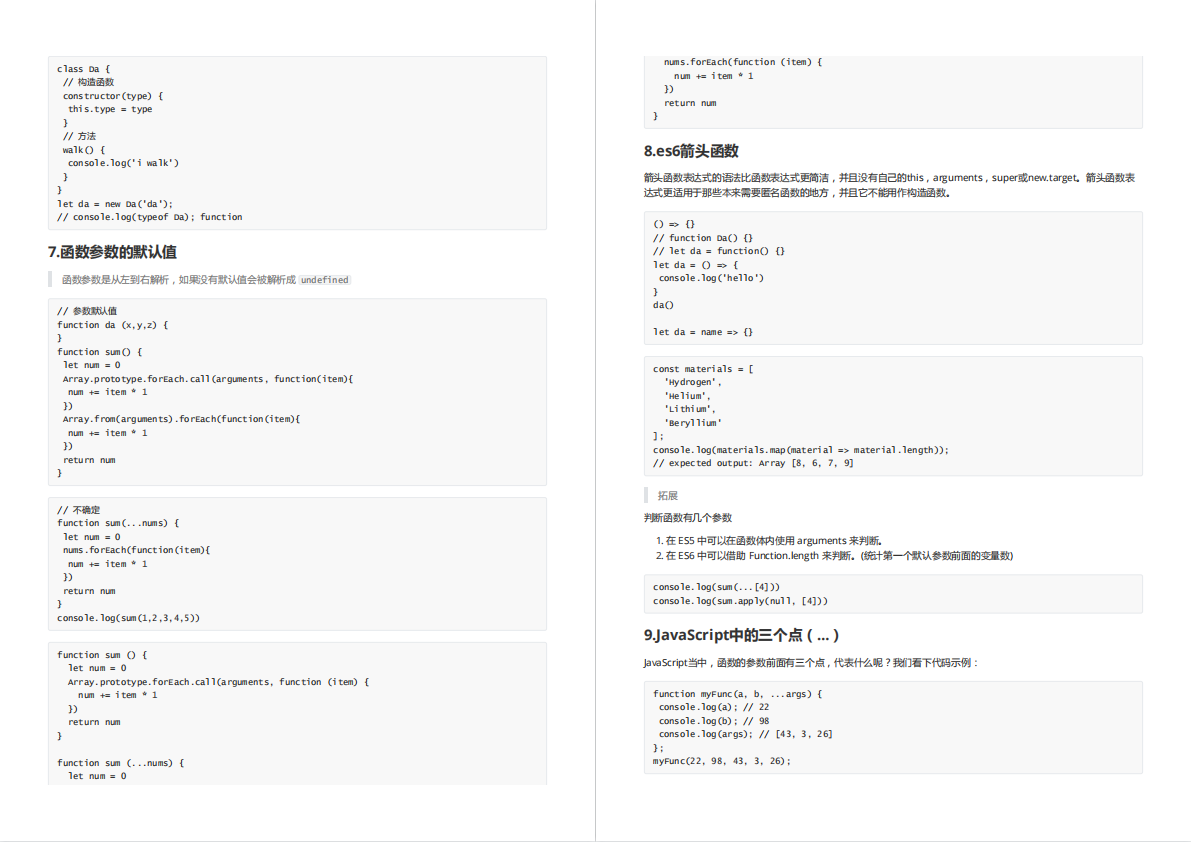
最近还整理一份JavaScript与ES的笔记,一共25个重要的知识点,对每个知识点都进行了讲解和分析。能帮你快速掌握JavaScript与ES的相关知识,提升工作效率。


有需要的小伙伴,可以点击下方卡片领取,无偿分享
![[ChatGPT]](https://img-blog.csdnimg.cn/img_convert/a646c6fec3634300acb88545051acb68.jpeg)