windows部署ollama+maxkb+vscode插件continue打造本地AI
- 前言
- 下载
- ollama
- docker desktop
- vscode插件continue
- 安装
- 安装ollama
- 设置环境变量
- 安装docker desktop
- 部署maxkb容器
- 安装vscode插件
- 模型搜索和推荐
前言
我采用docker运行maxkb,本地运行ollama形式。可能是windows N卡的驱动优化比较好,这样子使用好像更流畅。
我的机器是内存32G,显卡4060 8G,实测跑10G左右的模型可以流畅,16G的模型一分钟就蹦出几个字。
下载
ollama
Download Ollama on Windows
docker desktop
Install Docker Desktop on Windows | Docker Docs
vscode插件continue
Continue - Llama 3, GPT-4, and more - Visual Studio Marketplace
安装
安装ollama
正常安装就行
设置环境变量
OLLAMA_HOST         The host:port to bind to (default "127.0.0.1:11434")
OLLAMA_ORIGINS      A comma separated list of allowed origins
OLLAMA_MODELS       The path to the models directory (default "~/.ollama/models")
OLLAMA_KEEP_ALIVE   The duration that models stay loaded in memory (default "5m")
OLLAMA_DEBUG        Set to 1 to enable additional debug logging
模型一般比较大,所以我一般设置OLLAMA_MODELS变量为其他目录,这样就可以不保存到C盘。
默认ollama只监听本地,如果想让其他人也可以访问,设置环境变量OLLAMA_HOST 为0.0.0.0:11434即可。
注意,修改完变量后,需要重启ollama才会生效。
部署完成后浏览器输入,localhost:11434
应该会看到,“Ollama is running”字样。
安装docker desktop
正常安装即可
部署maxkb容器
打开CMD输入下面命令即可。
docker run -d --name=maxkb -p 80:8080 --add-host host.docker.internal:host-gateway  --restart=always -v D:\AI\maxkb:/var/lib/postgresql/data 1panel/maxkb

# 用户名: admin
# 密码: MaxKB@123..
我把数据存储到D:\AI\maxkb目录中,容器通过host.docker.internal伪域名访问宿主机,host.docker.internal等价于宿主机的localhost。
输入http://localhost/即可进入maxkb站点。
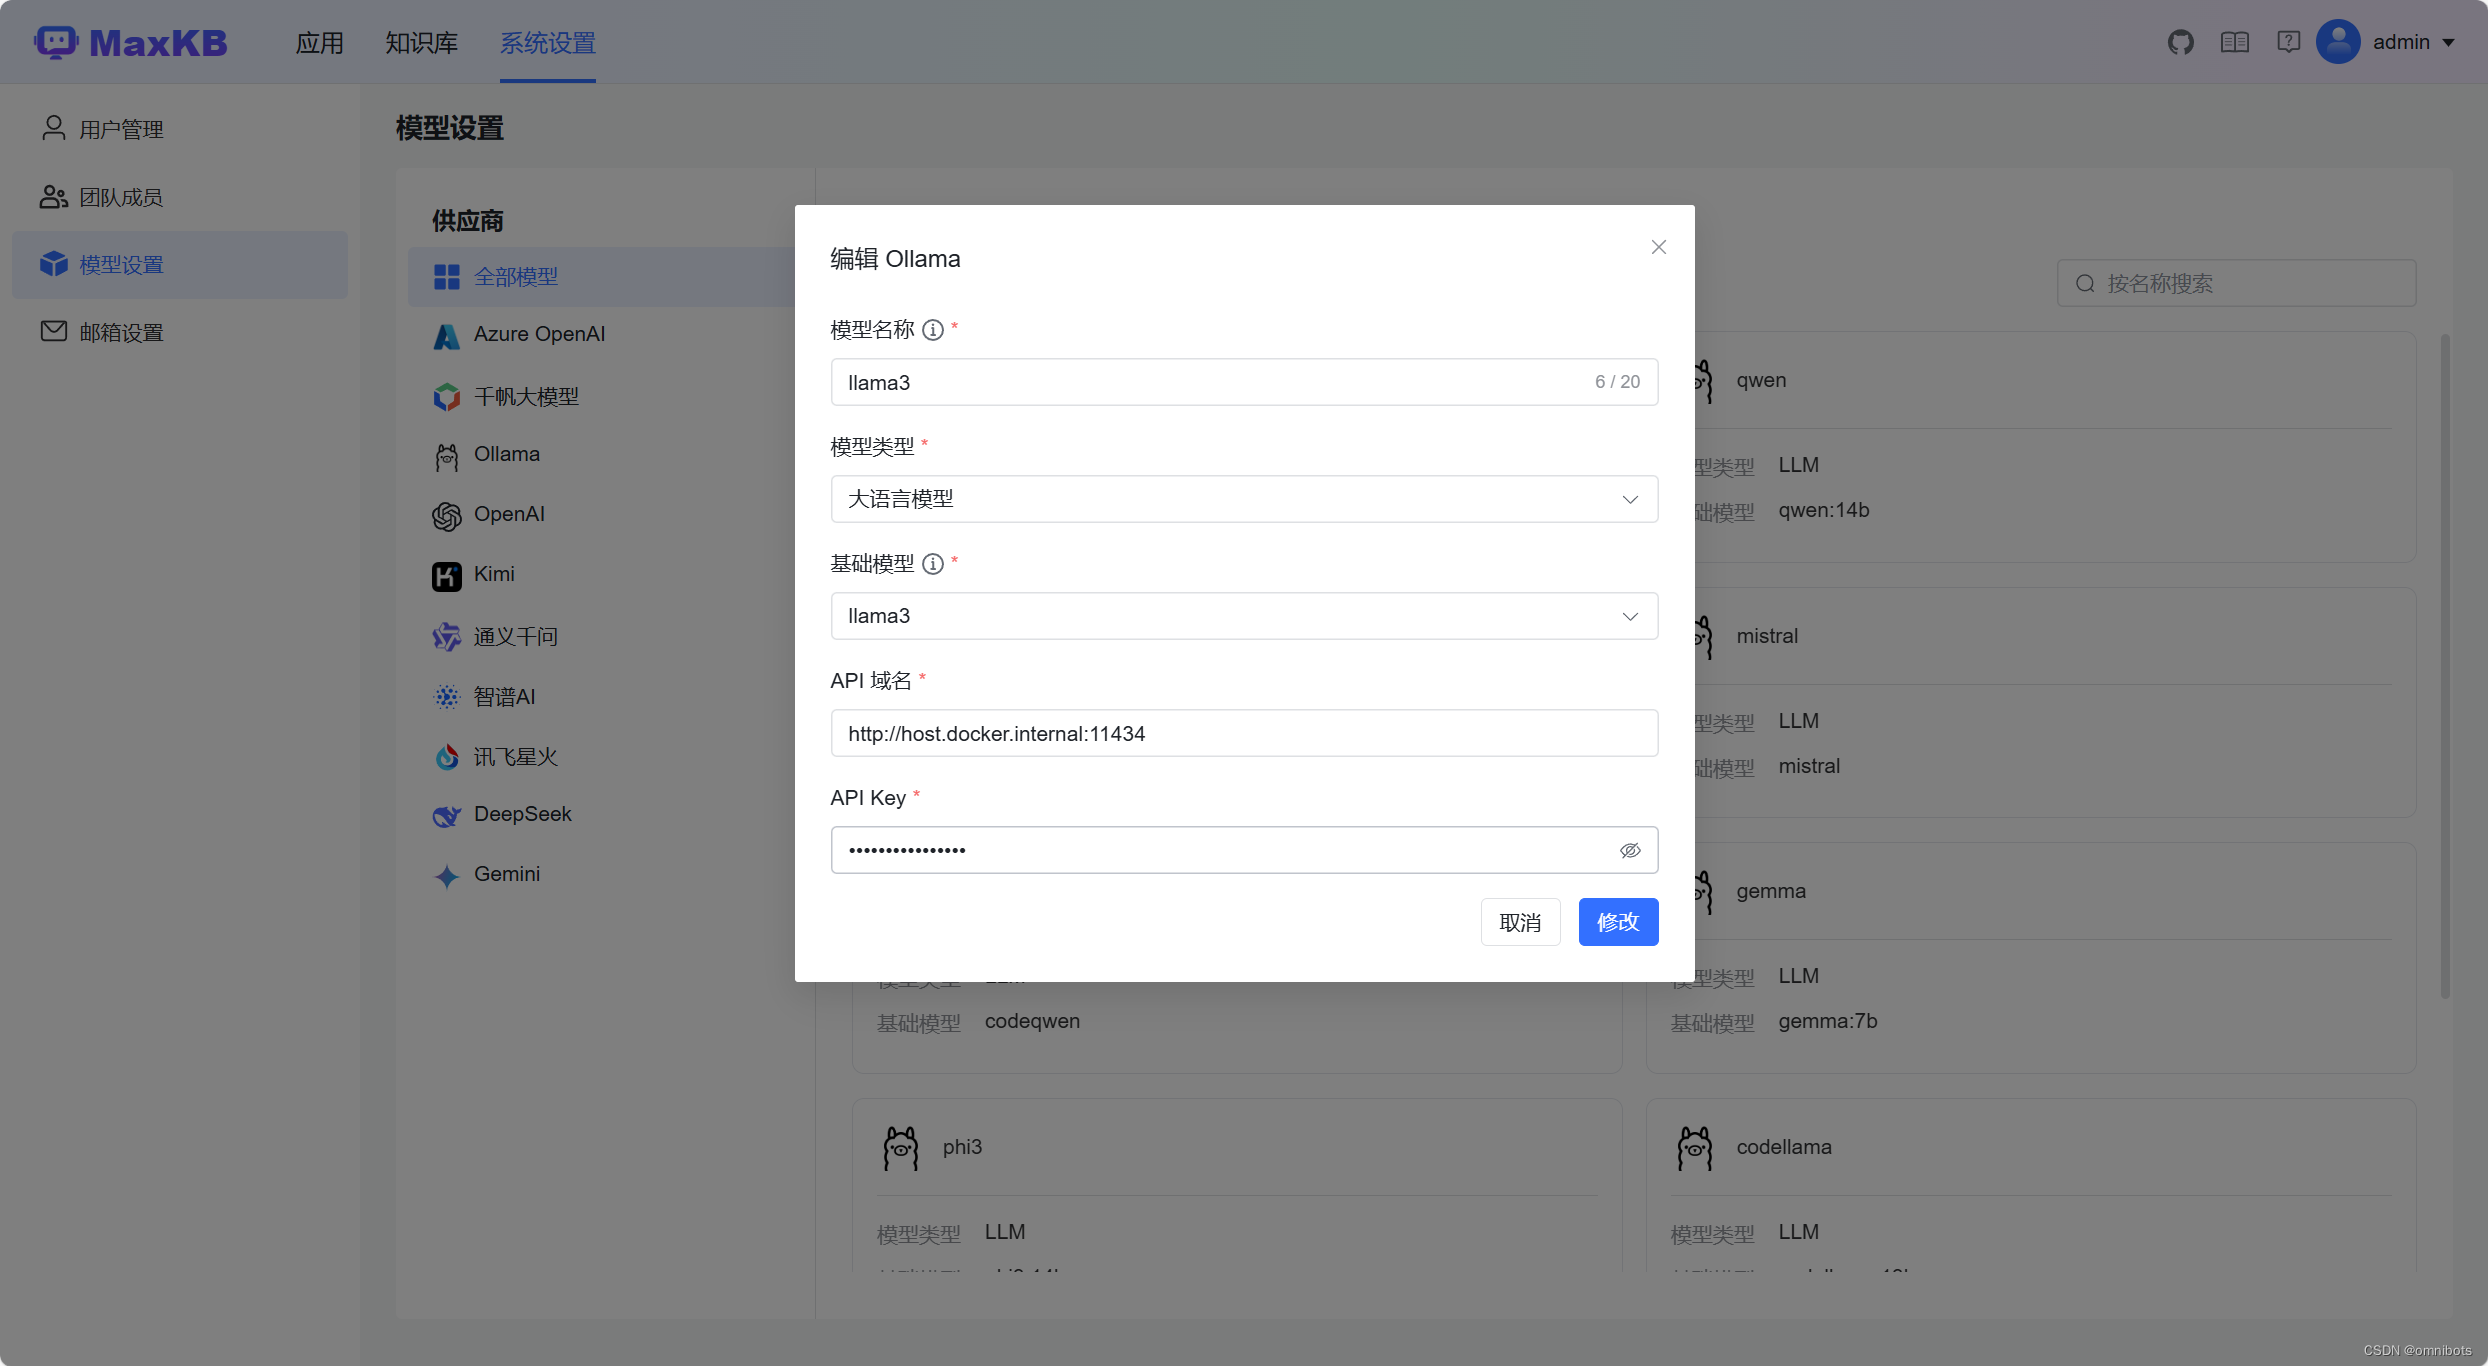
模型设置注意事项,API 域名填写“http://host.docker.internal:11434”,APIkey随便写。
安装vscode插件
正常安装continue插件即可,
安装之后配置如下。
{
  "models": [
    {
      "title": "Llama 3",
      "provider": "ollama",
      "model": "llama3",
      "apiBase": "http://localhost:11434"
    },
    {
      "title": "codellama",
      "provider": "ollama",
      "model": "codellama:13b",
      "apiBase": "http://localhost:11434"
    },
    {
      "title": "openchat",
      "provider": "ollama",
      "model": "openchat",
      "apiBase": "http://localhost:11434"
    },
    {
      "title": "phi3",
      "provider": "ollama",
      "model": "phi3:14b",
      "apiBase": "http://localhost:11434"
    },
    {
      "title": "gemma",
      "provider": "ollama",
      "model": "gemma:7b",
      "apiBase": "http://localhost:11434"
    },
    {
      "title": "codeqwen",
      "provider": "ollama",
      "model": "codeqwen",
      "apiBase": "http://localhost:11434"
    },
    {
      "title": "mistral",
      "provider": "ollama",
      "model": "mistral",
      "apiBase": "http://localhost:11434"
    },
    {
      "title": "codegemma",
      "provider": "ollama",
      "model": "codegemma:7b",
      "apiBase": "http://localhost:11434"
    },
    {
      "title": "qwen",
      "provider": "ollama",
      "model": "qwen:14b",
      "apiBase": "http://localhost:11434"
    }
  ],
  "customCommands": [
    {
      "name": "test",
      "prompt": "{{{ input }}}\n\nWrite a comprehensive set of unit tests for the selected code. It should setup, run tests that check for correctness including important edge cases, and teardown. Ensure that the tests are complete and sophisticated. Give the tests just as chat output, don't edit any file.",
      "description": "Write unit tests for highlighted code"
    }
  ],
  "tabAutocompleteModel": {
    "title": "Starcoder 3b",
    "provider": "ollama",
    "model": "starcoder2:3b"
  },
  "allowAnonymousTelemetry": true,
  "embeddingsProvider": {
    "provider": "transformers.js"
  }
}
效果如下:
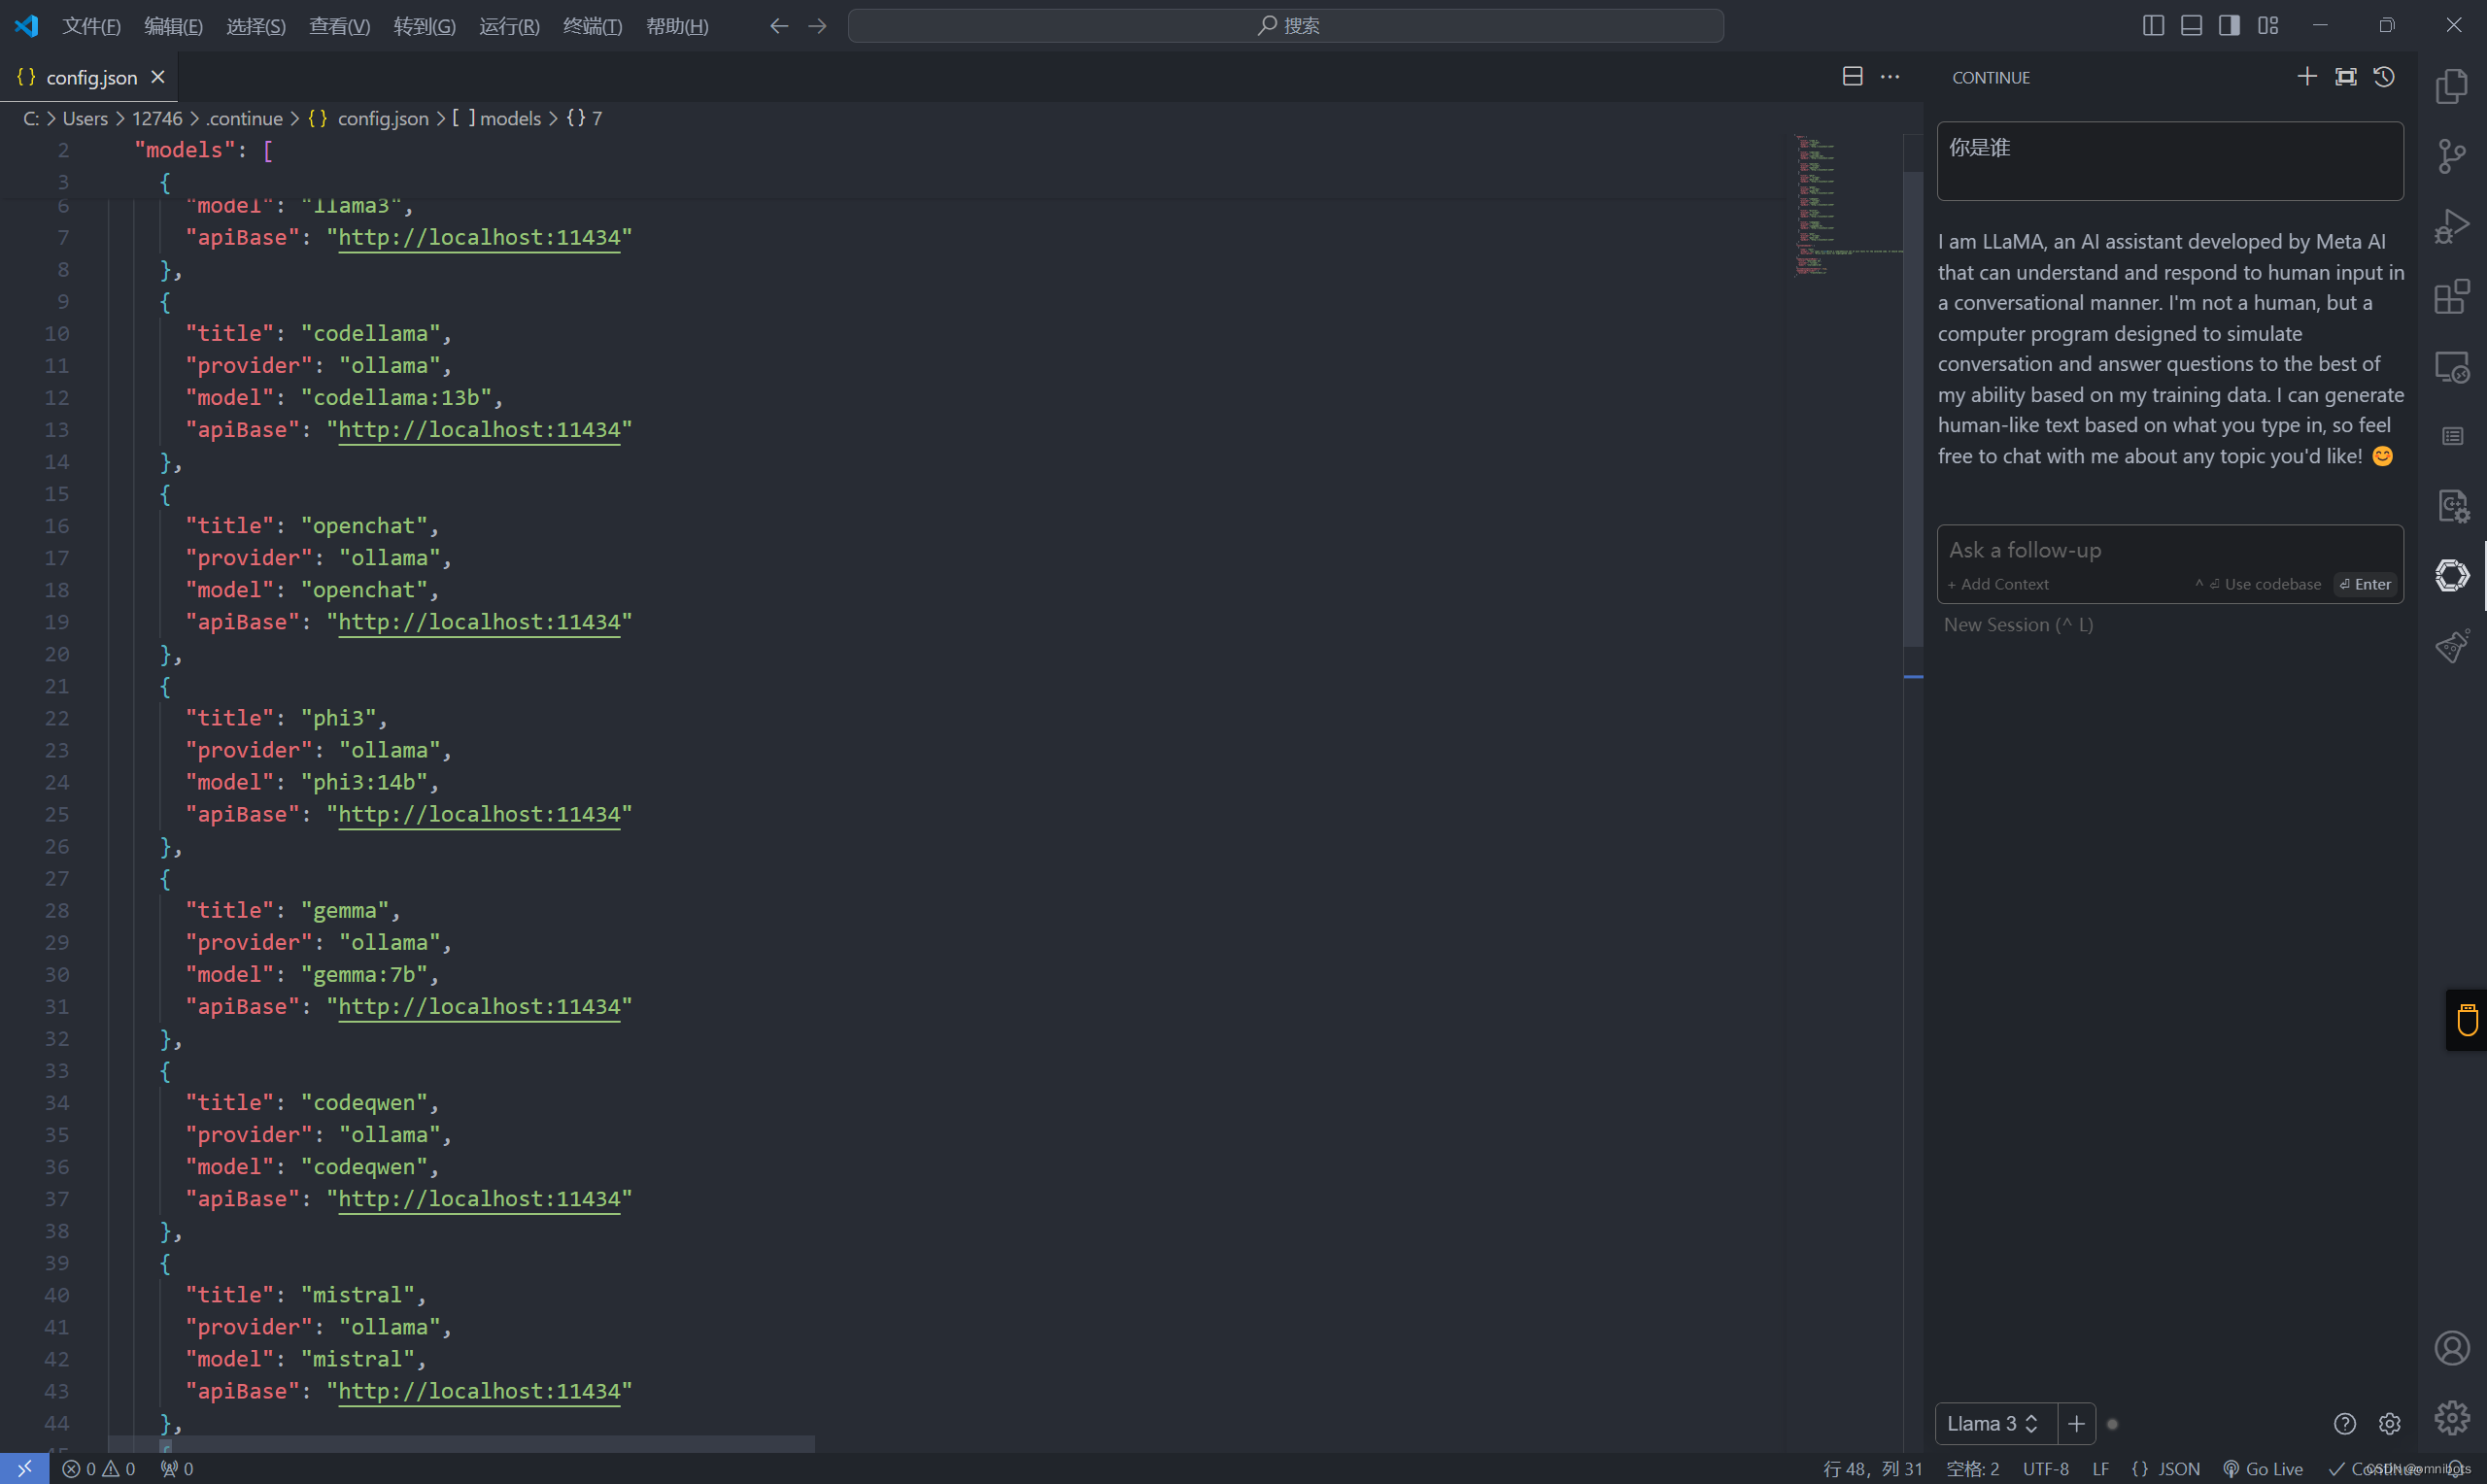
continue插件的使用,参考下面教程。
https://docs.continue.dev/how-to-use-continue#easily-understand-code-sections
模型搜索和推荐
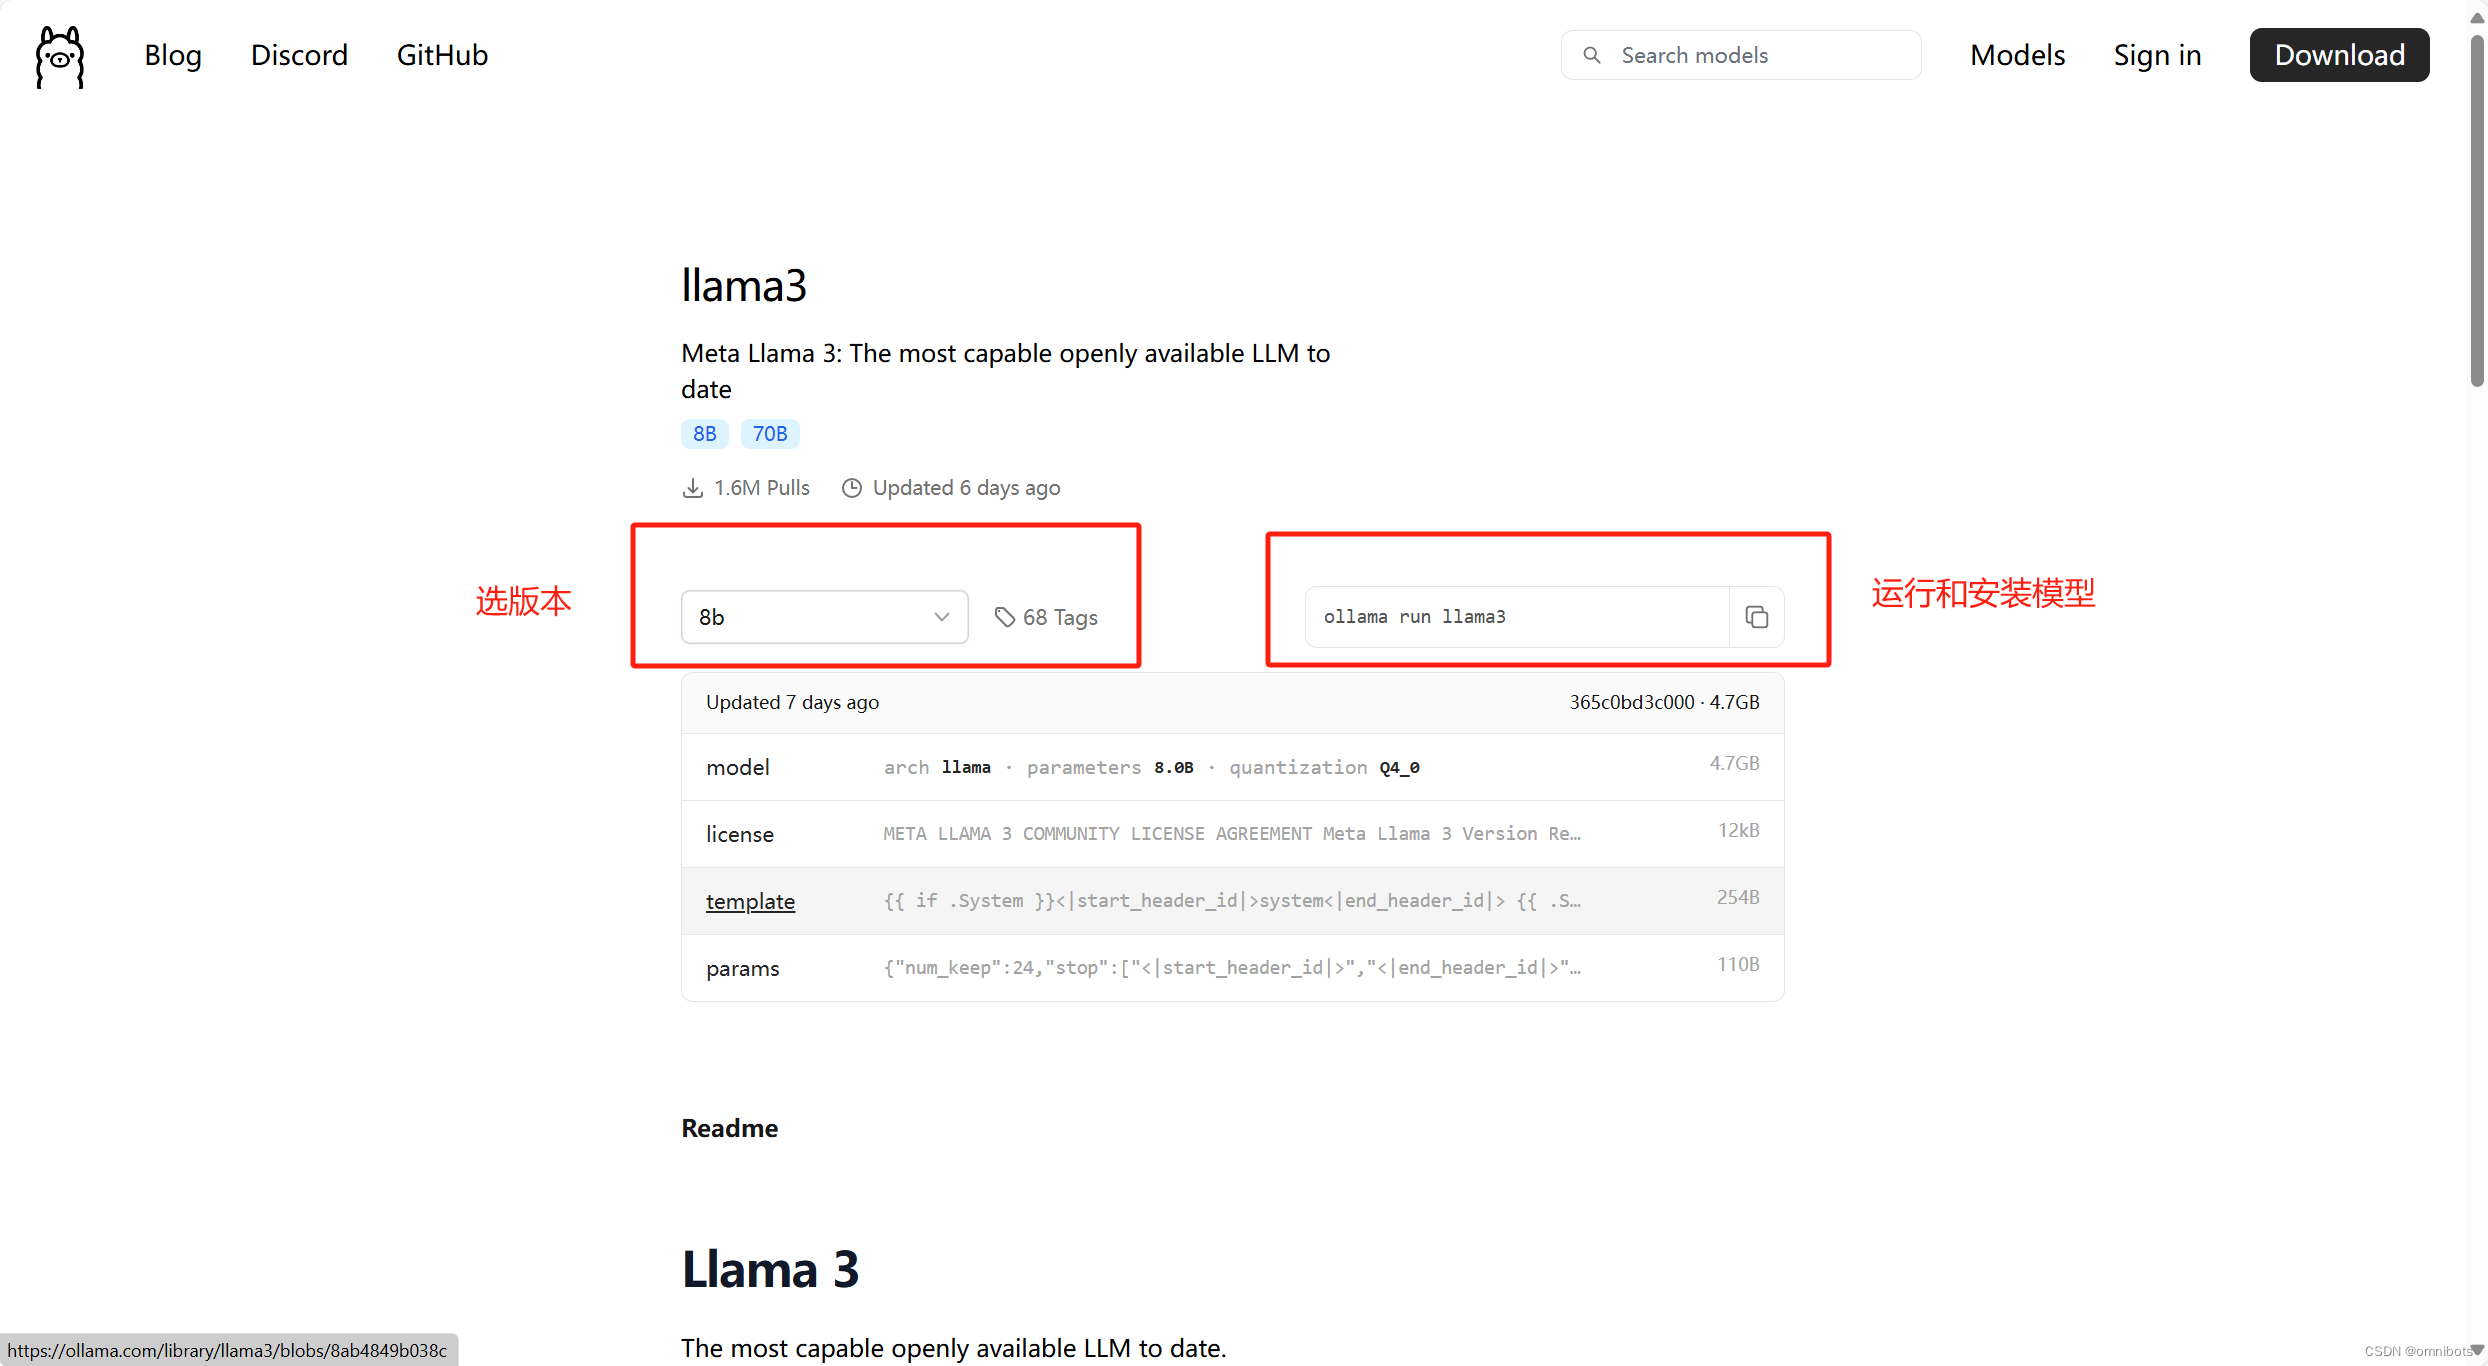
library (ollama.com)
在上面网址搜索模型然后在cmd执行ollama run xxx即可
注意,同一个模型有不同版本,注意选择。
推荐模型:
ollama list
NAME            ID              SIZE    MODIFIED
codellama:13b   9f438cb9cd58    7.4 GB  19 hours ago
openchat:latest 537a4e03b649    4.1 GB  19 hours ago
phi3:14b        1e67dff39209    7.9 GB  19 hours ago
gemma:7b        a72c7f4d0a15    5.0 GB  19 hours ago
codeqwen:latest a6f7662764bd    4.2 GB  19 hours ago
mistral:latest  2ae6f6dd7a3d    4.1 GB  19 hours ago
codegemma:7b    0c96700aaada    5.0 GB  19 hours ago
qwen:14b        80362ced6553    8.2 GB  19 hours ago
llama3:latest   365c0bd3c000    4.7 GB  22 hours ago
