上文LLM-Agents]详解Agent中工具使用Workflow提到MM-ReAct框架,通过结合ChatGPT 与视觉专家模型来解决复杂的视觉理解任务的框架。通过设计文本提示(prompt design),使得语言模型能够接受、关联和处理多模态信息,如图像和视频。展示了 MM-REACT 在不同场景下处理高级视觉理解任务的有效性,如多图像推理、多跳文档理解、视频摘要和事件定位等。今天我们尝试安装使用一下,了解一下在LLM中如何使用工具。 
1. 安装
1.1下载工程
git clone https://github.com/microsoft/MM-REACT
1.2 安装依赖
MM-ReAct是使用Poetry解决依赖包,所以除了安装poetry,还需要额外安装pillow、imagesize 和openai。其中openai需要限制版本为0.28,否则会有兼容性问题。
bash
复制代码
curl -sSL https://install.python-poetry.org | python3 -
subl ~/.zshrc
export PATH="/Users/xxxx/.local/bin:$PATH"
source ~/.zshrc
pip install pillow imagesize
pip install openai==0.28
1.3 设置环境变量
因为该Repo使用了大量的Microsoft的云端API,需要注册运行,此处为了了解运行过程,就不注册了。但为了能够基本运行,依然需要设置一些无效的环境变量。
bash
复制代码
BING_SEARCH_URL="https://api.bing.microsoft.com/v7.0/search";
BING_SUBSCRIPTION_KEY=xxxx;
IMUN_CELEB_PARAMS=xxxx;
IMUN_CELEB_URL="https://yourazureendpoint.cognitiveservices.azure.com/vision/v3.2/models/celebrities/analyze";
IMUN_OCR_BC_URL="https://yourazureendpoint.cognitiveservices.azure.com/formrecognizer/documentModels/prebuilt-businessCard:analyze";
IMUN_OCR_INVOICE_URL="https://yourazureendpoint.cognitiveservices.azure.com/formrecognizer/documentModels/prebuilt-invoice:analyze";
IMUN_OCR_LAYOUT_URL="https://yourazureendpoint.cognitiveservices.azure.com/formrecognizer/documentModels/prebuilt-layout:analyze";
IMUN_OCR_PARAMS="api-version=2022-08-31";
IMUN_OCR_READ_URL="https://yourazureendpoint.cognitiveservices.azure.com/formrecognizer/documentModels/prebuilt-read:analyze";
IMUN_OCR_RECEIPT_URL="https://yourazureendpoint.cognitiveservices.azure.com/formrecognizer/documentModels/prebuilt-receipt:analyze";
IMUN_OCR_SUBSCRIPTION_KEY=xxx;
IMUN_PARAMS="visualFeatures=Tags,Objects,Faces";
IMUN_PARAMS2="api-version=2023-02-01-preview&model-version=latest&features=denseCaptions";
IMUN_SUBSCRIPTION_KEY=xxxx;
IMUN_SUBSCRIPTION_KEY2=xxxx;
IMUN_URL="https://yourazureendpoint.cognitiveservices.azure.com/vision/v3.2/analyze";
IMUN_URL2="https://yourazureendpoint.cognitiveservices.azure.com/computervision/imageanalysis:analyze"
2. 运行
为了使用本地安装的大模型,需要修改两个文件。
- langchain/llms/openai.py
- sample.py
2.1 修改sample.py
替换代码中的AzureOpenAI为OpenAI,包括import。
python
复制代码
llm = OpenAI(model_name="gpt-3.5-turbo", chat_completion=True,
             openai_api_base="http://localhost:11434/v1",
             openai_api_key="sk", temperature=0, max_tokens=MAX_TOKENS,
             openai_log="debug")
2.2 修改langchain/llms/openai.py
由于自带的langchain中,可能版本比较老,不支持设置openai_api_base ,因此需要增加一点配置代码。
bash
复制代码
加一点配置代码。
diff --git a/langchain/llms/openai.py b/langchain/llms/openai.py
index 4180165..70711c1 100644
--- a/langchain/llms/openai.py
+++ b/langchain/llms/openai.py
@@ -115,6 +115,8 @@ class BaseOpenAI(BaseLLM, BaseModel):
     """Whether to stream the results or not."""
     chat_completion: bool = False
     """Whether to use the chat client"""
+    openai_api_base: str = ""
+    openai_log: str = "debug"

     class Config:
         """Configuration for this pydantic object."""
@@ -146,7 +148,9 @@ class BaseOpenAI(BaseLLM, BaseModel):
         openai_api_key = get_from_dict_or_env(
             values, "openai_api_key", "OPENAI_API_KEY"
         )
-        openai_api_version = values.get("openai_api_version") or os.environ.get("OPENAI_API_VERSION")
+        openai_api_version = values.get("openai_api_version") or os.environ.get("OPENAI_API_VERSION")
+        openai_api_base = values.get("openai_api_base") or os.environ.get("OPENAI_API_BASE")
+        openai_log = values.get("openai_log") or os.environ.get("OPENAI_LOG")
         chat_completion = values.get("chat_completion") or False
         values["chat_completion"] = chat_completion
         try:
@@ -155,6 +159,10 @@ class BaseOpenAI(BaseLLM, BaseModel):
             openai.api_key = openai_api_key
             if openai_api_version:
                 openai.api_version = openai_api_version
+            if openai_api_base:
+                openai.api_base = openai_api_base
+            if openai_log:
+                openai.log = openai_log
             if chat_completion:
                 values["client"] = openai.ChatCompletion
             else:
2.3 运行
代码运行入口为sample.py本身较为简单,初始化OpenAI,Tool,Agent和开始对话。可以看到除了定义一堆Azure Cloud的工具之外,还自定义了一个edit_photo。
python
复制代码
def edit_photo(query: str) -> str:
    ....
    return "Here is the edited image " + endpoint + response.json()["edited_image"]

# these tools should not step on each other's toes
tools = [
    ...
    Tool(
        name = "Photo Editing",
        func=edit_photo,
        description=(
        "A wrapper around photo editing. "
        "Useful to edit an image with a given instruction."
        "Input should be an image url, or path to an image file (e.g. .jpg, .png)."
        )
    ),
]
默认输入图像为一个表格,我们将图像改为科比。  开始运行
开始运行 python sample.py 输出,为了阅读体验,删除中间的一些输出。
arduino
复制代码
> Entering new AgentExecutor chain...
message='Request to OpenAI API' method=post path=http://localhost:11434/v1/chat/completions
...

1. There is a new image in the input
 Assistant, please detect objects in this image: https://microsoft-cognitive-service-mm-react.hf.space/file=/tmp/b008c4062adec3b7295dc10fc04305813b2dec9e/celebrity.png
python-BaseException
xxx
...无法连接到Microsoft...
由于无法连接Microsoft云端服务,因此没法继续运行下去,如果连接上了会输出
kotlin
复制代码
AI: 1. There is an image in the input
AI: 1. This is an image of a basketball player in a yellow jersey holding a basketball
2. There are two faces of men detected in this image.
3. Facial recognition can detect celebrity names for these faces
AI: 1. The celebrities detected are Paul Pierce and Kobe Bryant
2. They are likely the basketball players in the image
To summerize, this is an image of basketball players Paul Pierce and Kobe Bryant in a game. Paul Pierce is in a yellow jersey holding a basketball.
总结
总的来说这篇文章中对工具的使用有点过时,收获不是很大,有点浪费时间,尤其是Prompt设计没有啥亮点,并且代码有点绕。要是现在使用Function Calling ,那么就是将函数描述给到LLM,然后设计ReAct的Few Shot ,外加一个For Loop串起整个流程。 后面分析了HuggingGPT,它对于工具使用好多了。
如何系统的去学习大模型LLM ?
作为一名热心肠的互联网老兵,我意识到有很多经验和知识值得分享给大家,也可以通过我们的能力和经验解答大家在人工智能学习中的很多困惑,所以在工作繁忙的情况下还是坚持各种整理和分享。
但苦于知识传播途径有限,很多互联网行业朋友无法获得正确的资料得到学习提升,故此将并将重要的 AI大模型资料 包括AI大模型入门学习思维导图、精品AI大模型学习书籍手册、视频教程、实战学习等录播视频免费分享出来。
😝有需要的小伙伴,可以V扫描下方二维码免费领取🆓

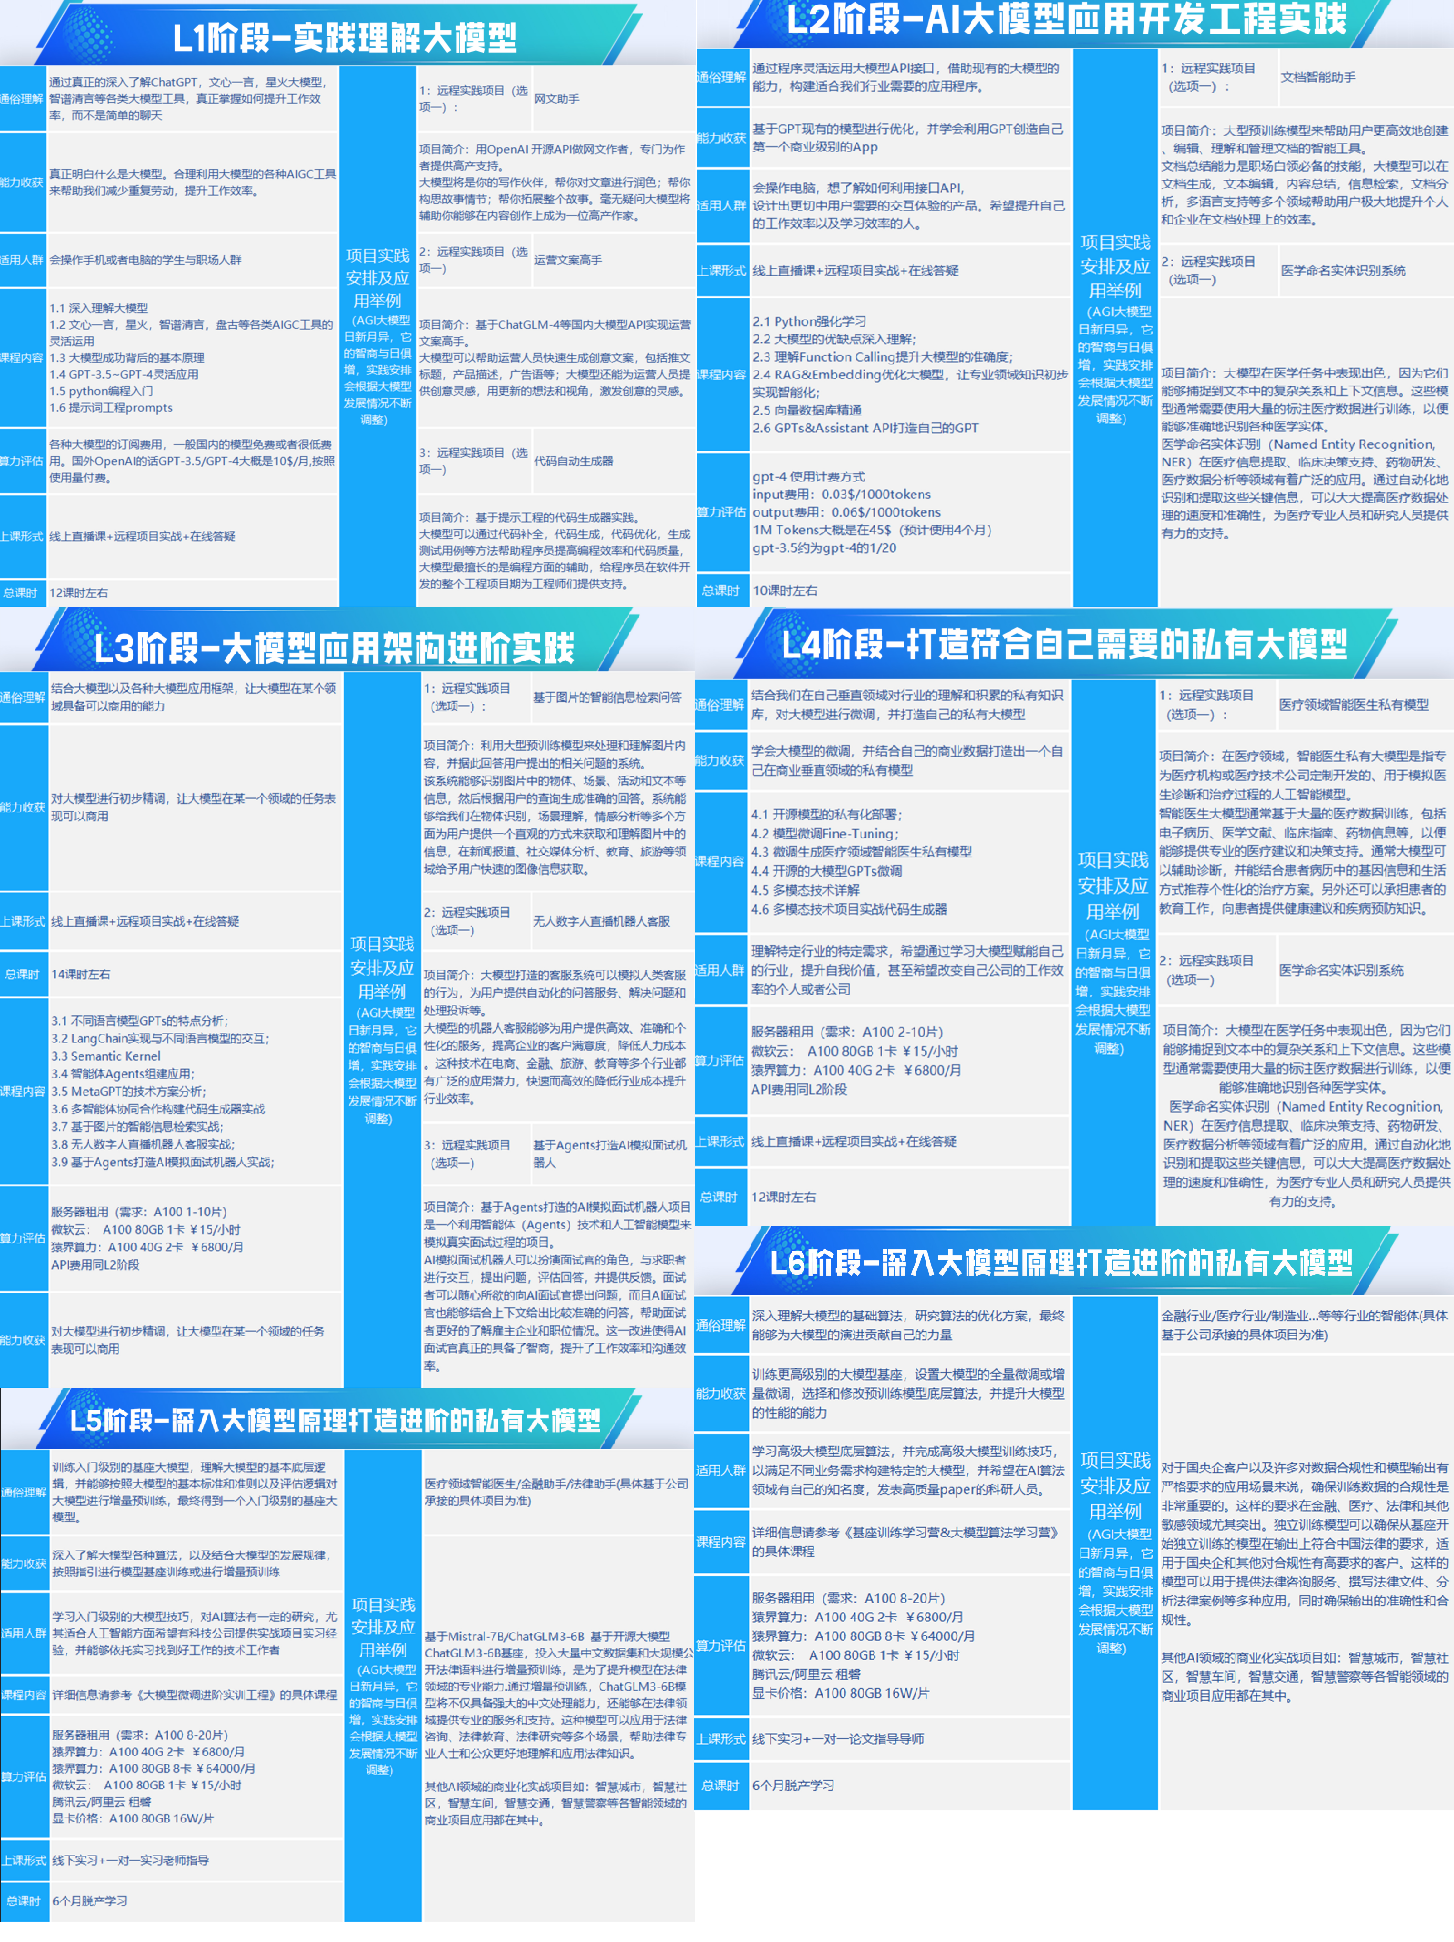
一、全套AGI大模型学习路线
AI大模型时代的学习之旅:从基础到前沿,掌握人工智能的核心技能!
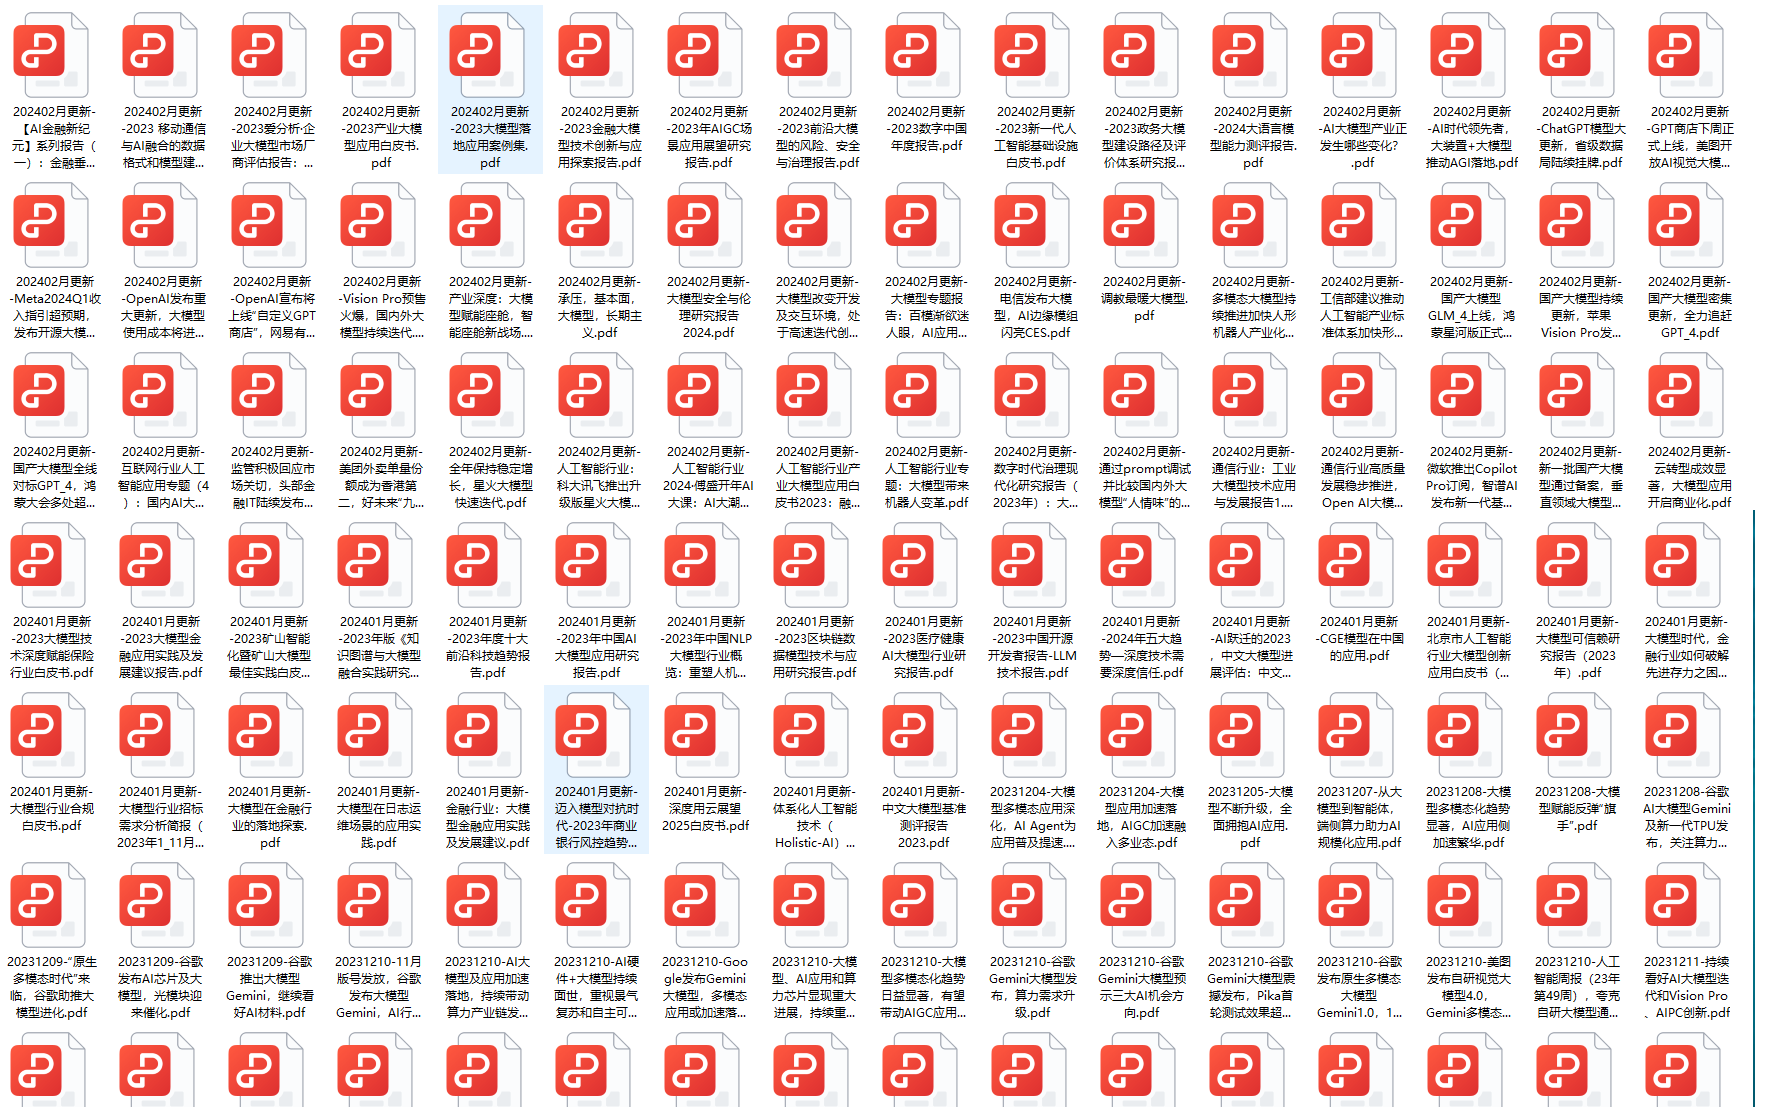
二、640套AI大模型报告合集
这套包含640份报告的合集,涵盖了AI大模型的理论研究、技术实现、行业应用等多个方面。无论您是科研人员、工程师,还是对AI大模型感兴趣的爱好者,这套报告合集都将为您提供宝贵的信息和启示。
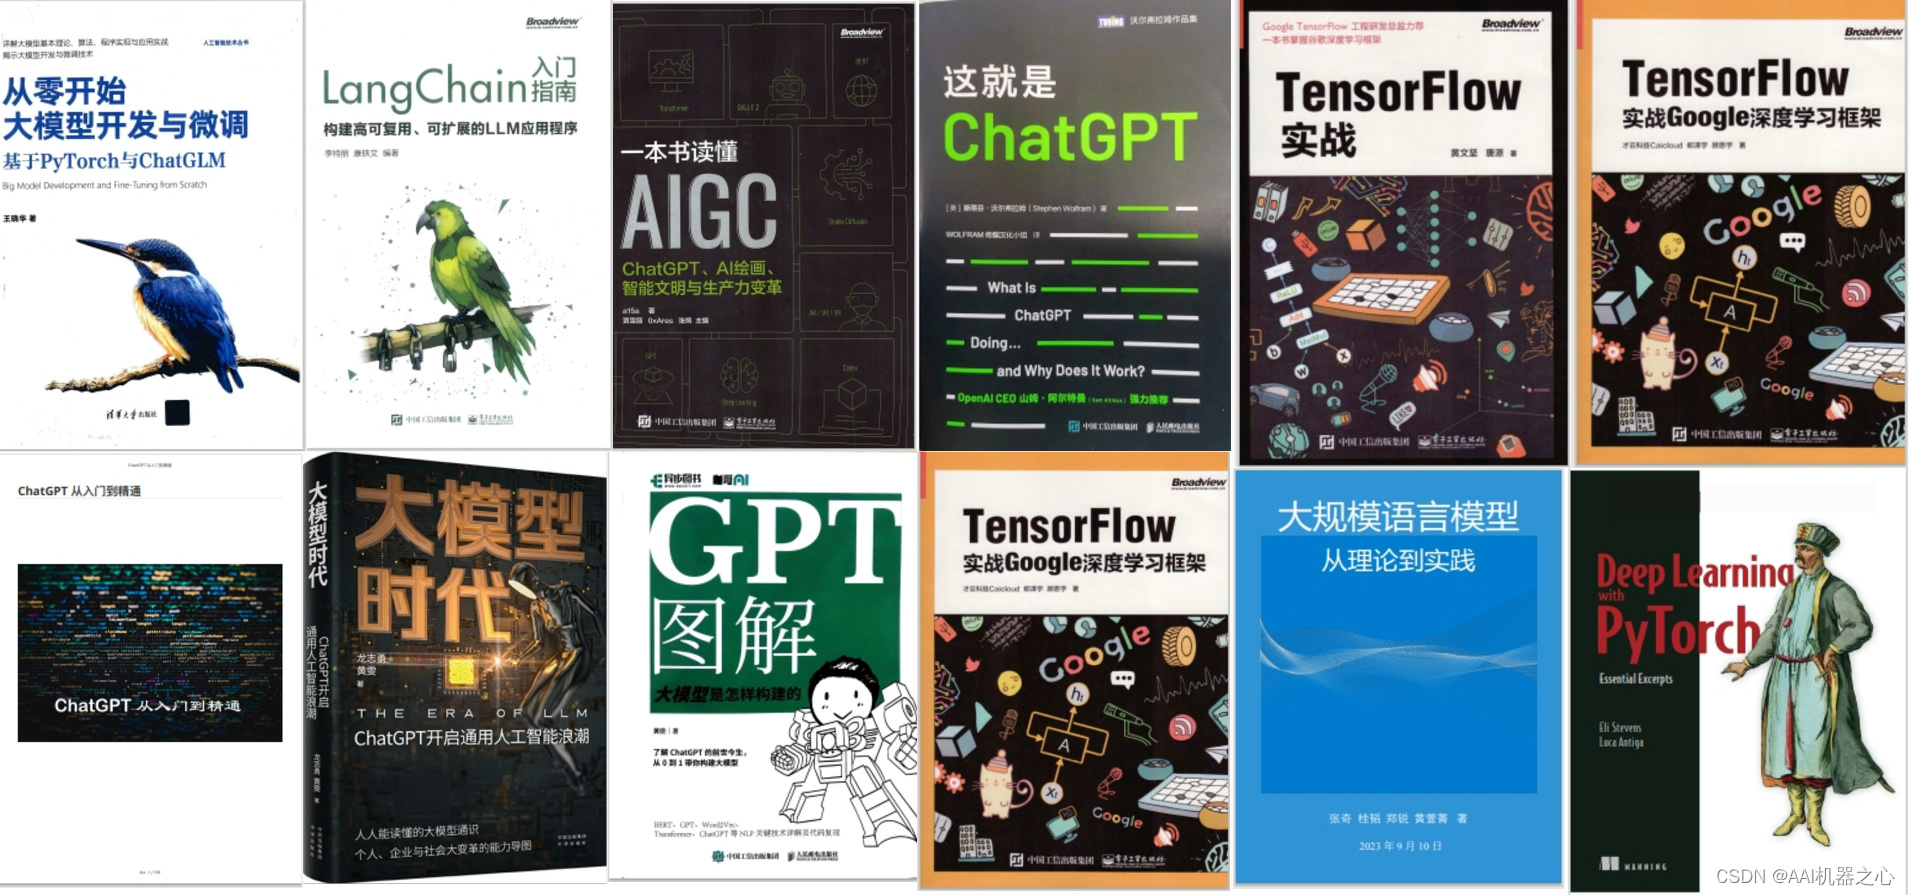
三、AI大模型经典PDF籍
随着人工智能技术的飞速发展,AI大模型已经成为了当今科技领域的一大热点。这些大型预训练模型,如GPT-3、BERT、XLNet等,以其强大的语言理解和生成能力,正在改变我们对人工智能的认识。 那以下这些PDF籍就是非常不错的学习资源。
四、AI大模型商业化落地方案

阶段1:AI大模型时代的基础理解
- 目标:了解AI大模型的基本概念、发展历程和核心原理。
- 内容:
- L1.1 人工智能简述与大模型起源
- L1.2 大模型与通用人工智能
- L1.3 GPT模型的发展历程
- L1.4 模型工程
- L1.4.1 知识大模型
- L1.4.2 生产大模型
- L1.4.3 模型工程方法论
- L1.4.4 模型工程实践 - L1.5 GPT应用案例
阶段2:AI大模型API应用开发工程
- 目标:掌握AI大模型API的使用和开发,以及相关的编程技能。
- 内容:
- L2.1 API接口
- L2.1.1 OpenAI API接口
- L2.1.2 Python接口接入
- L2.1.3 BOT工具类框架
- L2.1.4 代码示例 - L2.2 Prompt框架
- L2.2.1 什么是Prompt
- L2.2.2 Prompt框架应用现状
- L2.2.3 基于GPTAS的Prompt框架
- L2.2.4 Prompt框架与Thought
- L2.2.5 Prompt框架与提示词 - L2.3 流水线工程
- L2.3.1 流水线工程的概念
- L2.3.2 流水线工程的优点
- L2.3.3 流水线工程的应用 - L2.4 总结与展望
- L2.1 API接口
阶段3:AI大模型应用架构实践
- 目标:深入理解AI大模型的应用架构,并能够进行私有化部署。
- 内容:
- L3.1 Agent模型框架
- L3.1.1 Agent模型框架的设计理念
- L3.1.2 Agent模型框架的核心组件
- L3.1.3 Agent模型框架的实现细节 - L3.2 MetaGPT
- L3.2.1 MetaGPT的基本概念
- L3.2.2 MetaGPT的工作原理
- L3.2.3 MetaGPT的应用场景 - L3.3 ChatGLM
- L3.3.1 ChatGLM的特点
- L3.3.2 ChatGLM的开发环境
- L3.3.3 ChatGLM的使用示例 - L3.4 LLAMA
- L3.4.1 LLAMA的特点
- L3.4.2 LLAMA的开发环境
- L3.4.3 LLAMA的使用示例 - L3.5 其他大模型介绍
- L3.1 Agent模型框架
阶段4:AI大模型私有化部署
- 目标:掌握多种AI大模型的私有化部署,包括多模态和特定领域模型。
- 内容:
- L4.1 模型私有化部署概述
- L4.2 模型私有化部署的关键技术
- L4.3 模型私有化部署的实施步骤
- L4.4 模型私有化部署的应用场景
学习计划:
- 阶段1:1-2个月,建立AI大模型的基础知识体系。
- 阶段2:2-3个月,专注于API应用开发能力的提升。
- 阶段3:3-4个月,深入实践AI大模型的应用架构和私有化部署。
- 阶段4:4-5个月,专注于高级模型的应用和部署。
这份完整版的大模型 LLM 学习资料已经上传CSDN,朋友们如果需要可以微信扫描下方CSDN官方认证二维码免费领取【保证100%免费】
😝有需要的小伙伴,可以Vx扫描下方二维码免费领取🆓


