文章目录
- 一、数据处理
- 二、环境
- 三、训练
一、数据处理
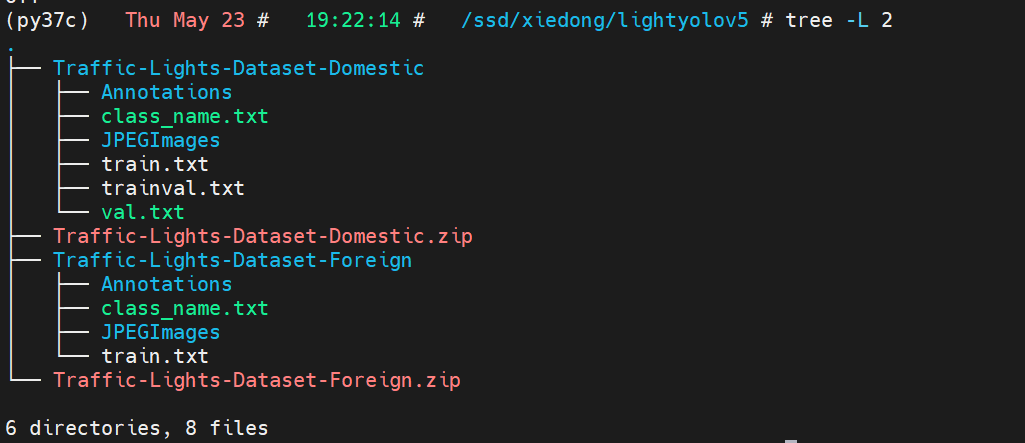
import traceback
import xml.etree.ElementTree as ET
import os
import shutil
import random
import cv2
import numpy as np
from tqdm import tqdm


def convert_annotation_to_list(xml_filepath, size_width, size_height, classes):
    in_file = open(xml_filepath, encoding='UTF-8')
    tree = ET.parse(in_file)
    root = tree.getroot()
    # size = root.find('size')
    # size_width = int(size.find('width').text)
    # size_height = int(size.find('height').text)
    yolo_annotations = []
    # if size_width == 0 or size_height == 0:
    for obj in root.iter('object'):
        difficult = obj.find('difficult').text
        cls = obj.find('name').text
        if cls not in classes or int(difficult) == 1:
            continue
        cls_id = classes.index(cls)
        xmlbox = obj.find('bndbox')
        b = [float(xmlbox.find('xmin').text),
             float(xmlbox.find('xmax').text),
             float(xmlbox.find('ymin').text),
             float(xmlbox.find('ymax').text)]

        # 标注越界修正
        if b[1] > size_width:
            b[1] = size_width
        if b[3] > size_height:
            b[3] = size_height

        txt_data = [((b[0] + b[1]) / 2.0) / size_width, ((b[2] + b[3]) / 2.0) / size_height,
                    (b[1] - b[0]) / size_width, (b[3] - b[2]) / size_height]
        # 标注越界修正
        if txt_data[0] > 1:
            txt_data[0] = 1
        if txt_data[1] > 1:
            txt_data[1] = 1
        if txt_data[2] > 1:
            txt_data[2] = 1
        if txt_data[3] > 1:
            txt_data[3] = 1
        yolo_annotations.append(f"{cls_id} {' '.join([str(round(a, 6)) for a in txt_data])}")

    in_file.close()
    return yolo_annotations


def main():
    classes = ["red", "green", "yellow", "off"]

    root = r"/ssd/xiedong/lightyolov5"
    img_path_1 = os.path.join(root, "Traffic-Lights-Dataset-Domestic/JPEGImages")
    xml_path_1 = os.path.join(root, "Traffic-Lights-Dataset-Domestic/Annotations")
    img_path_2 = os.path.join(root, "Traffic-Lights-Dataset-Foreign/JPEGImages")
    xml_path_2 = os.path.join(root, "Traffic-Lights-Dataset-Foreign/Annotations")

    dst_yolo_root = os.path.join(root, "Traffic-Lights-Dataset-YOLO")
    dst_yolo_root_img = os.path.join(dst_yolo_root, "images")
    os.makedirs(dst_yolo_root_img, exist_ok=True)
    dst_yolo_root_txt = os.path.join(dst_yolo_root, "labels")
    os.makedirs(dst_yolo_root_txt, exist_ok=True)

    index = 0
    img_path_1_files = os.listdir(img_path_1)
    xml_path_1_files = os.listdir(xml_path_1)
    for img_id in tqdm(img_path_1_files):
        # 右边的.之前的部分
        xml_id = img_id.split(".")[0] + ".xml"
        if xml_id in xml_path_1_files:
            try:
                new_name = f"{index:06d}.jpg"
                img = cv2.imdecode(np.fromfile(os.path.join(img_path_1, img_id), dtype=np.uint8), 1)  # img是矩阵
                cv2.imwrite(os.path.join(dst_yolo_root_img, new_name), img)
                new_txt_name = f"{index:06d}.txt"
                yolo_annotations = convert_annotation_to_list(os.path.join(xml_path_1, img_id[:-4] + ".xml"),
                                                              img.shape[1],
                                                              img.shape[0],
                                                              classes)
                with open(os.path.join(dst_yolo_root_txt, new_txt_name), 'w') as f:
                    f.write('\n'.join(yolo_annotations))
                index += 1
            except:
                traceback.print_exc()

    img_path_1_files = os.listdir(img_path_2)
    xml_path_1_files = os.listdir(xml_path_2)
    for img_id in tqdm(img_path_1_files):
        # 右边的.之前的部分
        xml_id = img_id.split(".")[0] + ".xml"
        if xml_id in xml_path_1_files:
            try:
                new_name = f"{index:06d}.jpg"
                img = cv2.imdecode(np.fromfile(os.path.join(img_path_2, img_id), dtype=np.uint8), 1)  # img是矩阵
                cv2.imwrite(os.path.join(dst_yolo_root_img, new_name), img)
                new_txt_name = f"{index:06d}.txt"
                yolo_annotations = convert_annotation_to_list(os.path.join(xml_path_2, img_id[:-4] + ".xml"),
                                                              img.shape[1],
                                                              img.shape[0],
                                                              classes)
                with open(os.path.join(dst_yolo_root_txt, new_txt_name), 'w') as f:
                    f.write('\n'.join(yolo_annotations))
                index += 1
            except:
                traceback.print_exc()


if __name__ == '__main__':
    main()
二、环境
conda create -n py310_yolo8 python=3.10 -y

conda activate py310_yolo8

conda install pytorch==2.1.2 torchvision==0.16.2 torchaudio==2.1.2 pytorch-cuda=11.8 -c pytorch -c nvidia

pip install ultralytics
data.yaml
path: /ssd/xiedong/lightyolov5/Traffic-Lights-Dataset-YOLO/
train: images
val: images
test: # test images (optional)

# Classes
names:
  0: 'red'
  1: 'green'
  2: 'yellow'
  3: 'off'
三、训练
教程:
https://docs.ultralytics.com/modes/train/#comet
新建训练代码文件train.py:
from ultralytics import YOLO

# Load a model
model = YOLO("yolov8s.pt")  # load a pretrained model (recommended for training)

# Train the model with 2 GPUs
results = model.train(data="data.yaml", epochs=100, imgsz=640, device=[0, 1, 2, 3], batch=128)
开启训练:
python -m torch.distributed.run --nproc_per_node 4 train.py
结果会存在这里:
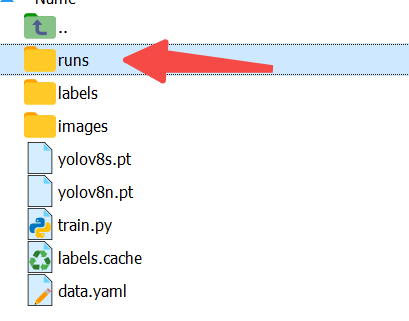
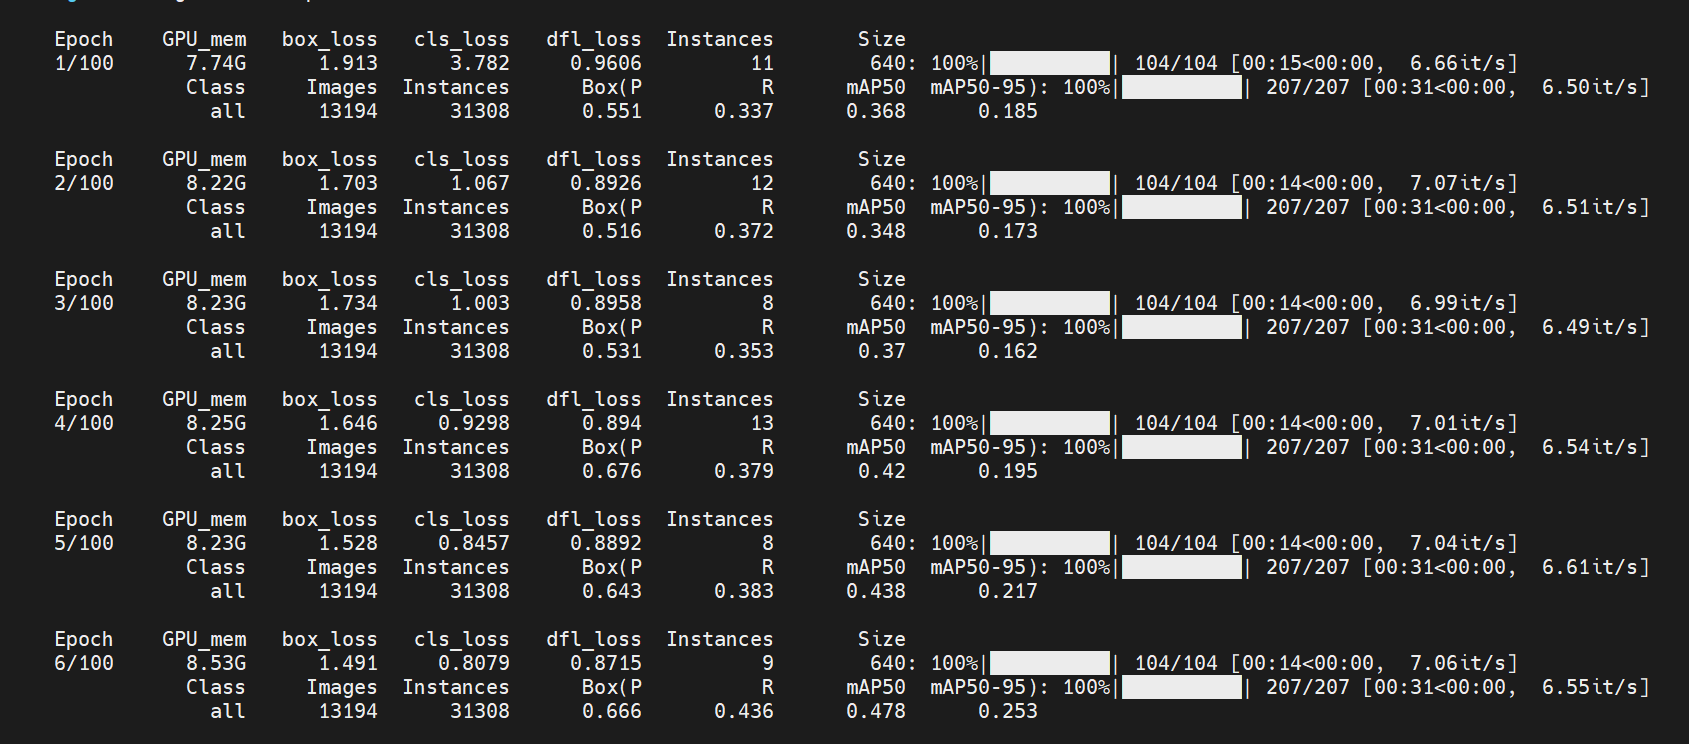
训练截图:
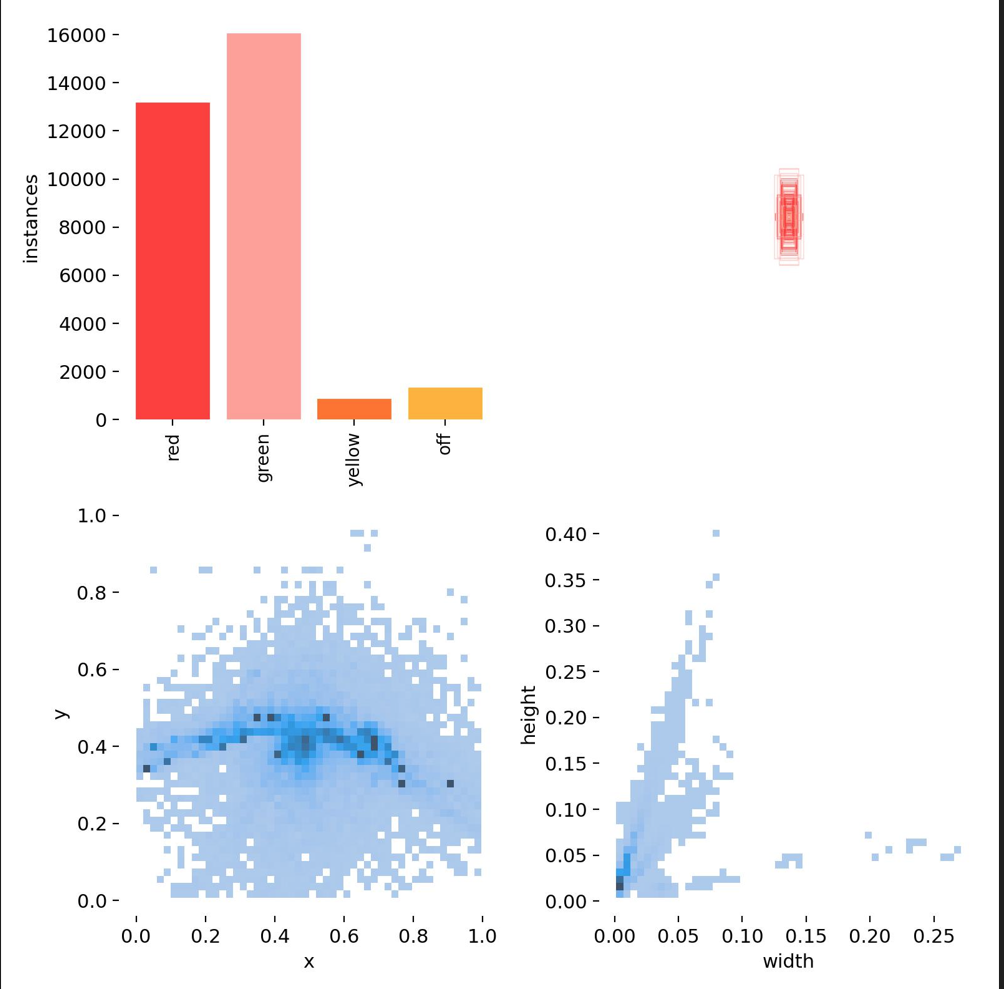
数据分布:
