目录
虚拟主机解释
实验介绍
修改配置文件
一:创建2个虚拟主机的网页根目录
二:修改2个虚拟主机的首页的内容
三:真实机器添加域名解析记录
四:测试
虚拟主机解释
Nginx的虚拟主机是指一台服务器上同时托管多个网站的能力。这种能力使得一台服务器可以根据不同的域名或IP地址提供不同的网站内容。Nginx实现虚拟主机通常通过配置不同的server块,每个server块对应一个虚拟主机。每个虚拟主机可以有自己独立的配置,包括网站根目录、日志文件、SSL证书
实验介绍
基于域名的虚拟主机是一种网络服务器配置,允许一台物理服务器主机多个不同的网站,每个网站通过独立的域名来访问。这两个网站拥有相同的ip地址和端口。Nginx支持基于域名的虚拟主机配置,允许管理员为每个域名设置不同的站点配置。
修改配置文件
[root@web1 conf]# cd /usr/local/zyk/conf此处我的nginx是编译安装的,当创建了一个 用户组zyk,将配置文件放在了这个文件夹下面
修改的配置文件如下:
[root@web1 conf]# cat nginx.conf|egrep -v "^$|^#| +#"
worker_processes  2;
events {
    worker_connections  2048;
}
http {
    include       mime.types;
    default_type  application/octet-stream;
    log_format  main  '$remote_addr - $remote_user [$time_local] "$request" '
                      '$status $body_bytes_sent "$http_referer" '
                      '"$http_user_agent" "$http_x_forwarded_for"';
    sendfile        on;
    keepalive_timeout  65;
    gzip  on;
    server {
        listen       80;
        server_name  www.sc.com;
        access_log  logs/www.access.log  main;
        location / {
            root   html/www;
            index  index.html index.htm;
        }
        error_page   500 502 503 504  /50x.html;
        location = /50x.html {
            root   html;
        }
    }
    server {
        listen       80;
        server_name  software.sc.com;
        access_log  logs/software.access.log  main;
        location / {
            root   html/software;
            index  index.html index.htm;
        }
        error_page   500 502 503 504  /50x.html;
        location = /50x.html {
            root   html;
        }
    }
}
可以看到我这里有两个server,也就是对应两个虚拟主机,两个界面。
server name 也就是域名 access_ log 我这里再写了一个访问日志,main对应的是访问日志的日志格式,可以专门查看有url、访问时间、访问方法get/post、访问协议https1.1、reference引流(从哪个网站访问过来)等信息 ,注意这里他们监听的端口都是80!
一:创建2个虚拟主机的网页根目录
[root@web1 html]# cd /usr/local/zyk/html/我这里直接讲已有的html界面文件copy过来放到两个网页根目录下,并在其基础下更改
[root@web1 html]# mkdir  www   software
创建首页文件index.html
[root@web1 html]# cp index.html software/
[root@web1 html]# cp index.html www/
二:修改2个虚拟主机的首页的内容
[root@web1 html]# cd software/
[root@web1 software]# ls
index.html
[root@web1 software]# vim index.html
[root@web1 software]# cat index.html
<!DOCTYPE html>
<html>
<head>
<title>Welcome to software!</title>
<style>
html { color-scheme: light dark; }
body { width: 35em; margin: 0 auto;
font-family: Tahoma, Verdana, Arial, sans-serif; }
</style>
</head>
<body>
<h1>Welcome to software!</h1>
<p>If you see this page, the nginx web server is successfully installed and
working. Further configuration is required.</p>

<p>For online documentation and support please refer to
<a href="http://nginx.org/">nginx.org</a>.<br/>
Commercial support is available at
<a href="http://nginx.com/">nginx.com</a>.</p>

<p><em>Thank you for using nginx.</em></p>
</body>
</html>
[root@web1 software]# 注意将title和body部分修改成Welcome to software!即可
下同(www的部分不做重复演示),做完之后重启nginx服务
[root@web1 conf]# nginx -s reload三:真实机器添加域名解析记录
C:\Windows\System32\drivers\etc\hosts 这是真实机器也就是windows里的记录,添加
以下两条记录

四:测试
测试windows的解析是否成功,在运行界面输入cmd去ping两个网站是否对应10.168.1.125这个ip
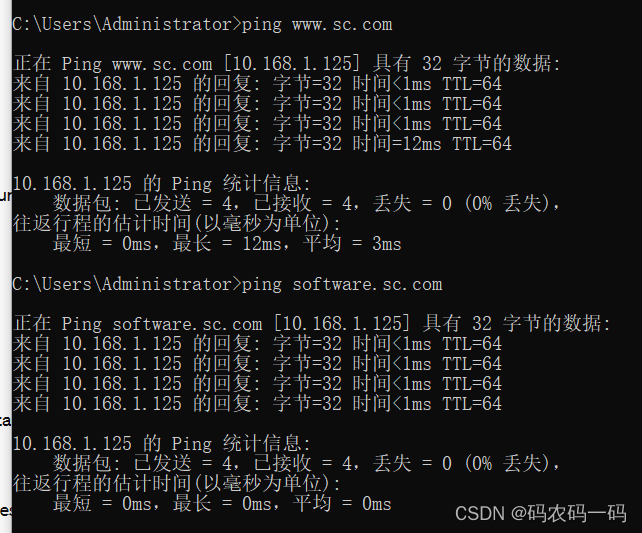
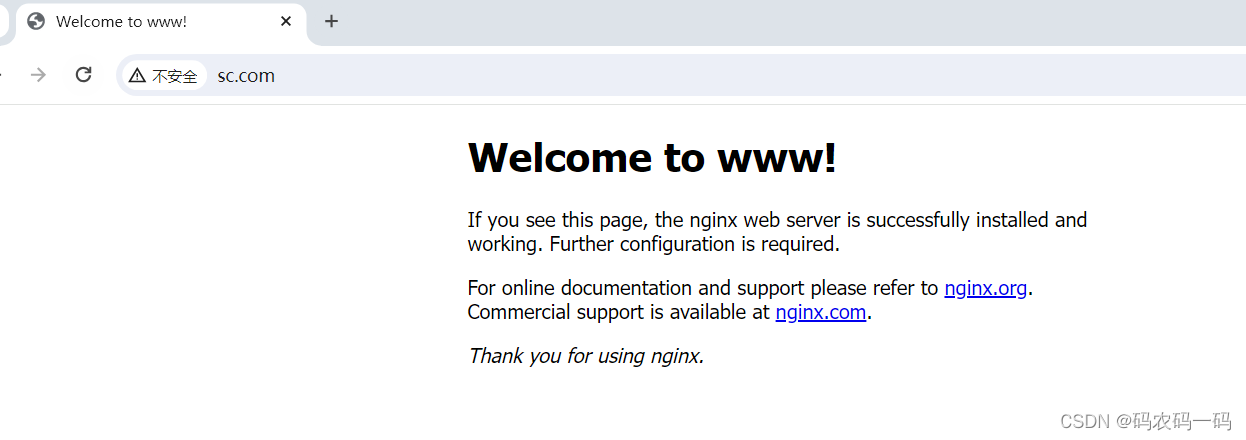
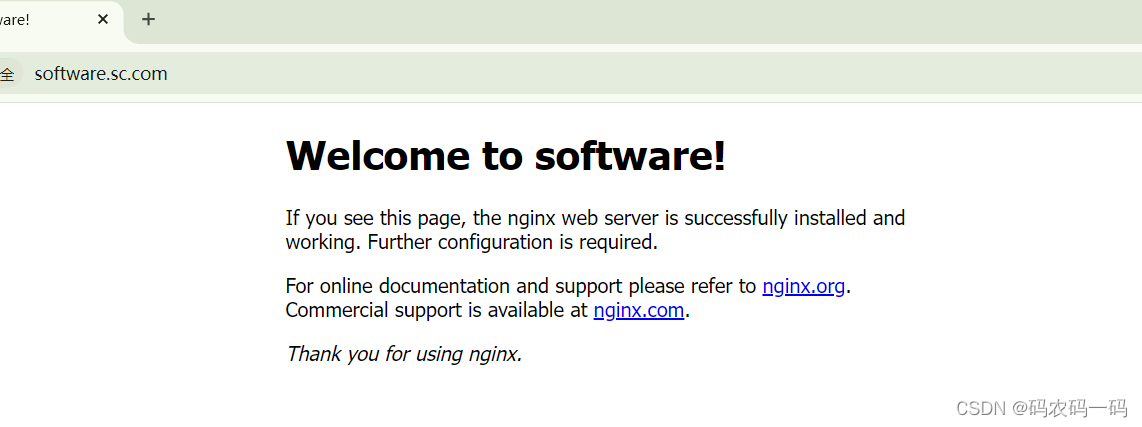
测试在浏览器里是否域名对应两个网站
测试结果如图
注意:不要用微软的Edge服务器去直接输入www.sc.com/software.sc.com!这里试了好几遍,而是去Chrome去输入才成功!因为Edge服务器自动补齐了https
