一、可以使用开源的JPEG解码库,例如libjpeg库,来读取JPEG文件并将其解码为RGB24格式的数据。
二、在ubuntu上面进行测试。
2.1安装了libjpeg-dev包
sudo apt-get install libjpeg-dev2.2 测试c源码
#include <stdio.h>
#include <stdlib.h>
#include <stdint.h>
#include <jpeglib.h>

// 读取JPEG文件并解码为RGB24格式的数据
int read_jpeg(const char *filename, unsigned char **rgb_data, int *width, int *height) {
    // 打开JPEG文件
    FILE *infile = fopen(filename, "rb");
    if (!infile) {
        fprintf(stderr, "Error opening JPEG file: %s\n", filename);
        return 0;
    }

    // 初始化JPEG解码器
    struct jpeg_decompress_struct cinfo;
    struct jpeg_error_mgr jerr;
    cinfo.err = jpeg_std_error(&jerr);
    jpeg_create_decompress(&cinfo);

    // 指定JPEG文件源
    jpeg_stdio_src(&cinfo, infile);

    // 读取JPEG文件头信息
    jpeg_read_header(&cinfo, TRUE);

    // 开始解码
    jpeg_start_decompress(&cinfo);

    // 获取图像宽度和高度
    *width = cinfo.output_width;
    *height = cinfo.output_height;

    // 分配存储RGB24数据的内存空间
    *rgb_data = (unsigned char *)malloc((*width) * (*height) * 3);
    if (!*rgb_data) {
        fprintf(stderr, "Error allocating memory.\n");
        return 0;
    }

    // 读取扫描线并解码为RGB24格式
    unsigned char *row_ptr = *rgb_data;
    while (cinfo.output_scanline < cinfo.output_height) {
        jpeg_read_scanlines(&cinfo, &row_ptr, 1);
        row_ptr += (*width) * 3;
    }

    // 完成解码
    jpeg_finish_decompress(&cinfo);
    jpeg_destroy_decompress(&cinfo);

    // 关闭文件
    fclose(infile);

    return 1;
}

void write_rgb_file(const uint8_t* rgb_data, int width, int height, const char* filename) {
    FILE* file = fopen(filename, "wb");
    if (!file) {
        fprintf(stderr, "Error: Failed to open file %s\n", filename);
        return;
    }
    fwrite(rgb_data, 1, width * height * 3 , file);
    fclose(file);
}

int main() {
    const char *filename = "girl.jpg";
    unsigned char *rgb_data;
    int width, height;

    if (!read_jpeg(filename, &rgb_data, &width, &height)) {
        fprintf(stderr, "Error reading JPEG file: %s\n", filename);
        return 1;
    }

    write_rgb_file(rgb_data, width, height, "rgb_data.rgb");
    printf("JPEG dimensions: %d x %d\n", width, height);

    // 在这里可以使用rgb_data进行进一步处理,比如保存为RGB24格式的文件

    // 释放内存
    free(rgb_data);

    return 0;
}
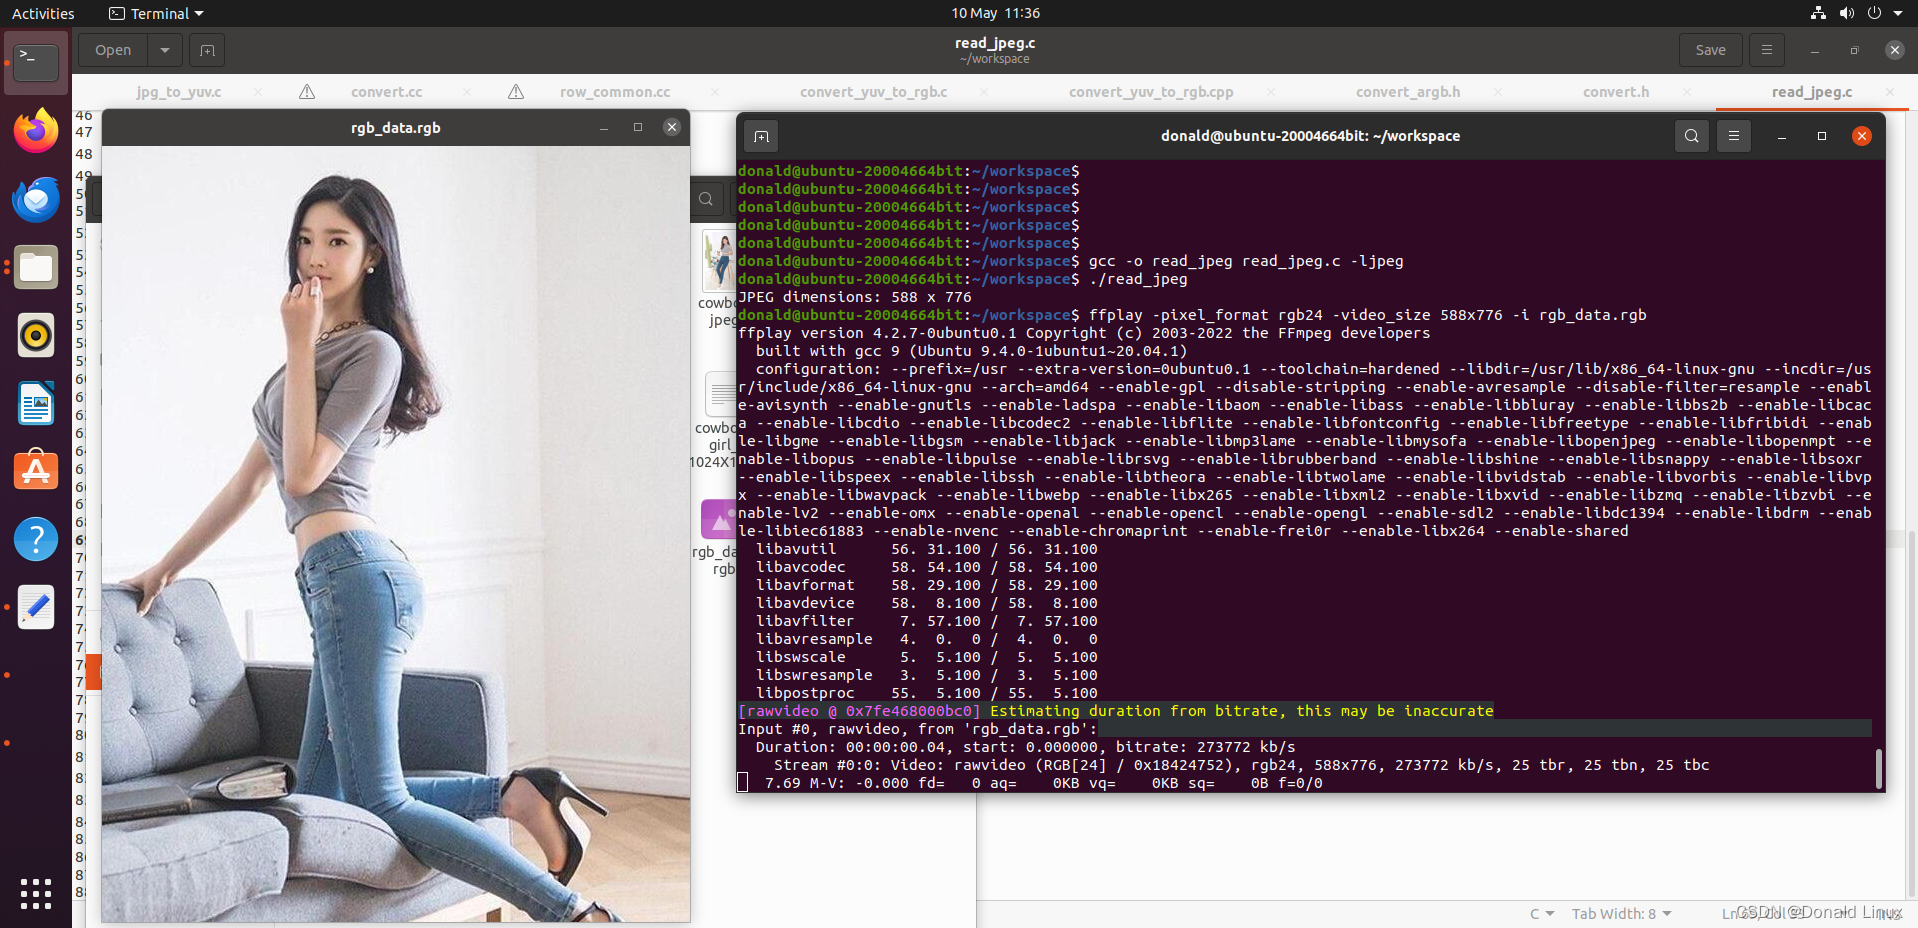
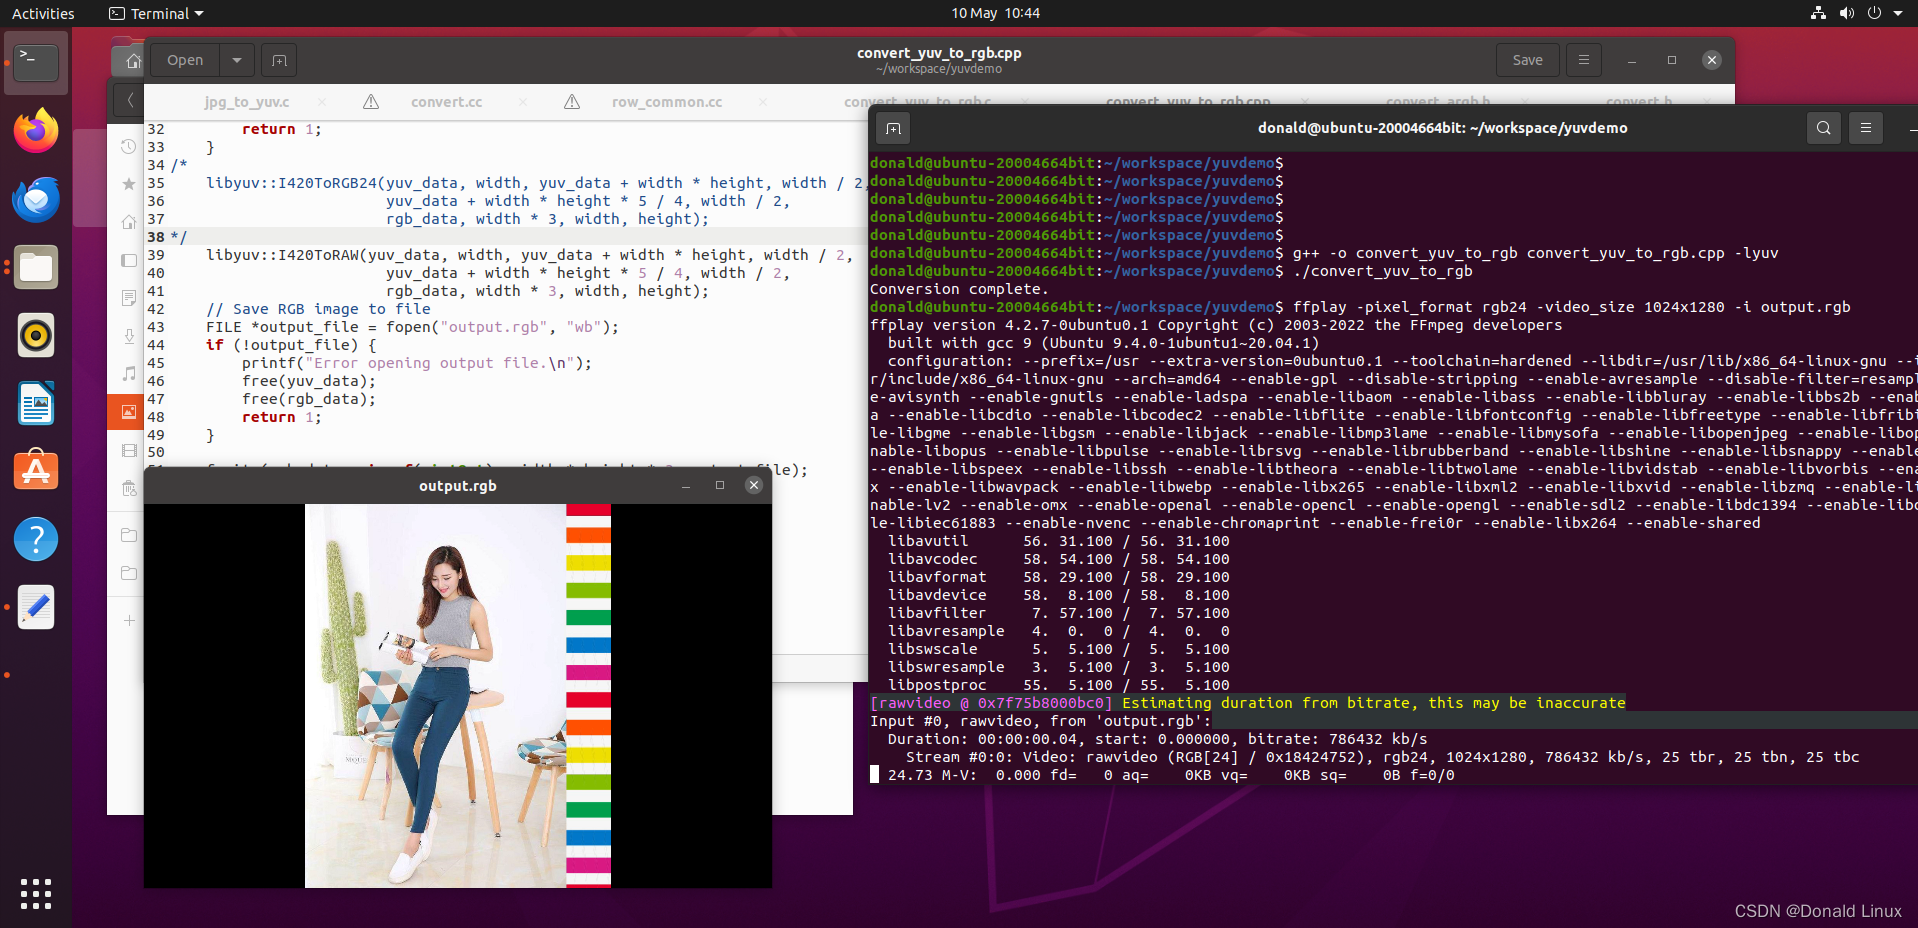
2.3 测试运行效果,使用ffplay -pixel_format rgb24 -video_size 588x776 -i rgb_data.rgb 显示出获取到rgb数据。
