今天是【实时天气时钟温湿度项目】第四专题,主要内容是:学习导入NTPClient库,通过这个库获取实时网络时间,显示在1.3寸TFT液晶屏幕上。此前三个专题,请选择查看以下链接。
第一专题内容,请参考
【NodeMCU实时天气时钟温湿度项目 1】连接点亮SPI-TFT屏幕和UI布局设计-CSDN博客
第二专题内容,请参考
【NodeMCU实时天气时钟温湿度项目 2】WIFI模式设置及连接-CSDN博客
第三专题内容,请参考
【NodeMCU实时天气时钟温湿度项目 3】连接SHT30传感器,获取并显示当前环境温湿度数据(I2C)-CSDN博客
NTPClient功能库有关内容,请参考
【Arduino】NTPClient:连接NTP服务器获取实时网络时间_ntpclient.h-CSDN博客
一、添加NTPClient库
获取实时网络时间,一般通过 NTP (网络时间协议)服务器来实现。在Arduino框架下,我们通过NTPClient库提供的函数功能,连接到NTP服务器,从服务器获取时间,并保持同步。
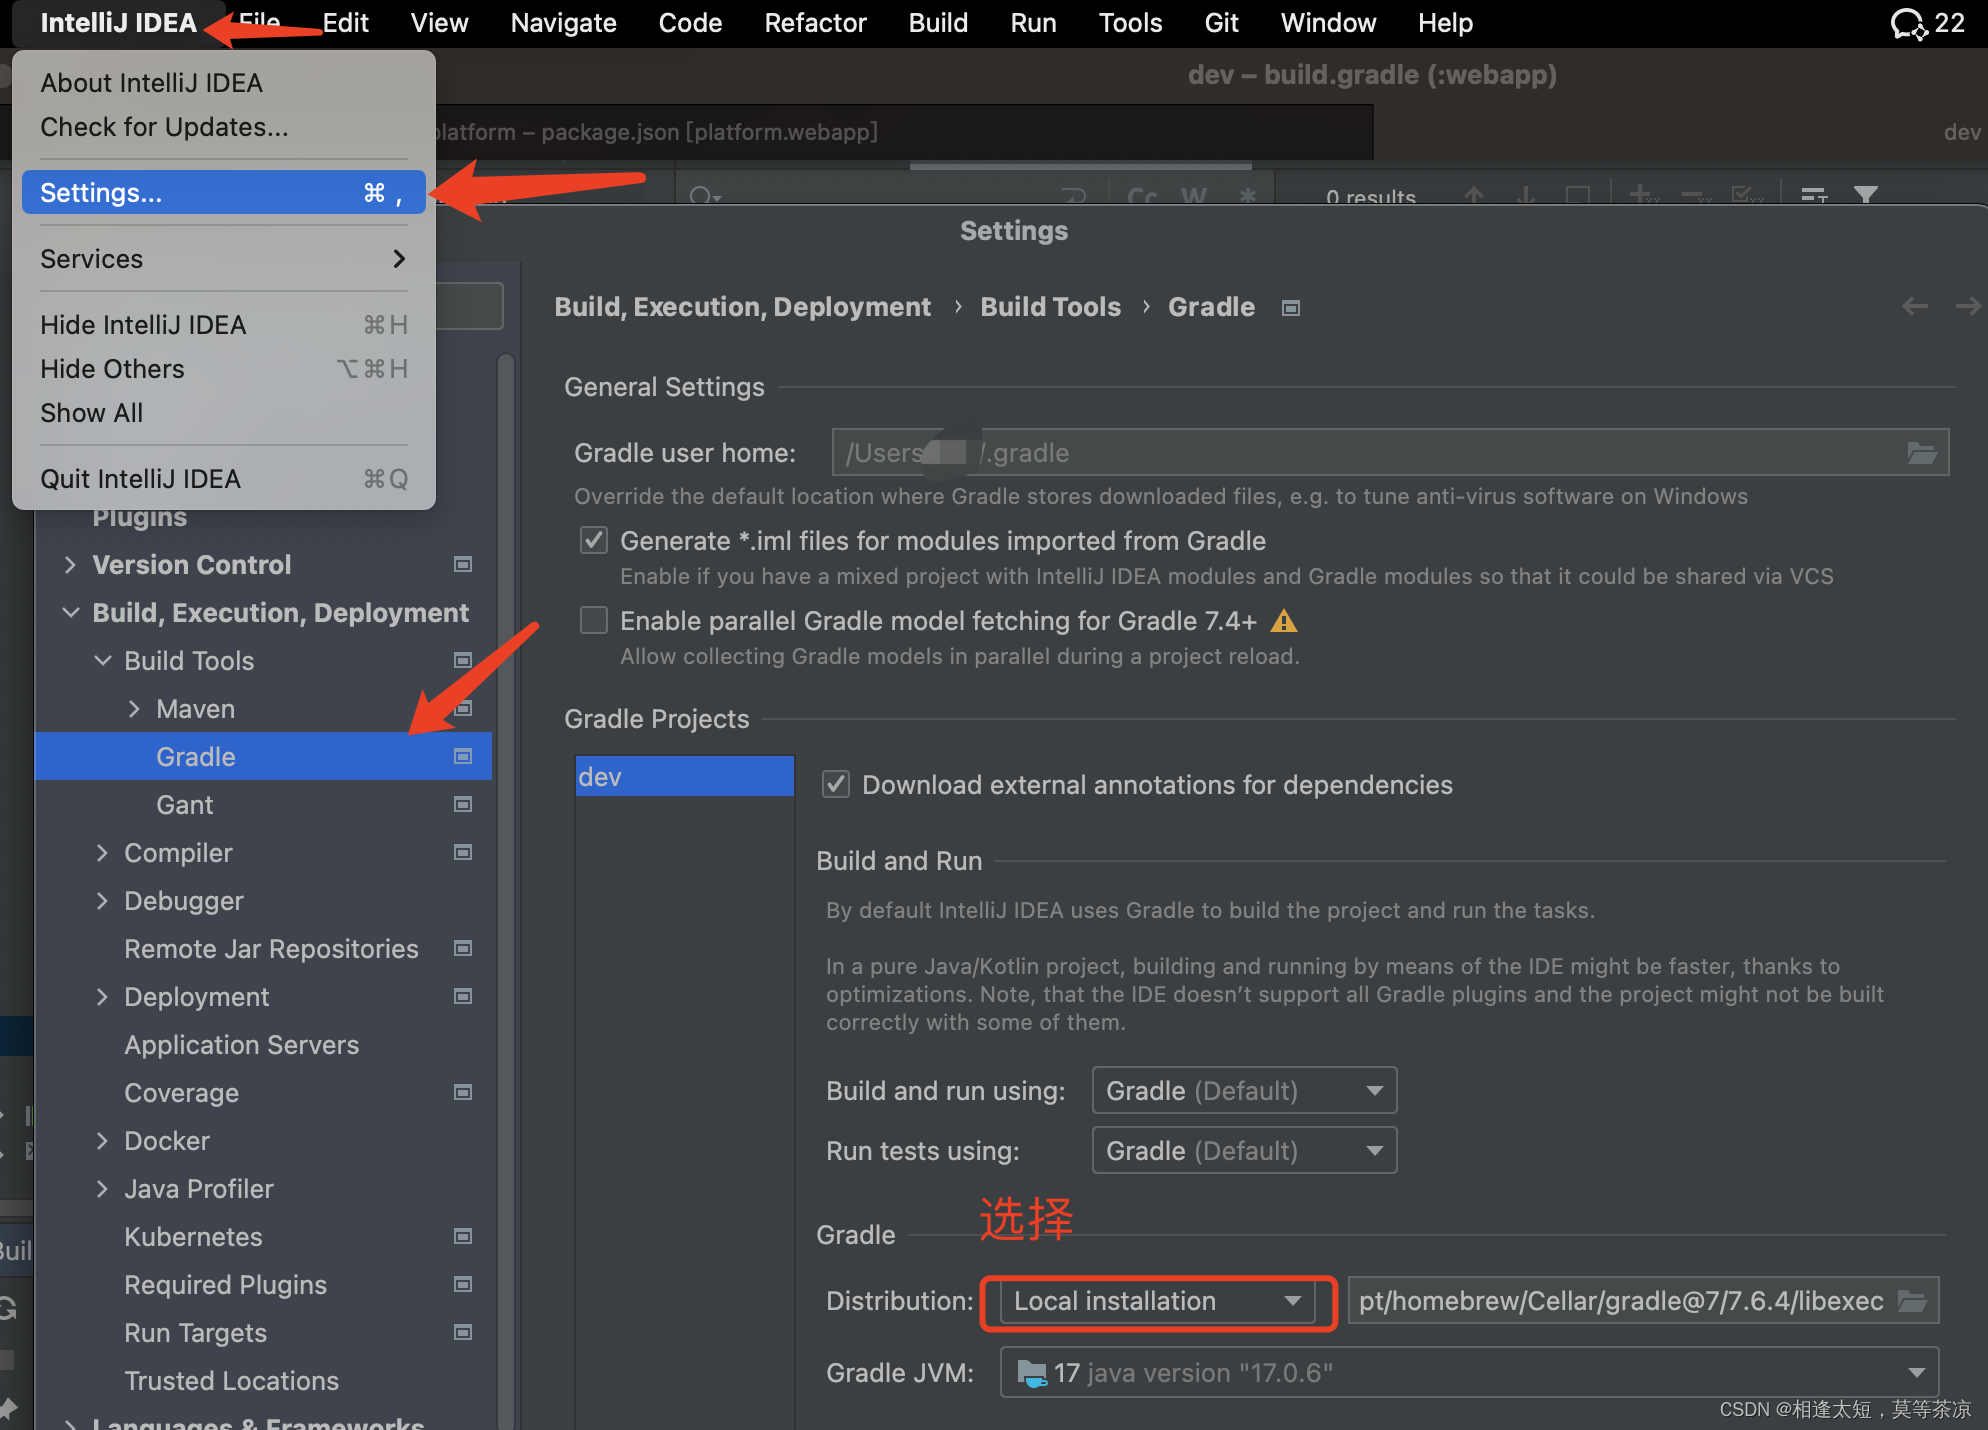
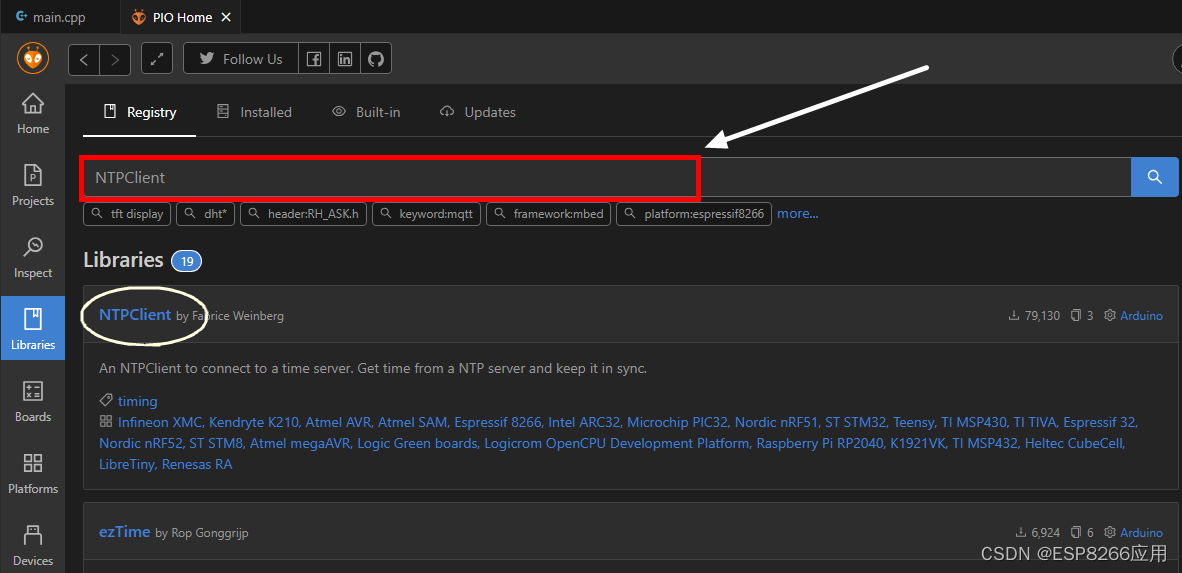
添加库的方法:打开 PlatformIO 界面,选择 Libraries 图标,在搜索栏内输入 NTPClient,在查询结果中选择NTPClient库,,添加到本项目中。
二、NTPClient官方示例代码及主要函数
下面是NTPClient库官方示例 Advanced.info 的代码内容,将其全文复制到主文件 main.cpp 中,添加库,编译上传到NodeMCU开发板,就可以正常运行了。
提醒:请务必将 ssid 和 password ,变更为您所在环境的 AP访问点名称和密码。
#include <NTPClient.h>
// change next line to use with another board/shield
#include <ESP8266WiFi.h>
//#include <WiFi.h> // for WiFi shield
//#include <WiFi101.h> // for WiFi 101 shield or MKR1000
#include <WiFiUdp.h>

const char *ssid     = "xcb940";
const char *password = "87589940abc";

WiFiUDP ntpUDP;

// You can specify the time server pool and the offset (in seconds, can be
// changed later with setTimeOffset() ). Additionally you can specify the
// update interval (in milliseconds, can be changed using setUpdateInterval() ).
NTPClient timeClient(ntpUDP, "europe.pool.ntp.org", 3600, 60000);

void setup(){
  Serial.begin(115200);

  WiFi.begin(ssid, password);

  while ( WiFi.status() != WL_CONNECTED ) {
    delay ( 500 );
    Serial.print ( "." );
  }

  timeClient.begin();
}

void loop() {
  timeClient.update();

  Serial.println(timeClient.getFormattedTime());

  delay(1000);
}
下图是程序正常运行后的模样。
特别说明:关于NTPClient库的介绍和应用,我在前期曾发布过一个博文,对这个库作了详细介绍。官方示例中涉及到的功能函数,在博文中都有详细介绍,具体内容请点击下面的链接查看:【Arduino】NTPClient:连接NTP服务器获取实时网络时间_ntpclient.h-CSDN博客
三、本项目关于获取网络时间函数说明
通过NTPClient功能库获取网络时间的代码,封装在项目的 ntptime.h 文件中,主要有以下4个功能函数。
(1)void initNtp(),启动NTPClient,开始客户端与NTP服务器同步、获取UTC时间,填充时日期时间数据结构 struct dt_data;设置时区偏移量(28800 = 60 * 60 * 8 秒)。
void initNtp() {
  timeClient.begin();
  //28800 = +8时区(我们的北京时间)
  timeClient.setTimeOffset(28800);
  loopNtp();
}
struct dt_data {
String localDate = "";
String localTime = "";
String y;
String m;
String d;
String h;
String i;
String s;
uint16_t year;
uint8_t month;
uint8_t day;
uint8_t hours;
uint8_t minutes;
uint8_t seconds;
} dt;(2)void loopNtp(),获取UTC时间,进行格式转换,填充时日期时间数据结构 struct dt_data;每调用一次,获取一次时间。
void loopNtp() {
  timeClient.update();
  Serial.println(timeClient.getFormattedTime());
  //获取unix时间戳(1970年至今的总秒数)
  unsigned long epochTime = timeClient.getEpochTime();
  Serial.print("epochTime: ");
  Serial.println(epochTime);

  //格式化得到 时:分:秒
  dt.localTime = timeClient.getFormattedTime();

  //重新计算得到 年-月-日
  time_t rawtime = epochTime;
  struct tm * ti;
  ti = localtime (&rawtime);

  dt.year = ti->tm_year + 1900;
  dt.y = String(dt.year);

  dt.month = ti->tm_mon + 1;
  dt.m = dt.month < 10 ? "0" + String(dt.month) : String(dt.month);

  dt.day = ti->tm_mday;
  dt.d = dt.day < 10 ? "0" + String(dt.day) : String(dt.day);

  dt.hours = ti->tm_hour;
  dt.h = dt.hours < 10 ? "0" + String(dt.hours) : String(dt.hours);

  dt.minutes = ti->tm_min;
  dt.i = dt.minutes < 10 ? "0" + String(dt.minutes) : String(dt.minutes);

  dt.seconds = ti->tm_sec;
  dt.s = dt.seconds < 10 ? "0" + String(dt.seconds) : String(dt.seconds);

  //将得到的年月日写入weather_data 结构体
  dt.localDate = dt.y + "-" + dt.m + "-" + dt.d;
  //Serial.println(dt.h + "-" + dt.i + "-" + dt.s);
}
(3)LunarDate LunarCalendar(int year, int month, int day),将阳历的年月日转换成阴历的年月日,存放到结构体 struct LunarDate 中。
LunarDate LunarCalendar(int year, int month, int day)
{
  int Spring_NY, Sun_NY, StaticDayCount;
  int index, flag;
  //Spring_NY 记录春节离当年元旦的天数。
  //Sun_NY 记录阳历日离当年元旦的天数。
  if ( ((LunarCalendarTable[year - 1901] & 0x0060) >> 5) == 1)
    Spring_NY = (LunarCalendarTable[year - 1901] & 0x001F) - 1;
  else
    Spring_NY = (LunarCalendarTable[year - 1901] & 0x001F) - 1 + 31;
  Sun_NY = MonthAdd[month - 1] + day - 1;
  if ( (!(year % 4)) && (month > 2))
    Sun_NY++;
  //StaticDayCount记录大小月的天数 29 或30
  //index 记录从哪个月开始来计算。
  //flag 是用来对闰月的特殊处理。
  //判断阳历日在春节前还是春节后
  if (Sun_NY >= Spring_NY)//阳历日在春节后(含春节那天)
  {
    Sun_NY -= Spring_NY;
    month = 1;
    index = 1;
    flag = 0;
    if ( ( LunarCalendarTable[year - 1901] & (0x80000 >> (index - 1)) ) == 0)
      StaticDayCount = 29;
    else
      StaticDayCount = 30;
    while (Sun_NY >= StaticDayCount)
    {
      Sun_NY -= StaticDayCount;
      index++;
      if (month == ((LunarCalendarTable[year - 1901] & 0xF00000) >> 20) )
      {
        flag = ~flag;
        if (flag == 0)
          month++;
      }
      else
        month++;
      if ( ( LunarCalendarTable[year - 1901] & (0x80000 >> (index - 1)) ) == 0)
        StaticDayCount = 29;
      else
        StaticDayCount = 30;
    }
    day = Sun_NY + 1;
  }
  else //阳历日在春节前
  {
    Spring_NY -= Sun_NY;
    year--;
    month = 12;
    if ( ((LunarCalendarTable[year - 1901] & 0xF00000) >> 20) == 0)
      index = 12;
    else
      index = 13;
    flag = 0;
    if ( ( LunarCalendarTable[year - 1901] & (0x80000 >> (index - 1)) ) == 0)
      StaticDayCount = 29;
    else
      StaticDayCount = 30;
    while (Spring_NY > StaticDayCount)
    {
      Spring_NY -= StaticDayCount;
      index--;
      if (flag == 0)
        month--;
      if (month == ((LunarCalendarTable[year - 1901] & 0xF00000) >> 20))
        flag = ~flag;
      if ( ( LunarCalendarTable[year - 1901] & (0x80000 >> (index - 1)) ) == 0)
        StaticDayCount = 29;
      else
        StaticDayCount = 30;
    }
    day = StaticDayCount - Spring_NY + 1;
  }
  LunarCalendarDay |= day;
  LunarCalendarDay |= (month << 6);

  LunarDate d;
  d.year = year;
  d.month = month;
  d.day = day;
  if (month == ((LunarCalendarTable[year - 1901] & 0xF00000) >> 20))
    d.leap =  1;
  else
    d.leap =  0;
  return d;
}

String outputLunarDate(int year, int month, int day) {
  LunarDate ld = LunarCalendar(year, month, day);
  String str = "";
  if (ld.leap) {
    str += "闰";
  } else {
    str += " ";
  }
  str += ChMonth[ld.month] + ChDay[ld.day];
  return str;
}
(4)String weekOfDate1(int year, int month, int day),将阳历的年月日转换为星期几。
String weekOfDate1(int year, int month, int day)
{
  int adjustment, mm, yy;
  if (year < 2000) year += 2000;
  adjustment = (14 - month) / 12;
  mm = month + 12 * adjustment - 2;
  yy = year - adjustment;
  int week = (day + (13 * mm - 1) / 5 +
              yy + yy / 4 - yy / 100 + yy / 400) % 7;
  return weekly[week];
}
说明:本程序主要内容,来源于网络大神,如有异议,请及时联系作者。
四、项目运行结果视频展示
本阶段TFT屏幕上部,第一行,可以显示阳历日期、星期几、农历日期;第二行显示实时网络时间(东八东,偏移量28800秒),每秒更新一次;
中部,实时天气和明天天气预报部分,目前仍显示静态画展,没有加入实时获取天气信息的代码。
下部,显示当前所在环境实时的温度和湿度数据,每3秒更新一次。
WeatherClock_exalmpl4
五、项目第四专题代码下载
百度网盘下载链接:
https://pan.baidu.com/s/1tBrHF5KNcwBR-2-HXvNQdw?pwd=bw9e,提取码:bw9e
参考文档
1. NTPClient 部分源代码


