前面两篇博文介绍了怎么将django开发的web应用推送到gitlab源码仓库,然后jenkins服务器从gitlab仓库拉下来,布署到jenkins服务器上,并用supervisor进行进程管理,保证web应用一直能正常运行,今天我们继续优化,将django代码发布到远程的生产服务器上,并使用Supervisor进行管理。
一、前期准备
我需要发布的这台服务器是一台阿里云服务器,安装有Centos7操作系统,服务器上安装有python3.9、django和supervisor,如果你们服务器上没有可以先安装好,可以参考我前面的博文。接下来我们的步骤如下:
1. 使用终端连接到您的 CentOS 7 服务器。
2. 使用 mkdir 命令创建目录:
sudo mkdir /opt/HelloWorld
sudo用于以 root 权限运行命令,因为/opt目录通常需要 root 权限才能进行修改。mkdir是创建目录的命令。/opt/HelloWorld是您要创建的目录的路径。
3. 使用 useradd 命令创建用户:
sudo useradd test
sudo用于以 root 权限运行命令。useradd是创建用户的命令。test是您要创建的用户名。
4. 设置用户密码:
sudo passwd test
- 系统会提示您输入并确认新密码。
5. 为用户分配 sudo 权限(注意这里的权限大小根据自己的需要设置):
如果您希望用户 "test" 能够执行 root 权限的操作,可以将其添加到 sudoers 文件中。
- 使用
visudo命令编辑 sudoers 文件:
sudo visudo
- 在文件末尾添加以下行:
test ALL=(ALL) ALL
- 保存并关闭文件。
5. 验证用户是否可以 SSH 登录:
- 使用另一个终端窗口,尝试使用以下命令以用户 "test" 身份登录服务器:
ssh test@your_server_ip
- 系统会提示您输入密码。如果登录成功,则说明用户创建成功并可以进行 SSH 访问。
6. 使用 chown 命令更改目录的所有者:
sudo chown test:test /opt/HelloWorld
sudo用于以 root 权限运行命令。chown是更改文件或目录所有者的命令。test:test指定新的所有者和组,这里都设置为test。/opt/HelloWorld是您要更改权限的目录的路径。
二、修改Jenkin脚本
要将代码部署到远程服务器,你需要修改 Jenkins 管道脚本,使其通过 SSH 连接到远程服务器并在远程服务器上执行部署步骤。
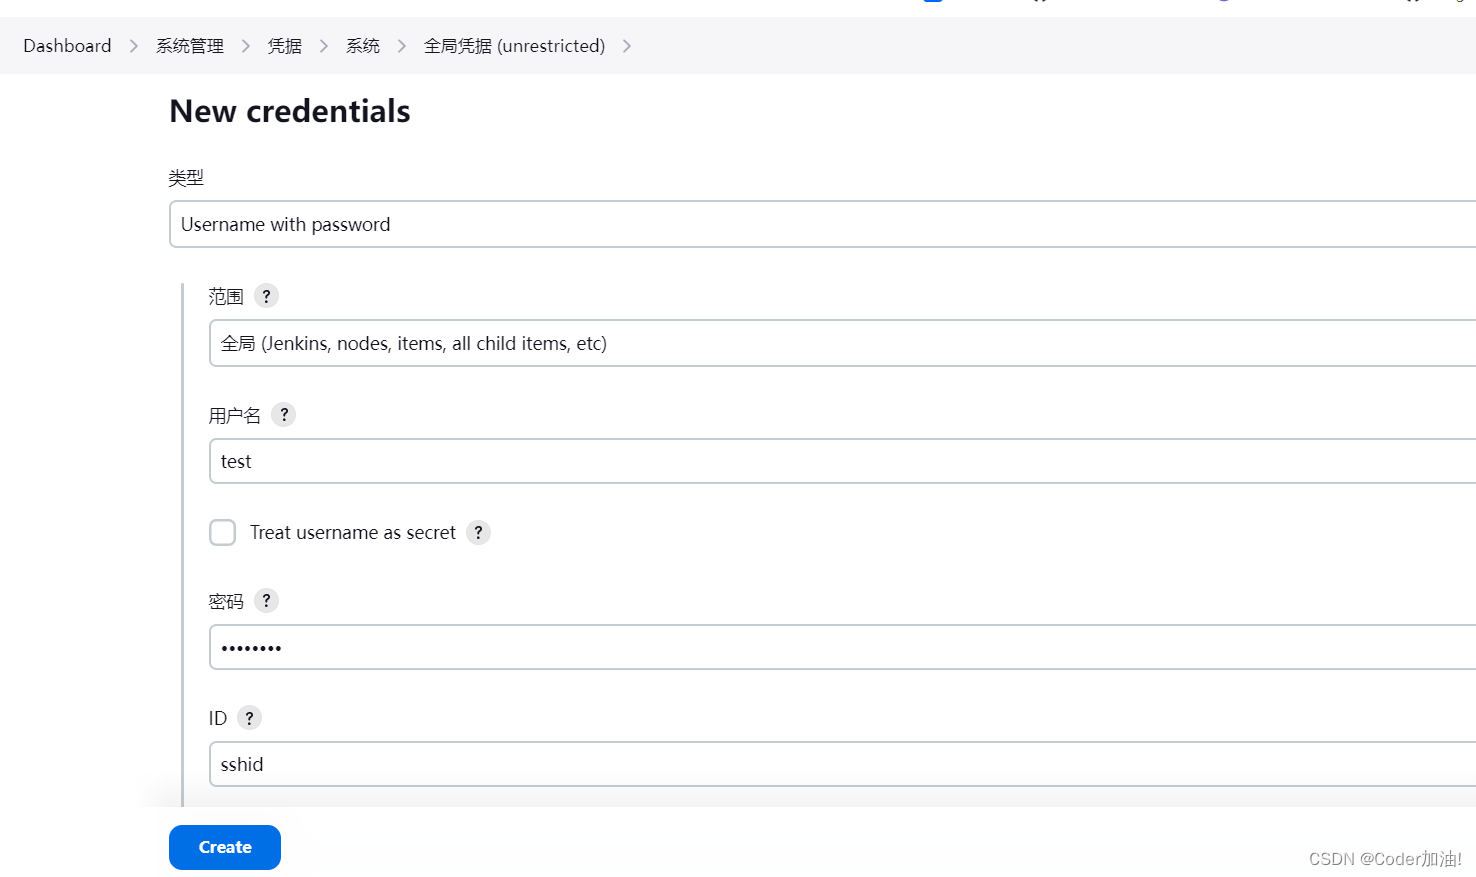
1、在jenkins上将远程访问ssh的帐号和密码保存到凭据中
2、安装ssh插件
记得安装SSH Pipeline Steps 或 SSH Agent 插件

3、修改jenkins任务脚本
pipeline {
    agent any

    stages {
        stage('Checkout') {
            steps {
                git branch: 'main', credentialsId: 'sean', url: 'http://gitlab.povison-pro.com/Sean/helloworld.git'
            }
        }

        stage('Deploy to Remote Server') {
            steps {
                script {
                    def remote = [:]
                    remote.name = 'remote-server'
                    remote.host = '192.168.1.100'  // 替换为你的远程服务器 IP 或主机名
                    remote.allowAnyHosts = true

                    withCredentials([usernamePassword(credentialsId: 'sshid', usernameVariable: 'SSHUSER', passwordVariable: 'SSHPASS')]) {
                        remote.user = SSHUSER
                        remote.password = SSHPASS

                        sshCommand remote: remote, command: '''
                            # 停止 Django 服务
                            sudo supervisorctl stop django || true

                            # 清理旧代码并复制新代码到 /opt/HelloWorld
                            sudo rm -rf /opt/HelloWorld/*
                            sudo mkdir -p /opt/HelloWorld
                        '''

                        sshPut remote: remote, from: '.', into: '/opt/HelloWorld'

                        sshCommand remote: remote, command: '''
                            # 配置 Supervisor
                            sudo cp /opt/HelloWorld/django.conf /etc/supervisor/conf.d/django.conf
                            sudo supervisorctl reread
                            sudo supervisorctl update

                            # 重启 Django 服务
                            sudo supervisorctl restart django
                        '''
                    }
                }
            }
        }
    }

    post {
        always {
            echo 'Build completed.'
        }
    }
}
4、详细解析
这个 Jenkins Pipeline 脚本实现了从 GitLab 拉取代码并将其部署到远程服务器的功能,使用用户名和密码进行 SSH 连接。以下是详细解析:
pipeline { ... }
- 定义整个 pipeline 的结构和内容。
agent any
- 指定 pipeline 可以在任何可用的 Jenkins 代理上运行。
stages { ... }
- 定义 pipeline 中的各个阶段,每个阶段包含一系列步骤。
stage('Checkout') { ... }
- 第一个阶段,名为 "Checkout",用于从 GitLab 拉取代码。
steps { ... }
- 定义 "Checkout" 阶段的步骤。
git branch: 'main', credentialsId: 'sean', url: 'http://gitlab.povison-pro.com/Sean/helloworld.git'
- 使用
git步骤从 GitLab 仓库克隆代码。branch: 指定要拉取的分支,这里为main。credentialsId: 指定用于访问 GitLab 仓库的凭据 ID,这里为sean。url: 指定 GitLab 仓库的 URL。
stage('Deploy to Remote Server') { ... }
- 第二个阶段,名为 "Deploy to Remote Server",用于将代码部署到远程服务器。
script { ... }
- 使用
script步骤执行 Groovy 代码,进行远程部署操作。
def remote = [:]
- 创建一个名为
remote的 map 对象,用于存储远程服务器连接信息。
remote.name = 'remote-server', remote.host = '192.168.1.100', remote.allowAnyHosts = true
- 设置远程服务器的名称、主机地址和允许连接到任何主机的标志。
withCredentials([usernamePassword(credentialsId: 'sshid', usernameVariable: 'SSHUSER', passwordVariable: 'SSHPASS')]) { ... }
- 使用
withCredentials步骤从 Jenkins 凭据中获取用户名和密码,并将它们绑定到变量SSHUSER和SSHPASS。credentialsId: 指定存储用户名和密码的凭据 ID,这里为sshid。
remote.user = SSHUSER, remote.password = SSHPASS
- 将获取到的用户名和密码设置到
remote对象中。
sshCommand remote: remote, command: ''' ... '''
- 使用
sshCommand步骤在远程服务器上执行一系列命令。remote: 指定远程服务器连接信息。command: 指定要执行的命令,这里包括:- 停止 Django 服务。
- 清理旧代码。
- 创建目录。
sshPut remote: remote, from: '.', into: '/opt/HelloWorld'
- 使用
sshPut步骤将本地代码复制到远程服务器的/opt/HelloWorld目录中。
sshCommand remote: remote, command: ''' ... '''
- 再次使用
sshCommand步骤在远程服务器上执行一系列命令。- 配置 Supervisor。
- 重启 Django 服务。
post { ... }
- 定义 pipeline 结束后执行的操作。
always { ... }
- 无论 pipeline 执行结果如何,都会执行的操作。
echo 'Build completed.'
- 打印 "Build completed." 消息。
这个脚本演示了如何使用 Jenkins Pipeline 和用户名密码进行远程部署。它包含了从代码仓库拉取代码、连接到远程服务器、执行部署命令等步骤,并使用了 Jenkins 凭据插件来安全地管理用户名和密码。
5、发布和验证
保存脚本后,选择立即构建,完成发布。
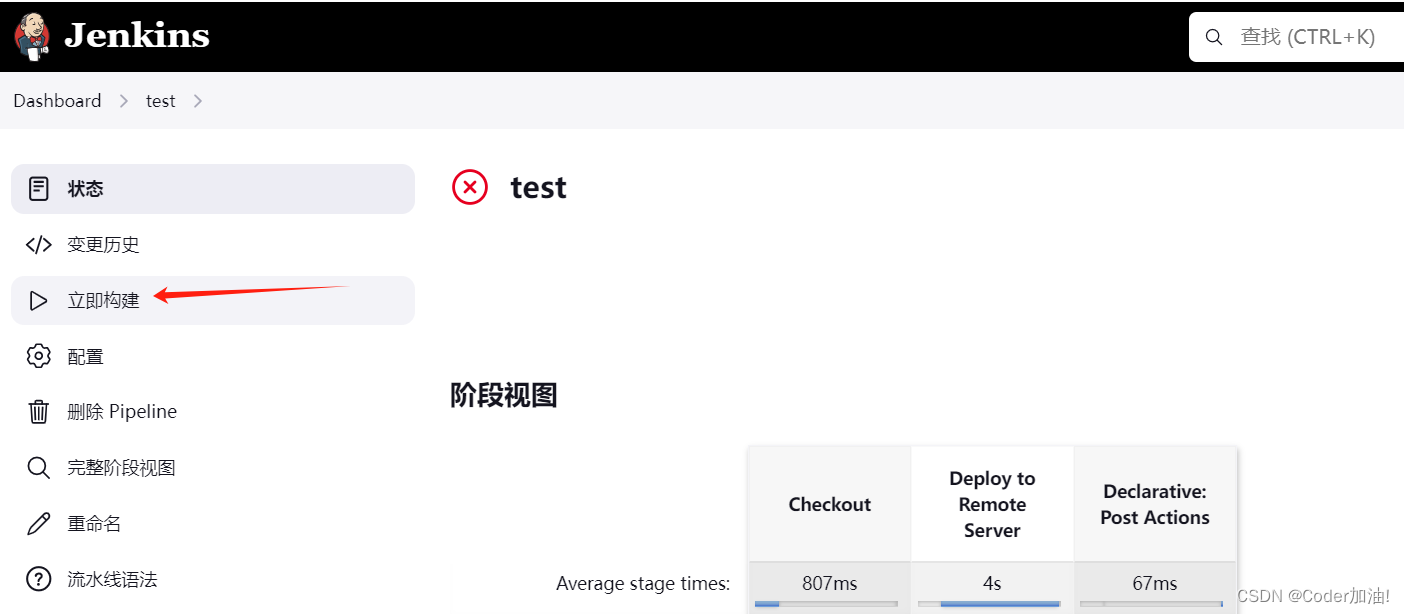
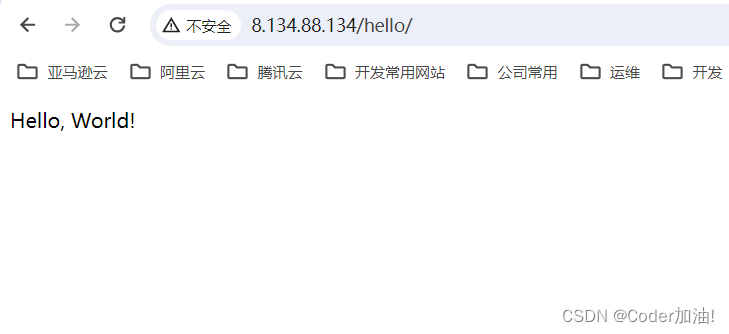
打开远程服务器的url,查看是否发布成功。如我发布的服务器地址:http://8.134.88.134/hello/
