随着区块链技术的快速发展,多链互操作性成为了一个重要的趋势。Web3Modal 2.0 作为一款强大的JavaScript库,为开发者提供了更加灵活和便捷的多链钱包集成解决方案。以下内容将介绍Web3Modal 2.0 的新特性,并详细讲解如何使用它来构建一个支持多链钱包集成的应用。
一、Web3Modal 2.0 简介
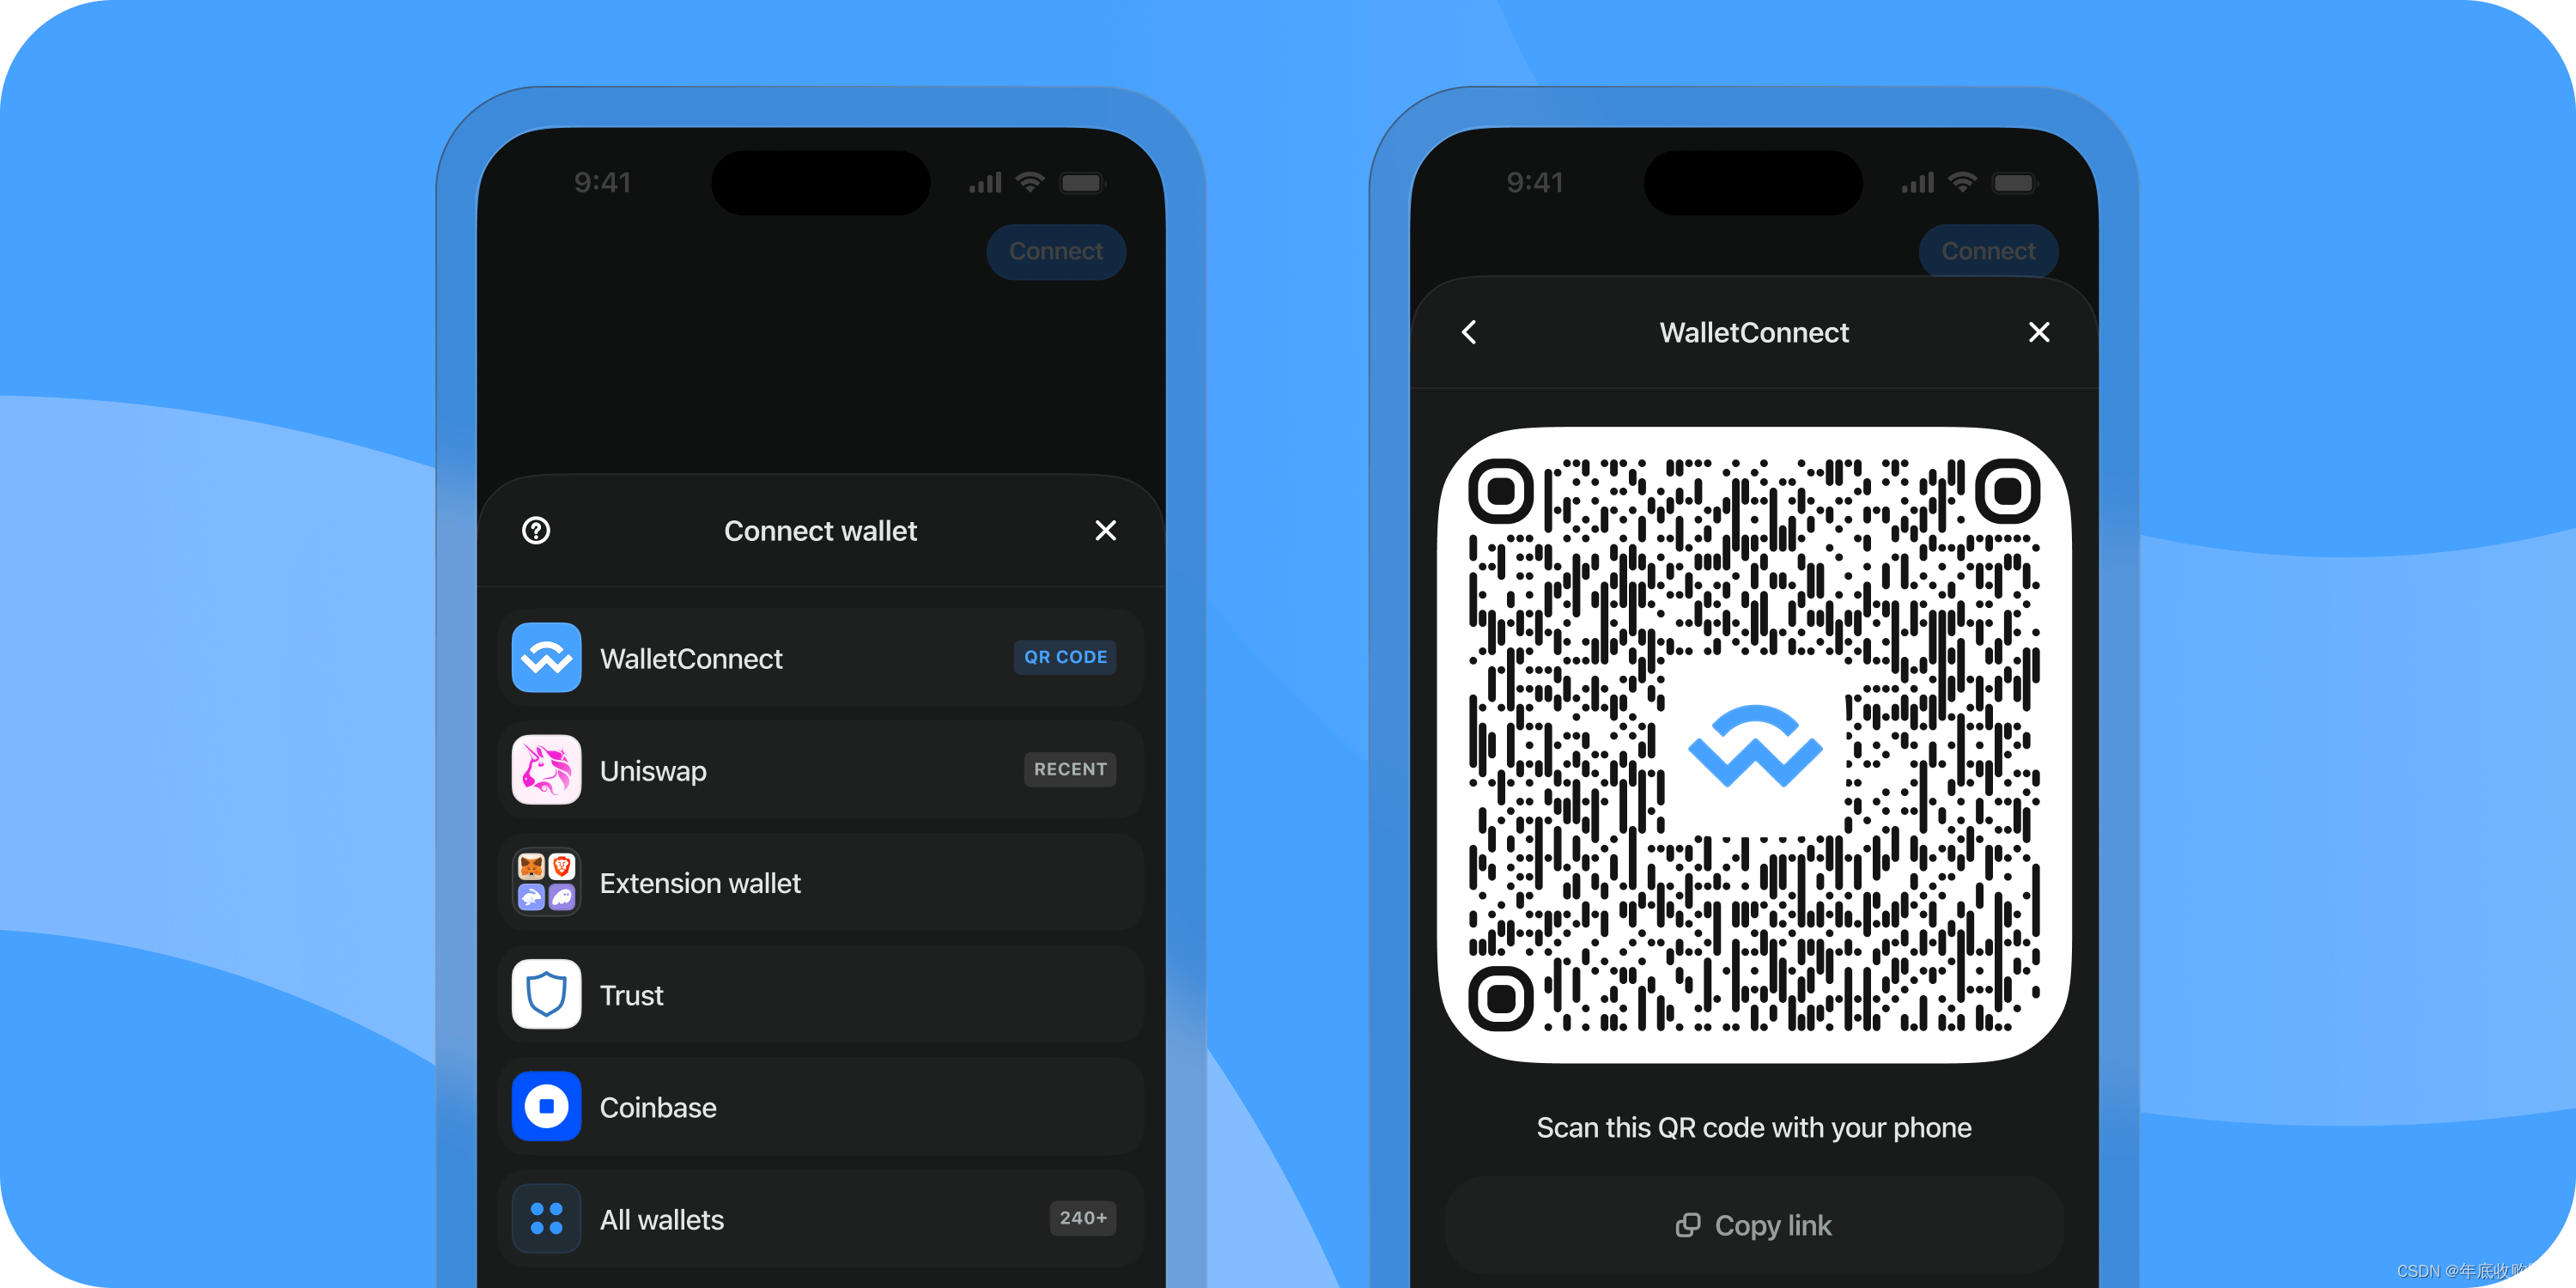
Web3Modal 2.0 是一个开源的JavaScript库,它旨在简化和标准化Web应用与区块链钱包之间的连接过程。通过Web3Modal 2.0,我们可以轻松地集成多种钱包和区块链网络,为用户提供更加流畅和安全的体验。
二、安装 Web3Modal 2.0
先将Web3Modal 2.0 安装到你的项目中。可以通过npm或yarn来安装(开发者文档传送门)
使用npm
npm install @web3-modal/core使用yarn
yarn add @web3-modal/core安装完成后就可以开始配置Web3Modal 2.0,需要指定要支持的钱包和区块链网络。
三、初始化Web3Modal
在你的应用中,你需要创建一个Web3Modal的实例,并配置它支持的钱包和链
import { ModalProvider } from '@web3-modal/core';

const modal = new ModalProvider({
  // 指定钱包提供者
  wallets: [
    new WalletConnectWallet({
      package: WalletConnect,
      options: {
        infuraId: 'YOUR_INFURA_ID',
      },
    }),
    new FortmaticWallet({
      apiKey: 'YOUR_FORTMATIC_API_KEY',
    }),
    // 添加其他钱包...
  ],
  // 指定链配置
  chainId: 1, // 主网链ID
  // 如果你需要支持多个链,可以使用chains数组
  // chains: [
  //   { chainId: 1, rpcUrl: 'https://mainnet.infura.io/v3/YOUR_INFURA_ID' },
  //   { chainId: 4, rpcUrl: 'https://rinkeby.infura.io/v3/YOUR_INFURA_ID' },
  //   // 添加其他链...
  // ],
  // 其他配置...
});
四、 连接到钱包
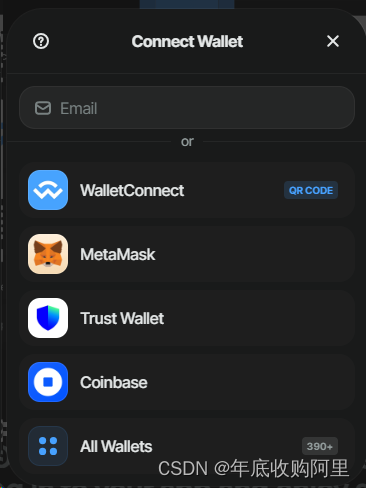
使用modal.connect()方法来显示钱包连接界面,并获取用户授权后的钱包和链信息
async function connectWallet() {
  const connection = await modal.connect();
  console.log('Connected to:', connection.wallet, connection.chainId);
}
五、断开钱包连接
当用户想要断开钱包连接时,你可以使用modal.disconnect()方法。
async function disconnectWallet() {
  await modal.disconnect();
  console.log('Wallet disconnected.');
  // 你可以在这里处理断开连接后的逻辑
}
六、监听钱包和链的变化
Web3Modal 2.0 允许你监听钱包和链的变化事件,以便在它们发生变化时执行相应的操作
modal.on('connect', (connection) => {
  console.log('Wallet connected:', connection.wallet, connection.chainId);
  // 你可以在这里处理钱包连接事件
});

modal.on('disconnect', () => {
  console.log('Wallet disconnected.');
  // 你可以在这里处理钱包断开连接事件
});

modal.on('chainChanged', (connection) => {
  console.log('Chain changed:', connection.chainId);
  // 你可以在这里处理链变更事件
});
七、钱包连接展示
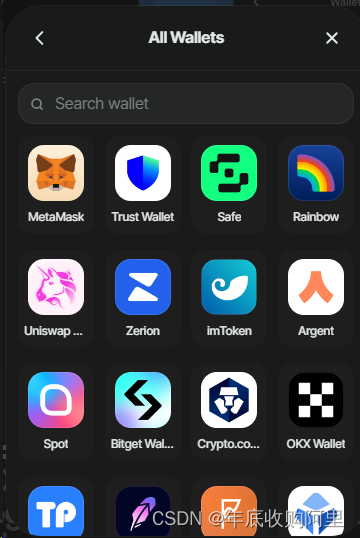
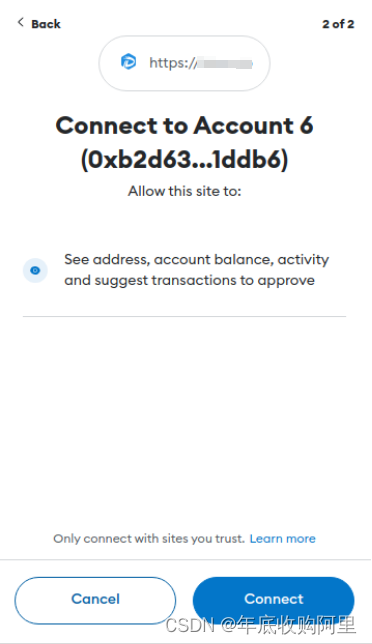
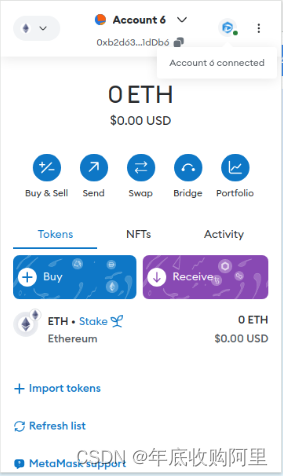
将连接 MetaMask
