文章目录
- 前言
- gatway
- 网关跨域配置
- 取消微服务跨域配置
- 创建vue2项目
- 准备一个原始vue2项目
- 安装vue-router
- 创建路由
- vue.config.js配置修改
- App.vue修改
- 添加接口访问
- 安装axios
- 创建request.js
- 创建index.js
- 创建InfoApi.js
- main.js
- securityUtils.js
- 前端登录界面
- 登录
- 消息提示框
- 最终效果
前言
一个完整的项目都需要前后端,有些小伙伴会认为,为什么后端依然要学习前端的一些知识?只能说,技多不压身,也是一些必须的内容,因为你在学习的过程中,不免会使用到前端的东西。你总不能找个前端女朋友给你写测试demo吧?所以只能自力更生。。。
本文就从零搭建一个前端项目,以配合后端的各种拦截器的处理规则。(前端有些地方可能处理的不好,敬请见谅)
本文gateway,微服务,vue已开源到gitee
杉极简/gateway网关阶段学习
gatway
网关跨域配置
import org.springframework.context.annotation.Bean;
import org.springframework.context.annotation.Configuration;
import org.springframework.web.cors.CorsConfiguration;
import org.springframework.web.cors.reactive.CorsWebFilter;
import org.springframework.web.cors.reactive.UrlBasedCorsConfigurationSource;
import org.springframework.web.util.pattern.PathPatternParser;

@Configuration
public class CorsConfig {
    @Bean
    public CorsWebFilter corsFilter() {
        CorsConfiguration config = new CorsConfiguration();
        config.addAllowedMethod("*");
        config.addAllowedOrigin("*");
        config.addAllowedHeader("*");

        UrlBasedCorsConfigurationSource source = new UrlBasedCorsConfigurationSource(new PathPatternParser());
        source.registerCorsConfiguration("/**", config);

        return new CorsWebFilter(source);
    }
}
取消微服务跨域配置
注释删除微服务的跨域,否则会使跨域失效(网关与微服务不能同时开启跨域)
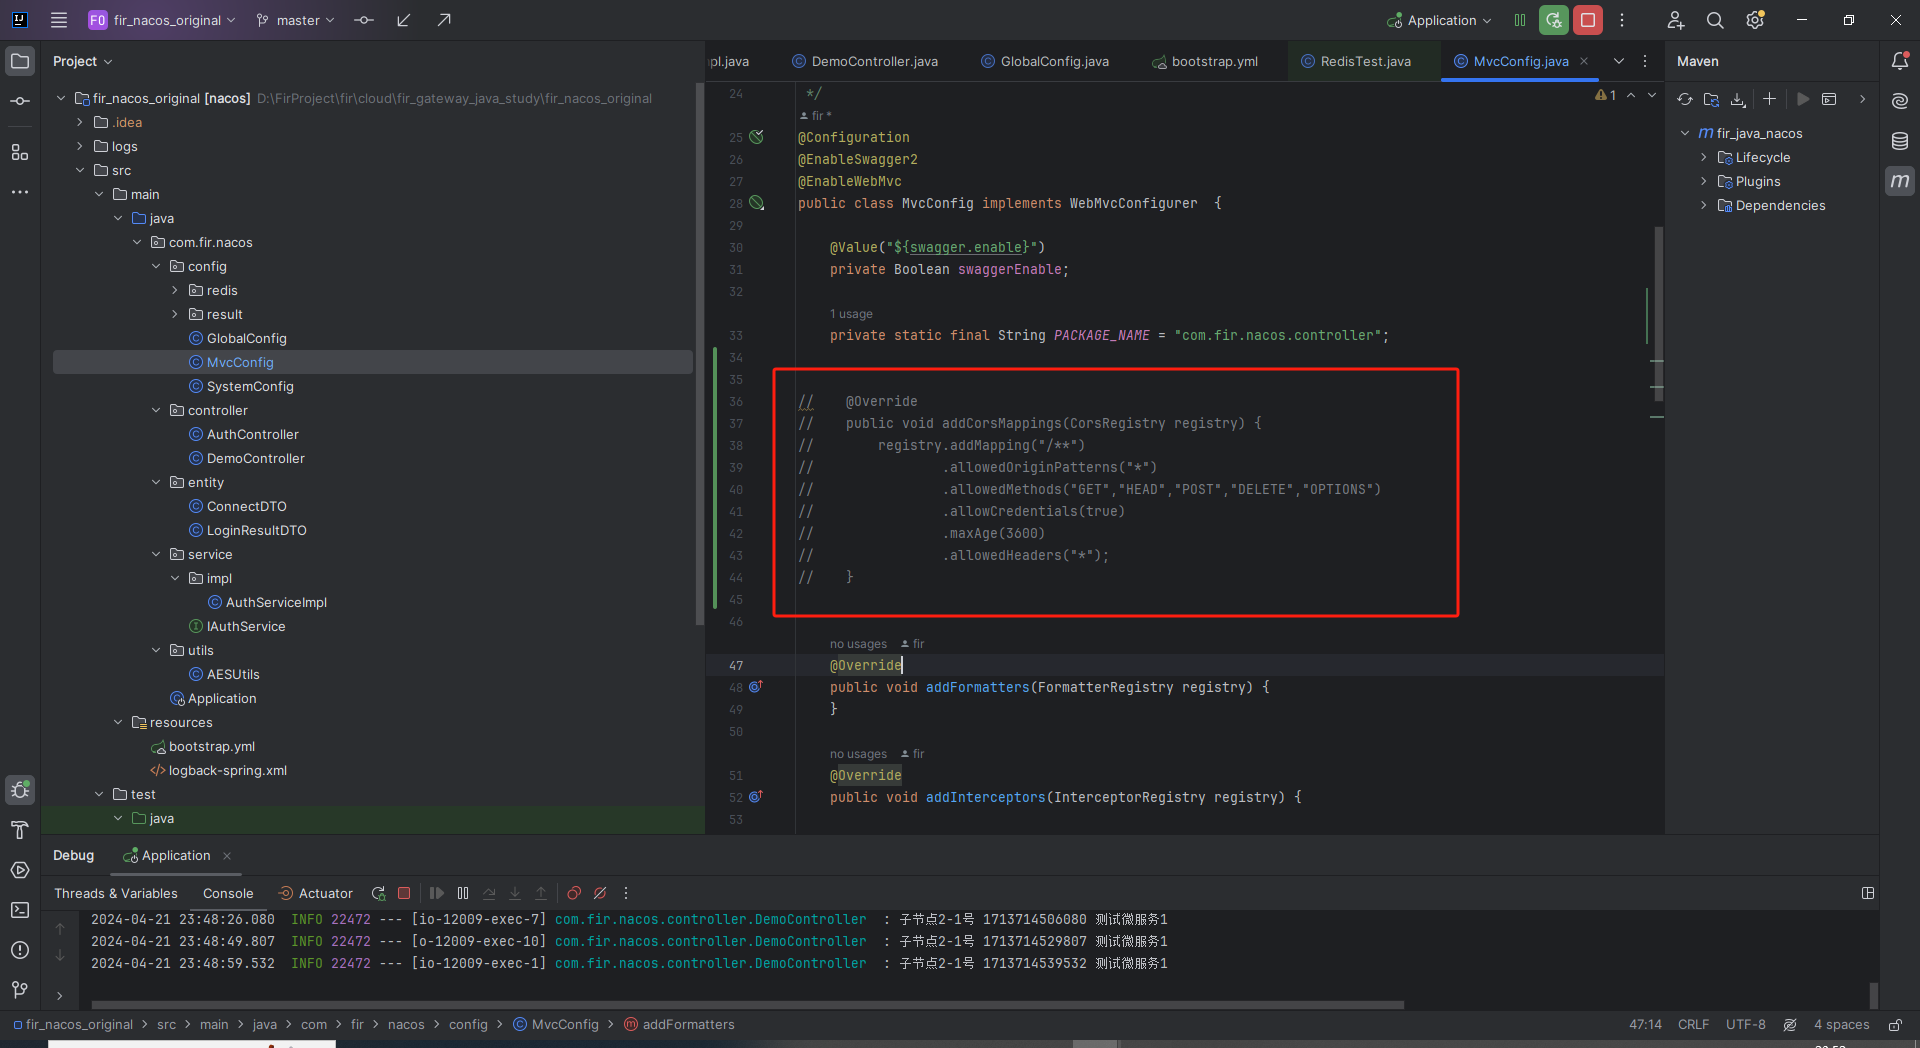
    @Override
    public void addCorsMappings(CorsRegistry registry) {
        registry.addMapping("/**")
                .allowedOriginPatterns("*")
                .allowedMethods("GET","HEAD","POST","DELETE","OPTIONS")
                .allowCredentials(true)
                .maxAge(3600)
                .allowedHeaders("*");
    }
创建vue2项目
准备一个原始vue2项目
最初的应该是这样的
安装vue-router
npm install vue-router@2.8.1
创建路由
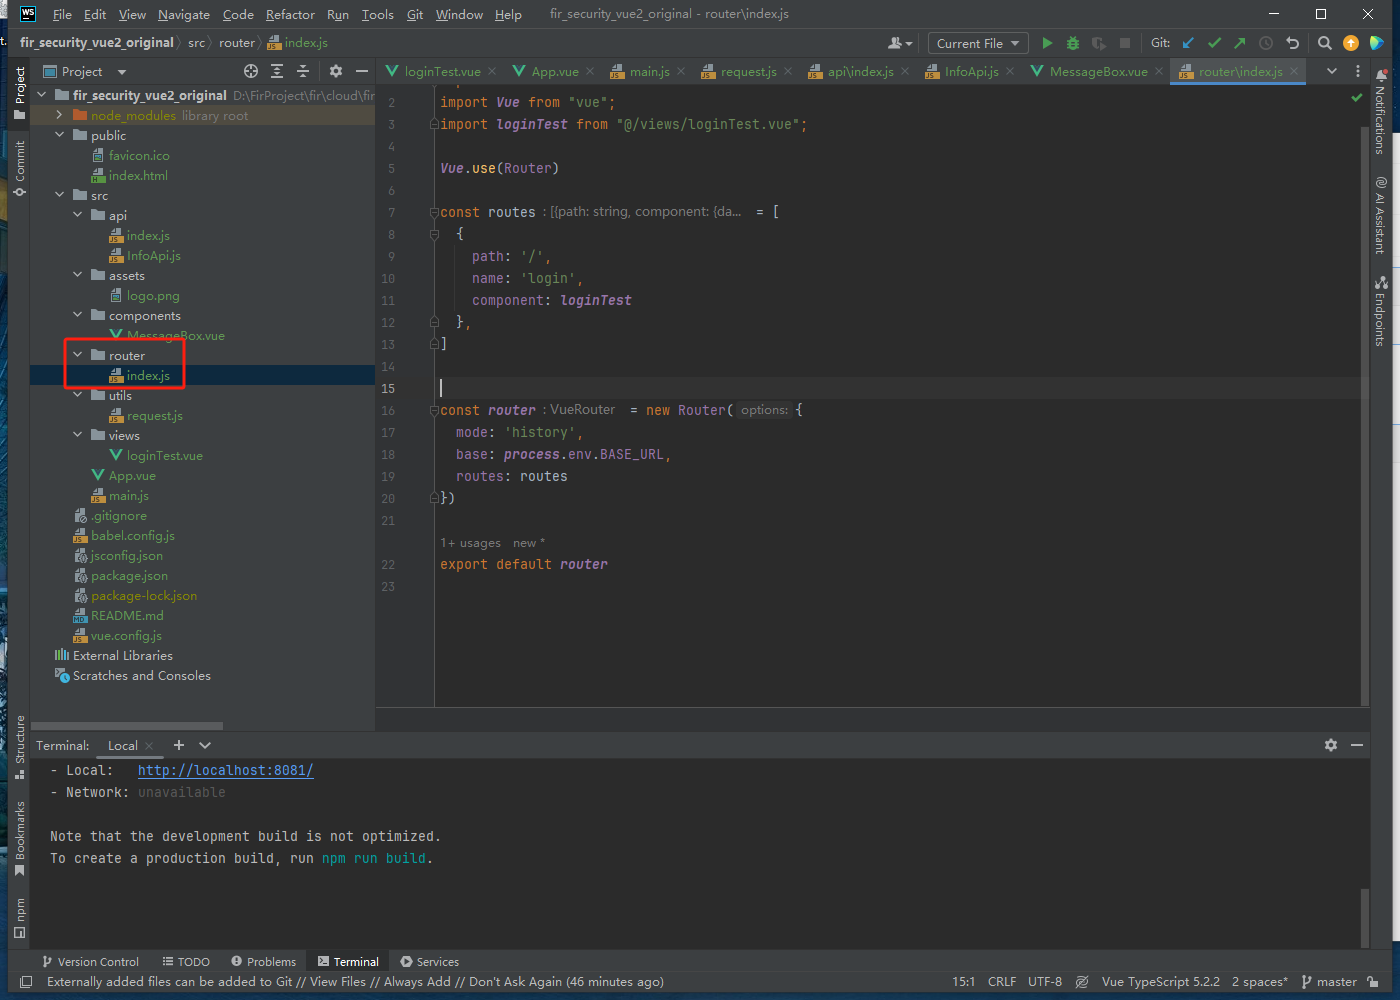
import Router from 'vue-router'
import Vue from "vue";
import loginTest from "@/views/loginTest.vue";

Vue.use(Router)

const routes = [
  {
    path: '/',
    name: 'login',
    component: loginTest
  },
]


const router = new Router({
  mode: 'history',
  base: process.env.BASE_URL,
  routes: routes
})

export default router
vue.config.js配置修改
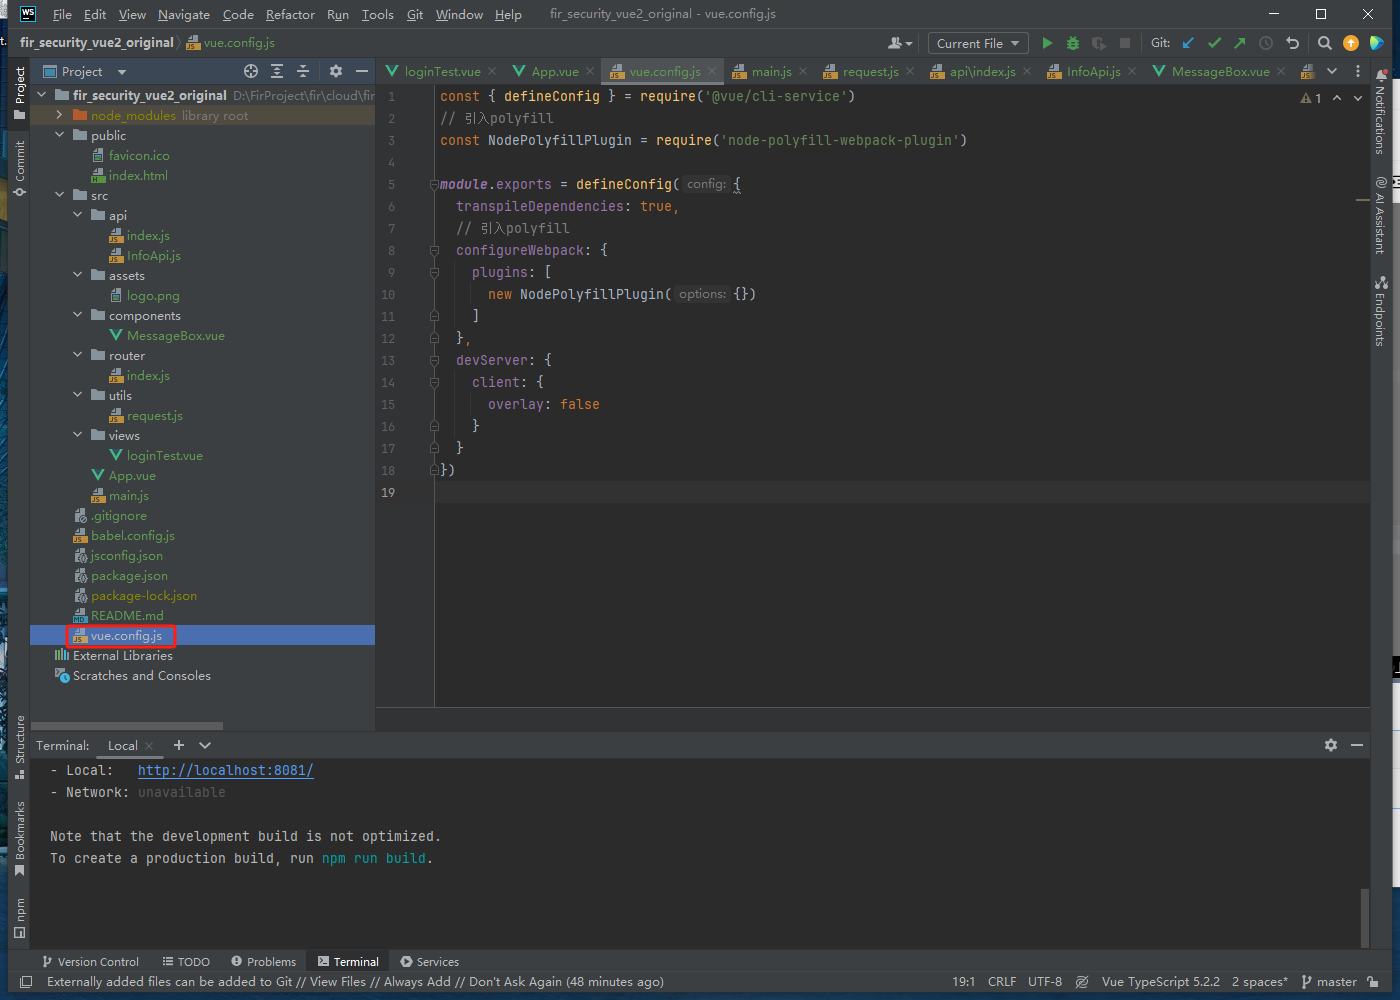
引入polyfill
npm i node-polyfill-webpack-plugin
修改vue.config.js
const { defineConfig } = require('@vue/cli-service')
// 引入polyfill
const NodePolyfillPlugin = require('node-polyfill-webpack-plugin')

module.exports = defineConfig({
  transpileDependencies: true,
  // 引入polyfill
  configureWebpack: {
    plugins: [
      new NodePolyfillPlugin({})
    ]
  },
  devServer: {
    client: {
      overlay: false
    }
  }
})
App.vue修改
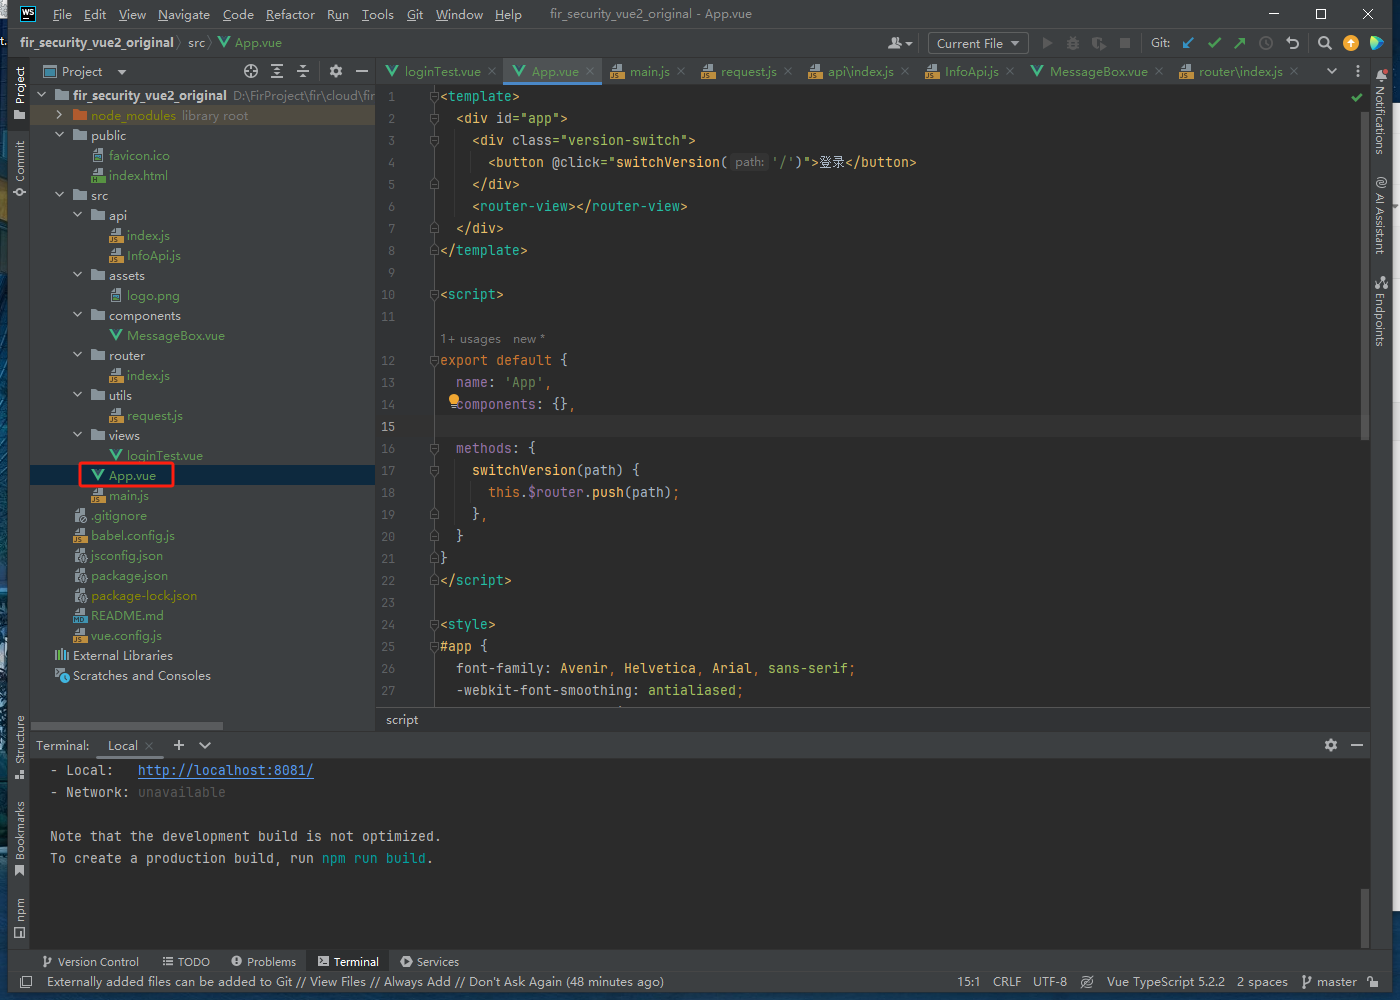
<template>
  <div id="app">
    <div class="version-switch">
      <button @click="switchVersion('/')">登录</button>
    </div>
    <router-view></router-view>
  </div>
</template>

<script>

  export default {
    name: 'App',
    components: {},

    methods: {
      switchVersion(path) {
        this.$router.push(path);
      },
    }
  }
</script>

<style>
  #app {
    font-family: Avenir, Helvetica, Arial, sans-serif;
    -webkit-font-smoothing: antialiased;
    -moz-osx-font-smoothing: grayscale;
    /*color: #2c3e50;*/
    min-height: 100vh; /* 最小高度为视口高度,确保垂直居中 */
  }
  .version-switch {
    width: 100%; /* 宽度设置为100%,独占一整行 */
    height: 2%; /* 宽度设置为100%,独占一整行 */
    margin-top: 20px;
    margin-bottom: 20px;
  }

  .version-switch button {
    padding: 5px 10px;
    margin-right: 5px;
    justify-content: center; /* 水平居中 */
  }
</style>
添加接口访问
安装axios
npm install axios --save
创建request.js
import axios from 'axios'

//引入axios
// 动态获取本机ip,作为连接后台服务的地址,但访问地址不能是localhost
// 为了灵活配置后台地址,后期需要更改为,配置文件指定字段决定优先使用配置ip还是自己生产的ip(如下)
const hostPort = document.location.host;
const hostData = hostPort.split(":")
const host = hostData[0];

//axios.create能创造一个新的axios实例
const server = axios.create({
    baseURL: "http" + "://" + host + ":51001", //配置请求的url
    timeout: 6000, //配置超时时间
    headers: {
        'Content-Type': "application/x-www-form-urlencoded",
    }, //配置请求头

})


/** 请求拦截器 **/
server.interceptors.request.use(function (request) {
    // 非白名单的请求都加上一个请求头

    return request;
}, function (error) {
    return Promise.reject(error);
});


/** 响应拦截器 **/
server.interceptors.response.use(function (response) {
    return response.data;
}, function (error) {
    // axios请求服务器端发生错误的处理
    return Promise.reject(error);
});


/**
 * 定义一个函数-用于接口
 * 利用我们封装好的request发送请求
 * @param url 后台请求地址
 * @param method 请求方法(get/post...)
 * @param obj 向后端传递参数数据
 * @returns AxiosPromise 后端接口返回数据
 */
export function dataInterface(url, method, obj) {
    return server({
        url: url,
        method: method,
        params: obj
    })
}


export default server
创建index.js
/**
 * HTTP 库
 * 存储所有请求
 */

/** 节点测试接口 **/
import InfoApi from "@/api/InfoApi"


export default {
    ...InfoApi,
}
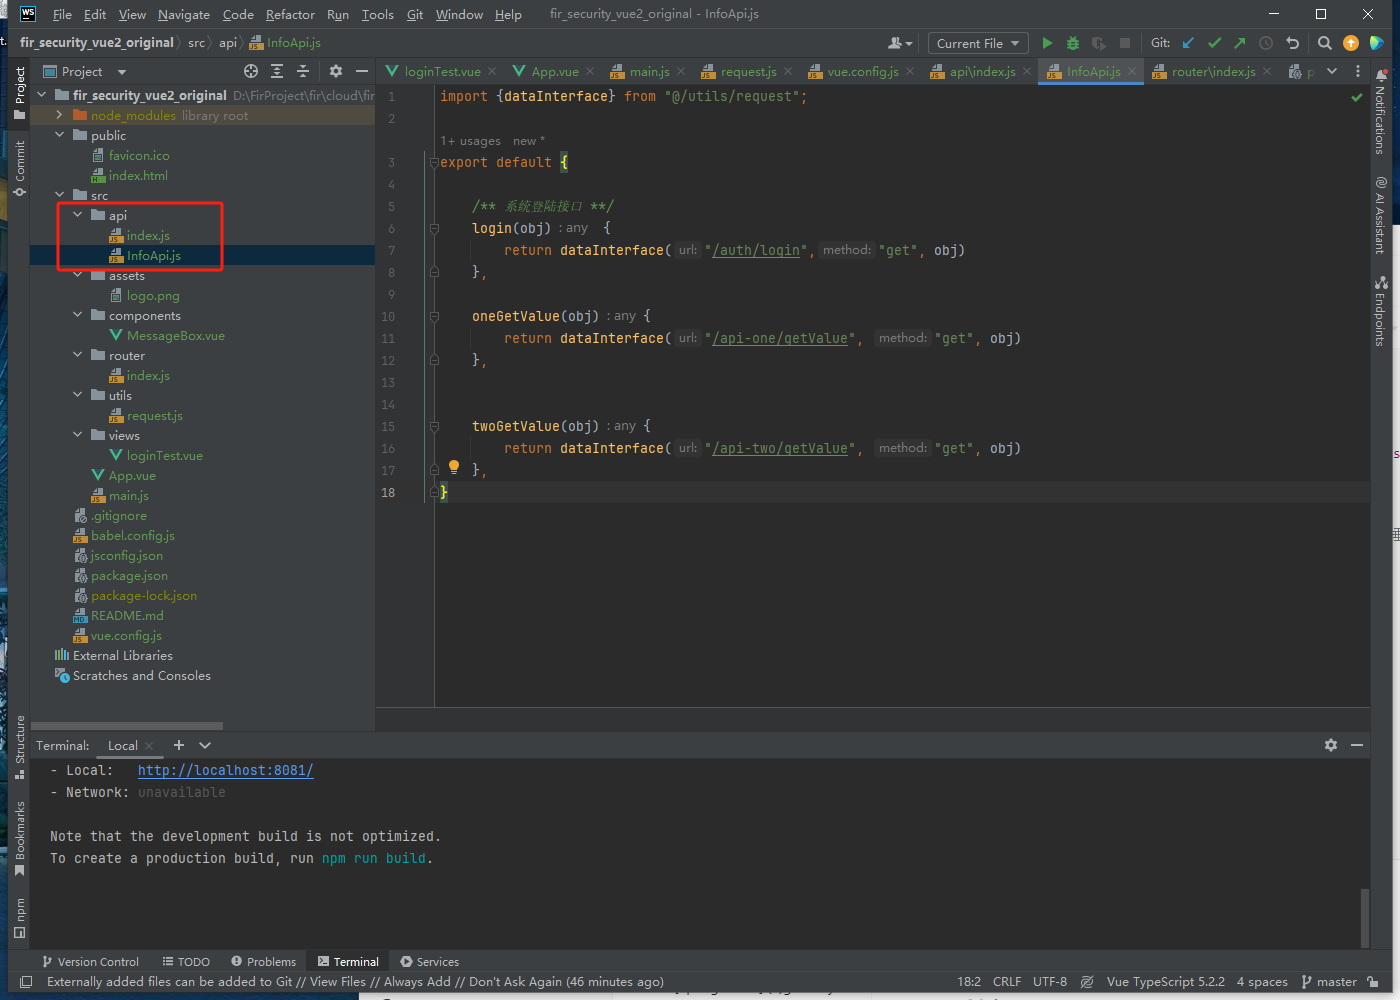
创建InfoApi.js
import {dataInterface} from "@/utils/request";

export default {

    /** 系统登陆接口 **/
    login(obj) {
        return dataInterface("/auth/login","get", obj)
    },

    oneGetValue(obj){
        return dataInterface("/api-one/getValue", "get", obj)
    },


    twoGetValue(obj){
        return dataInterface("/api-two/getValue", "get", obj)
    },
}
main.js
import Vue from 'vue'
import App from './App.vue'
import router from './router'
import http from "@/api/index";
import securityUtils from "@/utils/securityUtils";

Vue.config.productionTip = false

Vue.prototype.$http = http;
Vue.prototype.$securityUtils = securityUtils;


import MessageBox from './components/MessageBox.vue'

Vue.component('MessageBox', MessageBox)

// 将 MessageBox 组件挂载到 Vue.prototype 上
Vue.prototype.$message = function ({ message, duration, description }) {
  const MessageBoxComponent = Vue.extend(MessageBox)

  const instance = new MessageBoxComponent({
    propsData: { message, duration, description }
  })

  const vm = instance.$mount()
  document.body.appendChild(vm.$el)

  setTimeout(() => {
    document.body.removeChild(vm.$el)
    vm.$destroy()
  }, duration * 1000)
}

// 在组件中使用 this.$message
// this.$message({ message: 'Hello world!', duration: 1.5, description: '' })


new Vue({
  router,
  render: h => h(App),
}).$mount('#app')
securityUtils.js
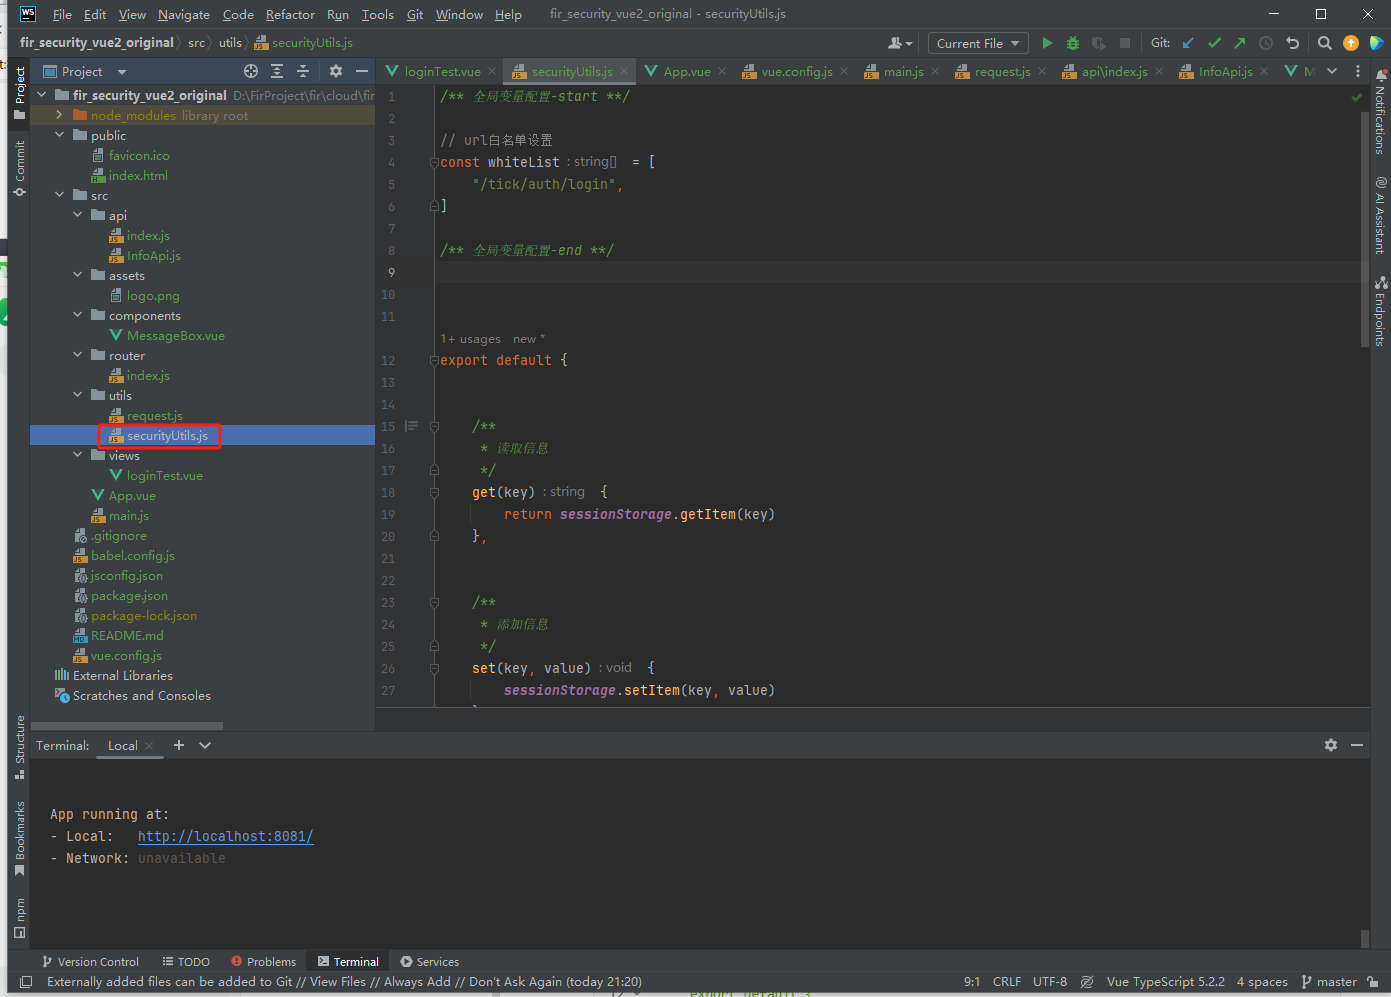
securityUtils作为与后端网关通信的主要对象,之后的所有验证操作都在此处文件中处理。
对于不需要令牌头的请求,设置白名单放过指定的请求whiteList。
对于普通的数据接口,需要增加令牌Authorization以通过后端的请求校验。
/** 全局变量配置-start **/

// url白名单设置
const whiteList = [
    "/tick/auth/login",
]

/** 全局变量配置-end **/


export default {


    /**
     * 读取信息
     */
    get(key) {
        return sessionStorage.getItem(key)
    },


    /**
     * 添加信息
     */
    set(key, value) {
        sessionStorage.setItem(key, value)
    },


    /**
     * 登录之后进行处理
     */
    loginDeal(token){
        this.set("token", token)
    },


    /**
     * gateway网关验证信息处理(请求头)
     */
    gatewayRequest(config) {
        let key = true;
        whiteList.find(function (value) {
            if (value === config.url) {
                key = false;
            }
        });

        // 对非白名单请求进行处理
        if (key) {
            // 请求体数据
            let token = this.get("token")

            // 请求中增加token
            if (token) {
                config.headers.Authorization = token;
            }
        }

        return config;
    },

}
前端登录界面
登录
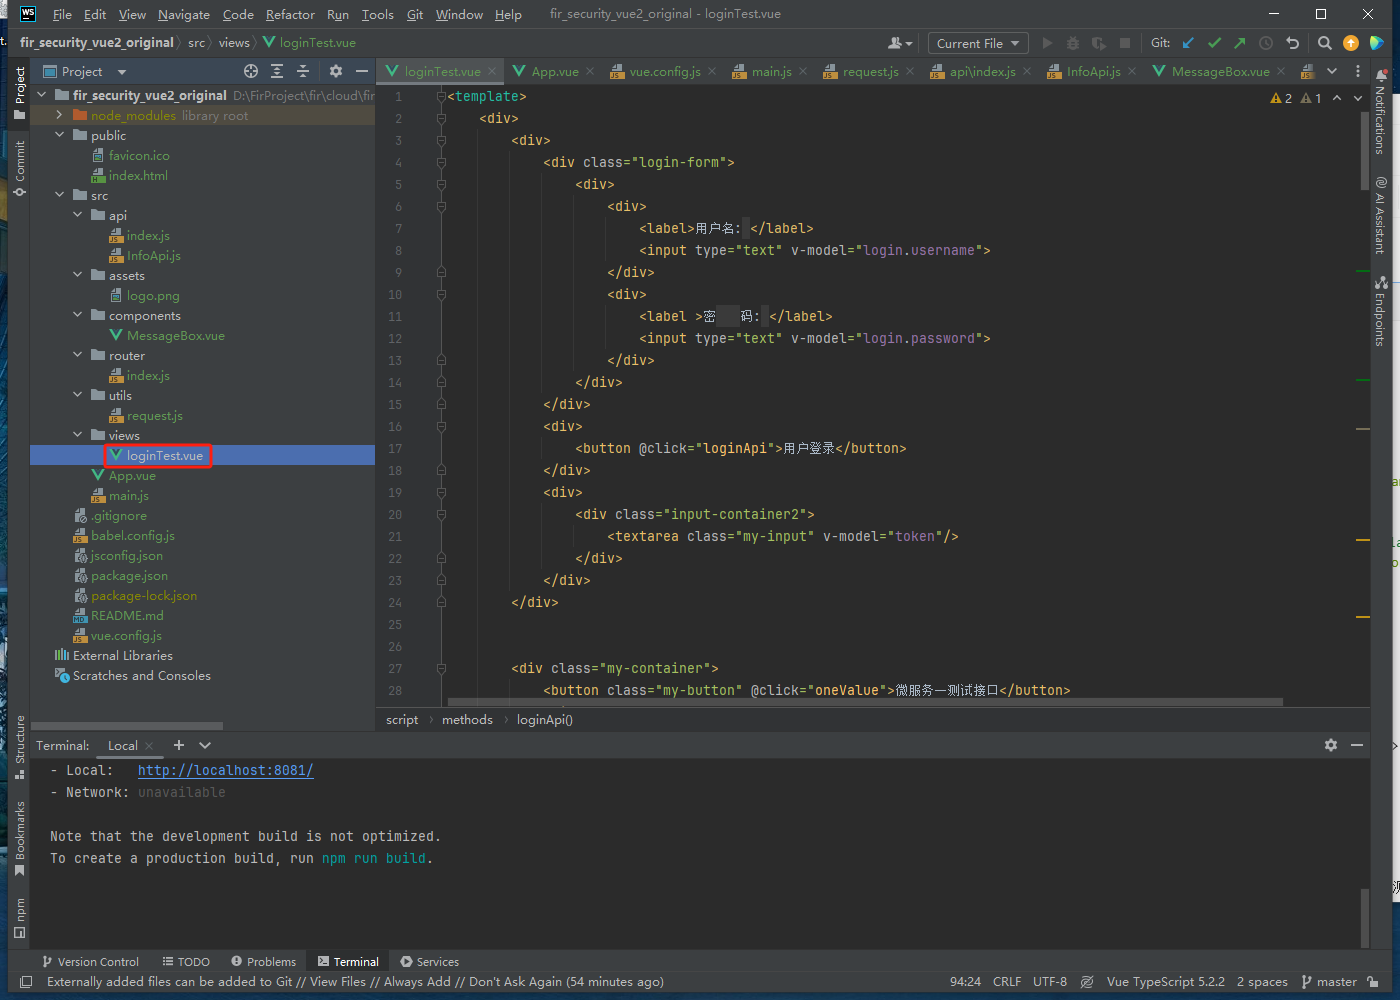
<template>
<div>
<div>
<div class="login-form">
<div>
<div>
<label>用户名: </label>
<input type="text" v-model="login.username">
</div>
<div>
<label >密 码: </label>
<input type="text" v-model="login.password">
</div>
</div>
</div>
<div>
<button @click="loginApi">用户登录</button>
</div>
<div>
<div class="input-container2">
<textarea class="my-input" v-model="token"/>
</div>
</div>
</div>
<div class="my-container">
<button class="my-button" @click="oneValue">微服务一测试接口</button>
<div>
<textarea class="my-input" v-model="microserviceOneJsonFormData"></textarea>
</div>
<div>
<textarea class="my-input" v-model="microserviceOneJsonData"></textarea>
</div>
</div>
<div class="my-container">
<button class="my-button" @click="twoValue">微服务二测试接口</button>
<div>
<textarea class="my-input" v-model="microserviceTwoJsonData"></textarea>
</div>
</div>
</div>
</template>
<script>
export default {
name: "loginTest",
data() {
return {
token: "",
login: {
username: "fir",
password: "123",
},
// 微服务节点一
microserviceOneJsonFormData: {
"msg": "普通的客户端消息",
},
microserviceOneJsonData: {},
// 微服务节点二
microserviceTwoJsonData: {},
};
},
created() {
this.jsonString();
this.connection()
},
methods: {
jsonString() {
// 将JSON数据转换为字符串
this.microserviceTwoJsonData = JSON.stringify(this.microserviceTwoJsonData, null, 2);
this.microserviceOneJsonData = JSON.stringify(this.microserviceOneJsonData, null, 2);
this.microserviceOneJsonFormData = JSON.stringify(this.microserviceOneJsonFormData, null, 2);
},
/**
* 获取与后端建立通信的必备信息
*/
loginApi() {
this.$http.login(this.login).then(res => {
let code = res.code
let msg = res.msg
// let data = res.data
if (code === 200) {
this.$message({message: msg, duration: 1.5, description: ''})
} else {
this.$message({message: "错误", duration: 1.5, description: ''})
}
})
},
/** 微服务-1 **/
oneValue() {
// 在这里可以编写按钮被点击时需要执行的代码
let data = JSON.parse(this.microserviceOneJsonFormData);
this.$http.oneGetValue(data).then(res => {
let msg = res.msg
let replaceAfter = res;
replaceAfter = JSON.stringify(replaceAfter, null, 2);
this.microserviceOneJsonData = replaceAfter;
this.$message({message: msg, duration: 1.5, description: ''})
})
},
/** 微服务-2 **/
twoValue() {
this.$http.twoGetValue().then(res => {
let msg = res.msg
let replaceAfter = res
replaceAfter = JSON.stringify(replaceAfter, null, 2);
this.microserviceTwoJsonData = replaceAfter;
this.$message({message: msg, duration: 1.5, description: ''})
})
},
},
}
</script>
<style scoped>
/* 水平布局,且向左浮动 */
.login-form {
margin-top: 40px;
}
.login-input {
display: flex;
flex-direction: row;
}
.login-form > div {
float: left;
margin-right: 10px;
}
/* 全局安全痛惜参数-start */
.my-container {
width: 100%;
display: flex;
justify-content: flex-start;
flex-wrap: wrap;
.input-container > label {
flex: 1;
}
}
.my-container > button {
align-self: flex-start;
}
.my-container > .input-container {
display: flex;
flex-direction: column;
align-items: center;
}
.my-input {
width: 300px; /* 设置输入框的宽度 */
height: 200px; /* 设置输入框的高度 */
border: 1px solid #ccc; /* 设置输入框的边框 */
border-radius: 5px; /* 设置输入框的圆角 */
padding: 5px; /* 设置输入框的内边距 */
font-size: 14px; /* 设置输入框的字体大小 */
color: white; /* 设置输入框的字体颜色为白色 */
background-color: #434554; /* 设置输入框的背景色 */
resize: vertical; /* 设置输入框垂直方向可自适应 */
float: left; /* 将两个元素浮动在左侧 */
box-sizing: border-box; /* 元素的内边距和边框不会增加元素的宽度 */
}
.my-button {
float: left; /* 将两个元素浮动在左侧 */
box-sizing: border-box; /* 元素的内边距和边框不会增加元素的宽度 */
}
</style>
消息提示框
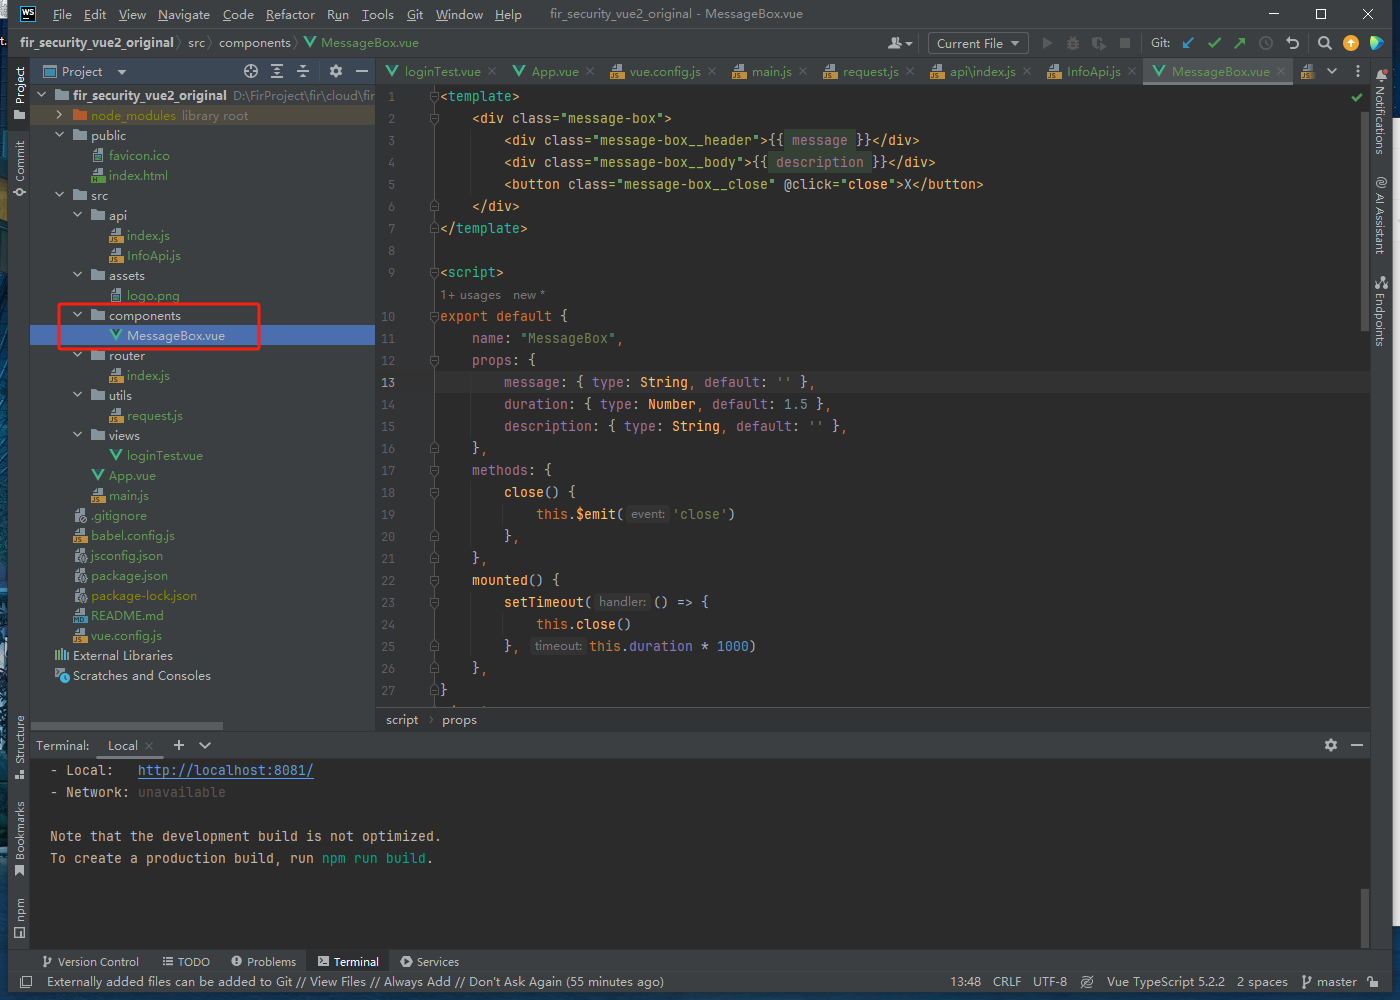
<template>
    <div class="message-box">
        <div class="message-box__header">{{ message }}</div>
        <div class="message-box__body">{{ description }}</div>
        <button class="message-box__close" @click="close">X</button>
    </div>
</template>

<script>
export default {
    name: "MessageBox",
    props: {
        message: { type: String, default: '' },
        duration: { type: Number, default: 1.5 },
        description: { type: String, default: '' },
    },
    methods: {
        close() {
            this.$emit('close')
        },
    },
    mounted() {
        setTimeout(() => {
            this.close()
        }, this.duration * 1000)
    },
}
</script>

<style scoped>
.message-box {
    position: fixed;
    top: 1%;
    left: 50%;
    transform: translateX(-50%);
    z-index: 9999;
    width: 300px;
    height: 20px;
    padding: 20px;
    background-color: #fff;
    box-shadow: 0 0 10px rgba(0, 0, 0, 0.2);
}

.message-box__header {
    font-size: 16px;
    font-weight: bold;
    margin-bottom: 10px;
}

.message-box__body {
    font-size: 14px;
    line-height: 1.5;
    margin-bottom: 20px;
}

.message-box__close {
    position: absolute;
    top: 10px;
    right: 10px;
    width: 20px;
    height: 20px;
    padding: 0;
    border: none;
    background-color: transparent;
    cursor: pointer;
    font-size: 16px;
    font-weight: bold;
    color: #666;
}
</style>
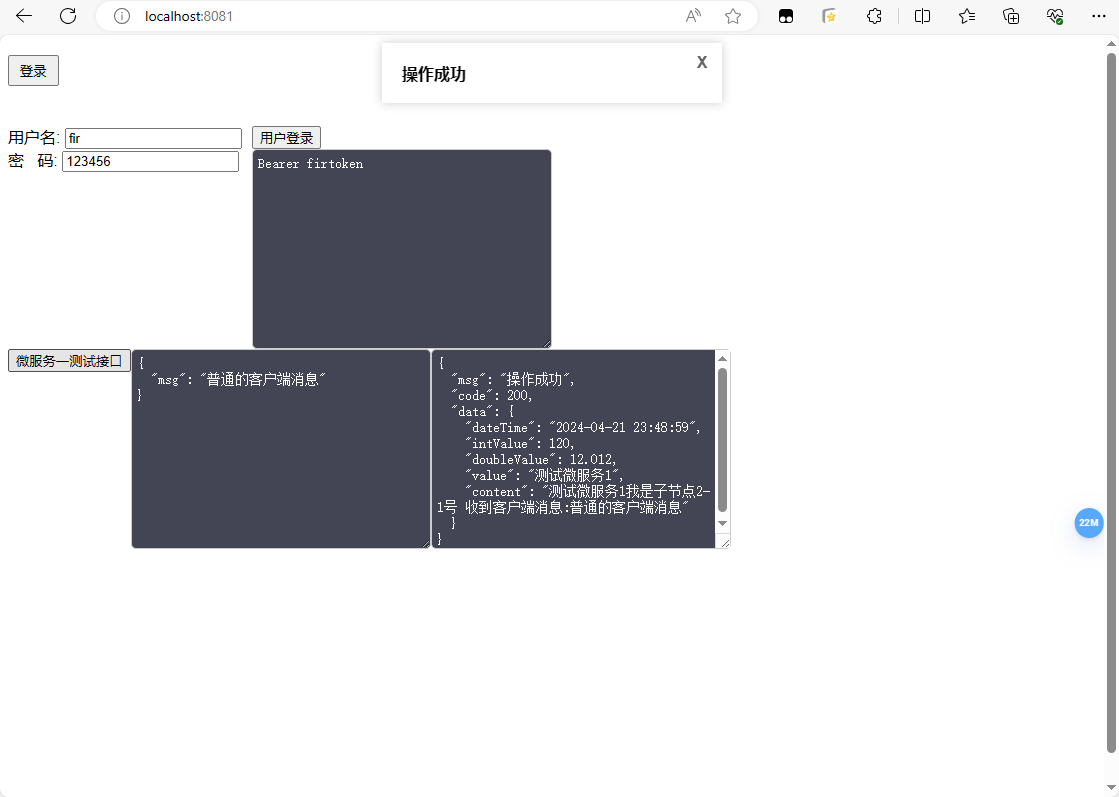
最终效果
此时我们需要先登录,之后就可以正常访问微服务。
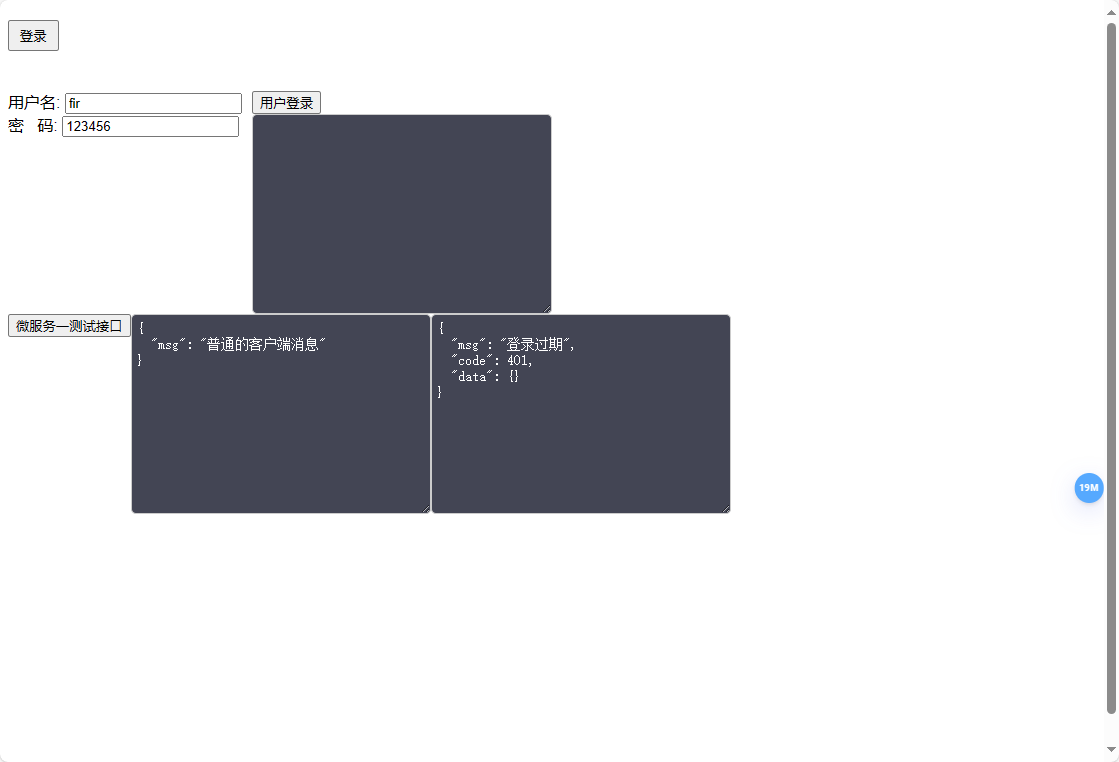
 此时如果不登陆就直接访问数据接口的话,则会提示登录过期,无法获取数据。


![【Hadoop】- MapReduce YARN的部署[8]](https://img-blog.csdnimg.cn/direct/2db7663582ac4a1fa825037da60fc7d6.png)
![【Hadoop】- MapReduce YARN 初体验[9]](https://img-blog.csdnimg.cn/direct/f09935e8bade4d16a28d0d5ce9f9e616.png)