批量人脸画口罩

news2024/11/23 15:32:42

网上参考的修改了一下,图片放在根目录,命名叫做1.png,批量人脸画口罩
在这里插入图片描述
这个程序的目的是为了解决人脸数据集中的特征点缺失的不足

# -*- coding: utf-8 -*-
import os
import numpy as np
from PIL import Image, ImageFile

__version__ = '0.3.0'

IMAGE_DIR = os.path.join(os.path.dirname(os.path.abspath(__file__)), '')
DEFAULT_IMAGE_PATH = os.path.join(IMAGE_DIR, '1.png')

class FaceMasker:
    KEY_FACIAL_FEATURES = ('nose_bridge', 'chin')

    def __init__(self, face_path, mask_path, show=False, model='hog'):
        self.face_path = face_path
        self.mask_path = mask_path
        self.show = show
        self.model = model
        self._face_img: ImageFile = None
        self._mask_img: ImageFile = None

    def mask(self):
        import face_recognition

        face_image_np = face_recognition.load_image_file(self.face_path)
        face_locations = face_recognition.face_locations(face_image_np, model=self.model)
        face_landmarks = face_recognition.face_landmarks(face_image_np, face_locations)
        self._face_img = Image.fromarray(face_image_np)
        self._mask_img = Image.open(self.mask_path)

        found_face = False
        for face_landmark in face_landmarks:
            # check whether facial features meet requirement
            skip = False
            for facial_feature in self.KEY_FACIAL_FEATURES:
                if facial_feature not in face_landmark:
                    skip = True
                    break
            if skip:
                continue

            # mask face
            found_face = True
            self._mask_face(face_landmark)

        if found_face:
            if self.show:
                print('OK.')
                # self._face_img.show()

            # save
            self._save()
        else:
            print('Found no face.')

    def _mask_face(self, face_landmark: dict):
        nose_bridge = face_landmark['nose_bridge']
        nose_point = nose_bridge[len(nose_bridge) * 1 // 4]
        nose_v = np.array(nose_point)

        chin = face_landmark['chin']
        chin_len = len(chin)
        chin_bottom_point = chin[chin_len // 2]
        chin_bottom_v = np.array(chin_bottom_point)
        chin_left_point = chin[chin_len // 8]
        chin_right_point = chin[chin_len * 7 // 8]

        # split mask and resize
        width = self._mask_img.width
        height = self._mask_img.height
        width_ratio = 1.2
        new_height = int(np.linalg.norm(nose_v - chin_bottom_v))

        # left
        mask_left_img = self._mask_img.crop((0, 0, width // 2, height))
        mask_left_width = self.get_distance_from_point_to_line(chin_left_point, nose_point, chin_bottom_point)
        mask_left_width = int(mask_left_width * width_ratio)
        mask_left_img = mask_left_img.resize((mask_left_width, new_height))

        # right
        mask_right_img = self._mask_img.crop((width // 2, 0, width, height))
        mask_right_width = self.get_distance_from_point_to_line(chin_right_point, nose_point, chin_bottom_point)
        mask_right_width = int(mask_right_width * width_ratio)
        mask_right_img = mask_right_img.resize((mask_right_width, new_height))

        # merge mask
        size = (mask_left_img.width + mask_right_img.width, new_height)
        mask_img = Image.new('RGBA', size)
        mask_img.paste(mask_left_img, (0, 0), mask_left_img)
        mask_img.paste(mask_right_img, (mask_left_img.width, 0), mask_right_img)

        # rotate mask
        angle = np.arctan2(chin_bottom_point[1] - nose_point[1], chin_bottom_point[0] - nose_point[0])
        rotated_mask_img = mask_img.rotate(angle, expand=True)

        # calculate mask location
        center_x = (nose_point[0] + chin_bottom_point[0]) // 2
        center_y = (nose_point[1] + chin_bottom_point[1]) // 2

        offset = mask_img.width // 2 - mask_left_img.width
        radian = angle * np.pi / 180
        box_x = center_x + int(offset * np.cos(radian)) - rotated_mask_img.width // 2
        box_y = center_y + int(offset * np.sin(radian)) - rotated_mask_img.height // 2

        # add mask
        self._face_img.paste(mask_img, (box_x, box_y), mask_img)

    def _save(self):
        path_splits = os.path.splitext(self.face_path)
        new_face_path = path_splits[0]  + path_splits[1]
        new_face_path = new_face_path.replace('BLACK', 'BLACKMASK')
        self._face_img.save(new_face_path)
        print(f'Save to {new_face_path}')

    @staticmethod
    def get_distance_from_point_to_line(point, line_point1, line_point2):
        distance = np.abs((line_point2[1] - line_point1[1]) * point[0] +
                          (line_point1[0] - line_point2[0]) * point[1] +
                          (line_point2[0] - line_point1[0]) * line_point1[1] +
                          (line_point1[1] - line_point2[1]) * line_point1[0]) / \
                   np.sqrt((line_point2[1] - line_point1[1]) * (line_point2[1] - line_point1[1]) +
                           (line_point1[0] - line_point2[0]) * (line_point1[0] - line_point2[0]))
        return int(distance)


if __name__ == '__main__':
    black_folder = r"C:\Demos\face_detection1\hopenet_data\300W_LP\BLACK"
    for filename in os.listdir(black_folder):
        if filename.endswith(".jpg"):
            face_image_path = os.path.join(black_folder, filename)
            FaceMasker(face_image_path, DEFAULT_IMAGE_PATH, True, 'hog').mask()

本文来自互联网用户投稿,该文观点仅代表作者本人,不代表本站立场。本站仅提供信息存储空间服务,不拥有所有权,不承担相关法律责任。如若转载,请注明出处:http://www.coloradmin.cn/o/1605311.html

如若内容造成侵权/违法违规/事实不符,请联系多彩编程网进行投诉反馈,一经查实,立即删除!

相关文章

前端请求404,后端保无此方法

1、微信小程序前端路径404 2、后端报无此路径 3、查看路径下对应的方法 发现忘了在list方法前加GetMapping(“/list”),加上即可

中伟视界:智慧矿山智能化预警平台功能详解

矿山智能预警平台是一种高度集成化的安全监控系统,它能够提供实时的监控和报警功能,帮助企业和机构有效预防和响应潜在的安全威胁。以下是矿山智能预警平台的一些关键特性介绍: 报警短视频生成: 平台能够在检测到报警时自动生成短…

6.C++:继承

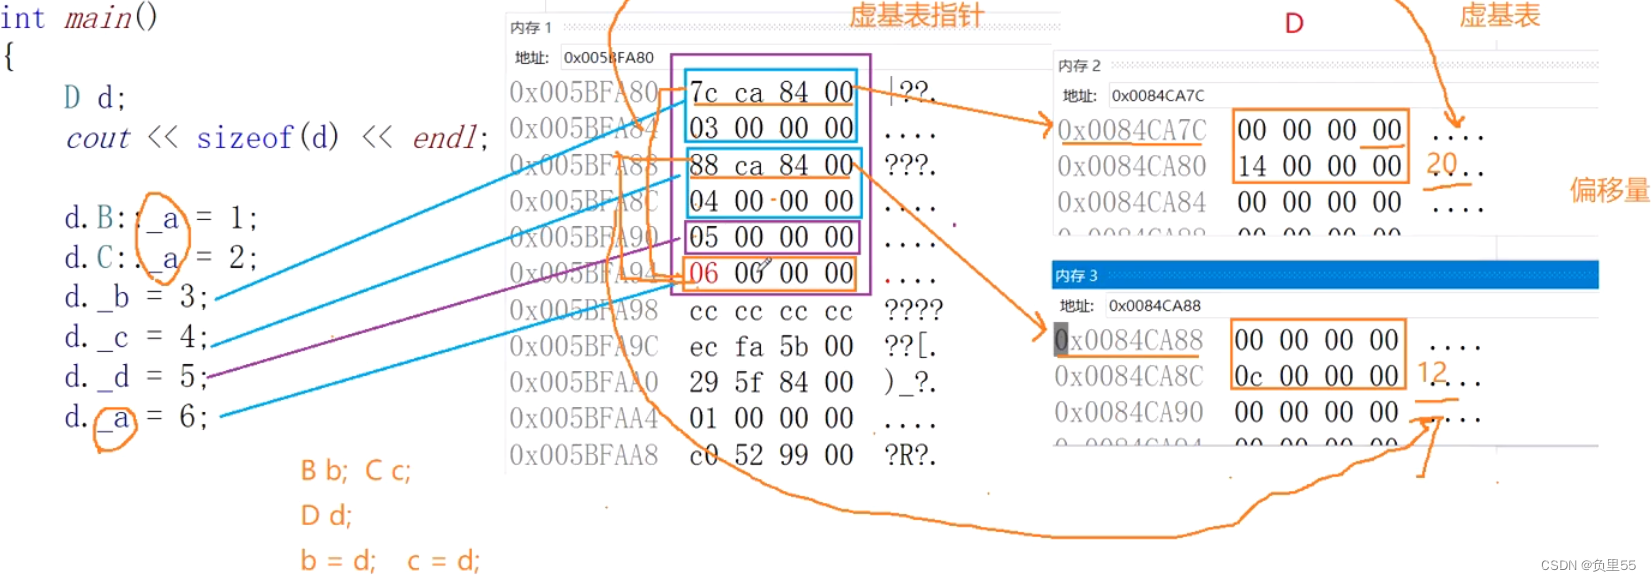
一、继承 //1.类中的保护和私有在当前类中没有差别&#xff1b; //2.在继承后的子类中有差别&#xff0c;private在子类中不可见&#xff0c;所以用protected&#xff1b; class person { public:void print(){cout << "name:" << _name << endl;c…

④【Shiro】Shiro框架进行敏感信息加密

个人简介&#xff1a;Java领域新星创作者&#xff1b;阿里云技术博主、星级博主、专家博主&#xff1b;正在Java学习的路上摸爬滚打&#xff0c;记录学习的过程~ 个人主页&#xff1a;.29.的博客 学习社区&#xff1a;进去逛一逛~ ④【Shiro】Shiro框架进行敏感信息加密 实际系…

分布式调度器timer和spring task

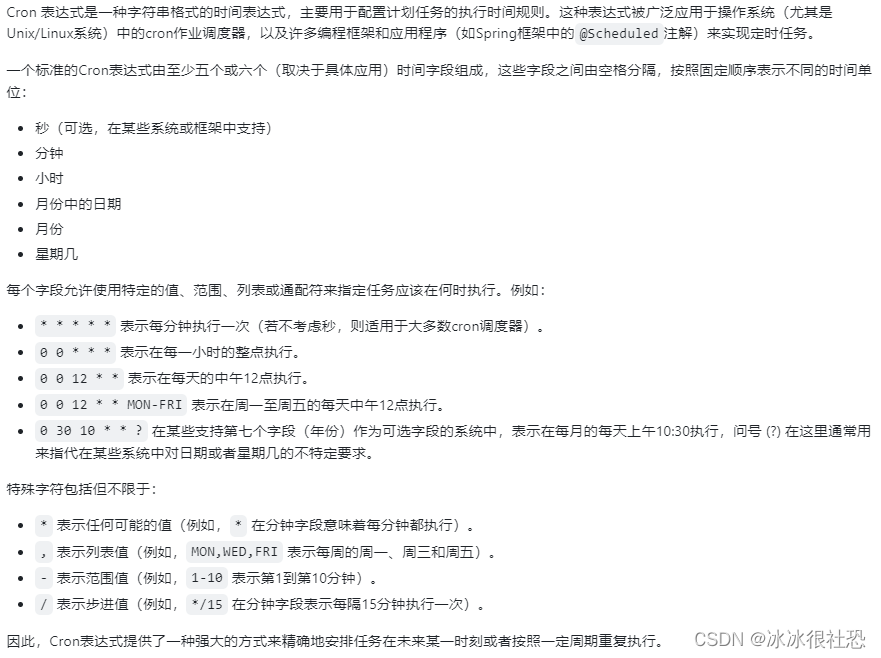
1. Timer&#xff08;了解&#xff09; 一、Timer使用方式 Task1 public class Task1 extends TimerTask {Overridepublic void run(){System.out.println("com.aware.Task run");} } Task2 public class Task2 extends TimerTask {Overridepublic void run(){…

如何判断软件测试公司报告是否权威

在当今数字化浪潮中&#xff0c;软件测试报告已成为评估软件性能、确保用户体验、发掘潜在问题的关键所在。然而&#xff0c;面对众多软件测试公司及其纷繁复杂的报告&#xff0c;如何洞察其权威性成为一项亟待解决的任务。本文旨在探讨如何精准判别软件测试公司报告的权威性&a…

React Ant Design 简单实现如何选中图片

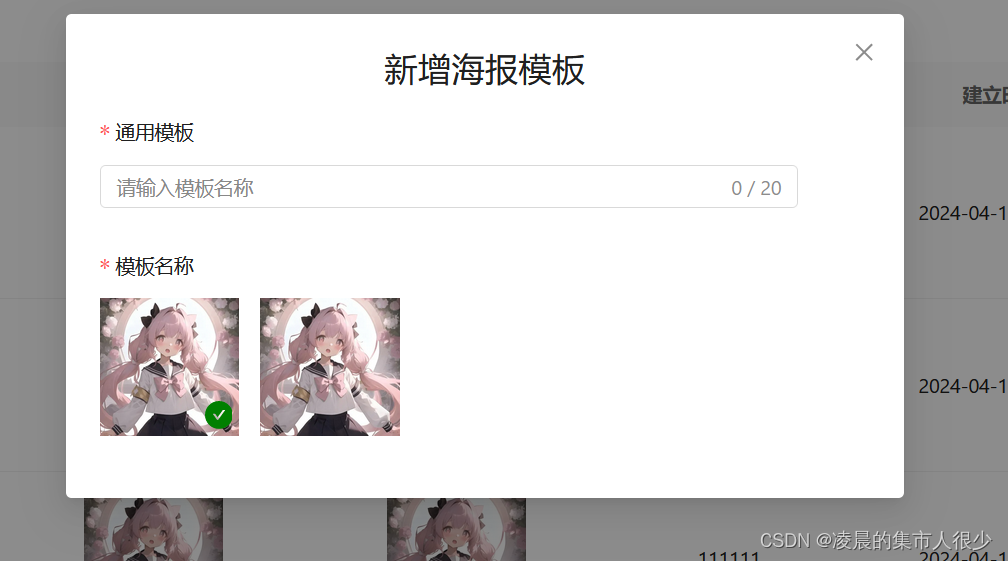
效果&#xff1a; 代码&#xff1a; 定义的初始值和方法 const [selected, setSelected] useState(0); // 表示当前选中的图片索引const handleClick (index) > {if (selected index) {setSelected(null); // 如果点击的是已选中的图片&#xff0c;则取消选中状态} else…

AI大模型日报#0418:Stable Diffusion 3开放API、Meta新研究让AI Agent理解物理世界

导读&#xff1a; 欢迎阅读《AI大模型日报》&#xff0c;内容基于Python爬虫和LLM自动生成。目前采用“文心一言”生成了每条资讯的摘要。标题: 微软刚发布了VASA-1 这个人工智能可以让单张图像具有生动的说话和歌唱能力 摘要: 微软发布了VASA-1人工智能&#xff0c;它能使单…

java算法day56 | 动态规划part15 ● 392.判断子序列 ● 115.不同的子序列

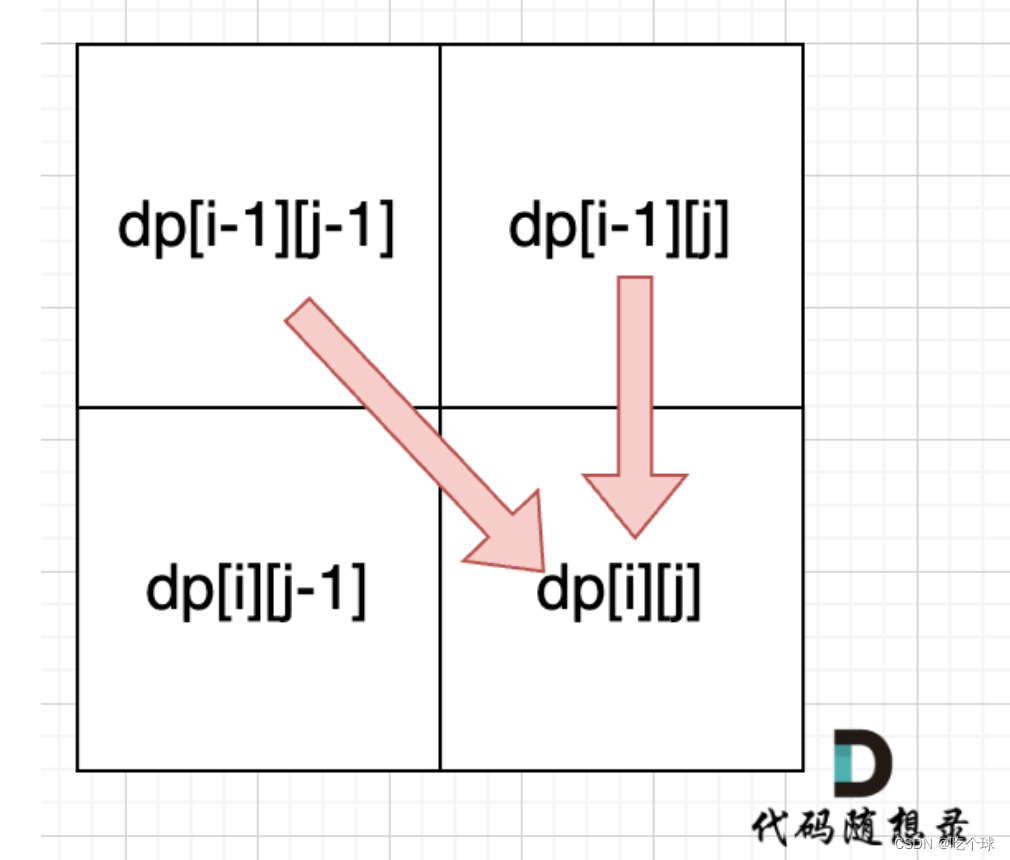
392.判断子序列 动规五部曲&#xff1a; 确定dp数组&#xff08;dp table&#xff09;以及下标的含义 dp[i][j] 表示以下标i-1为结尾的字符串s&#xff0c;和以下标j-1为结尾的字符串t&#xff0c;相同子序列的长度为dp[i][j]。确定递推公式 在确定递推公式的时候&#xff0c;…

显示msvcp140.dll丢失要如何解决?这5种方法高效修复msvcp140.dll

msvcp140.dll是Microsoft Visual C Redistributable软件包中的一个文件&#xff0c;主要用于支持使用C编程语言编写的软件的正常运行。如果你的电脑出现缺少msvcp140.dll的错误消息&#xff0c;可能会影响到某些程序的启动和运行。然而&#xff0c;不必过度担心&#xff0c;因为…

iText 5

依赖 implementation com.itextpdf:itextpdf:5.5.13.3implementation com.itextpdf:itext-asian:5.2.0implementation com.alibaba:fastjson:1.2.83compileOnly org.projectlombok:lombok:1.18.22annotationProcessor "org.projectlombok:lombok:1.18.22"测试 impor…

找不到api-ms-win-crt-runtime-l1-1-0.dll文件5种解决方法

在日常使用计算机的过程中&#xff0c;我们时常会遭遇各类意想不到的问题&#xff0c;其中之一就是“api-ms-win-crt-runtime-l1-1-0.dll丢失”。这个错误通常发生在Windows操作系统中&#xff0c;它表示一个动态链接库文件丢失或损坏。这个问题可能会导致某些应用程序无法正常…

【Vue脚手架】

初始化脚手架 如果下载缓慢请配置npm淘宝镜像&#xff1a; npm config set registry http://registry.npm.taobao.org 全局安装vue脚手架&#xff1a; vue/clinpm install -g vue/cli 1. 创建项目使用命令 vue create xxx 注&#xff1a;后面有选择安装版本&#xff0c;请注意选…

授权协议OAuth 2.0之除了授权码许可还有什么授权流程?

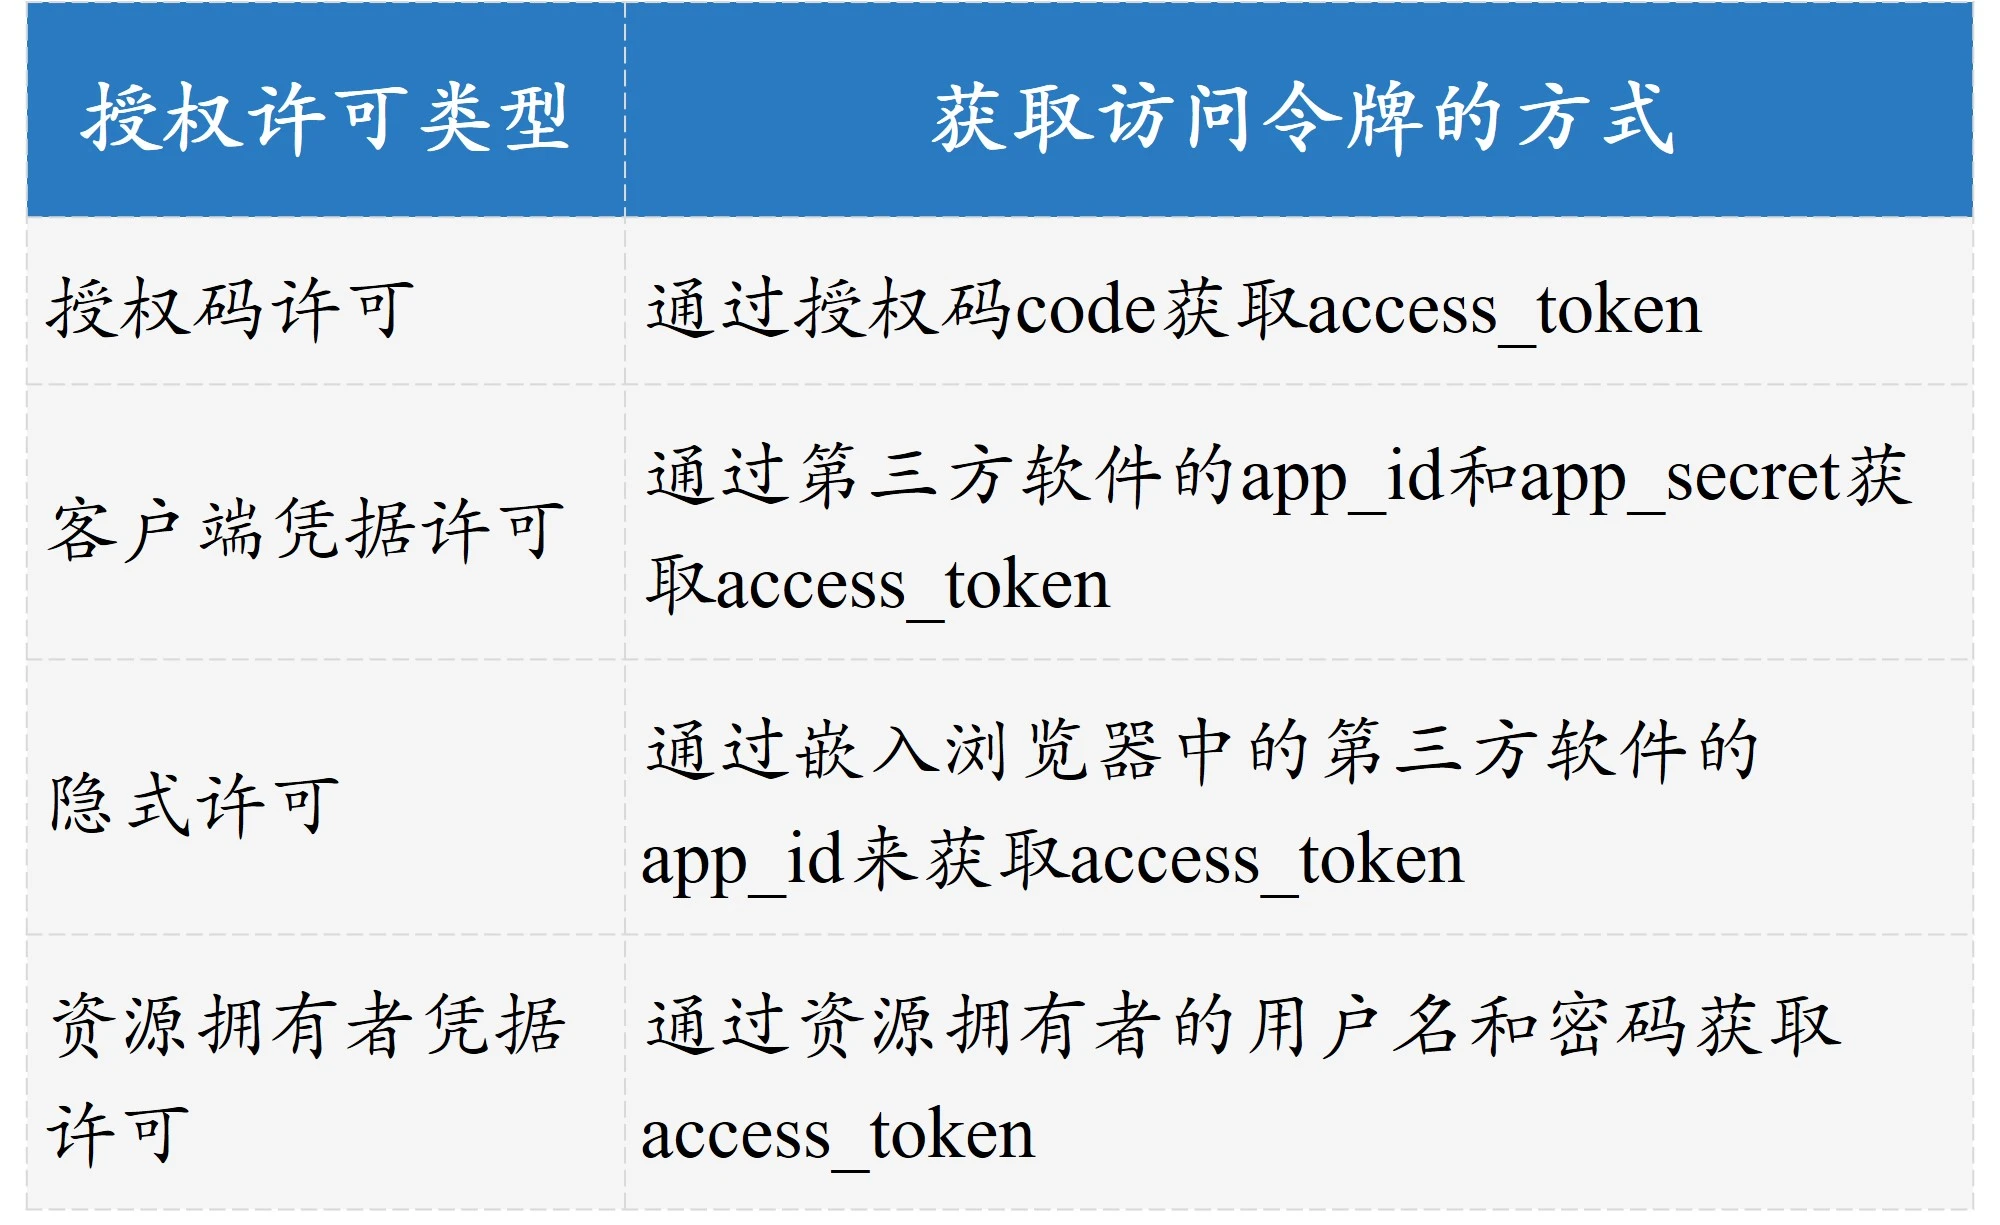
写在前面 源码 。 本文看下OAuth2.0的另外3中授权流程&#xff0c;资源拥有者凭据许可&#xff0c;客户端许可&#xff0c;隐式许可。分别看下具体的使用流程以及该使用场景。 1&#xff1a;资源拥有者凭据许可 资源拥有者凭据许可&#xff0c;这里资源拥有者的凭据是什么呢&…

Vue源码解读学习

Vue源码 观察者模式 & 发布订阅 观察者模式&#xff1a;中心一对多 系统单点间的灵活和拓展&#xff08;广播的方式&#xff09; 发布订阅&#xff1a;将注册列表遍历发布给订阅者 initInject initState initProvide他们挂载顺序为什么这样设计&#xff1f; initstate…

MySQL行格式(row format)

MySQL行格式&#xff08;row format&#xff09; 表的行格式决定了其行的物理存储方式&#xff0c;这反过来又会影响查询和 DML 操作的性能。随着单个磁盘页面容纳更多行&#xff0c;查询和索引查找可以更快地工作&#xff0c;缓冲池中需要的高速缓存内存更少&#xff0c;写出…

京西商城——前端项目的创建以及前后端联调

创建VUE项目 在jingxi_shop_project文件夹中再创建一个 frontend 文件夹用来存放前端项目 /jingxi_shop_project/backend/jingxi_shop_project....../frontend/jingxi_shop_web......首先要安装 node.js 和 VUE cli&#xff0c;进入到项目目录内创建项目 vue create jingxi_…

[Vision Board创客营]学习片上Flash移植FAL

文章目录 [Vision Board创客营]学习片上Flash移植FAL介绍环境搭建使用组件测试porbeerasewriteread 结语 [Vision Board创客营]学习片上Flash移植FAL 水平较菜&#xff0c;大佬轻喷。&#x1f630;&#x1f630;&#x1f630; 介绍 &#x1f680;&#x1f680;Vision-Board 开…

解锁流量密码:如何利用HubSpot打造高效的获客策略?(下)

在当今数字化时代&#xff0c;流量是企业成功的关键。HubSpot作为一款全面的营销自动化工具&#xff0c;为我们提供了强大的支持&#xff0c;帮助企业打造高效的流量获取策略。接下来&#xff0c;我们将从社交媒体与SEO优化、自动化营销流程、数据分析与效果评估以及流量获取策…

【R语言】组合图:散点图+箱线图+平滑曲线图+柱状图

用算数运算符轻松组合不同的ggplot图&#xff0c;如图&#xff1a; 具体代码如下&#xff1a; install.packages("devtools")#安装devtools包 devtools::install_github("thomasp85/patchwork")#安装patchwork包 library(ggplot2) library(patchwork) #p1是…