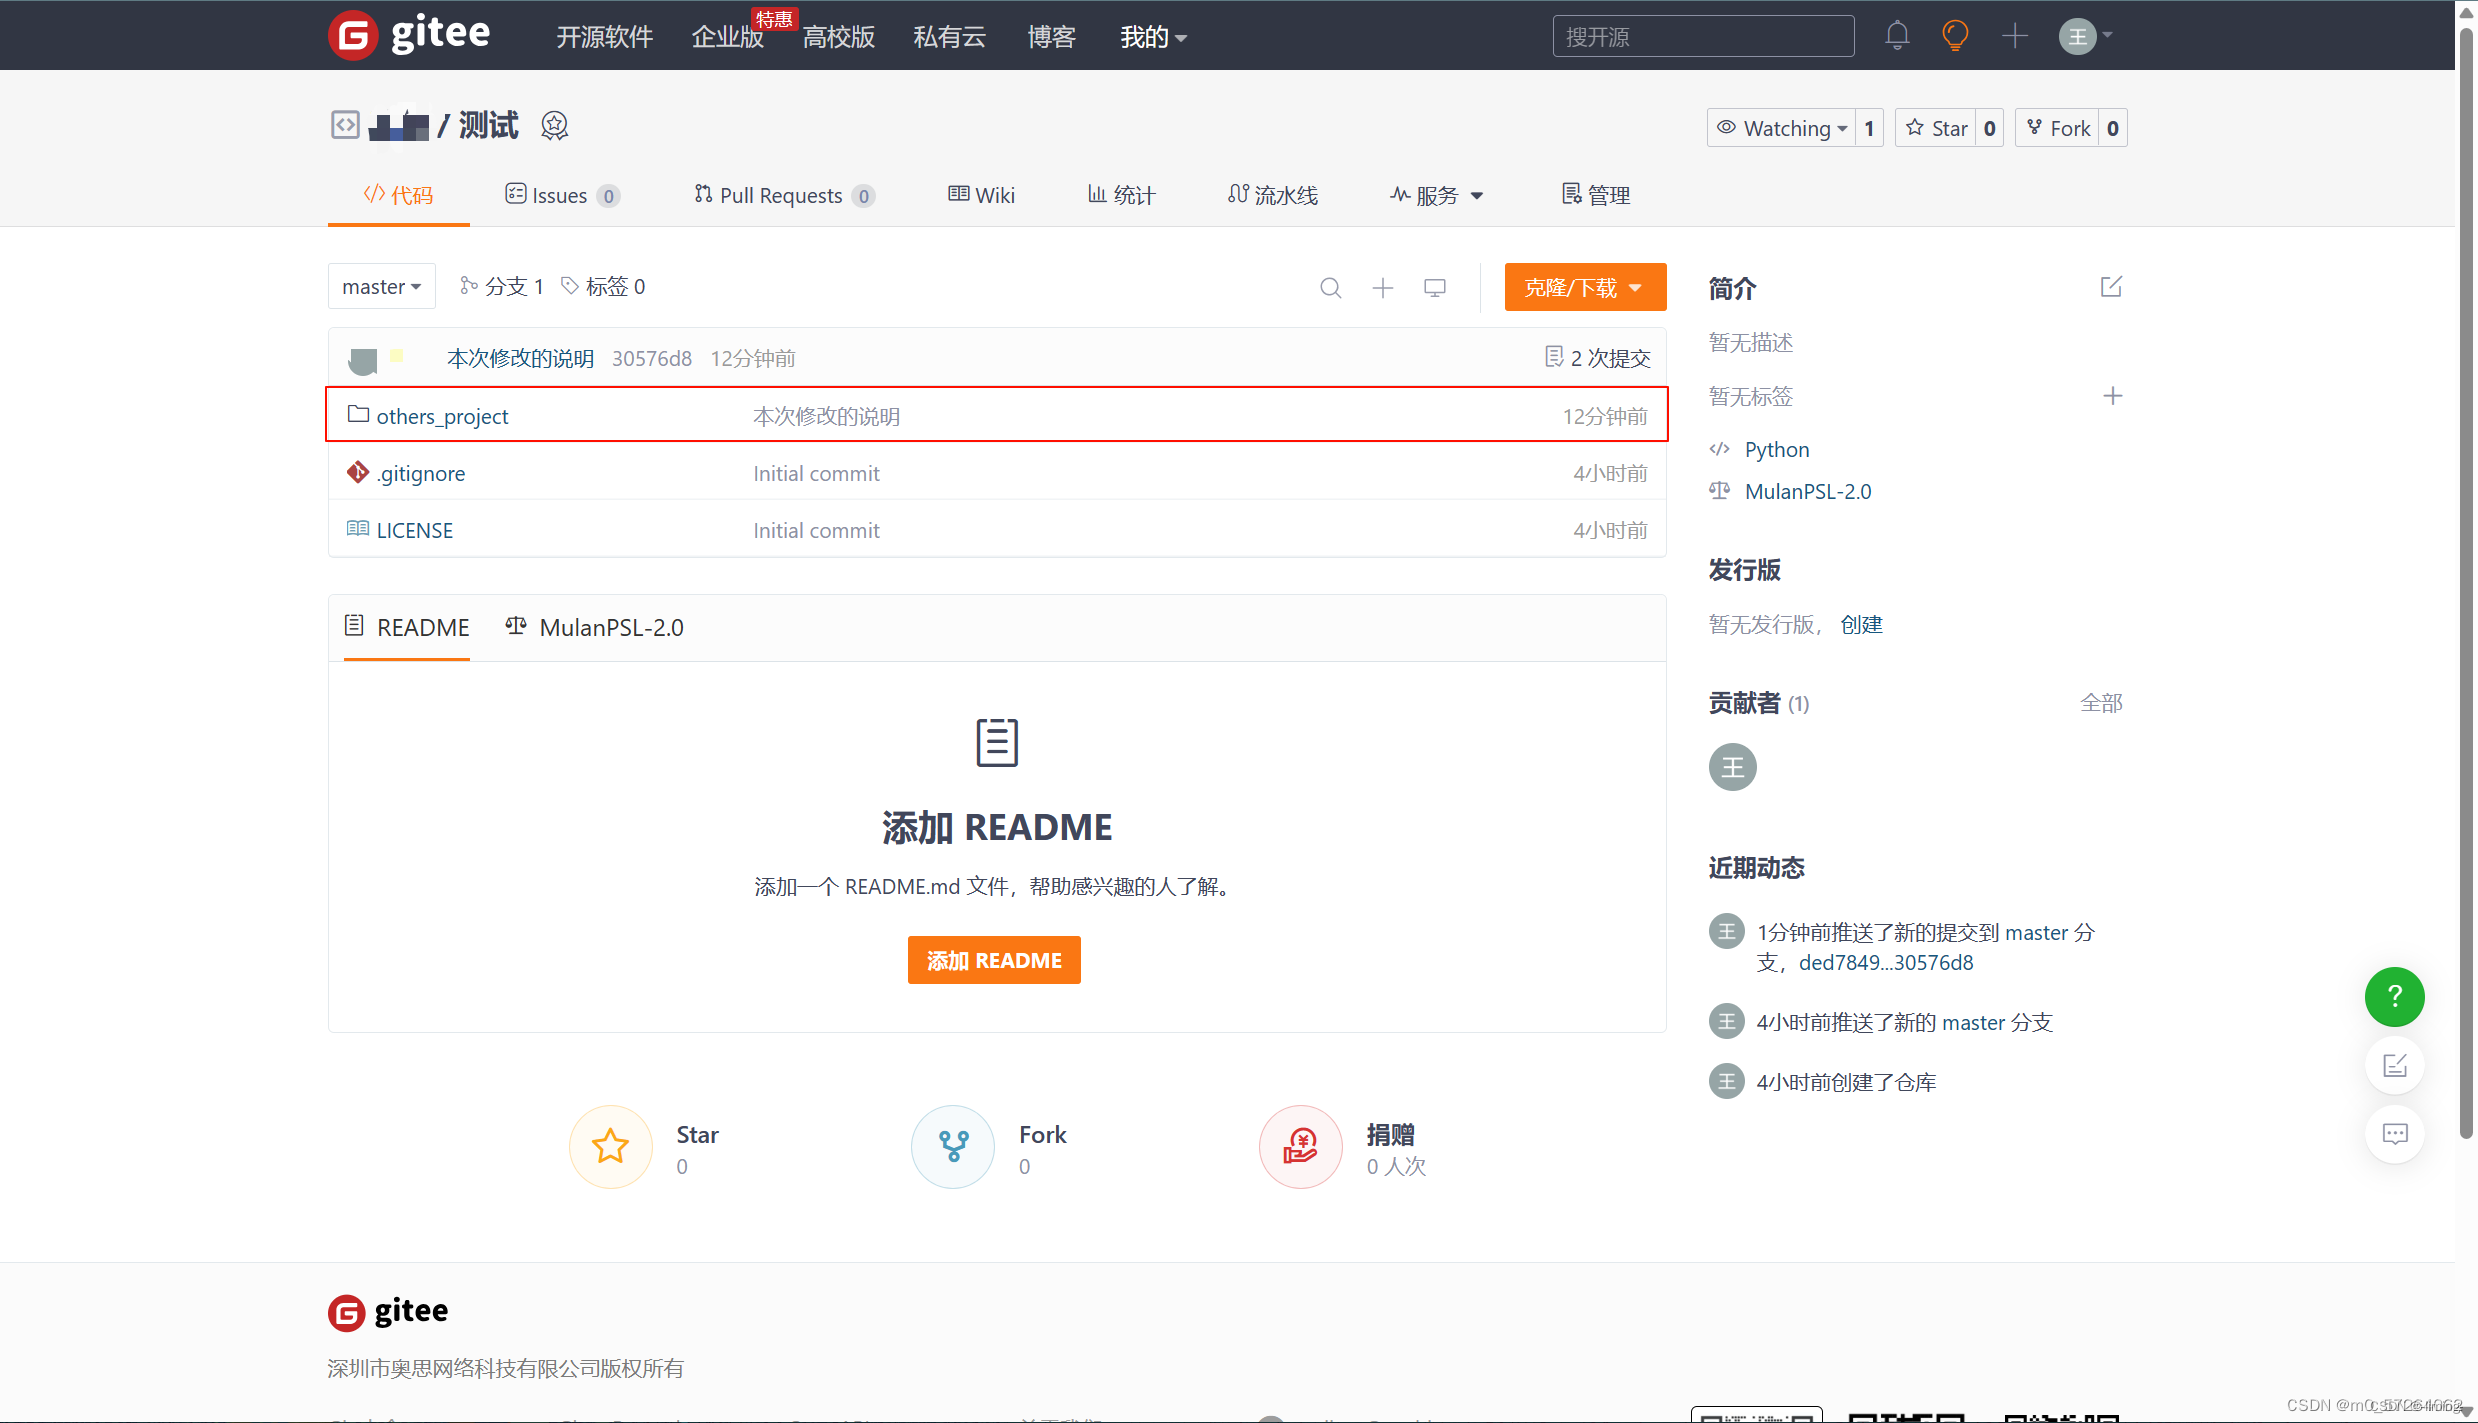
一. 需求
-
针对不同等级的用户,配置不同的可见项
-
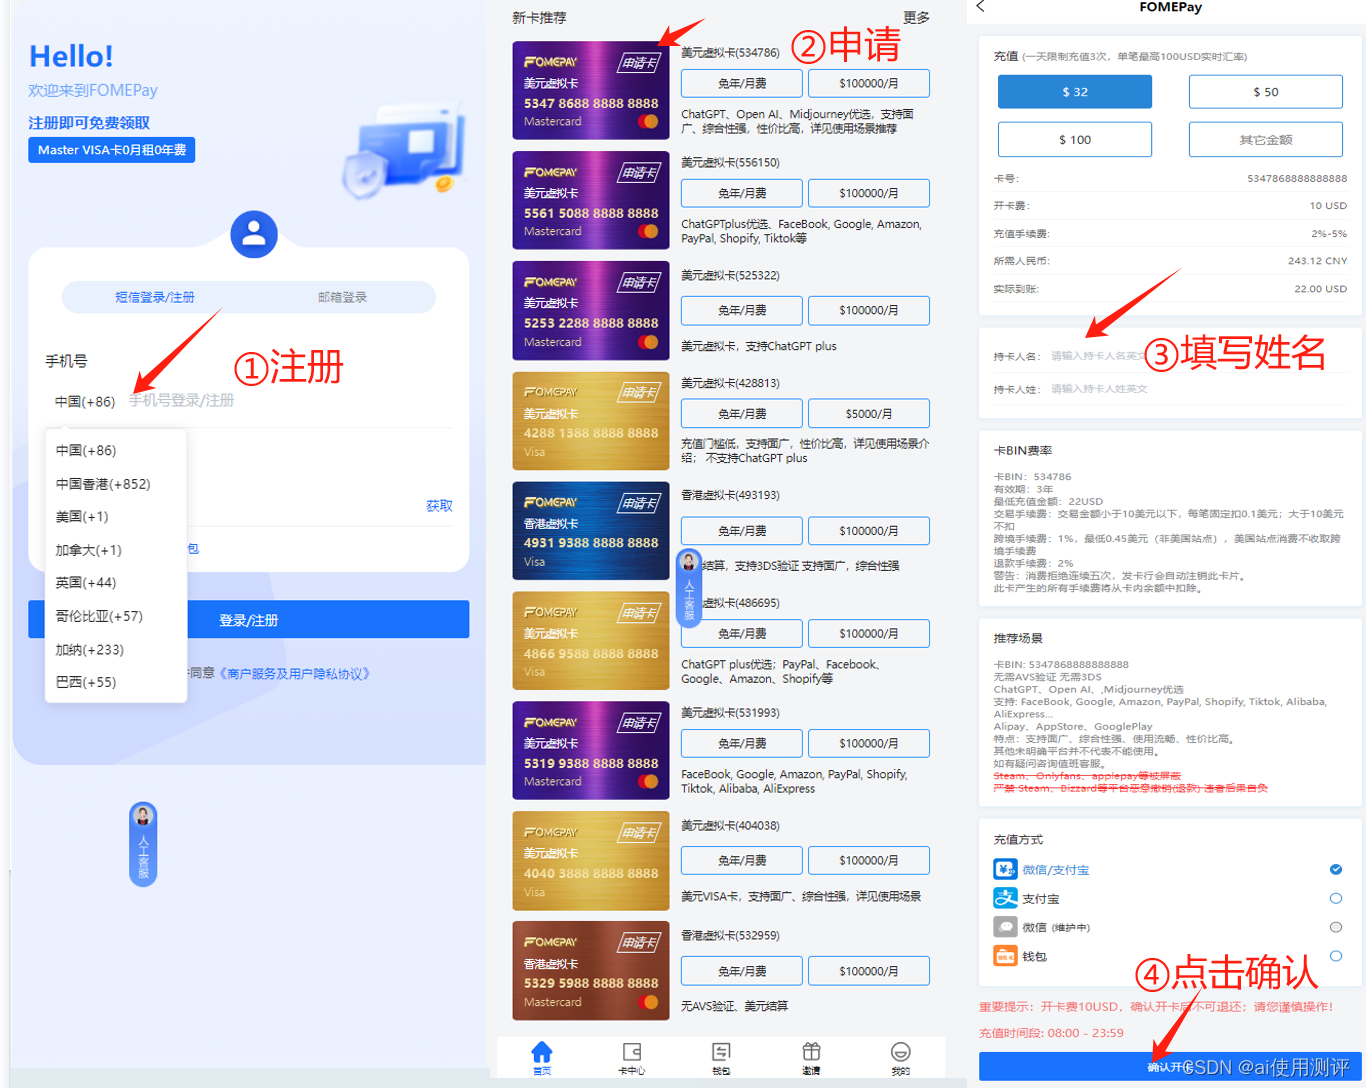
配置效果如下
(1)新增,获取数据列表
(2)编辑,回显数据列表

-
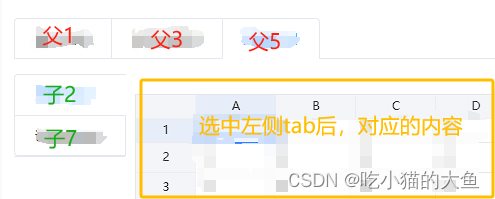
应用效果如下
(1)父级配置

(2)子级配置
二. 数据格式
- 普通用户列表、vip用户列表、svip用户列表 共用一个List
// type == 0 父:级可配置
// type == 2 :父级必然存在
// type == 1 :type==2的 子级(若有的必然存在,可通过name进行筛选)
List:[
	{
		id: 1,
		children:null,
		createTime: null,
		name: "par1",
		value: "父1",
		isDel: 0,
		sort: 1,
		type: 0,
	},
	{
		id: 2,
		children:null,
		createTime: null,
		name: "par2",
		value: "父2",
		isDel: 0,
		sort: 2,
		type: 0,
	},
	{
		id: 3,
		children:null,
		createTime: null,
		name: "par3",
		value: "父3",
		isDel: 0,
		sort: 3,
		type: 0,
	},
	{
		id: 4,
		children:null,
		createTime: null,
		name: "par4",
		value: "父4",
		isDel: 0,
		sort: 4,
		type: 0,
	},
	{
		id: 5,
		children:null,
		createTime: null,
		name: "par5",
		value: "父5",
		isDel: 0,
		sort: 5,
		type: 0,
	},
	{
		id: 6,
		children:[
			{
				id: 7,
				children:null,
				createTime: null,
				name: "child1",
				value: "子1",
				isDel: 0,
				sort: 1,
				type: 1,
			},
			{
				id: 8,
				children:null,
				createTime: null,
				name: "child2",
				value: "子2",
				isDel: 0,
				sort: 2,
				type: 1,
			},
			{
				id: 9,
				children:null,
				createTime: null,
				name: "child3",
				value: "子3",
				isDel: 0,
				sort: 3,
				type: 1,
			},
			{
				id: 10,
				children:null,
				createTime: null,
				name: "child4",
				value: "子4",
				isDel: 0,
				sort: 4,
				type: 1,
			},
			{
				id: 11,
				children:null,
				createTime: null,
				name: "child5",
				value: "子5",
				isDel: 0,
				sort: 5,
				type: 1,
			},
			{
				id: 12,
				children:null,
				createTime: null,
				name: "child6",
				value: "子6",
				isDel: 0,
				sort: 6,
				type: 1,
			},
			{
				id: 13,
				children:null,
				createTime: null,
				name: "child7",
				value: "子7",
				isDel: 0,
				sort: 7,
				type: 1,
			},
		],
		createTime: null,
		name: "par6",
		value: "父6",
		isDel: 0,
		sort: 6,
		type: 2,
	},
]
- 思路:调用接口获取List,将同一个List 分别赋值给三个不同的数组。
三. 实现
- 数据获取并渲染 及 回显 功能
<template>
  <div>
    <el-form ref="detailRef" :model="form" :rules="rules" label-width="140px">
        <el-form-item label="普通用户" prop="ordinaryUser">
          <el-checkbox-group v-model="form.ordinaryUser">
            <el-checkbox v-for="item in ordinaryUser" v-show="item.type == 0" :key="item.id"
              class="check-box"
              :label="item.name"
              >{{ item.value }}</el-checkbox
            >
            <div>
              <el-checkbox v-for="item in ordinaryUser" v-show="item.type == 1" :key="item.id"
                class="check-box"
                :label="item.name"
                >{{ item.value }}</el-checkbox
              >
            </div>
          </el-checkbox-group>
        </el-form-item>
        <el-form-item label="VIP用户" prop="vipUser">
          <el-checkbox-group v-model="form.vipUser">
            <el-checkbox v-for="item in vipUser" v-show="item.type == 0" :key="item.id"
              class="check-box"
              :label="item.name"
              >{{ item.value }}</el-checkbox
            >
            <div>
              <el-checkbox v-for="item in vipUser" v-show="item.type == 1" :key="item.id"
                class="check-box"
                :label="item.name"
                >{{ item.value }}</el-checkbox
              >
            </div>
          </el-checkbox-group>
        </el-form-item>
        <el-form-item label="SVIP用户" prop="svipUser">
          <el-checkbox-group v-model="form.svipUser">
            <el-checkbox v-for="item in svipUser" v-show="item.type == 0" :key="item.id"
              class="check-box"
              :label="item.name"
              >{{ item.value }}</el-checkbox
            >
            <div>
              <el-checkbox v-for="item in vipUser" v-show="item.type == 1" :key="item.id"
                class="check-box"
                :label="item.name"
                >{{ item.value }}</el-checkbox
              >
            </div>
          </el-checkbox-group>
        </el-form-item>
    </el-form>
    <div>
      <el-button @click="handleClick">取 消</el-button>
      <el-button type="primary" @click="submitForm">确 认</el-button>
    </div>
  </div>
</template>
<script setup name="ManageMenu">
import { getList,update } from '@/api/xxx/xxx'
import { getConfigList } from '@/api/xxx/xxxConfig'
import { reactive } from '@vue/reactivity'
import { ref } from 'vue'

const { proxy } = getCurrentInstance()

const route = useRoute()
const configId = route.params.id //  通过路由获取到 配置id

const ordinaryUser = ref([]) // 普通用户
const vipUser = ref([]) // vip用户
const svipUser = ref([]) // svip用户
const selectStartLevel = reactive([]) // 当前选中项
const allStartLevel = ref([]) // 全部数据

const selectOrdinaryUser = ref([]) // 当前选中的普通用户可见项
const selectVipUser = ref([]) // 当前选中的vip用户可见项
const selectSVipUser = ref([]) // 当前选中的svip用户可见

const data = reactive({
  form: {},
  rules: {
    ordinaryUser: [{ type: 'array', required: true, message: '必填', trigger: ['blur'] }],
    vipUser: [{ type: 'array', required: true, message: '必填', trigger: ['blur'] }],
    svipUser: [{ type: 'array', required: true, message: '必填', trigger: ['blur'] }]
  }
})

// 重置表单
const reset = () => {
  form.value = {
    id: null,
    ordinaryUser: [],
    vipUser: [],
    svipUser: [],
    List: [] // 给后端传/回显数据的数组
  }
  proxy.resetForm('detailRef')
}

/**
 * 初始化列表数据
 */
onMounted(() => {
  reset()
  getCList()
  // 数据回显
  if (configId != null) {
   getActivityManageListDetails ({ configId: Number(configId) }).then(res => {
      if (res.code === 200) {
        form.value = res.data
        form.value.ordinaryUser = form.value.List
          .filter(item => item.rankConfig === 3 && item.configFlag === 1)
          .map(item => item.name)
        form.value.vipUser = form.value.List
          .filter(item => item.rankConfig === 2 && item.configFlag === 1)
          .map(item => item.name)
        form.value.svipUser = form.value.List
          .filter(item => item.rankConfig === 1 && item.configFlag === 1)
          .map(item => item.name)
      }
    })
  }
})

/**
 * 扁平化配置项数据
 */
const getCList = () => {
   // 获取配置项 并并扁平化,同时设置等级
  getConfigList().then(res => {
  	// res.data 数据格式就是 上述List
    ordinaryUser.value = treeToArray(res.data, 3) // 三级
    vipUser.value = treeToArray(res.data, 2) // 二级
    svipUser.value = treeToArray(res.data, 1) // 一级
    // 将扁平化的数据,整理放到一个数组中
    allStartLevel.value = [...ordinaryUser.value, ...vipUser.value, ...svipUser.value]
    // 过滤到type != 2 的数据 type=2,这一项因为需求在代码中写死了,时时刻刻存在所以要筛查掉
    allStartLevel.value = allStartLevel.value.filter(item => item.type !== 2)
  })
}

/**
 * 点击确定
 */
const submitForm = () => {
  selectOrdinaryUser.value = form.value.ordinaryUser.map(item => ({ rankConfig: 3, dictEnglishName: item }))
  selectVipUser.value = form.value.vipUser.map(item => ({ rankConfig: 2, dictEnglishName: item }))
  selectSVipUser.value = form.value.svipUser.map(item => ({ rankConfig: 1, dictEnglishName: item }))
  // 当前选中项
  selectStartLevel.value = [...selectOrdinaryUser.value, ...selectVipUser.value, ...selectSVipUser.value]
  // 设置选中项对应的星级 是否选中
  allStartLevel.value.forEach(item => {
    item.configId = item.id
    selectStartLevel.value.forEach(val => {
      if (item.rankConfig === val.rankConfig && item.name === val.name) {
        item.configFlag = 1
      }
    })
  })
  // 设置级别权限
 form.value.List = allStartLevel.value
  proxy.$refs['detailRef'].validate(valid => {
    if (valid) {
      console.log(...form.value, '校验成功了吗');
      if (configId != null) {
         update({ id: Number(configId), ...form.value }).then(res => {
           if (res.code === 200) {
             proxy.$modal.msgSuccess('编辑成功')
             handleClick()
             reset()
           }
         })
       } else{
         update({ id: 0, ...form.value }).then(res => {
           if (res.code === 200) {
             proxy.$modal.msgSuccess('新增成功')
             handleClick()
             reset()
           }
         })
       }
    }
  })
}

/**
 * 弹窗取消
 */
const handleClick = async () => {
  console.log('弹窗取消')
}

/**
 * 数组扁平化(reduce)
 */
const treeToArray = (tree, rankConfig) => {
  return tree.reduce((res, item) => {
    const { children, ...i } = item
    i.rankConfig = rankConfig
    i.configFlag = 0
    return res.concat(i, children && children.length ? treeToArray(children, rankConfig) : [])
  }, [])
}
</script>

<style scoped>
.check-box{
  width:90px
}
</style>
- 权限的应用(此处只处理父级)
<template>
   <el-tabs v-model="activeName" type="card" style="max-width: 100%" @tab-change="handleClick">
      <el-tab-pane v-for="item in leftData" :key="item.id" :label="item.value" :name="item.name">
         <component :is="allLeftCompontents[item.name]" :dataDetail="dataDetail"></component>
      </el-tab-pane>
   </el-tabs>
</template>
<script setup>
import Parent1 from '@/views/xxx/parent1'
import Parent2 from '@/views/xxx/parent2'
import Parent3 from '@/views/xxx/parent3'
import Parent4 from '@/views/xxx/parent4'
import Parent5 from '@/views/xxx/parent5'
import Parent6 from '@/views/xxx/parent6'
import { getApplyDetail } from "@/api/xxx"
import { getConfigListByConfigId } from "@/api/xxx"


const route = useRoute()
const id = route.params.id // 路由 获取id
const leftData = ref([]) // 配置数据项
const currentTab = ref('') // 当前选中tab项
const activeName = ref('') // 当前选中tab的名称
const dataDetail = reactive({}) // 获取详情

const allLeftCompontents = {
  par1: markRaw(Parent1),
  par2: markRaw(Parent2),
  par3: markRaw(Parent3),
  par4: markRaw(Parent4),
  par5: markRaw(Parent5),
  par6: markRaw(Parent6)
}

onMounted(() => {
  // 获取详情
  getApplyDetail({ id: id }).then(res => {
    if (res.code === 200) {
    	dataDetail.configId = res.data.configId
    	dataDetail.level = res.data.level
        // 获取等级权限
        getSatReviewConfigList()
    }
  })
})

/**
 * 获取配置项
 */
const getSatReviewConfigList = () => {
   getConfigListByConfigId({configId:dataDetail.configId , rankConfig: dataDetail.level}).then(result => {
          leftData.value = result.data
          // 初始加载第一个tab
          activeName.value = leftData.value[0].name
          handleClick(activeName.value)
      })
}

/**
 * 点击切换标签项
 */
const handleClick = (val) => {
  currentTab.value = val
}
</script>
