文章目录
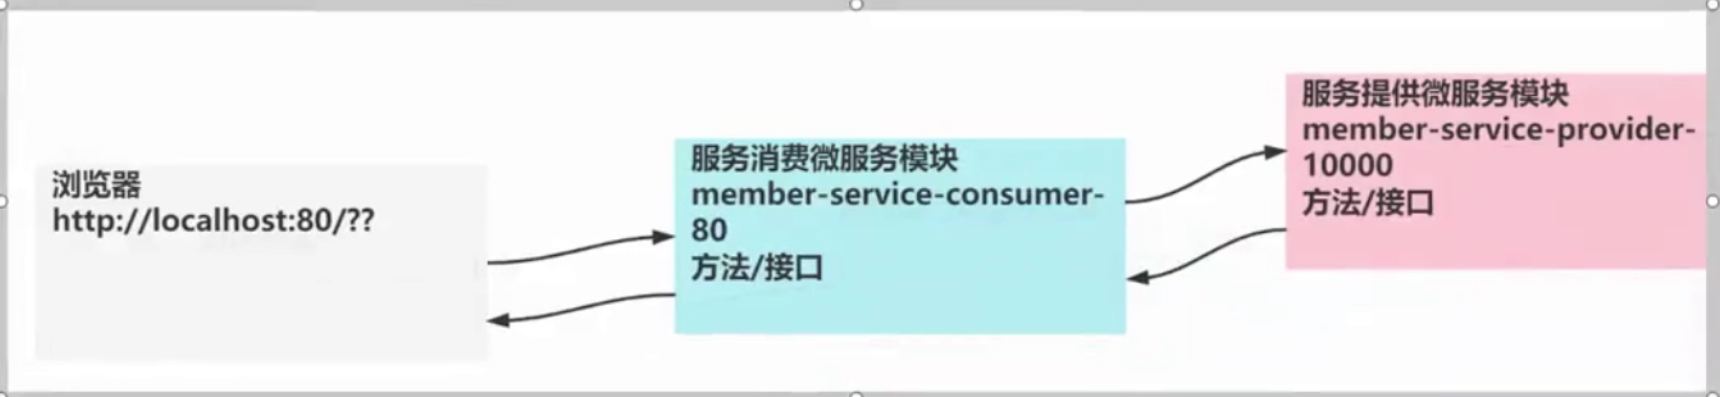
- 1.示意图
- 2.环境搭建
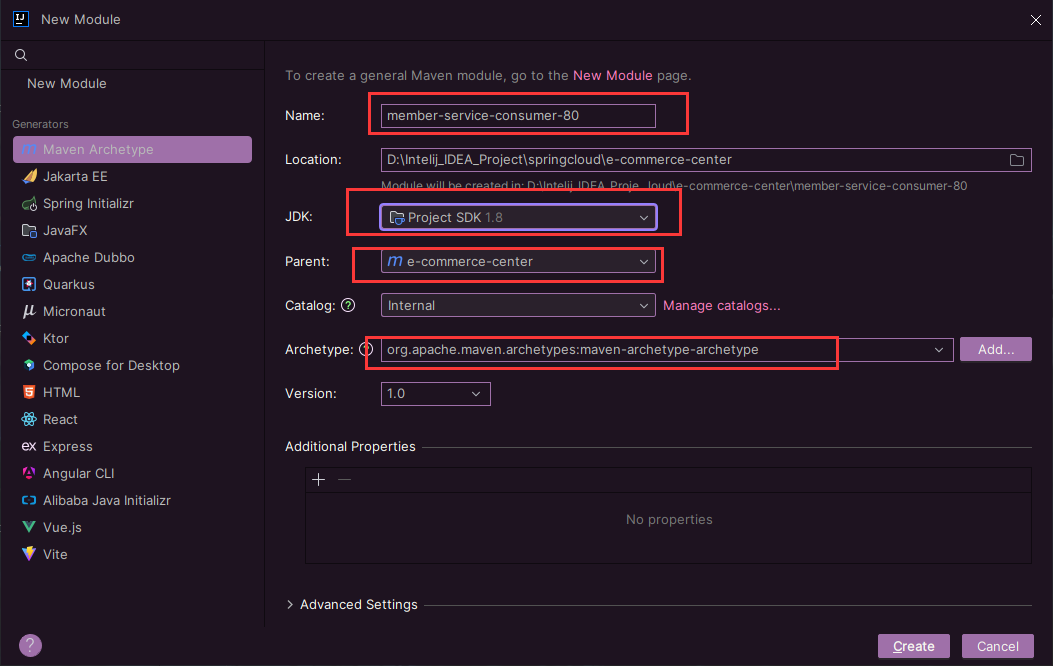
- 1.创建会员消费微服务模块
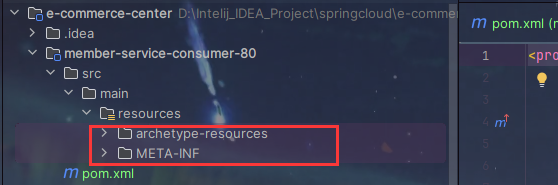
- 2.删除不必要的两个文件
- 3.检查父子模块的pom.xml文件
-
- 4.pom.xml 添加依赖(刷新)
- 5.application.yml 配置监听端口和服务名
- 6.com/sun/springcloud/MemberConsumerApplication.java 创建启动类测试
- 7.测试执行
- 1.发现80端口被占用
- 2.打开命令行输入 netstat -anb 查看是谁占用了80端口
- 3.只能更换端口,使用 netstat -aon | findstr :81 来查看81端口被没被占用
- 4.application.yml 更换端口和名字为81
- 5.再次测试运行,成功在81端口监听
- 6.浏览器请求测试
- 7.更换项目名称为81(这样直接就知道这个服务在81端口监听)
- 8.细节说明
- 1.如果报错说数据库有问题,可能就是在pom.xml中保留了mybatis的依赖
- 2.解决方案:启动类排除数据源自动配置
- 3.代码实现
- 1.com/sun/springcloud/entity/Member.java 创建entity与会员中心模块保持一致
- 2.com/sun/springcloud/util/Result.java 创建Result工具类
- 3.RestTemplate 基本介绍
- 4.com/sun/springcloud/config/CustomizationBean.java 配置类注入RestTemplate的bean对象
- 5.com/sun/springcloud/controller/MemberConsumerController.java 作为会员中心微服务 save接口的中转站
- 6.启动两个微服务进行测试
- 1.首先启动会员中心微服务
- 2.启动服务消费微服务
- 3.postman测试
- 4.数据库信息
- 7.注意事项
- 1.RestTemplate发送请求的细节
- 2.entity实体类需要实现Serializable接口实现可序列化
- 3.在这个案例中
- 8.com/sun/springcloud/controller/MemberConsumerController.java 新增方法
- 9.postman测试
- 10.注意事项和细节
- 1.开启Run Dashboard/Service
- 1.打开 .idea/workspace.xml
- 2.粘贴配置代码到这里
- 3.配置代码
- 4.重启项目
- 5.查看Services
- 6.可以在这启动项目
- 7.启动之后的效果
- 2.关于微服务的细节
-
- 4.创建一个共用模块
- 1.创建公共模块 e_commerce_center-common-api
- 2.检查父子的pom.xml
-
- 3.pom.xml 引入依赖(刷新)
- 4.抽取共用api
- 5.maven打成jar包
- 6.target目录生成jar包
- 7.package和install的区别(部署项目的时候打包使用package)
- 8.工程重构
- 1.删除两个模块的Member和Result类,此时会报错
- 2.两个模块的pom.xml都引入刚才的jar包
- 1.查找公共模块jar包的坐标
- 2.pom.xml分别引入jar包
- 3.重启两个模块进行测试
-
1.示意图
2.环境搭建
1.创建会员消费微服务模块
2.删除不必要的两个文件
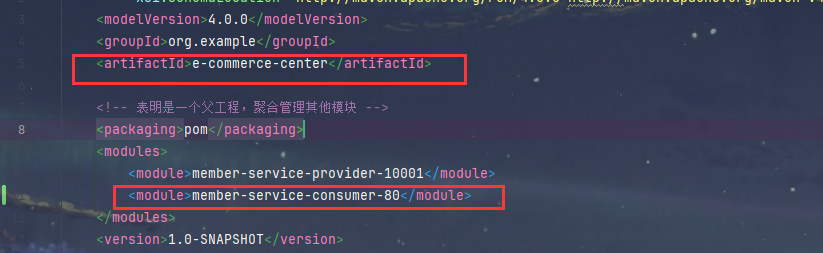
3.检查父子模块的pom.xml文件
1.子模块
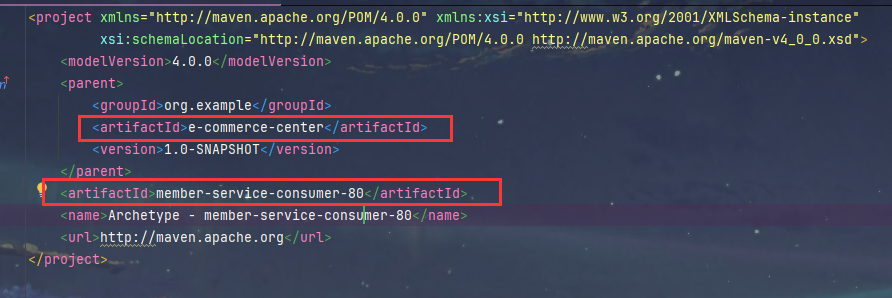
2.父模块
4.pom.xml 添加依赖(刷新)
<dependencies>
<dependency>
<groupId>org.springframework.boot</groupId>
<artifactId>spring-boot-starter-web</artifactId>
</dependency>
<dependency>
<groupId>org.springframework.boot</groupId>
<artifactId>spring-boot-starter-actuator</artifactId>
</dependency>
<dependency>
<groupId>org.projectlombok</groupId>
<artifactId>lombok</artifactId>
<optional>true</optional>
</dependency>
<dependency>
<groupId>org.springframework.boot</groupId>
<artifactId>spring-boot-starter-test</artifactId>
<scope>test</scope>
</dependency>
</dependencies>
5.application.yml 配置监听端口和服务名
server:
port: 80
spring:
application:
name: member-service-consumer-80
6.com/sun/springcloud/MemberConsumerApplication.java 创建启动类测试
package com.sun.springcloud;
import org.springframework.boot.SpringApplication;
import org.springframework.boot.autoconfigure.SpringBootApplication;
@SpringBootApplication
public class MemberConsumerApplication {
public static void main(String[] args) {
SpringApplication.run(MemberConsumerApplication.class, args);
}
}
7.测试执行
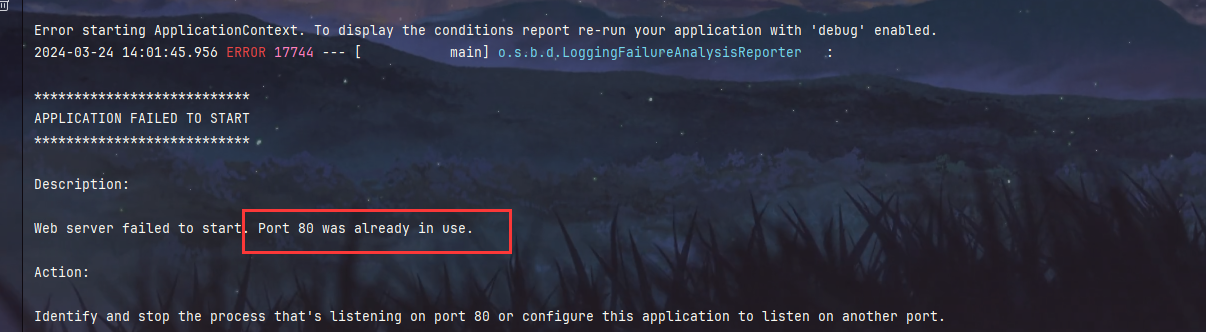
1.发现80端口被占用
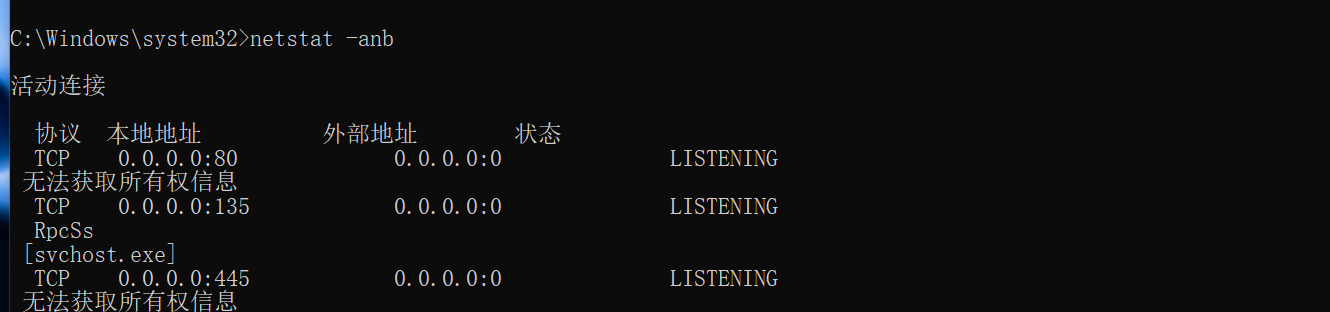
2.打开命令行输入 netstat -anb 查看是谁占用了80端口
3.只能更换端口,使用 netstat -aon | findstr :81 来查看81端口被没被占用

4.application.yml 更换端口和名字为81
server:
port: 81
spring:
application:
name: member-service-consumer-81
5.再次测试运行,成功在81端口监听

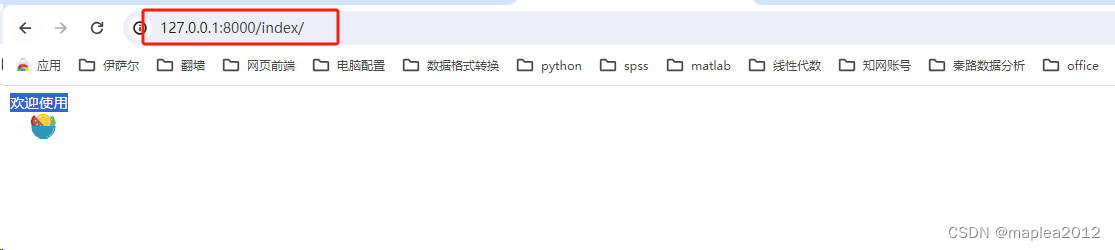
6.浏览器请求测试
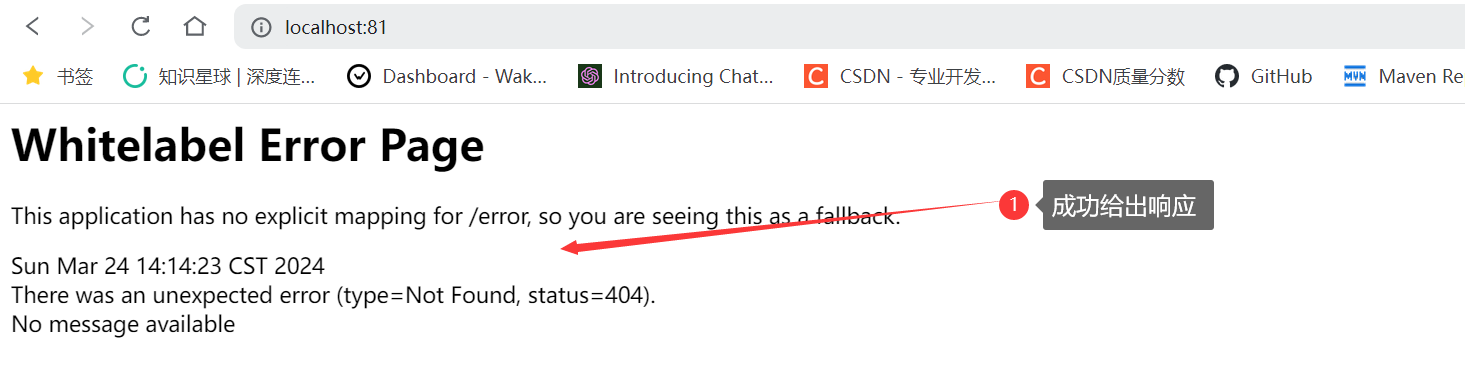
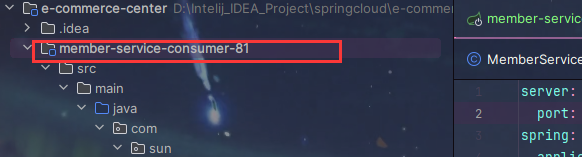
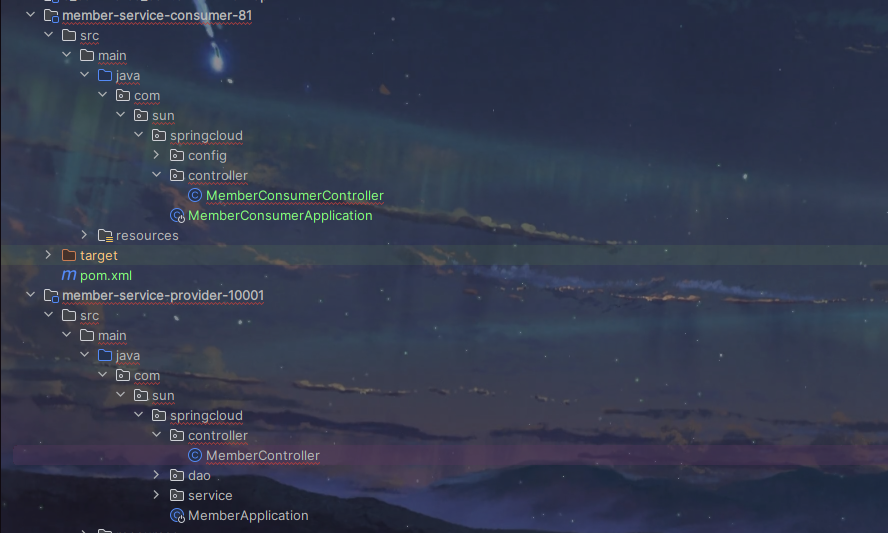
7.更换项目名称为81(这样直接就知道这个服务在81端口监听)
8.细节说明
1.如果报错说数据库有问题,可能就是在pom.xml中保留了mybatis的依赖

2.解决方案:启动类排除数据源自动配置

3.代码实现
1.com/sun/springcloud/entity/Member.java 创建entity与会员中心模块保持一致
- 因为需要使用这个实体类来接收信息,然后调用会员中心模块
package com.sun.springcloud.entity;
import lombok.AllArgsConstructor;
import lombok.Data;
import lombok.NoArgsConstructor;
import java.io.Serializable;
@AllArgsConstructor
@NoArgsConstructor
@Data
public class Member implements Serializable {
private Long id;
private String name;
private String pwd;
private String mobile;
private String email;
private Integer gender;
}
2.com/sun/springcloud/util/Result.java 创建Result工具类
package com.sun.springcloud.util;
public class Result<T> {
private String code;
private String msg;
private T data;
public String getCode() {
return code;
}
public void setCode(String code) {
this.code = code;
}
public String getMsg() {
return msg;
}
public void setMsg(String msg) {
this.msg = msg;
}
public T getData() {
return data;
}
public void setData(T data) {
this.data = data;
}
public Result() {
}
public Result(T data) {
this.data = data;
}
public static Result success() {
Result result = new Result<>();
result.setCode("200");
result.setMsg("success");
return result;
}
public static <T> Result<T> success(T data) {
Result<T> result = new Result<>(data);
result.setCode("200");
result.setMsg("success");
return result;
}
public static <T> Result<T> success(String msg, T data) {
Result<T> result = new Result<>(data);
result.setCode("200");
result.setMsg(msg);
return result;
}
public static Result error(String code, String msg) {
Result result = new Result();
result.setCode(code);
result.setMsg(msg);
return result;
}
public static <T> Result<T> error(String code, String msg, T data) {
Result<T> result = new Result<>(data);
result.setCode(code);
result.setMsg(msg);
return result;
}
}
3.RestTemplate 基本介绍

4.com/sun/springcloud/config/CustomizationBean.java 配置类注入RestTemplate的bean对象
package com.sun.springcloud.config;
import org.springframework.context.annotation.Bean;
import org.springframework.context.annotation.Configuration;
import org.springframework.web.client.RestTemplate;
@Configuration
public class CustomizationBean {
@Bean
public RestTemplate restTemplate() {
return new RestTemplate();
}
}
5.com/sun/springcloud/controller/MemberConsumerController.java 作为会员中心微服务 save接口的中转站
package com.sun.springcloud.controller;
import com.sun.springcloud.entity.Member;
import com.sun.springcloud.util.Result;
import org.springframework.web.bind.annotation.PostMapping;
import org.springframework.web.bind.annotation.RestController;
import org.springframework.web.client.RestTemplate;
import javax.annotation.Resource;
@RestController
public class MemberConsumerController {
public static final String MEMBER_SERVICE_PROVIDER_URL = "http://localhost:10001";
@Resource
private RestTemplate restTemplate;
@PostMapping("/member/consumer/save")
public Result save(Member member) {
return restTemplate.postForObject(MEMBER_SERVICE_PROVIDER_URL + "/member/save", member, Result.class);
}
}
6.启动两个微服务进行测试
1.首先启动会员中心微服务

2.启动服务消费微服务

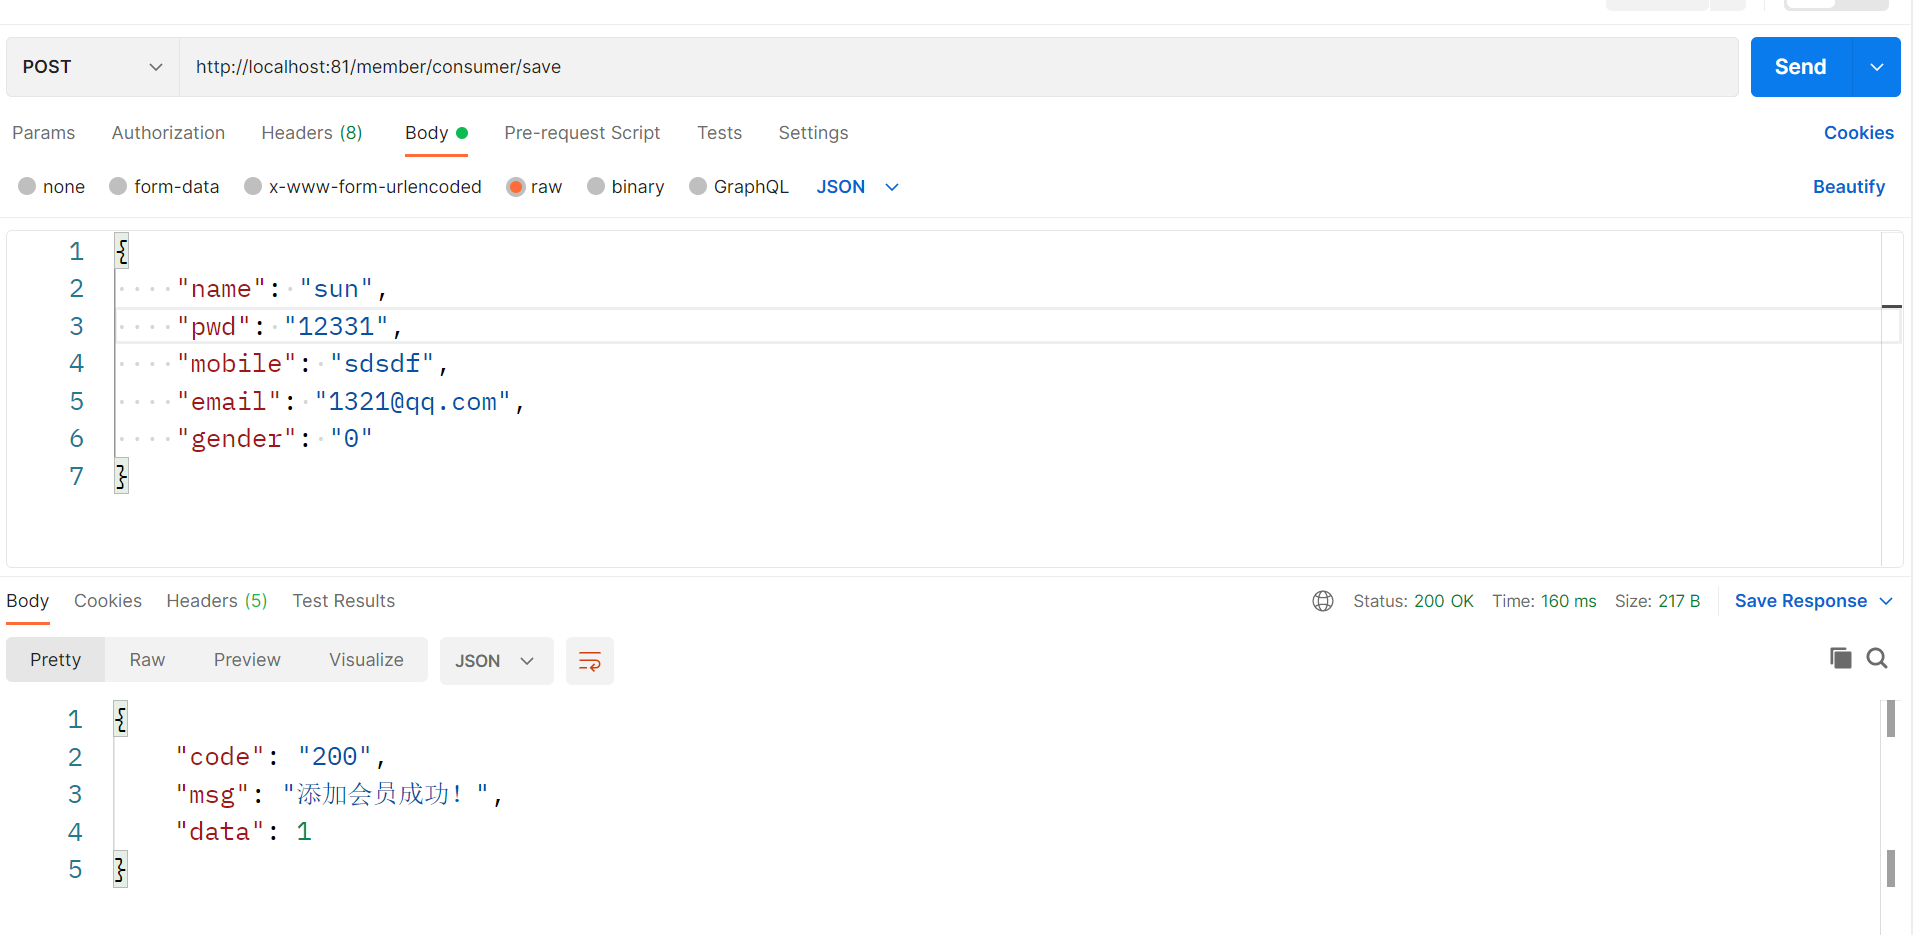
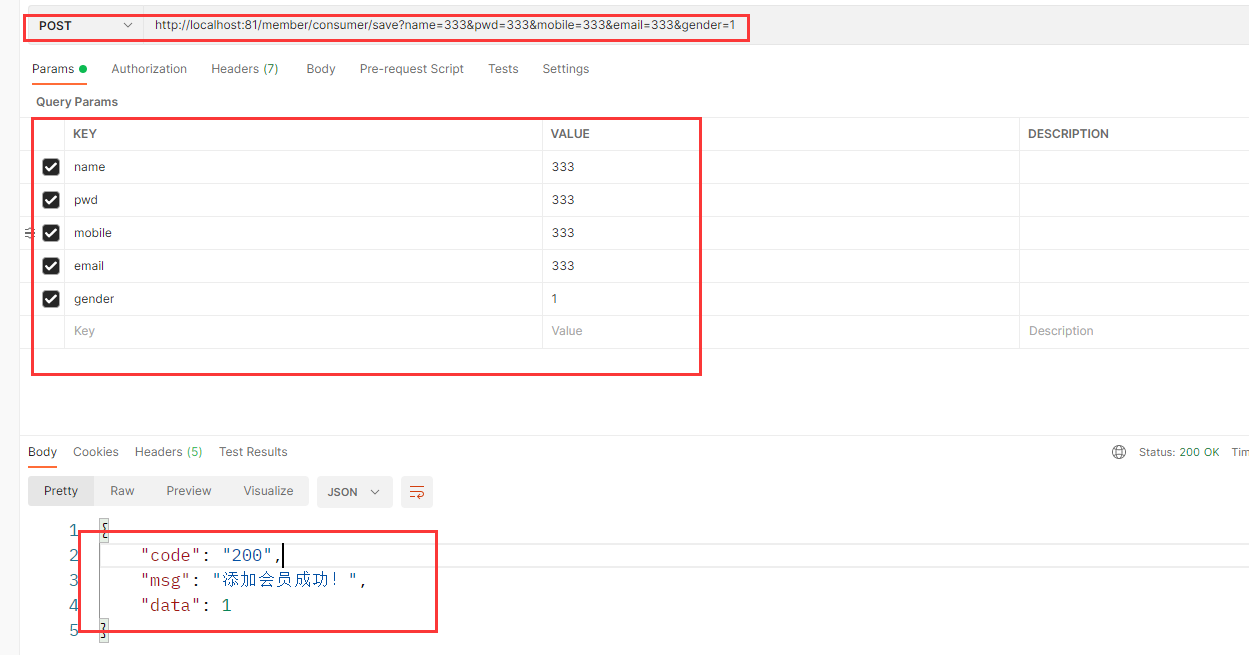
3.postman测试
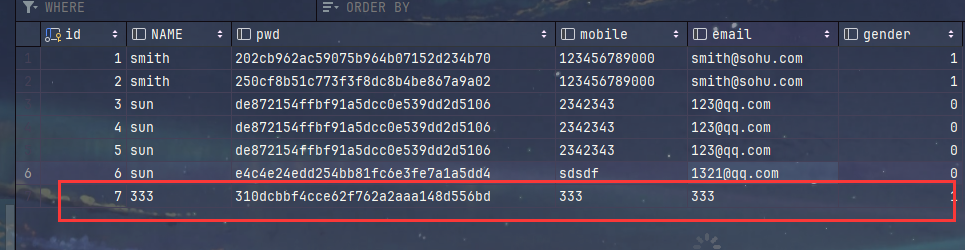
4.数据库信息
7.注意事项
1.RestTemplate发送请求的细节
- 通过RestTemplate发送请求携带的参数会自动转换为json格式的数据
- 所以在接受RestTemplate的参数中必须要加@RequestBody注解
2.entity实体类需要实现Serializable接口实现可序列化
- 原因是使用RestTemplate传递参数时可能需要序列化
3.在这个案例中
- 参数并没有@RequestBody注解,所以需要通过表单传入数据
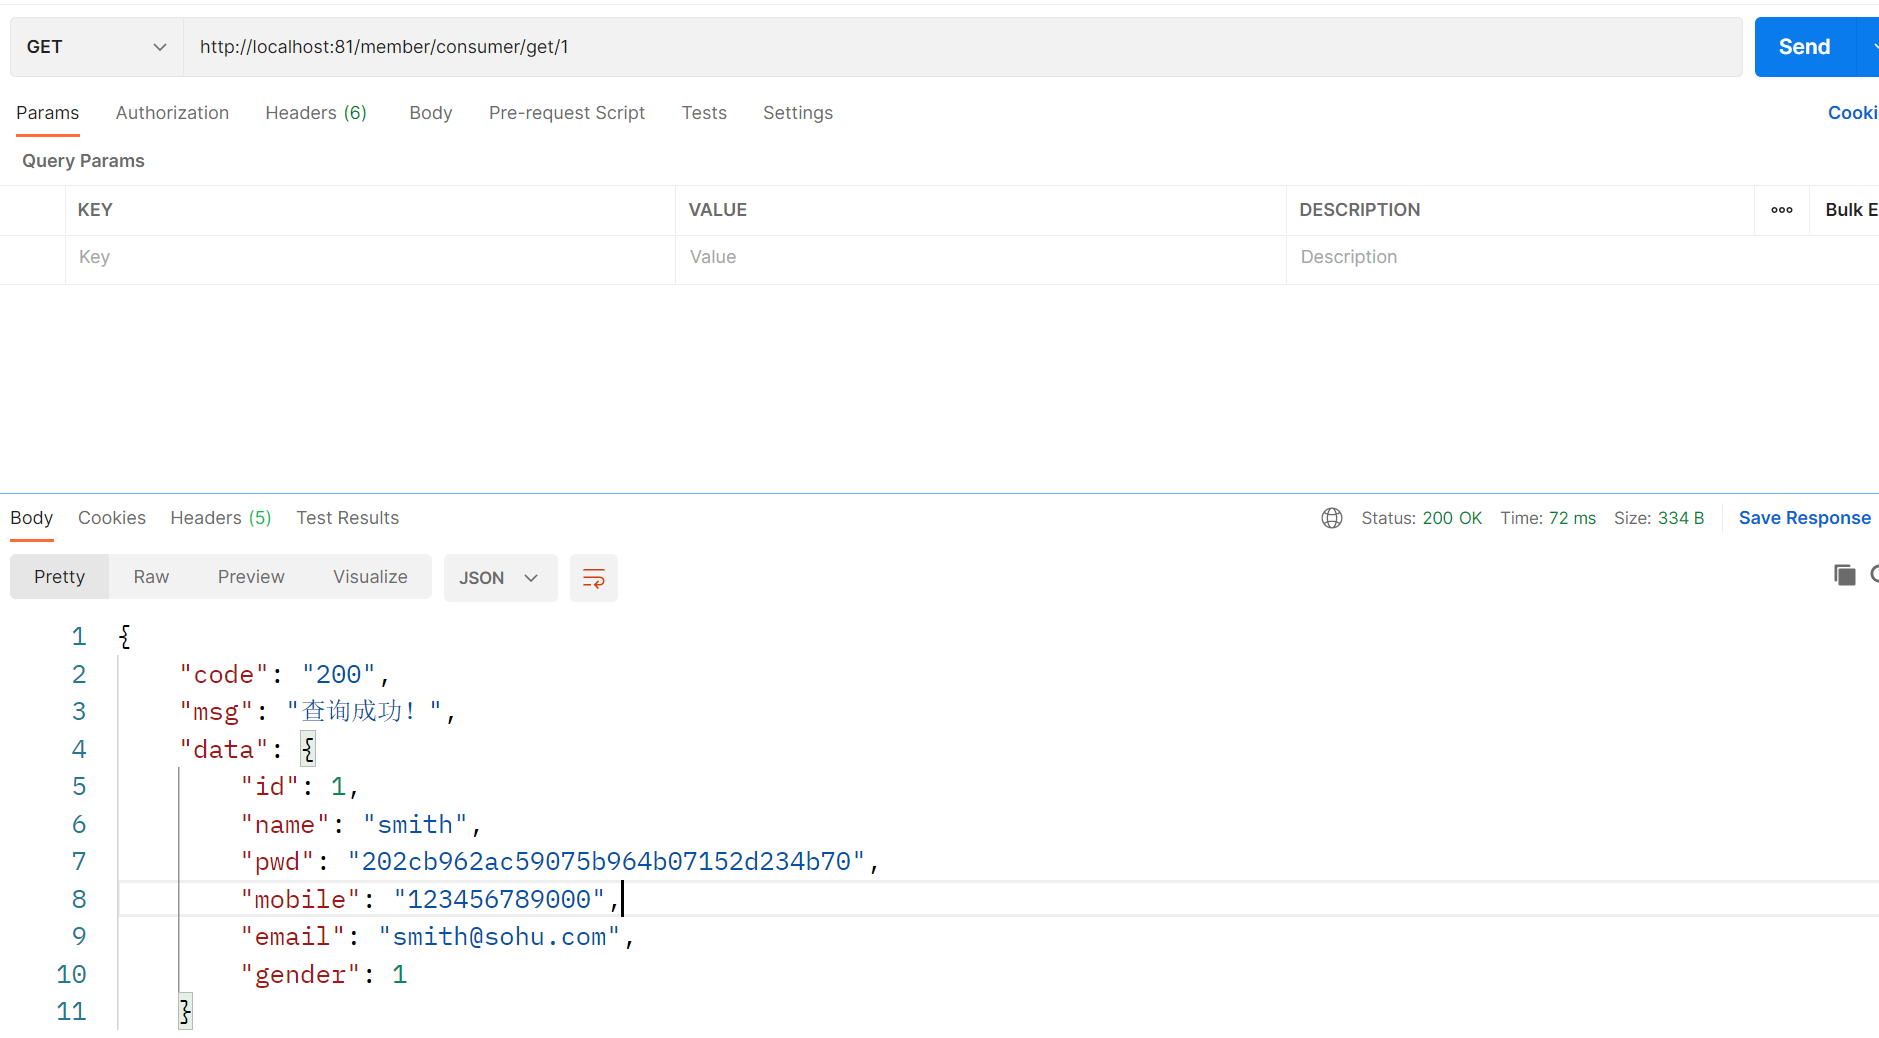
8.com/sun/springcloud/controller/MemberConsumerController.java 新增方法
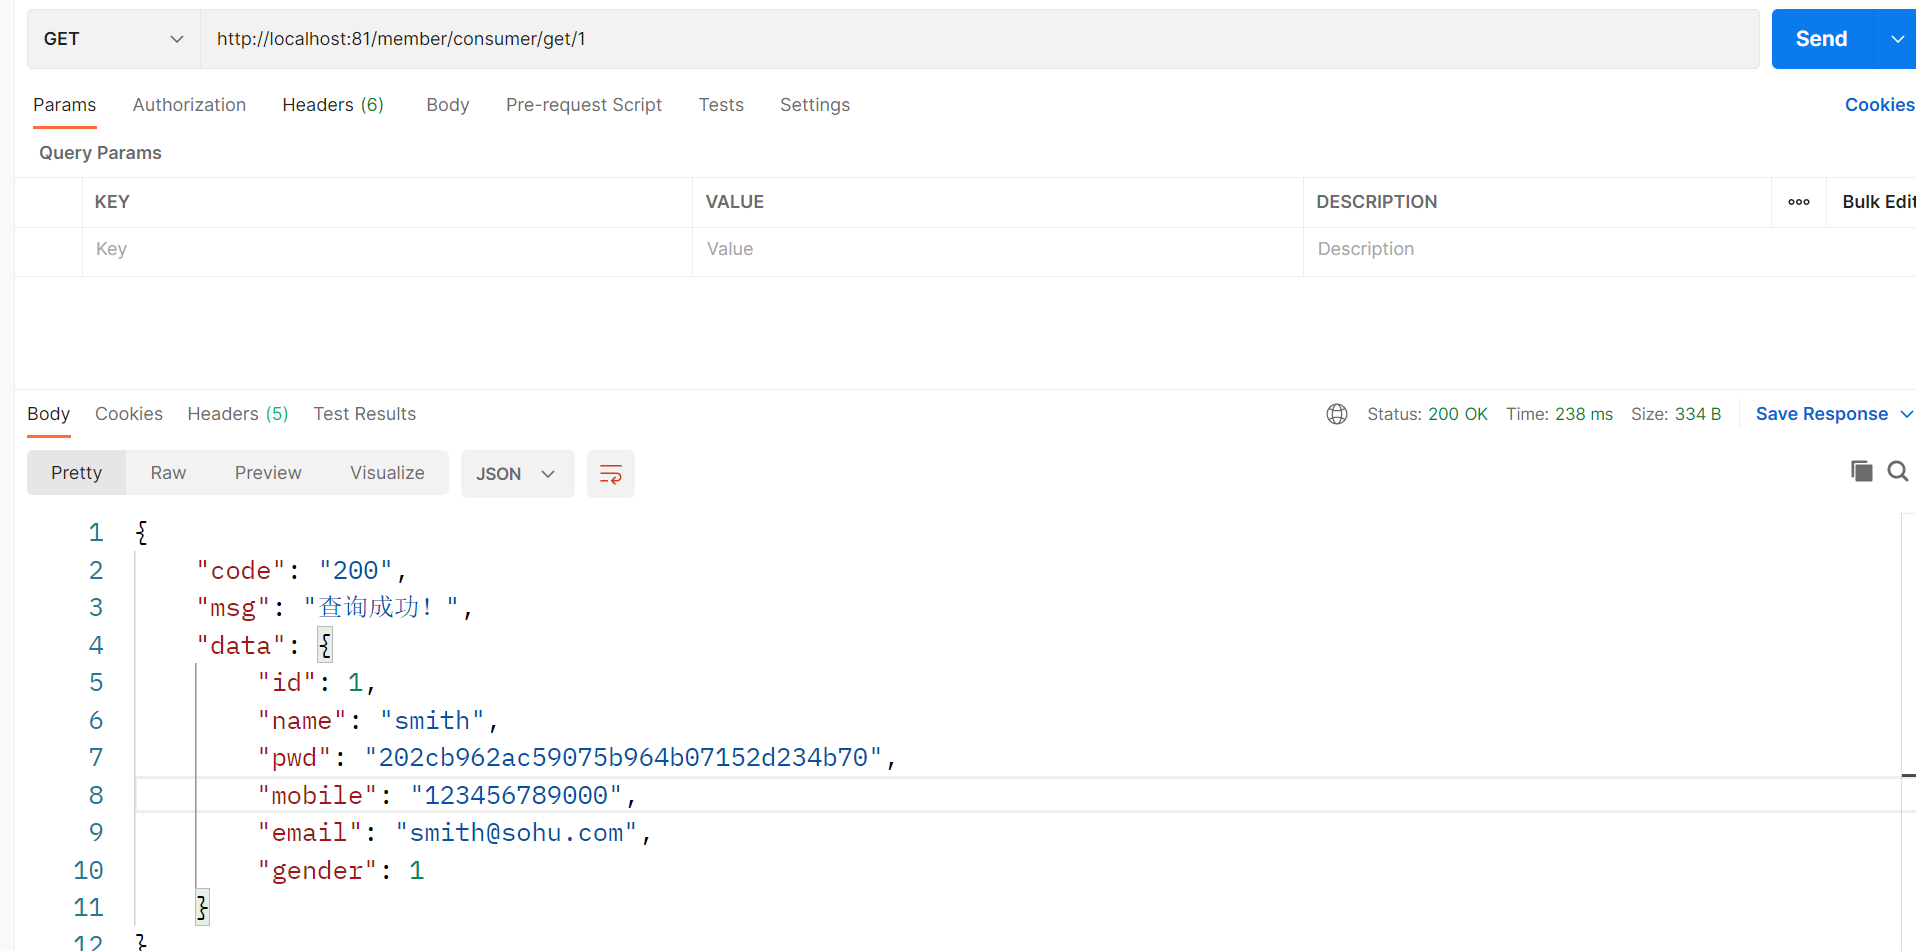
@GetMapping("/member/consumer/get/{id}")
public Result getMemberById(@PathVariable("id") Long id) {
return restTemplate.getForObject(MEMBER_SERVICE_PROVIDER_URL + "/member/get/" + id, Result.class);
}
9.postman测试
10.注意事项和细节
1.开启Run Dashboard/Service
1.打开 .idea/workspace.xml
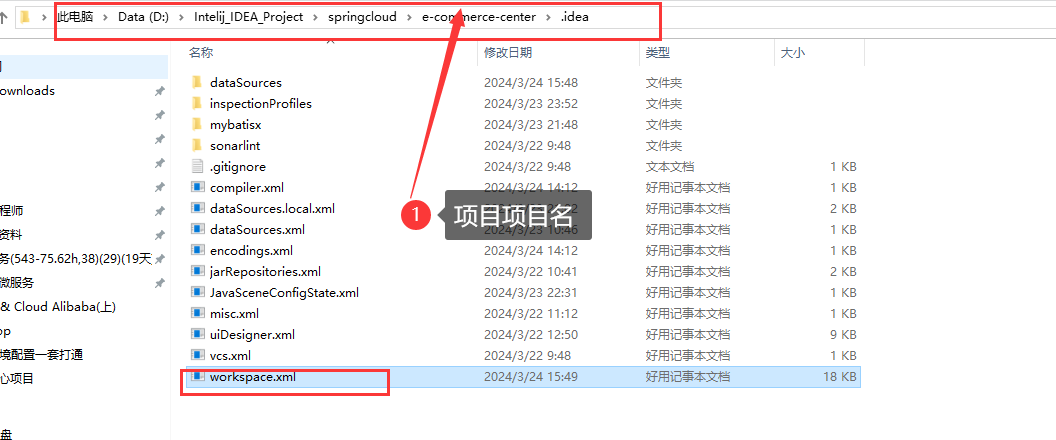
2.粘贴配置代码到这里

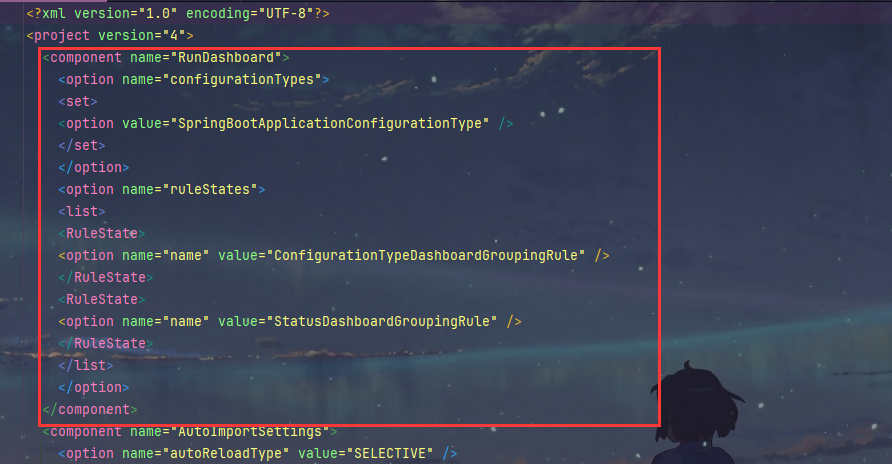
3.配置代码
  <component name="RunDashboard">
    <option name="configurationTypes">
    <set>
    <option value="SpringBootApplicationConfigurationType" />
    </set>
    </option>
    <option name="ruleStates">
    <list>
    <RuleState>
    <option name="name" value="ConfigurationTypeDashboardGroupingRule" />
    </RuleState>
    <RuleState>
    <option name="name" value="StatusDashboardGroupingRule" />
    </RuleState>
    </list>
    </option>
  </component>
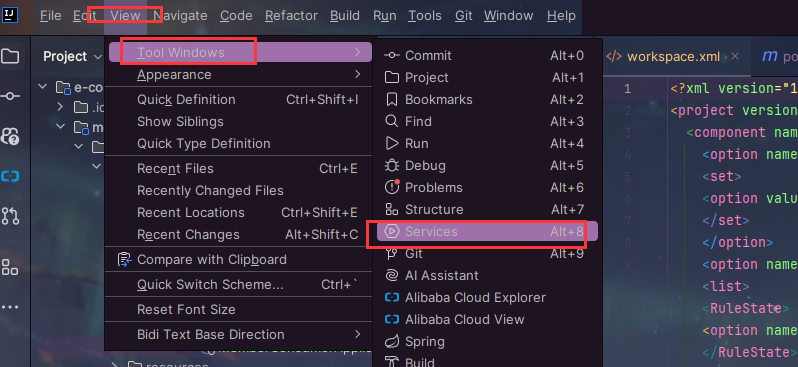
4.重启项目
5.查看Services
6.可以在这启动项目
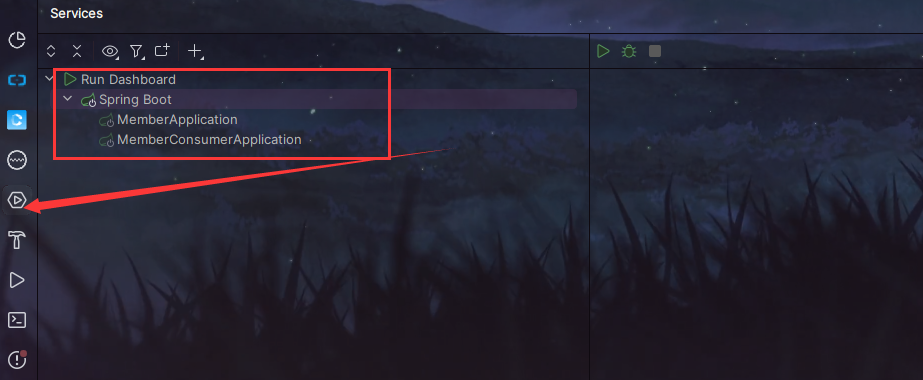
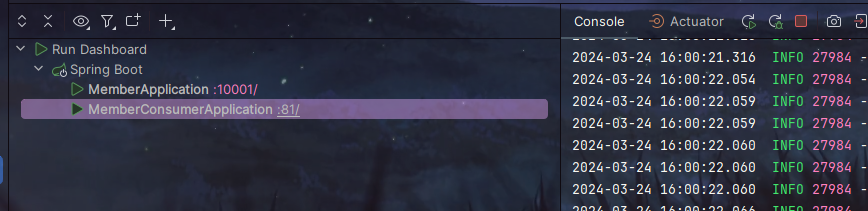
7.启动之后的效果
2.关于微服务的细节
1.对微服务的理解
- 一个ip+端口就是一个微服务
- 访问微服务的方式是ip + 端口 + 上下文路径(可以是根目录)+ 资源路径
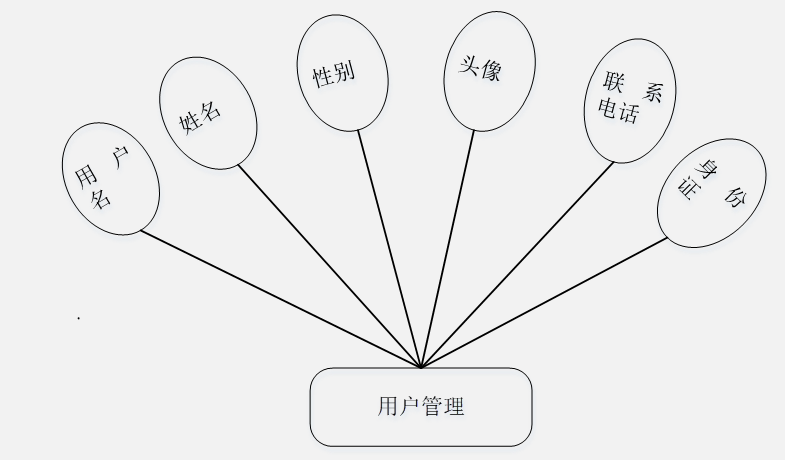
2.每个微服务接口的组成
4.创建一个共用模块
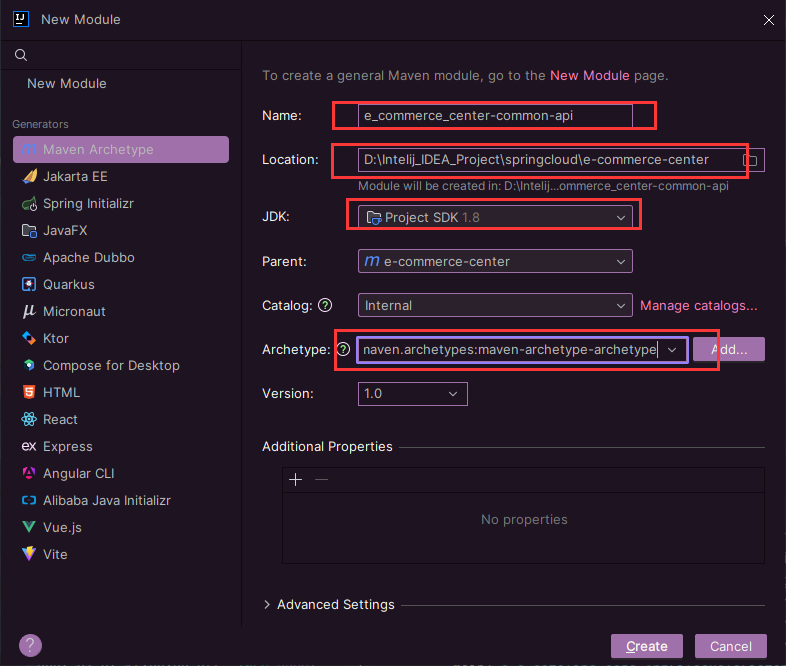
1.创建公共模块 e_commerce_center-common-api
2.检查父子的pom.xml
1.子pom.xml
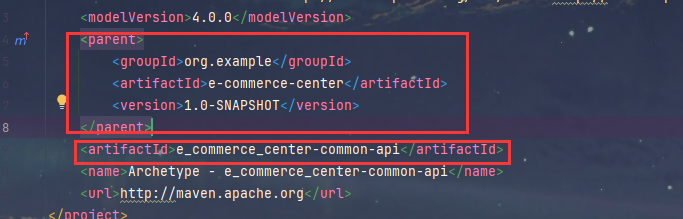
2.父pom.xml
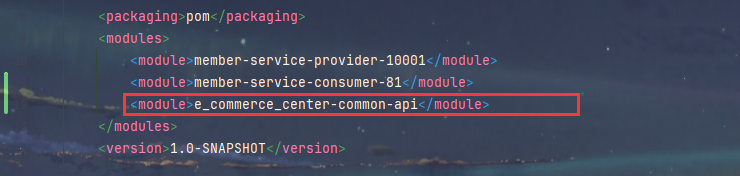
3.pom.xml 引入依赖(刷新)
<dependencies>
<dependency>
<groupId>org.projectlombok</groupId>
<artifactId>lombok</artifactId>
<optional>true</optional>
</dependency>
</dependencies>
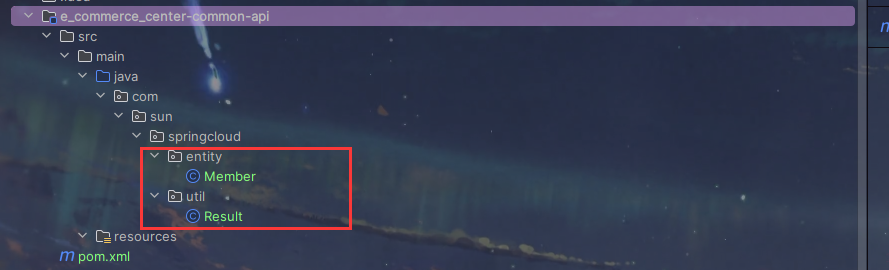
4.抽取共用api
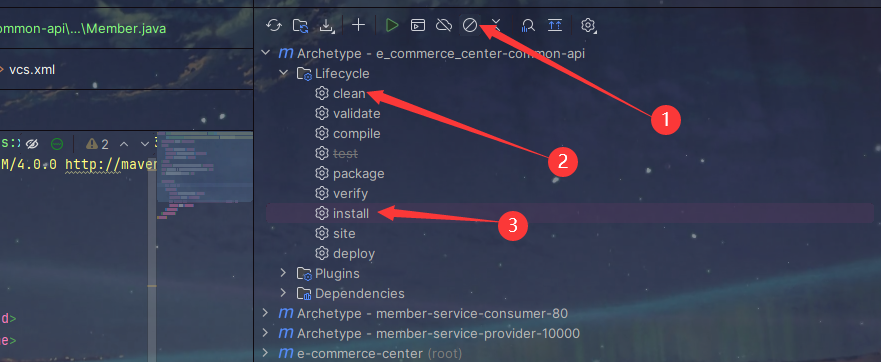
5.maven打成jar包
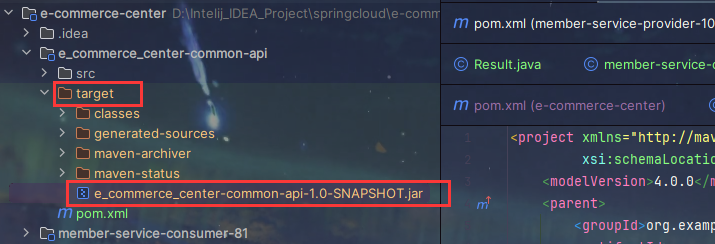
6.target目录生成jar包
7.package和install的区别(部署项目的时候打包使用package)
package命令主要用于项目的编译和打包,但不会将产物安装到本地仓库,主要用于构建过程的测试和验证。install命令在执行package的基础上,进一步将打包后的文件安装到本地Maven仓库,便于其他项目的依赖引用。
8.工程重构
1.删除两个模块的Member和Result类,此时会报错
2.两个模块的pom.xml都引入刚才的jar包
1.查找公共模块jar包的坐标
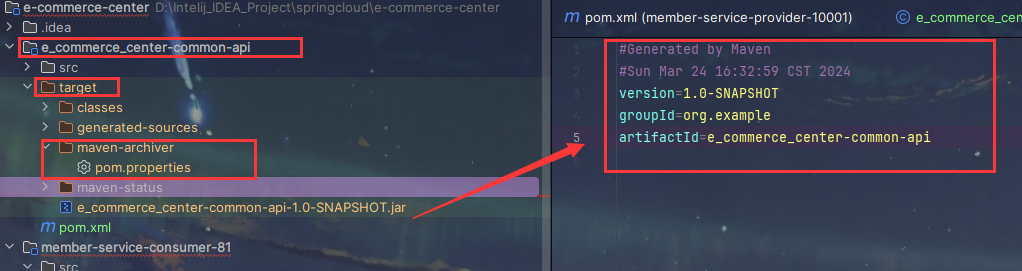
2.pom.xml分别引入jar包
<dependency>
<groupId>org.example</groupId>
<artifactId>e_commerce_center-common-api</artifactId>
<version>1.0-SNAPSHOT</version>
</dependency>
3.重启两个模块进行测试
1.重启

2.测试