目录
第一章 微服务架构图
第二章 Spring Cloud整合Nacos集群
第三章 Spring Cloud GateWay
第四章 Spring Cloud Alibaba 整合Sentinel
第五章 Spring Cloud Alibaba 整合SkyWalking链路跟踪
第六章 Spring Cloud Alibaba 整合Seata分布式事务
第七章 Spring Cloud 集成Auth用户中心
第八章 Spring Cloud 集成ELK日志收集
第九章 Spring Cloud 集成Mysql数据库
第十章 Spring Cloud 集成Redis缓存
第十一章 Spring Cloud 集成MQ消息队列
第十二章 Spring Cloud 集成OSS文件服务
文章目录
- 目录
- 前言
- 步骤
- 集成Spring Cloud GateWay
- 引入相关maven依赖
- 添加相关配置
- 整合nacos
- 引入相关maven依赖
- 添加相关配置
- 整合knife4j
- 引入相关maven依赖
- 添加相关配置
- 整合springBootAdmin
- 引入相关maven依赖
- 添加相关配置
- 总结
前言
在数字化时代,微服务架构已成为企业构建复杂、可扩展和灵活应用程序的首选方案。随着微服务数量的不断增加,如何有效地管理和协调这些服务之间的通信变得至关重要。在这个背景下,API网关作为微服务架构的关键组件,承担着统一接入点、安全控制、流量管理和监控等重任。
Spring Cloud Gateway,作为Spring Cloud生态系统的一部分,提供了一个功能强大且灵活的API网关实现。它不仅集成了WebFlux响应式编程模型,还提供了丰富的路由、过滤和监控功能,使得开发者能够轻松地构建高效、安全的微服务网关。
本文旨在探讨如何集成Spring Cloud Gateway到现有的微服务架构中,并详细介绍其配置、使用以及最佳实践。我们将从Spring Cloud Gateway的基本概念开始,逐步深入到其核心组件和功能,并通过实例展示如何将其集成到实际项目中。
通过本文的学习,读者将能够掌握Spring Cloud Gateway的集成方法,了解如何在微服务架构中发挥其最大效用。同时,我们也将分享一些在使用Spring Cloud Gateway过程中遇到的常见问题及其解决方案,帮助读者更好地应对实际开发中的挑战。
无论你是微服务架构的新手还是经验丰富的开发者,本文都将为你提供有价值的信息和实践经验,助力你构建更强大、更安全的微服务应用程序。让我们一起走进Spring Cloud Gateway的世界,探索它在微服务架构中的无限可能。
步骤
集成Spring Cloud GateWay
引入相关maven依赖
		<dependency>
            <groupId>org.springframework.cloud</groupId>
            <artifactId>spring-cloud-starter-gateway</artifactId>
        </dependency>
        <!--因为底层使用了Ribbon作为负载均衡,依赖中没有加入相关的组件,所以不可以进行正确的分发-->
        <dependency>
            <groupId>org.springframework.cloud</groupId>
            <artifactId>spring-cloud-starter-loadbalancer</artifactId>
        </dependency>
        <!--就解决Spring Cloud LoadBalancer is currently working with the default cache. You can switch to using Caffeine cache' warning-->
        <dependency>
            <groupId>com.github.ben-manes.caffeine</groupId>
            <artifactId>caffeine</artifactId>
        </dependency>
添加相关配置
server:
  port: 8011  #端口配置
spring:
  cloud:
    gateway:
      discovery:
        locator:
          enabled: true #启用DiscoveryClient网关集成的标志,可以实现服务的发现
          lower-case-service-id: true
        routes:
          - id: single-admin
            uri: lb://single-admin
            predicates:
              - Path=/single-admin/**
整合nacos
引入相关maven依赖
        <!--SpringCloud2020及以后的版本默认不启用 bootstrap 配置,我们需要在pom里面显式地引入:-->
        <dependency>
            <groupId>org.springframework.cloud</groupId>
            <artifactId>spring-cloud-starter-bootstrap</artifactId>
        </dependency>
		<!--Spring Cloud Starter Alibaba Nacos Discovery 依赖-->
        <dependency>
            <groupId>com.alibaba.cloud</groupId>
            <artifactId>spring-cloud-starter-alibaba-nacos-discovery</artifactId>
        </dependency>

        <!--Spring Cloud Alibaba Config 依赖-->
        <dependency>
            <groupId>com.alibaba.cloud</groupId>
            <artifactId>spring-cloud-starter-alibaba-nacos-config</artifactId>
        </dependency>
添加相关配置
spring:
  profiles:
    active: @profiles.active@
  application:
    name: @artifactId@
  cloud:
    nacos:
      discovery:
        server-addr: 127.0.0.1:8848
        namespace: @profiles.active@
      config:
        server-addr: 127.0.0.1:8848
        namespace: @profiles.active@
        file-extension: yaml
整合knife4j
引入相关maven依赖
		<dependency>
            <groupId>com.github.xiaoymin</groupId>
            <artifactId>knife4j-gateway-spring-boot-starter</artifactId>
            <version>4.4.0</version>
        </dependency>
添加相关配置
knife4j:
  gateway:
    enabled: true
    # 指定服务发现的模式聚合微服务文档,并且是默认`default`分组
    strategy: discover
    discover:
      enabled: true
      # 指定版本号(Swagger2|OpenAPI3)
      version : openapi3
      # 需要排除的微服务(eg:网关服务)
      excluded-services:
        - single-gateway
整合springBootAdmin
引入相关maven依赖
		<!--监控-->
        <dependency>
            <groupId>de.codecentric</groupId>
            <artifactId>spring-boot-admin-starter-client</artifactId>
        </dependency>
        <dependency>
            <groupId>org.springframework.boot</groupId>
            <artifactId>spring-boot-starter-actuator</artifactId>
        </dependency>
添加相关配置
spring:
  boot:
    admin:
      client:
        url: http://localhost:9000
        username: admin
        password: admin
management:
  endpoints:
    logfile:
      external_file: log
    web:
      exposure:
        include: '*'
总结
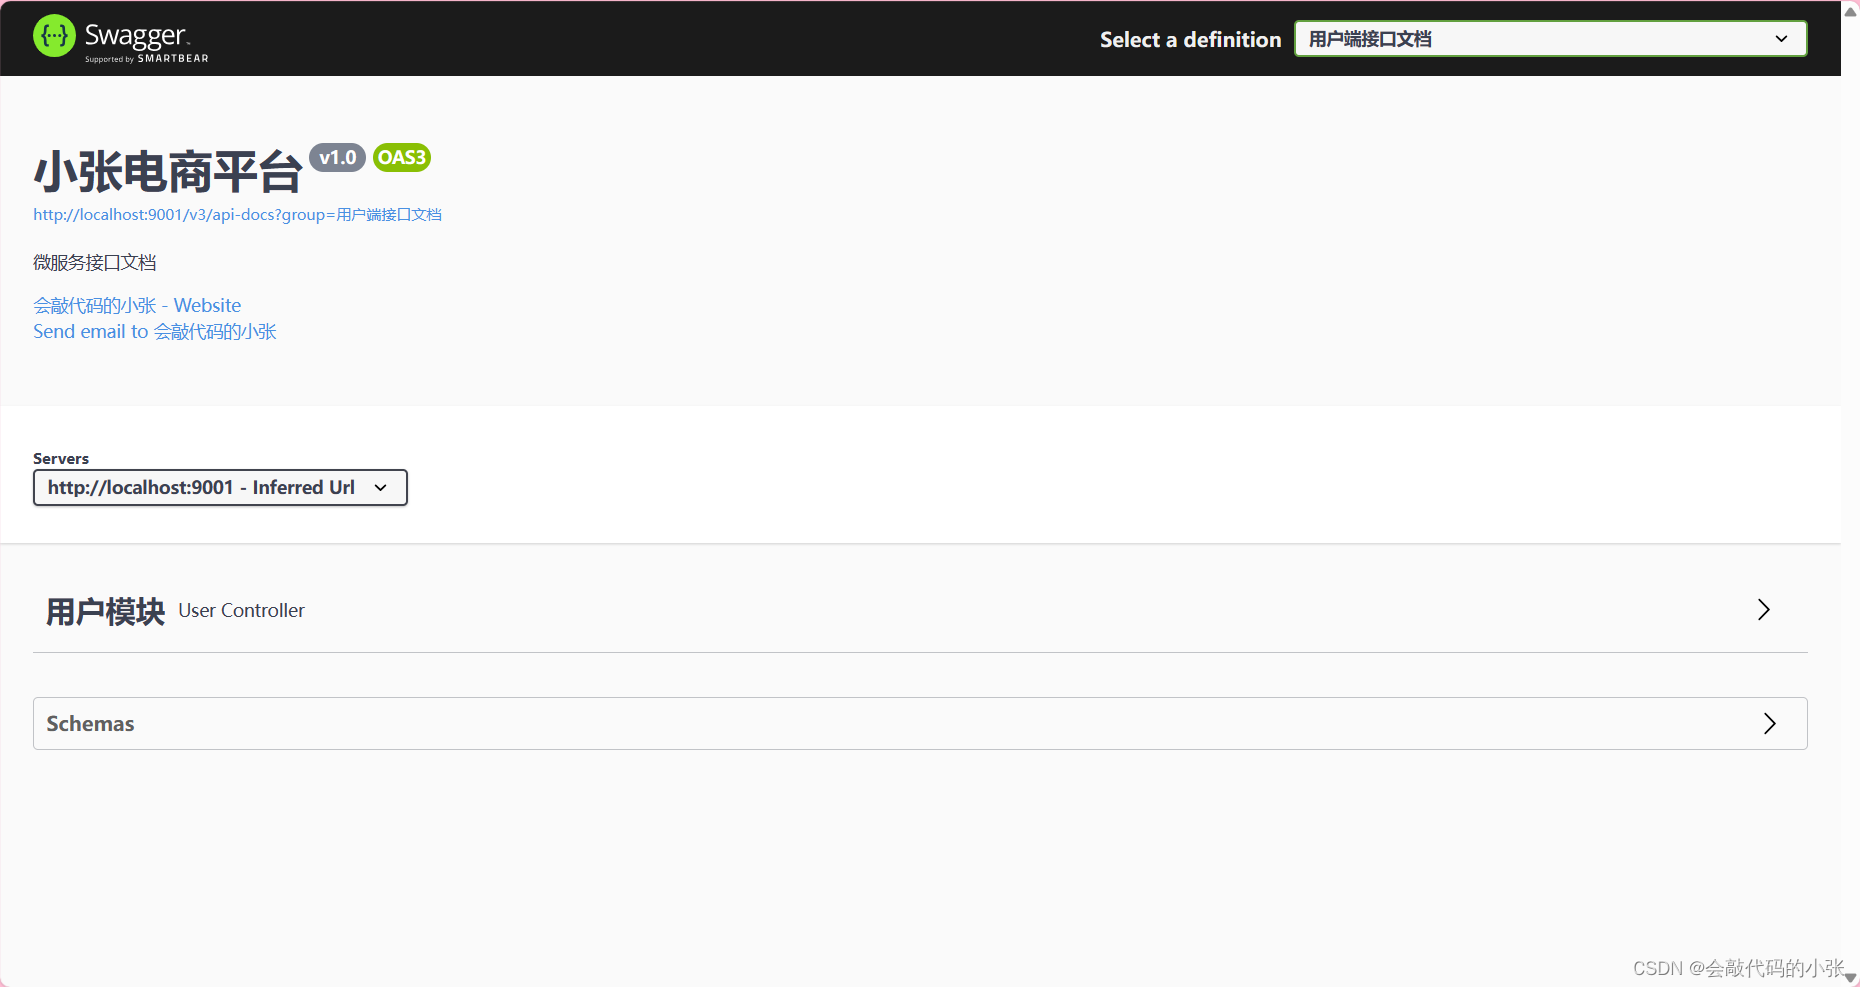
完成上诉步骤我们就可以启动网关服务了




![B3870 [GESP202309 四级] 变长编码(膜拜版)](https://img-blog.csdnimg.cn/direct/3f66a3a4ee784cb2bcfc3ff26a835989.png)

