1、安装Git
Linux做为服务器端系统,Windows作为客户端系统,分别安装Git:
【服务器端】
输入git --version 若出现 -bash:git:command not found则需要安装git;

服务器端:

输入yum -y install git

安装完后,查看Git版本

git --version

[git@qianyi-node1 objects]$ git --version
git version 1.8.3.1
【客户端】
下载Git for Windows,地址:https://git-for-windows.github.io/
安装完之后,可以右键使用Git Bash 作为命令行客户端。如下图所示:

【服务端】
添加git用户
adduser git -m 或者 useradd git
设置密码
passwd git
git/git#123456
切换到git用户,在git目录下新建app.git
git --bare init app.git
2、【本地客户端】git初始化配置
----配置用户名和邮箱
git config --global user.name "your name"
git config --global user.email "your email address"
----在本地创建一个和远程仓库同名的项目,进入到项目中进行初始化:
git init
----把当前项目所有内容向git中添加
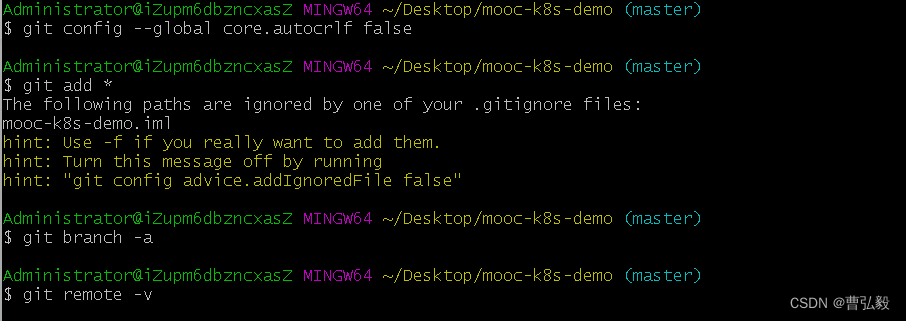
git add *
----解决The file will have its original line endings in your working directory
git config --global core.autocrlf false
----提交添加内容到本地库
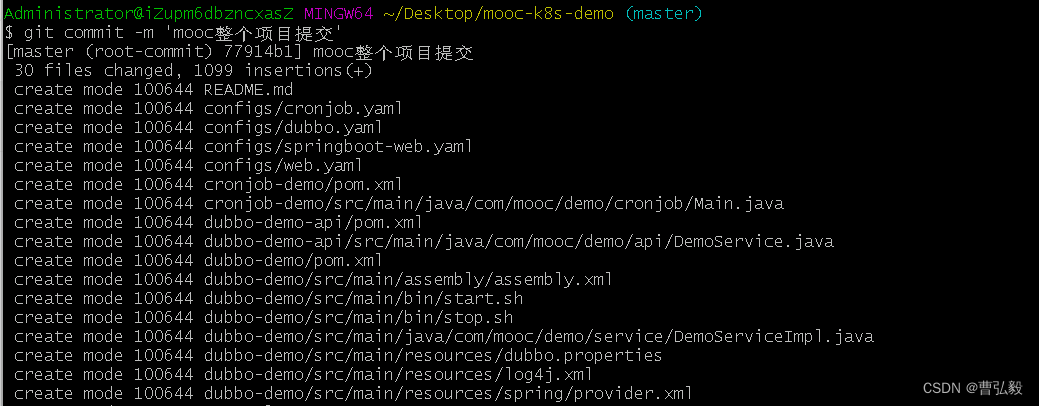
git commit -m '这里可以写做了哪些修改'
----查看本地分支
git branch -a
----查看远程分支信息
git remote -v
----如果输出信息为空,表示还没有添加远程主机,进行远程主机添加
git remote add
----远程主机添加
git remote add origin git@10.204.82.15:/home/git/mooc-k8s-demo.git
----将本地库push到远程仓库
git push origin master
----客户端clone远程仓库
git clone git@10.204.82.15:/home/git/mooc-k8s-demo.git
----配置用户名和邮箱
git config --global user.name "your name"
git config --global user.email "your email address"

----在本地创建一个和远程仓库同名的项目,进入到项目中进行初始化:
git init
----把当前项目所有内容向git中添加
git add *
----解决The file will have its original line endings in your working directory
git config --global core.autocrlf false
----查看本地分支
git branch -a
----查看远程分支信息
git remote -v

----提交添加内容到本地库
git commit -m '这里可以写做了哪些修改'
----远程主机添加
git remote add origin git@10.204.82.15:/home/git/mooc-k8s-demo.git
----将本地库push到远程仓库
git push origin master


----客户端clone远程仓库
git clone git@10.204.82.15:/home/git/mooc-k8s-demo.git

至此,Git服务器就搭建完成,可以进行项目代码上传和克隆。


