🐱 个人主页:不叫猫先生,公众号:前端舵手
🙋♂️ 作者简介:前端领域优质作者、阿里云专家博主,共同学习共同进步,一起加油呀!
✨优质专栏:VS Code插件开发极速入门
📢 资料领取:前端进阶资料可以找我免费领取

我们通常会通过小乌龟、SourceTree、终端等实现 git 的相关操作,VS Code 开发工具也提供了 git 相关的操作 ,那么在VS Code中如何通过自定义命令实现 git 的相关操作?本文主要介绍了git clone、git add、 git commit 、git push等命令的实现。
创建终端
-
异步函数声明:
async function executeGitCommand(command, options) {用于执行 Git 命令。
command参数表示要执行的 Git 命令字符串,options参数是一个对象,包含了执行命令的选项。 -
检查终端是否存在:
if (!terminal){
    terminal = vscode.window.createTerminal(terminalOptions);
}
检查全局变量
terminal是否存在,如果不存在则创建一个新的终端。vscode.window.createTerminal方法用于创建一个终端,terminalOptions可能是在代码的其他地方定义的终端选项。 -
获取终端进程 ID:
const pid = await terminal.processId;使用
await关键字获取终端的进程 ID。这样可以在需要时使用进程 ID 进行其他操作,例如监控或结束进程。 -
发送 Git 命令到终端:
terminal.sendText(command);使用
terminal.sendText方法将 Git 命令发送到终端。这使得可以通过代码自动执行一系列 Git 命令。 -
显示终端:
terminal.show();最后,使用
terminal.show方法显示终端。这确保用户可以看到终端中执行的命令输出。
总体而言,这个函数的作用是在 VSCode 中执行 Git 命令,并通过终端显示命令的执行结果。该函数假设 terminal 是一个在全局范围内定义的终端变量,并在需要时创建。
async function executeGitCommand(command, options) {
    if (!terminal){
        terminal = vscode.window.createTerminal(terminalOptions);
    }
    const pid = await terminal.processId;
    terminal.sendText(command);
    terminal.show();
}
创建终端的命令再后续执行git命令时需要用到。
git add .
注册gitAdd命令
async function activate(context) {
    vscode.commands.registerCommand('wxRead.gitAdd', () => {
        executeGitCommand('git add .', { name: 'Git Add' });
    })
}
command + shift +p 之后选择gitAdd

之后控制台就会出现下图:

git commit
- 命令注册:
vscode.commands.registerCommand('wxRead.gitCommit', async () => {
使用 registerCommand 方法注册一个名为 'wxRead.gitCommit' 的命令。当用户执行这个命令时,将触发后面的回调函数。
-
创建输入框:
const defaultCommitMessage = "Your default commit message here";
const input = await vscode.window.createInputBox();
input.prompt = "Enter your commit message";
input.value = defaultCommitMessage;
input.show();
创建一个输入框,用于用户输入提交消息。设置输入框的提示信息为
"Enter your commit message",并将默认值设置为"Your default commit message here"。最后,通过input.show()显示输入框。

-
监听输入框的 Accept 事件:
input.onDidAccept(() => {使用
onDidAccept事件监听器,当用户按下确认键(Enter)时触发。 -
获取提交消息:
const commitMessage = input.value;获取用户在输入框中输入的提交消息。
-
销毁输入框:
input.dispose();在获取提交消息后,销毁输入框,以避免占用资源。
-
执行 Git Commit 命令:
if (commitMessage) {
    const commitCommand = `git commit -m "${commitMessage}"`;
    executeGitCommand(commitCommand, { name: 'Git Commit' });
}
检查用户是否输入了提交消息,如果有则构建
git commit命令,并调用executeGitCommand函数执行该命令。传递的第二个参数是一个对象,包含了执行命令的名称,这里设置为'Git Commit'。
完整代码如下:
vscode.commands.registerCommand('wxRead.gitCommit', async () => {
        const defaultCommitMessage = "Your default commit message here";
        const input = await vscode.window.createInputBox();
        input.prompt = "Enter your commit message";
        input.value = defaultCommitMessage;
        input.show();
        input.onDidAccept(() => {
            const commitMessage = input.value;
            input.dispose();
            if (commitMessage) {
                const commitCommand = `git commit -m "${commitMessage}"`;
                executeGitCommand(commitCommand, { name: 'Git Commit' });
            }
        });
    })
git clone
-
注册
gitClone命令后,在扩展程序中command + shift +p(我是mac)之后选择wxRead.gitClone

-
弹出输入框获取 Git 仓库 URL
vscode.window.showInputBox({ prompt: 'Enter Git repository URL' }).then((gitRepoUrl) => {这一部分代码使用
showInputBox方法弹出一个输入框,提示用户输入 Git 仓库的 URL。一旦用户输入完成,该输入的内容将作为参数传递给then函数中的回调函数,并存储在gitRepoUrl变量中。这里输入我的开源项目:https://github.com/zbsguilai/kedaxunfei.git

-
随后会出现一个弹框,会让你选择一个文件作为项目的目录
-
显示进度条并执行克隆操作:
vscode.window.withProgress({
    location: vscode.ProgressLocation.Notification,
    title: 'Cloning Git Repository',
    cancellable: false
}, async (progress, token) => {
使用
withProgress方法显示一个进度条,该进度条位于通知区域,标题为 ‘Cloning Git Repository’。这个进度条将在克隆操作期间显示。async (progress, token) => {...}是一个异步函数,用于处理进度和取消操作。 -
检查 Git 仓库 URL 是否存在:
if (gitRepoUrl) {确保用户提供了有效的 Git 仓库 URL。
-
弹出文件夹选择框:
vscode.window.showOpenDialog({
    canSelectFolders: true,
    canSelectFiles: false,
    openLabel: 'Select Destination Folder'
}).then((folders) => {
使用
showOpenDialog方法弹出一个文件夹选择框,允许用户选择目标文件夹。选定的文件夹将在folders变量中。 -
执行 Git Clone 操作:
const gitCloneProcess = spawn('git', ['clone', gitRepoUrl, cloneDirectory]);使用 Node.js 的
spawn方法创建一个子进程,执行git clone命令。gitRepoUrl是用户输入的 Git 仓库 URL,cloneDirectory是用户选择的目标文件夹。 -
处理 Git 命令输出:
gitCloneProcess.stdout.on('data', (data) => {
    console.log(data.toString());
});
gitCloneProcess.stderr.on('data', (data) => {
    console.error(data.toString());
});
将 Git 命令的标准输出和标准错误输出打印到控制台,以便在调试时查看执行的详细信息。
-
处理 Git Clone 完成事件:
gitCloneProcess.on('close', (code) => {
    console.log('Git clone process exited with code:', code);
    if (code === 0) {
        vscode.window.showInformationMessage('Git clone completed successfully.');
    } else {
        vscode.window.showErrorMessage('Git clone failed. Please check the URL and try again.');
    }
});
当 Git Clone 进程完成时,检查其退出码。如果退出码为 0,显示成功消息;否则,显示错误消息。
完整代码如下:
 vscode.commands.registerCommand('wxRead.gitClone', () => {
        // 弹出输入框以获取用户提供的 Git 仓库 URL
        vscode.window.showInputBox({ prompt: 'Enter Git repository URL' }).then((gitRepoUrl) => {
            vscode.window.withProgress({
                location: vscode.ProgressLocation.Notification,
                title: 'Cloning Git Repository',
                cancellable: false
            }, async (progress, token) => {
                if (gitRepoUrl) {
                    if (gitRepoUrl) {
                        // 使用 QuickPick 来让用户选择目标文件夹
                        vscode.window.showOpenDialog({
                            canSelectFolders: true,
                            canSelectFiles: false,
                            openLabel: 'Select Destination Folder'
                        }).then((folders) => {
                            if (folders && folders[0]) {
                                const cloneDirectory = folders[0].fsPath;
                                // 执行 git clone 命令,将代码克隆到选定的目录
                                const gitCloneProcess = spawn('git', ['clone', gitRepoUrl, cloneDirectory]);
                                // 处理 Git 命令的输出
                                gitCloneProcess.stdout.on('data', (data) => {
                                    console.log(data.toString());
                                });
                                gitCloneProcess.stderr.on('data', (data) => {
                                    console.error(data.toString());
                                });
                                gitCloneProcess.on('close', (code) => {
                                    console.log('Git clone process exited with code:', code); // 添加这行用于调试
                                    if (code === 0) {
                                        vscode.window.showInformationMessage('Git clone completed successfully.');
                                    }
                                    else {
                                        vscode.window.showErrorMessage('Git clone failed. Please check the URL and try again.');
                                    }
                                });
                            }
                        });
                    }
                }
            });
        });
    }));
git push
注册wxRead.gitPush命令,在扩展程序中 command + shift +p (我是mac)之后选择wxRead.gitPush
 vscode.commands.registerCommand('wxRead.gitPush', () => {
        executeGitCommand('git push', { name: 'Git Push' });
    })
好书推荐
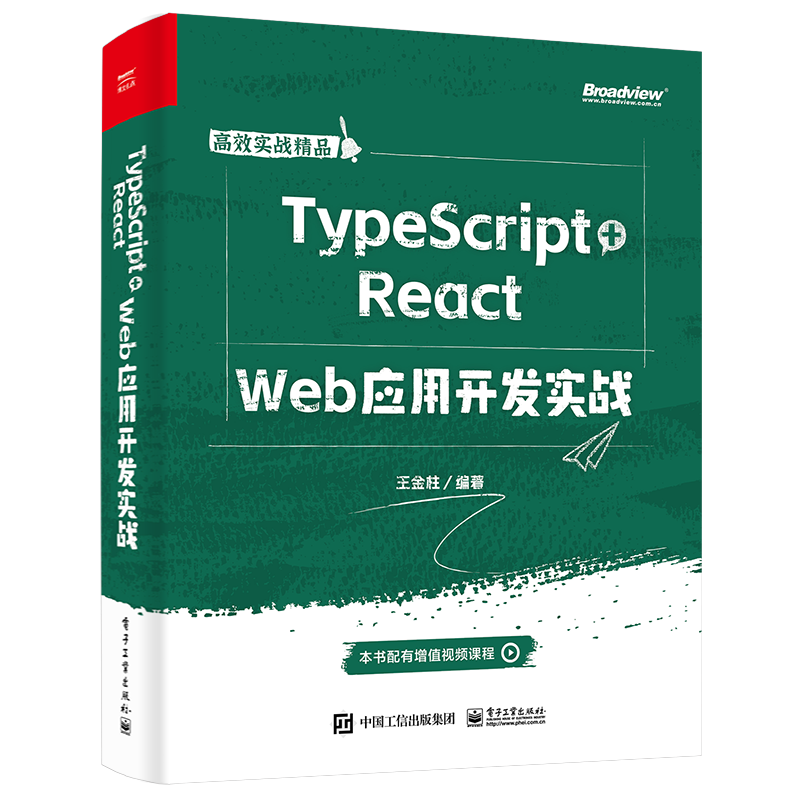
TypeScript+React Web应用开发实战 :京东直达
本书适应于当今前端开发的流行趋势,注重理论与实战相结合的思想,配合大量的、基础且实用的代码实例,帮助读者学习基于TypeScript语言规范的React框架开发的相关知识。全书内容通俗易懂、覆盖面广、充分翔实、重点突出,涵盖了TypeScript语言规范和React框架开发的方方面面。
全书内容共10章,TypeScript语言部分包括TypeScript语言基础与开发环境的搭建、TypeScript项目开发与配置、TypeScript语法规范和TypeScript语法高级特性等方面的内容;React框架部分包括React框架基础与开发环境的搭建,React语法、组件、状态与生命周期,React框架高级指引和React Hook新特性等方面的内容。同时,为了突出本书项目实战的特点,针对性地开发了两个Web项目应用,以帮助读者深入学习基于TypeScript + React技术的开发流程。
本书是学习基于TypeScript + React技术开发的实战图书,全书内容简明、代码精练、实例丰富。希望本书的内容能够帮助前端开发的初学者快速入门,尽快提高Web应用程序开发的技术水平。
