一、父传子(props)
在子组件中可以使用defineProps接收父组件向子组件的传值
父组件fatherPage.vue:
<template>
  <div class="father">
    <button @click="a = a + 1">按钮</button>
    <childPage :a="a" />
  </div>
</template>

<script lang="ts" setup>
import { ref } from "vue";
import childPage from "./childPage.vue";
const a = ref<number>(0);
</script>
<style scoped lang="less">
.father {
  width: 100%;
  height: 100vh;
  background-color: rgb(7, 14, 17);
  display: flex;
  justify-content: center;
  align-items: center;
  button {
    width: 100px;
    height: 60px;
    cursor: pointer;
  }
}
</style>
子组件childPage.vue:
<template>
  <div class="childPage">
    {{ a }}
  </div>
</template>
<script lang="ts" setup>
import { computed, defineProps } from "vue";
// 含默认值
// const porps = defineProps({
//   a: {
//     type: Number,
//     default: 0,
//   },
// });
const props = defineProps({ a: Number });
// 用computed使用props
const a = computed(() => props.a);
</script>
<style scoped lang="less">
.childPage {
  width: 100px;
  height: 60px;
  background-color: rgba(0, 0, 0, 0);
  display: flex;
  justify-content: center;
  align-items: center;
  color: #ffffff;
}
</style>
效果: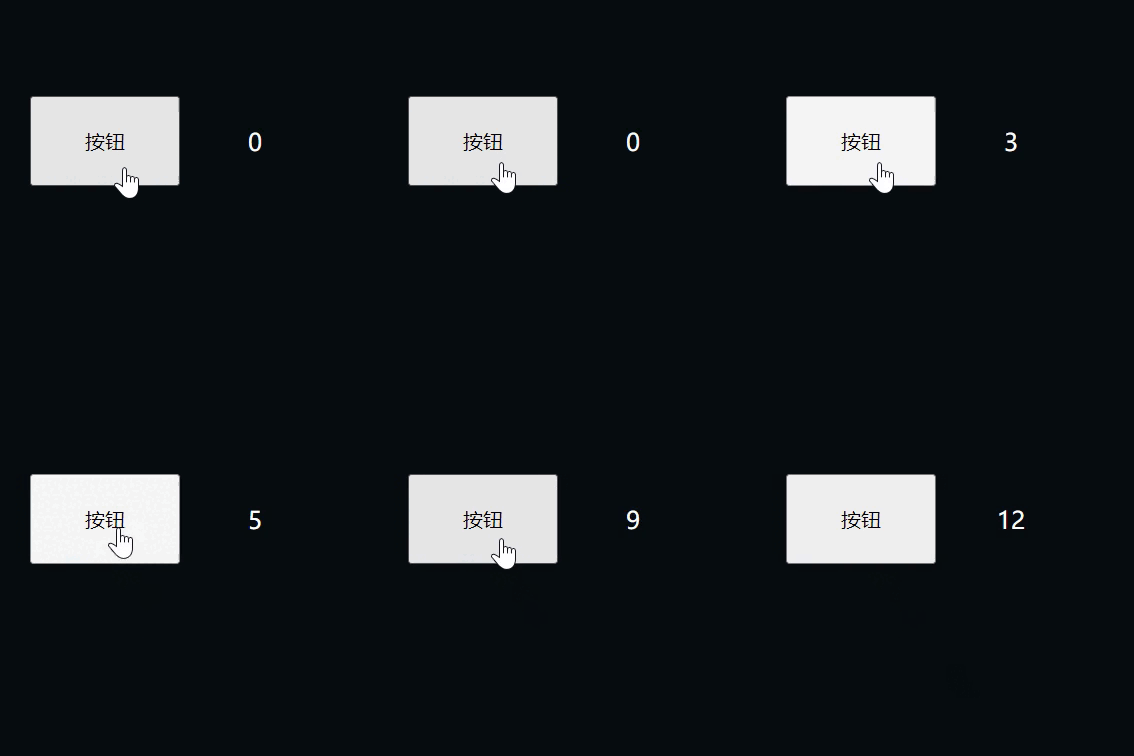
二、子传父(emits)
在子组件中可以使用defineEmits向父组件传递信息。
父组件fatherPage.vue:
<template>
  <div class="father">
    {{ a }}
    <childPage @update:a="update" />
  </div>
</template>

<script lang="ts" setup>
import { ref } from "vue";
import childPage from "./childPage.vue";
const a = ref<number>(0);
const update = (emitValue: number) => {
  a.value = emitValue;
};
</script>
<style scoped lang="less">
.father {
  width: 100%;
  height: 100vh;
  background-color: rgb(7, 14, 17);
  color: #ffffff;
  display: flex;
  justify-content: center;
  align-items: center;
  button {
    width: 100px;
    height: 60px;
    cursor: pointer;
  }
}
</style>
子组件childPage.vue:
1.通过点击触发emit传值
<template>
  <div class="childPage">
    <button @click="updateA">按钮</button>
  </div>
</template>

<script lang="ts" setup>
import { ref, defineEmits } from "vue";

const a = ref<number>(0);
const emit = defineEmits(["update:a"]);
const updateA = () => {
  a.value++;
  emit("update:a", a.value);
};
</script>

<style scoped lang="less">
.childPage {
  width: 100px;
  height: 60px;
  button {
    width: 100%;
    height: 100%;
    cursor: pointer;
  }
}
</style>
效果: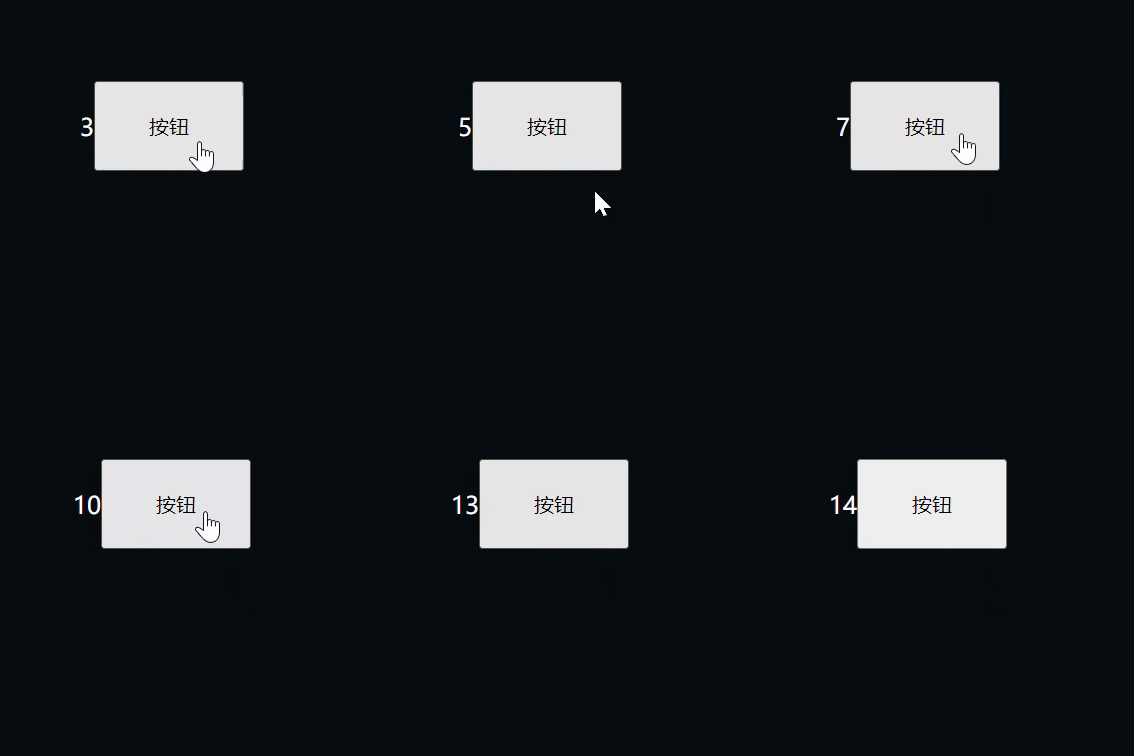
2.通过watch监听值的变化进行传值:
<template>
  <div class="childPage">
    <button @click="updateA">按钮</button>
  </div>
</template>

<script lang="ts" setup>
import { ref, defineEmits, watch } from "vue";

const a = ref<number>(0);
const emit = defineEmits(["update:a"]);
const updateA = () => {
  a.value++;
  setTimeout(() => {
    updateA();
  }, 1000);
};
watch(a, (newValue) => {
  emit("update:a", newValue);
});
</script>

<style scoped lang="less">
.childPage {
  width: 100px;
  height: 60px;
  button {
    width: 100%;
    height: 100%;
    cursor: pointer;
  }
}
</style>
效果: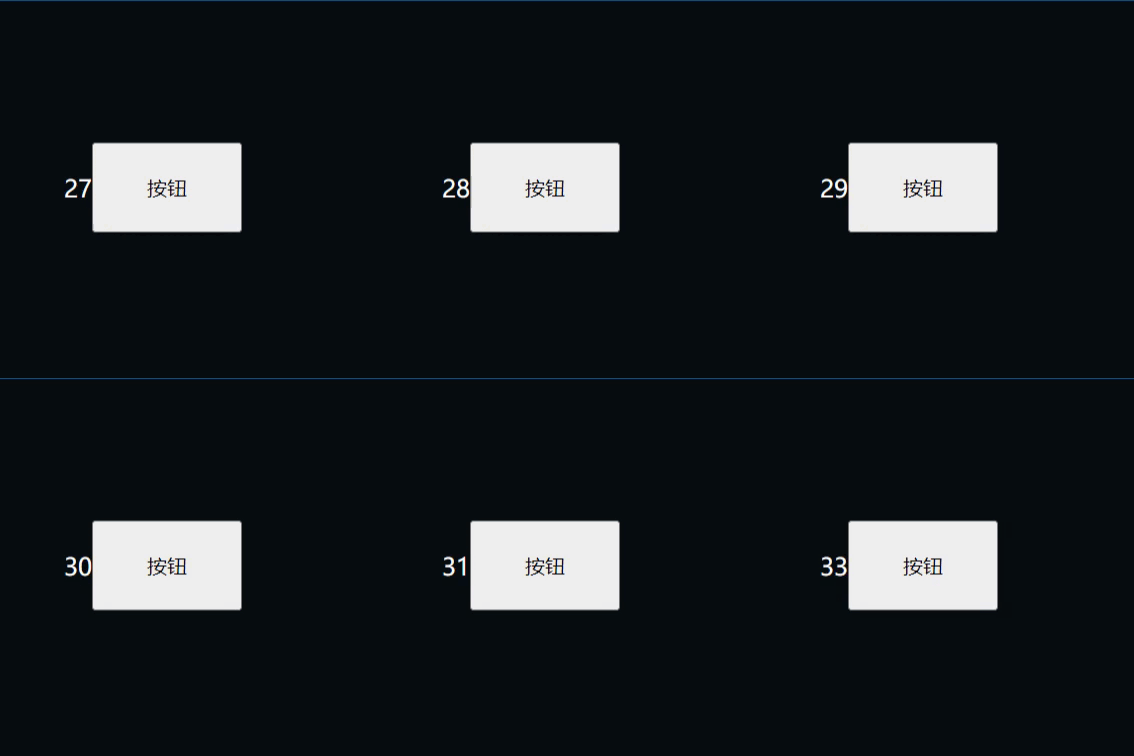
三、父子组件进行双向绑定(v-model)
在子组件中可以使用defineModel与父组件进行双向绑定。注意:defineModel在vue3.3版本实验性使用,稳定版在vue3.4。
父组件:
<template>
  <div class="father">
    {{ a }}
    <childPage v-model="a" />
  </div>
</template>

<script lang="ts" setup>
import { ref } from "vue";
import childPage from "./childPage.vue";
const a = ref<number>();
</script>
<style scoped lang="less">
.father {
  width: 100%;
  height: 100vh;
  background-color: rgb(7, 14, 17);
  color: #ffffff;
  display: flex;
  justify-content: center;
  align-items: center;
  button {
    width: 100px;
    height: 60px;
    cursor: pointer;
  }
}
</style>
子组件:
<template>
  <div class="childPage">
    <button @click="updateA">按钮</button>
  </div>
</template>

<script lang="ts" setup>
import { defineModel } from "vue";

const a = defineModel({
  type: Number,
  default: 0,
});

const updateA = () => {
  a.value += 1;
};
</script>

<style scoped lang="less">
.childPage {
  width: 100px;
  height: 60px;
  button {
    width: 100%;
    height: 100%;
    cursor: pointer;
  }
}
</style>
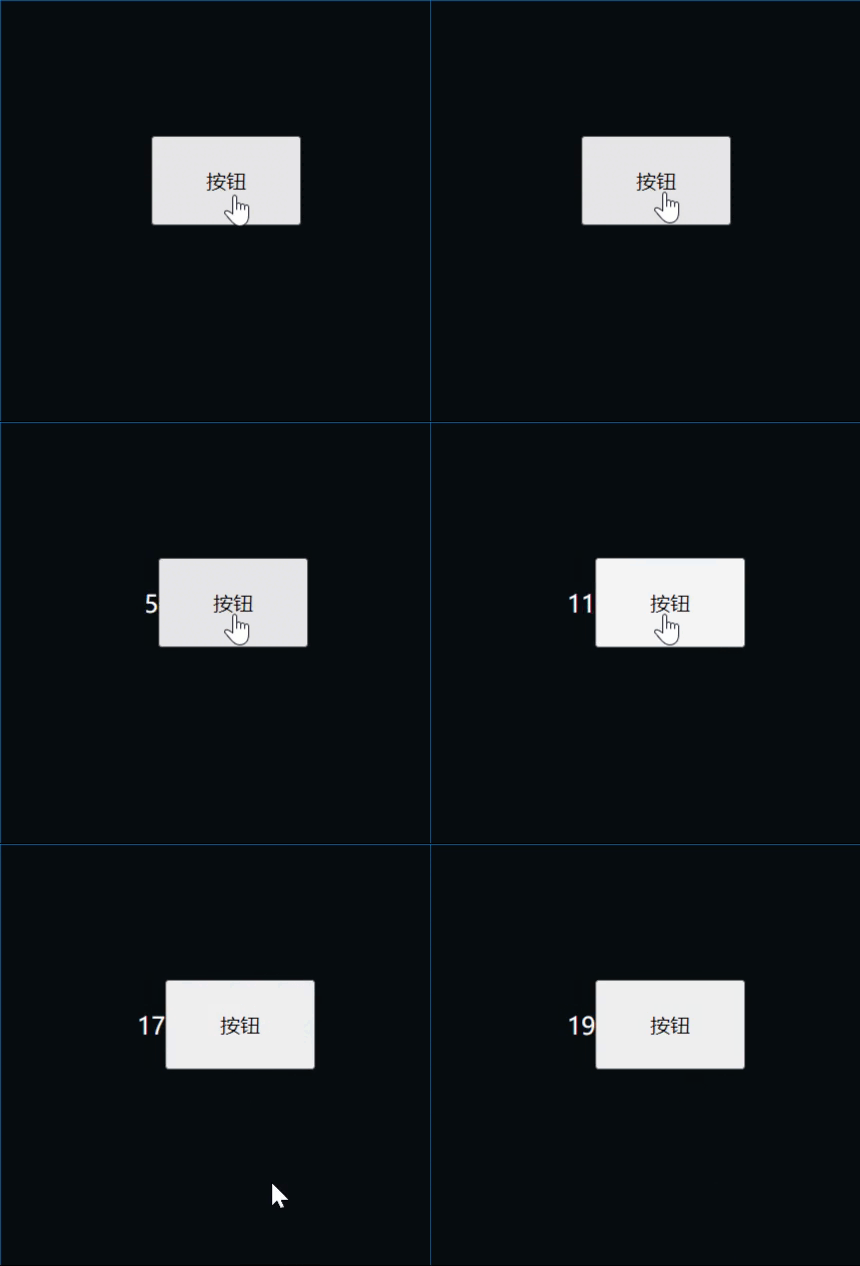
效果:
四、使用vuex进行组件通信
使用vuex可以进行组件之间的通信,父子组件与兄弟组件均可
在vuex文件index.ts中:
import { createStore } from "vuex";

export default createStore({
  state: {
    number: 0,
  },
  getters: {},
  mutations: {
    changeNumber(state, payload) {
      state.number = payload;
    },
  },
  actions: {},
  modules: {},
});
在第一个组件HomeView中:
<template>
  <div class="father">
    {{ a }}
    <AboutView />
  </div>
</template>

<script lang="ts" setup>
import { computed } from "vue";
import { useStore } from "vuex";
import AboutView from "./AboutView.vue";
const store = useStore();
const a = computed(() => store.state.number);
</script>
<style scoped lang="scss">
.father {
  width: 100%;
  height: 100vh;
  background-color: rgb(7, 14, 17);
  color: #ffffff;
  display: flex;
  justify-content: center;
  align-items: center;
}
</style>
在第二个组件AboutView中:
<template>
  <div class="childPage">
    <button @click="updateA">按钮</button>
  </div>
</template>

<script lang="ts" setup>
import { useStore } from "vuex";

const store = useStore();
let a = 0;

const updateA = () => {
  a++;
  store.commit("changeNumber", a);
};
</script>

<style scoped lang="scss">
.childPage {
  width: 100px;
  height: 60px;
  button {
    width: 100%;
    height: 100%;
    cursor: pointer;
  }
}
</style>
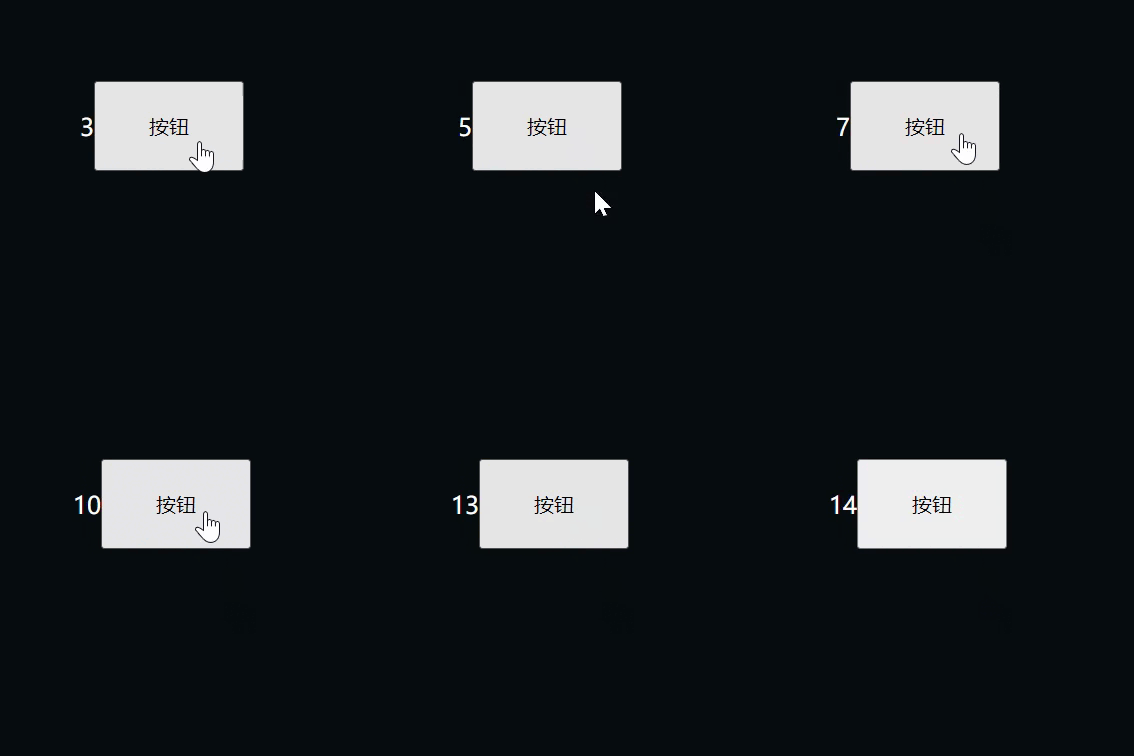
效果:
五、使用pinia进行组件通信
pinia有着与vuex类似的功能,同样可以实现组件间的通信。
在store的index.ts文件中:
import { defineStore } from "pinia";
import { ref } from "vue";
export const useCounterStore = defineStore("counter", () => {
  const count = ref(0);
  const changeCount = () => {
    count.value++;
  };

  return { count, changeCount };
});
在第一个组件fatherPage中:
<template>
  <div class="father">
    {{ count }}
    <childPage />
  </div>
</template>

<script lang="ts" setup>
import childPage from "./childPage.vue";
import { useCounterStore } from "../store/index";
import { storeToRefs } from "pinia";
const store = useCounterStore();
const { count } = storeToRefs(store);
</script>
<style scoped lang="less">
.father {
  width: 100%;
  height: 100vh;
  background-color: rgb(7, 14, 17);
  color: #ffffff;
  display: flex;
  justify-content: center;
  align-items: center;
  button {
    width: 100px;
    height: 60px;
    cursor: pointer;
  }
}
</style>
在第二个组件childPage中:
<template>
  <div class="childPage">
    <button @click="changeCount">按钮</button>
  </div>
</template>

<script lang="ts" setup>
import { useCounterStore } from "../store/index";
const store = useCounterStore();
const { changeCount } = store;
</script>

<style scoped lang="less">
.childPage {
  width: 100px;
  height: 60px;
  button {
    width: 100%;
    height: 100%;
    cursor: pointer;
  }
}
</style>
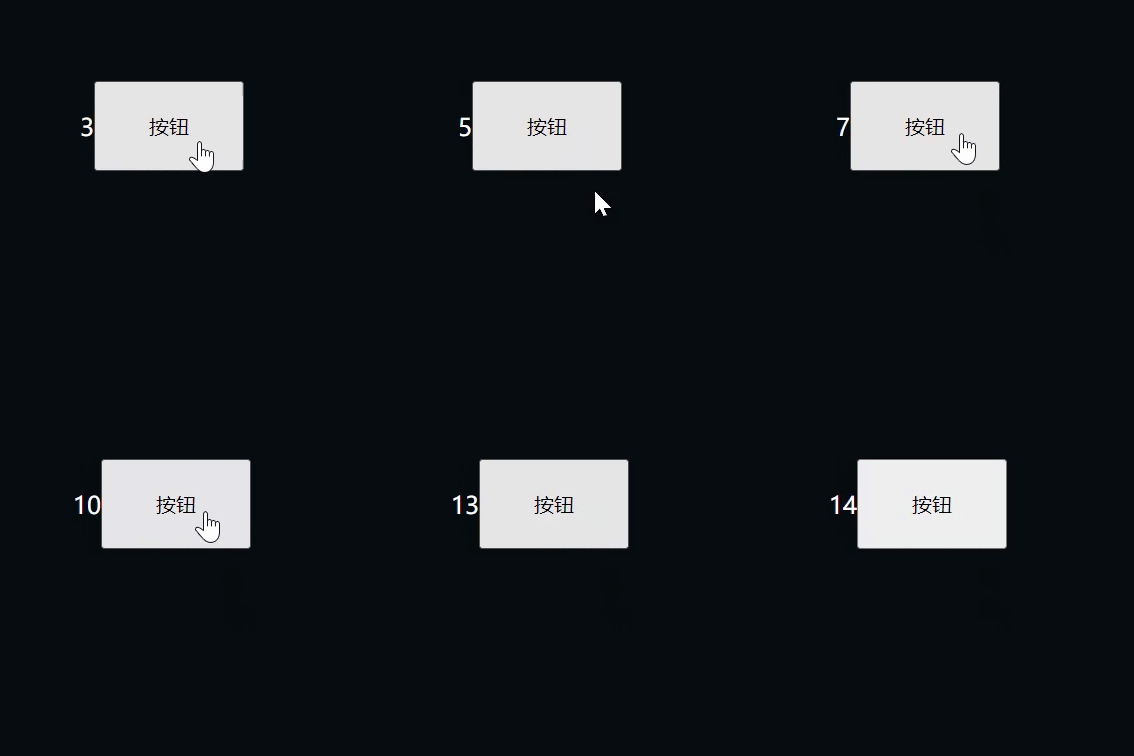
效果:
六、使用事件总线进行组件通信
我们可以利用第三方库比如说mitt以事件总线的方式实现传值
在mitt的index.ts中:
import mitt from "mitt";
const emitter = mitt();
export default emitter;
在第一个组件fatherPage中:
<template>
  <div class="father">
    {{ count }}
    <childPage />
  </div>
</template>

<script setup>
import childPage from "./childPage.vue";
import emitter from "@/mitt/index";
import { ref } from "vue";
const count = ref(0);
emitter.on("changeCount", (counter) => {
  count.value = counter;
});
</script>
<style scoped lang="less">
.father {
  width: 100%;
  height: 100vh;
  background-color: rgb(7, 14, 17);
  color: #ffffff;
  display: flex;
  justify-content: center;
  align-items: center;
  button {
    width: 100px;
    height: 60px;
    cursor: pointer;
  }
}
</style>
在第二个组件childPage中:
<template>
  <div class="childPage">
    <button @click="changeCount">按钮</button>
  </div>
</template>

<script setup>
import emitter from "../mitt/index";
let a = 0;
const changeCount = () => {
  a++;
  emitter.emit("changeCount", a);
};
</script>

<style scoped lang="less">
.childPage {
  width: 100px;
  height: 60px;
  button {
    width: 100%;
    height: 100%;
    cursor: pointer;
  }
}
</style>
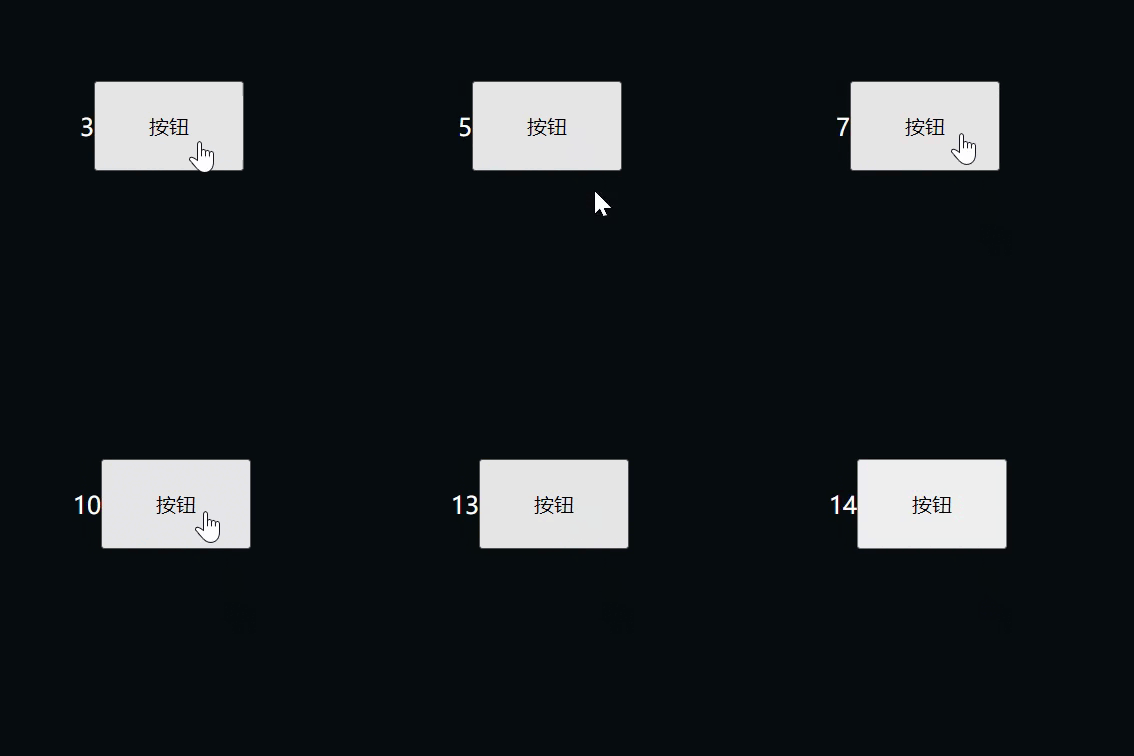
效果:
七、更详细使用方式请参考以下文档
1,Vue.js - 渐进式 JavaScript 框架 | Vue.js
2,开始 | Vuex
3,Pinia | Pinia 中文手册 - 官网同步更新 v2.0.28
4,GitHub - developit/mitt: 🥊 Tiny 200 byte functional event emitter / pubsub.

