前言
Bootstrap 最初是由 @mdo 和 @fat 于 2010 年中旬创造就职于 Twitter 时创造的。在成为开源框架之前,Bootstrap 被称为 Twitter Blueprint。经过几个月的开发,Twitter 举办了首届黑客周(Hack Week),该项目获得了爆炸性地关注,因为各种技能水平的开发人员都能在没有任何外部指导的情况下加入进来。在公开发布之前的一年多时间里,该项目一直是公司内部工具的样式指南,并且一直沿用至今。
首个版本发布于 2011 年 8 月 19 日(星期五),目前已经发布了超过 20 个版本,包括 v2 和 v3 两次重要重构。在 Bootstrap 2 版本,我们为整个框架添加了对响应式布局的支持,但是,这是作为一个可选的样式表提供的。在 Bootstrap 3 版本,我们再一次重构了整个框架,并将“移动设备优先”这一理念深刻地融入到整个框架中。
使用
我们如果想要使用这个BootStrap:
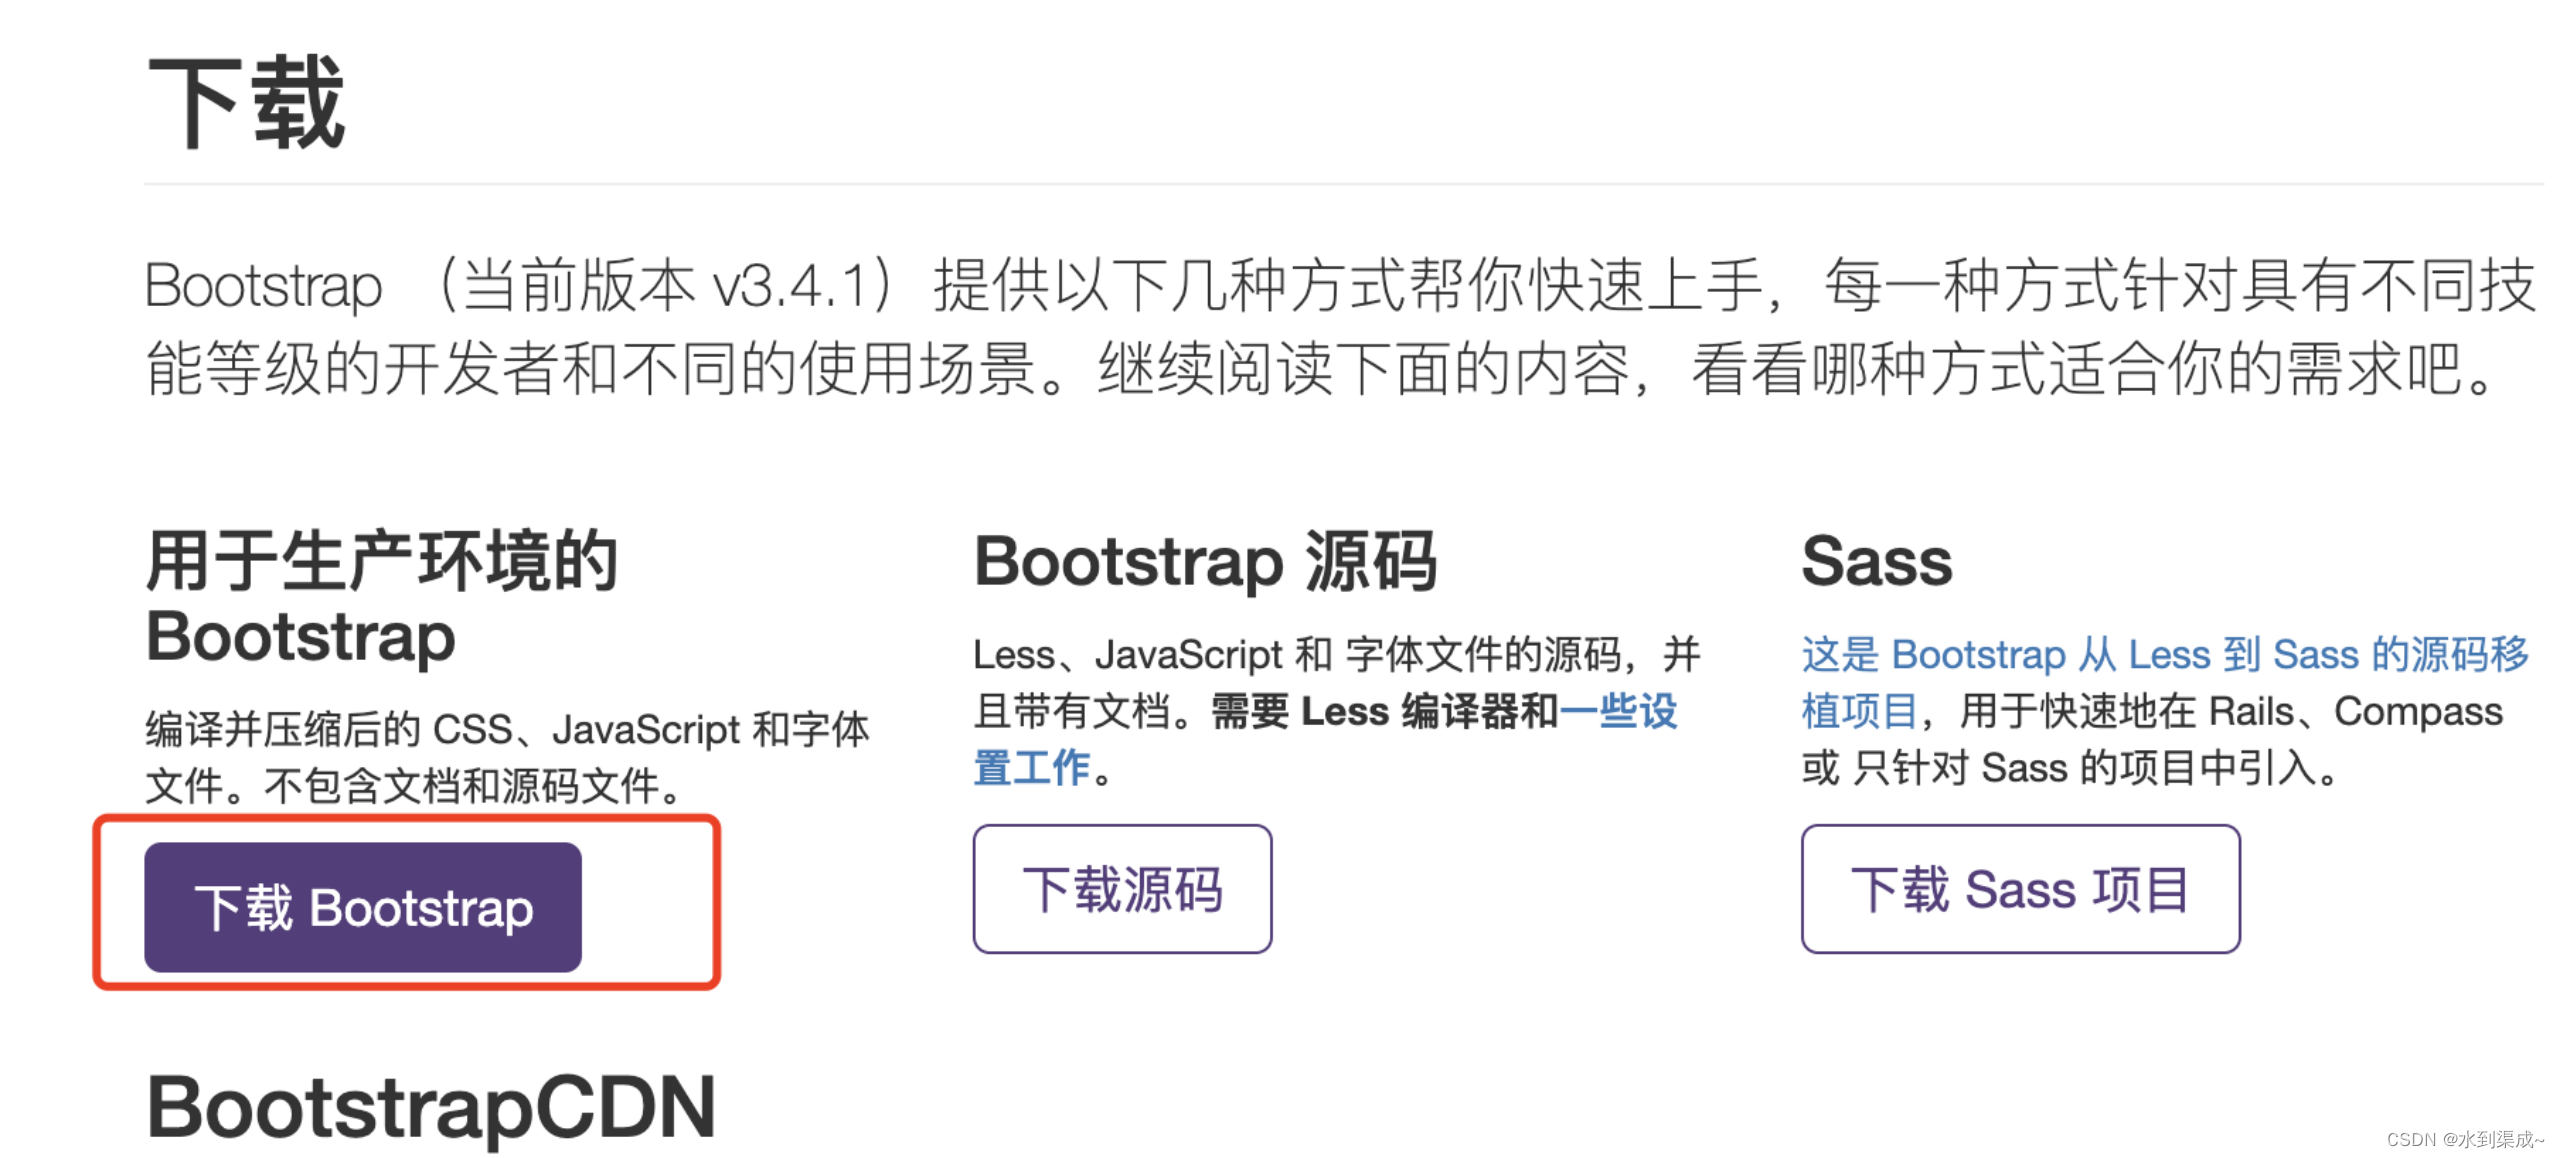
1、下载BootStrap,这里是v3版本
https://v3.bootcss.com/getting-started/#download
2、在页面上引入BootStrap
<!-- HTML注释:开发版本 -->
<link rel="stylesheet" href="static/plugins/bootstrap-3.4.1/css/bootstrap.css">
<!-- 生产版本去掉所有缩紧与空白 -->
<!-- <link rel="stylesheet" href="static/plugins/bootstrap-3.4.1/css/bootstrap.min.css"> -->
3、编写HTML时,按照BootStrap的规定来编写 + 自定制。
在官网选择自己想要的样式以按钮为例:
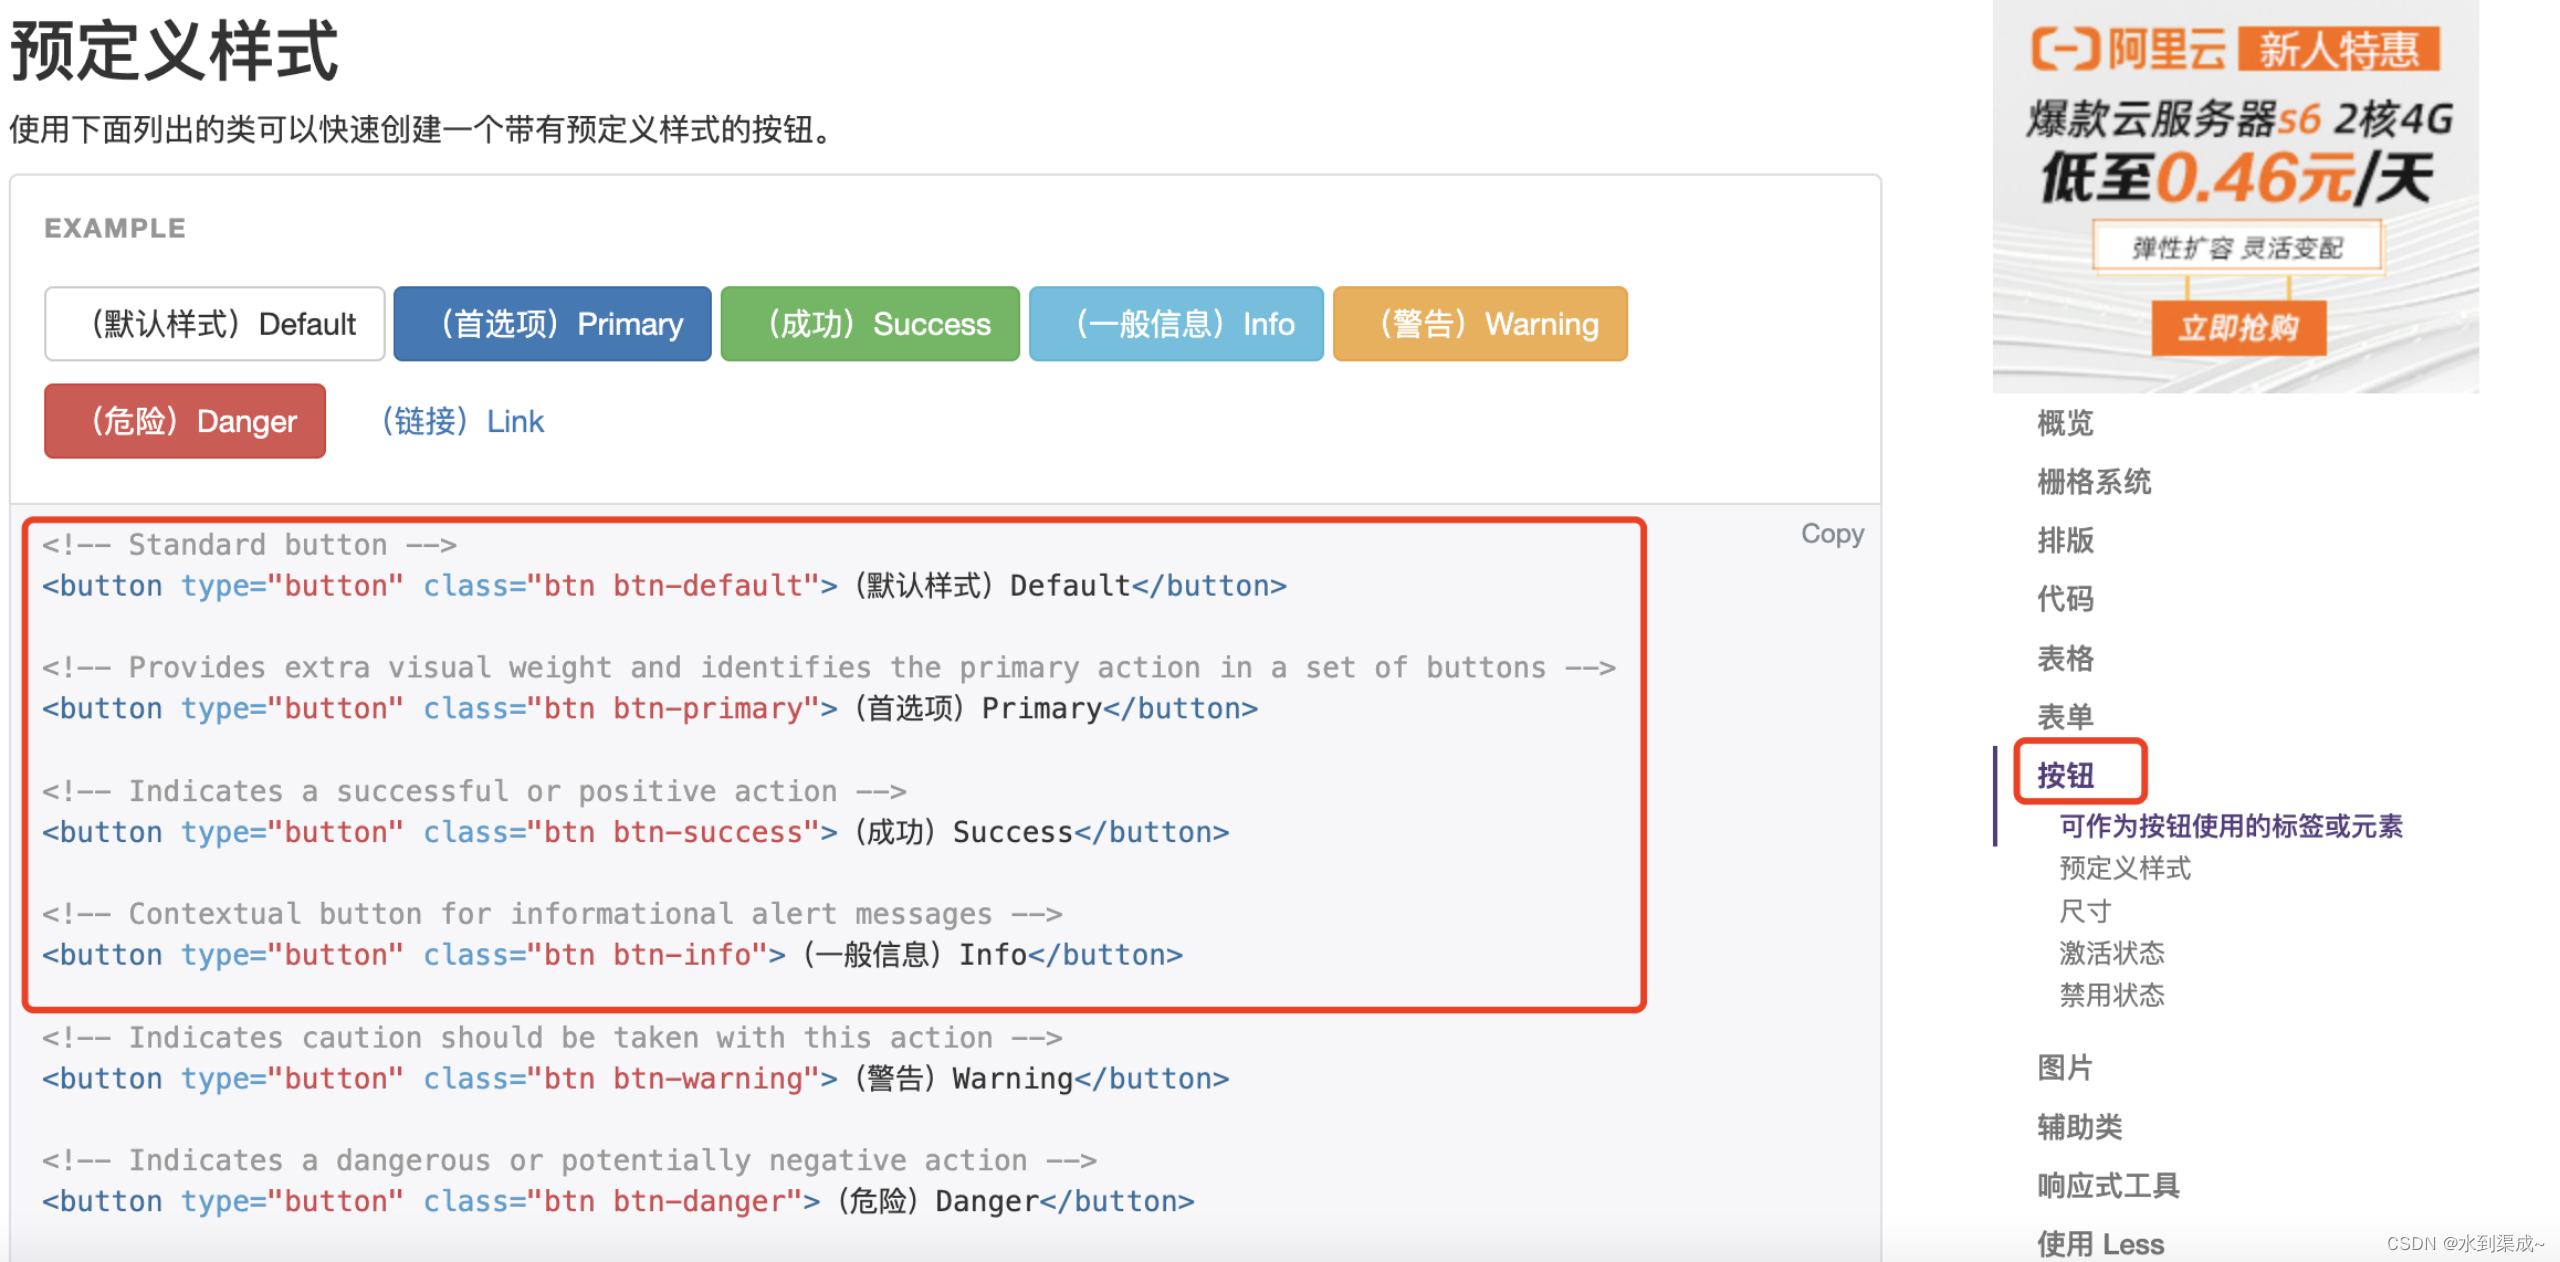
复制过来并修改:
<!DOCTYPE html>
<html lang="en">
<head>
    <meta charset="UTF-8">
    <title>Title</title>
    <!-- HTML注释:开发版本 -->
    <link rel="stylesheet" href="static/plugins/bootstrap-3.4.1/css/bootstrap.css">
</head>
<body>
    <input type="button" value="登陆" />
    <input type="button" value="登陆" class="btn btn-primary" />
    <input type="button" value="登陆" class="btn btn-success" />
    <input type="button" value="登陆" class="btn btn-danger" />
    <input type="button" value="登陆" class="btn btn-danger btn-xs" />
</body>
</html>
预览下:

使用案例
后台登陆
官网的样式为:
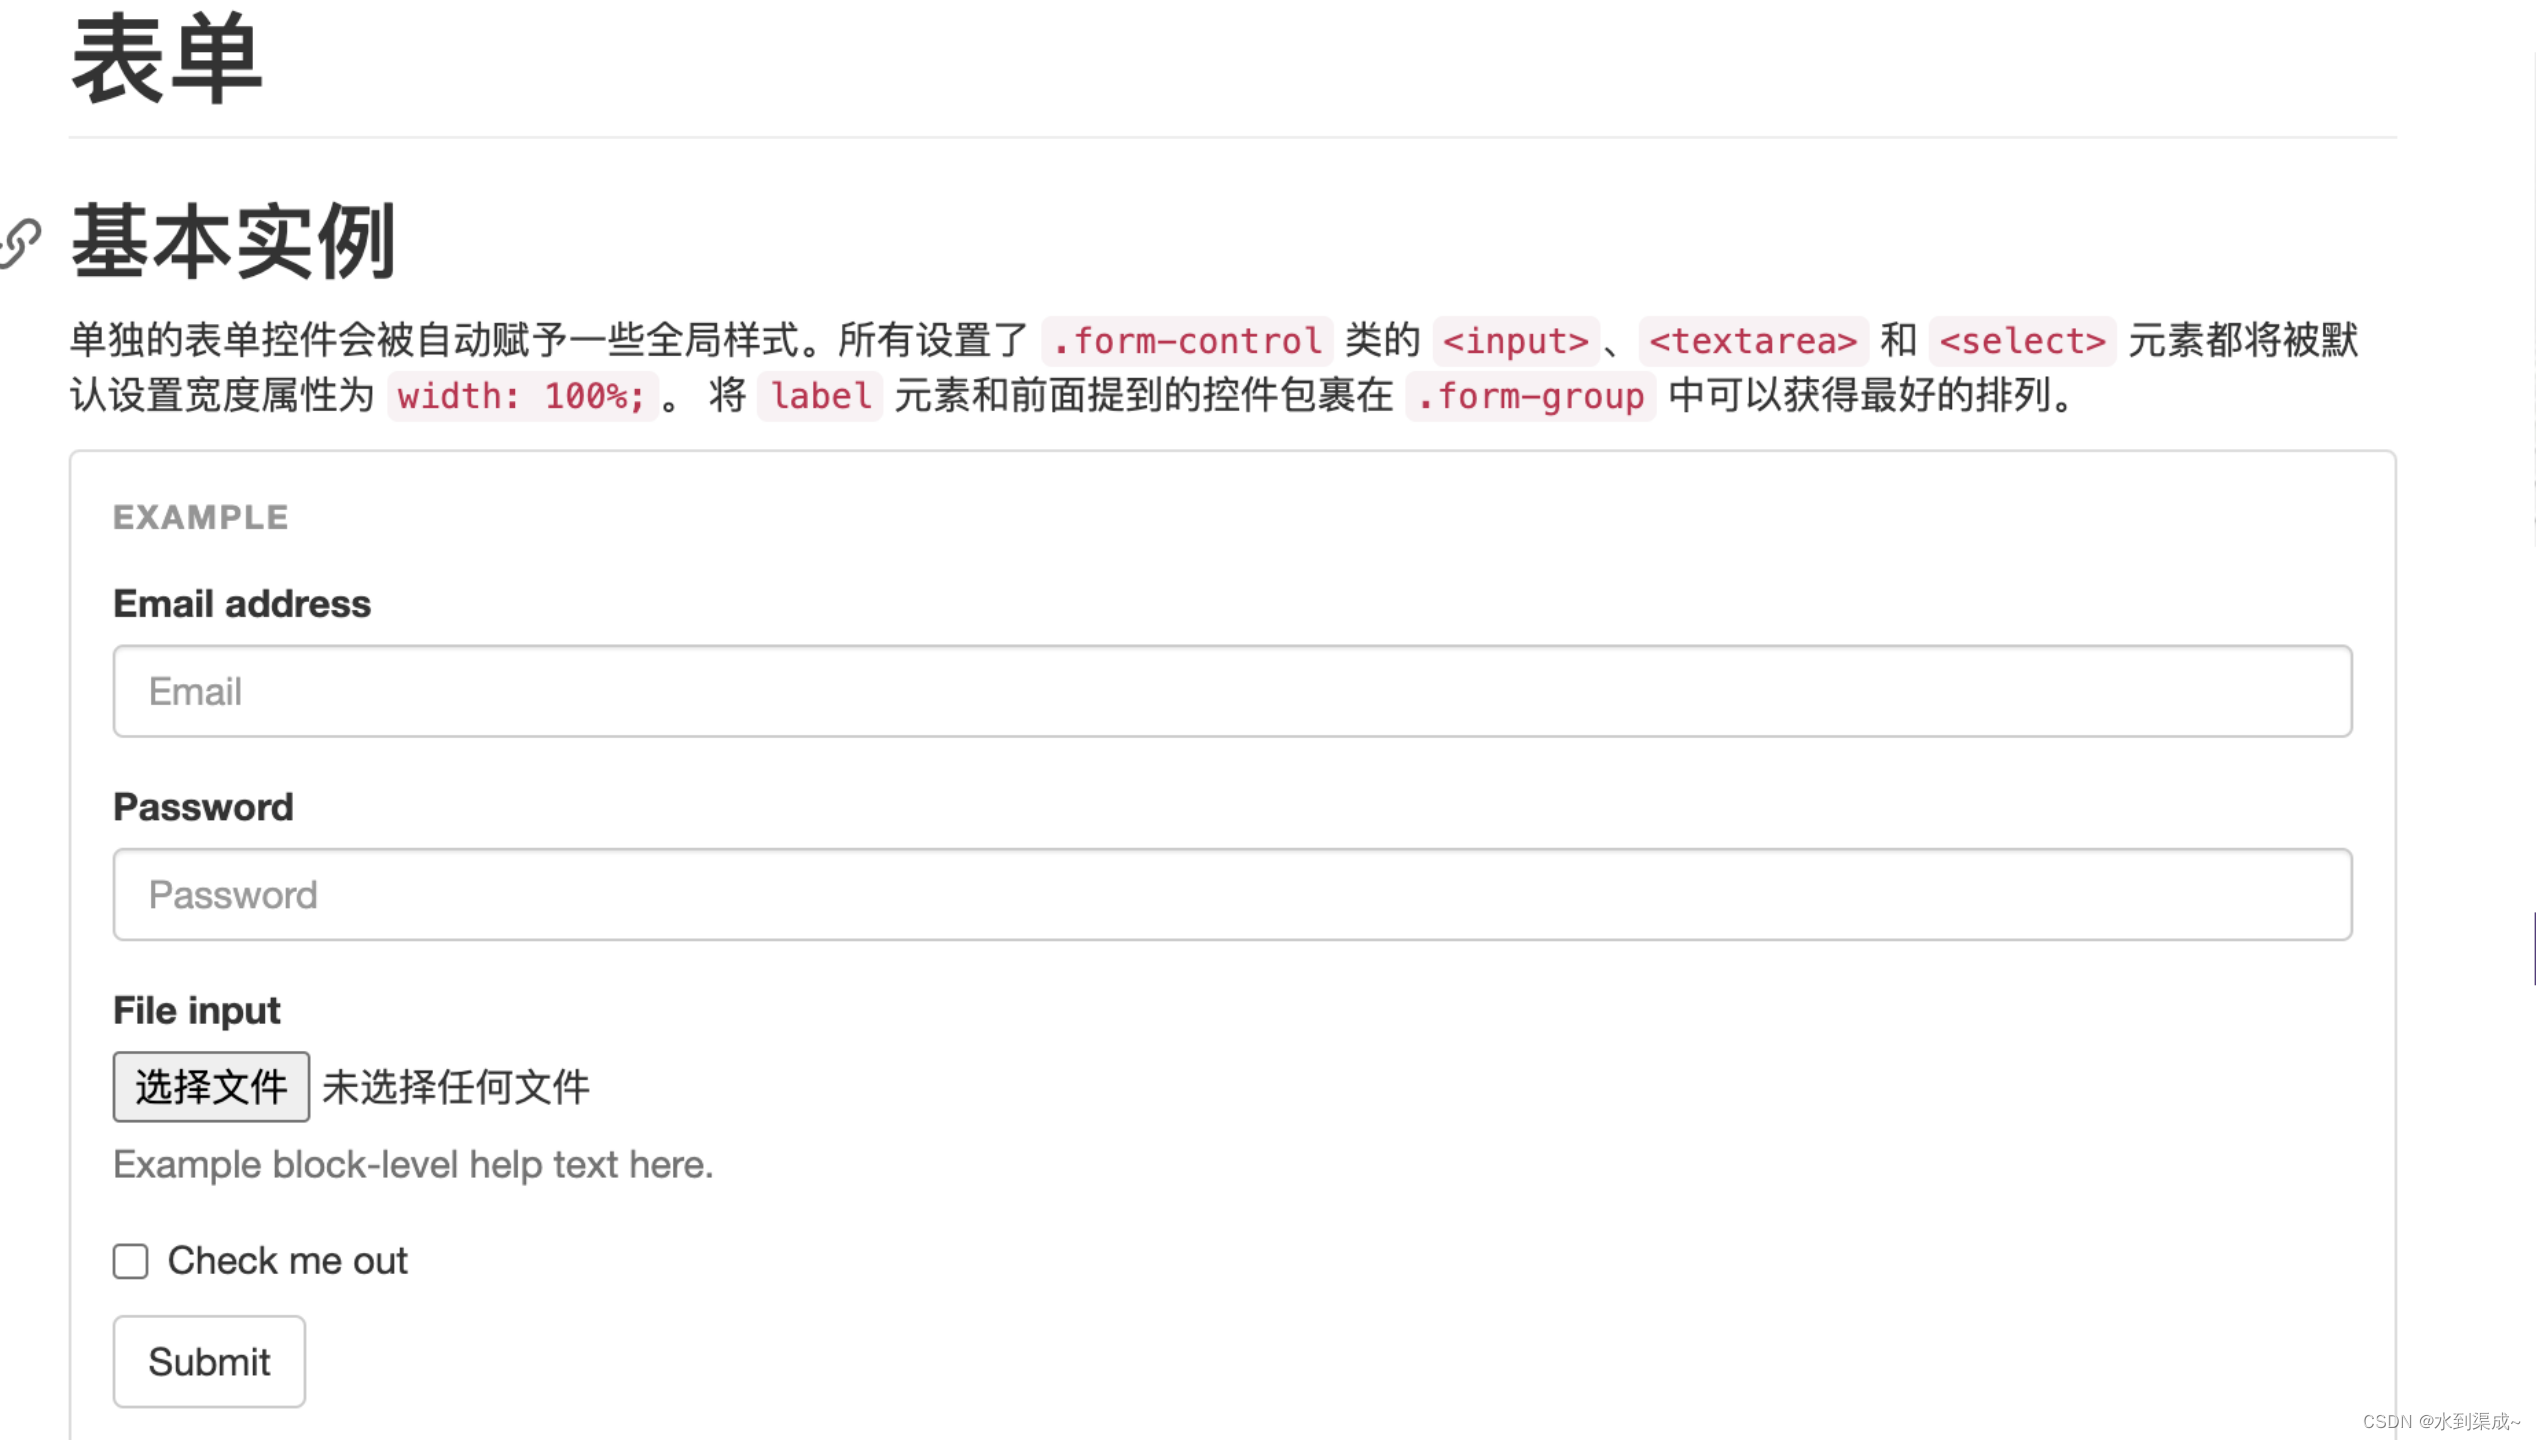
我只想要登陆功能不想要文件上传的功能,先删除对应的代码:
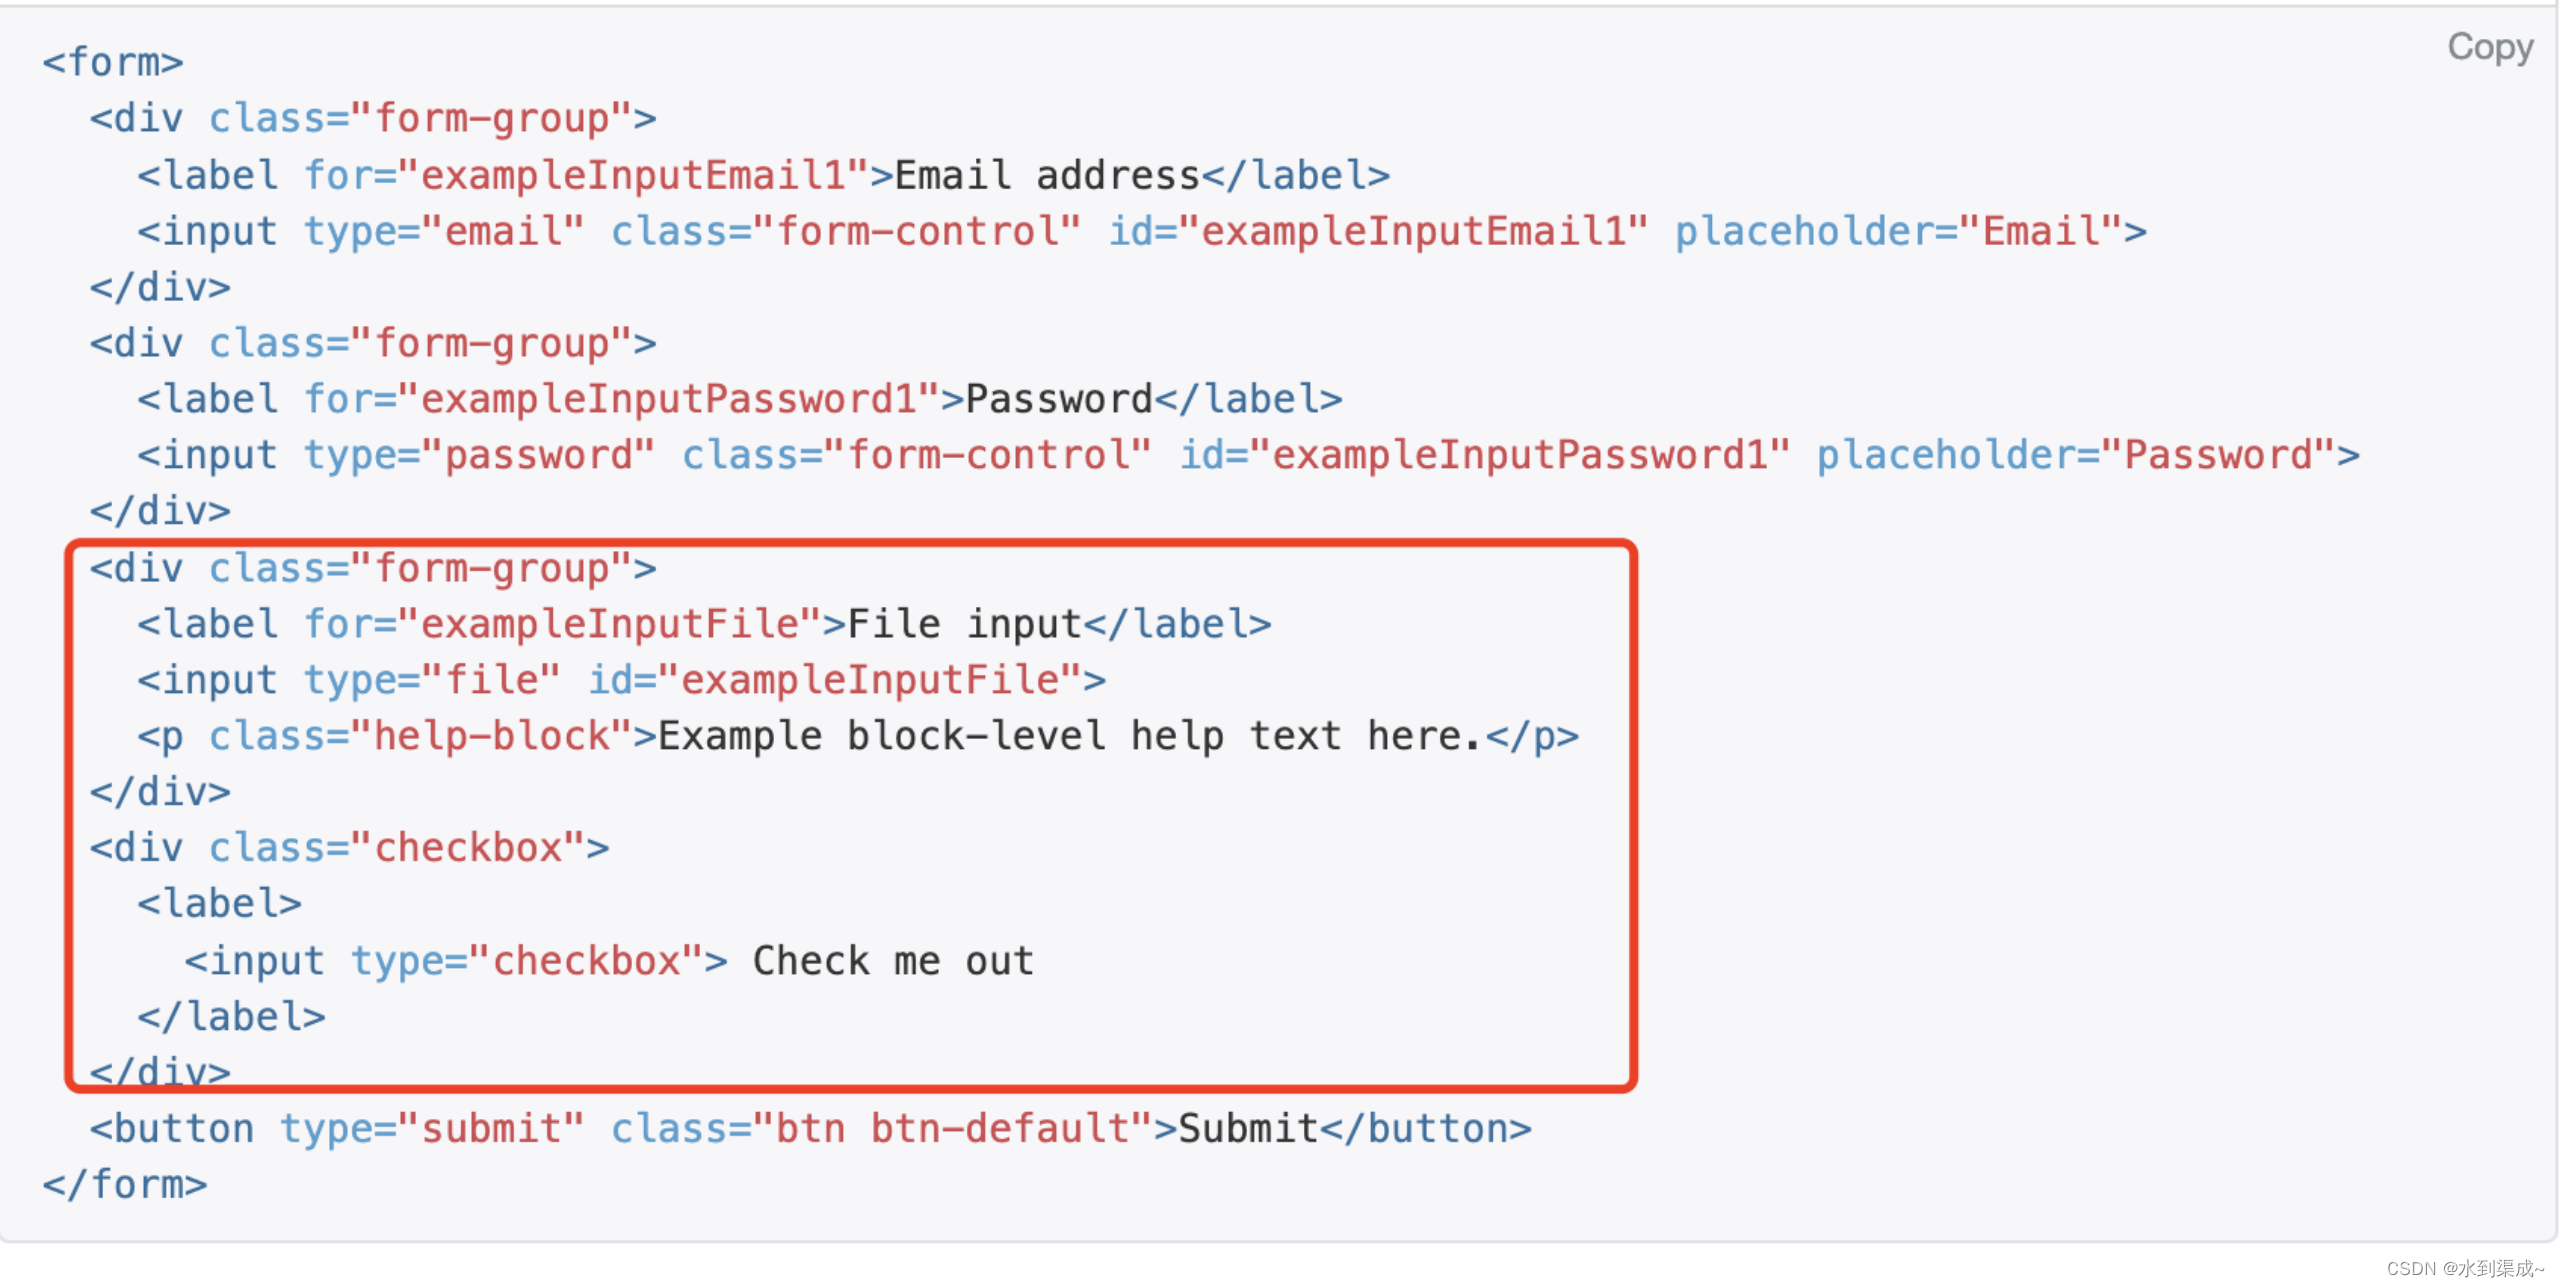
修改后的:
<!DOCTYPE html>
<html lang="en">
<head>
    <meta charset="UTF-8">
    <title>Title</title>
    <!-- HTML注释:开发版本 -->
    <link rel="stylesheet" href="static/plugins/bootstrap-3.4.1/css/bootstrap.css">
</head>
<body>
    <div>
    <form>
    <div class="form-group">
        <label for="exampleInputEmail1">用户名</label>
        <input type="email" class="form-control" id="exampleInputEmail1" placeholder="用户名">
    </div>
    <div class="form-group">
        <label for="exampleInputPassword1">密码</label>
        <input type="password" class="form-control" id="exampleInputPassword1" placeholder="密码">
    </div>
        <button type="submit" class="c3 btn btn-primary">登陆</button>
    </form>
    </div>
</body>
</html>

结合上一篇学到的css基础优化一下:
<!DOCTYPE html>
<html lang="en">
<head>
    <meta charset="UTF-8">
    <title>Title</title>
    <!-- HTML注释:开发版本 -->
    <link rel="stylesheet" href="static/plugins/bootstrap-3.4.1/css/bootstrap.css">
    <style>
        .c2{
            background: #ffffff;/* 背景色 */
            width:400px;
            height: 300px;
            margin-left: auto;
            margin-right: auto;/*左右居中*/
            margin-top: 100px;/*距离顶部100px*/

            padding: 30px;/*内边距30px*/
            box-shadow: 6px 6px 6px #8c8c8c;/*阴影https://www.runoob.com/cssref/css3-pr-box-shadow.html*/
        }
        .c3{
            width:340px;
        }
    </style>
</head>
<body>
    <div class="c2">
    <form>
    <div class="form-group">
        <label for="exampleInputEmail1">用户名</label>
        <input type="email" class="form-control" id="exampleInputEmail1" placeholder="用户名">
    </div>
    <div class="form-group">
        <label for="exampleInputPassword1">密码</label>
        <input type="password" class="form-control" id="exampleInputPassword1" placeholder="密码">
    </div>
        <button type="submit" class="c3 btn btn-primary">登陆</button>
    </form>
    </div>
</body>
</html>

bootstrap提供的图标并不多,需要引入另一个css框架fontawesome
下载:https://fontawesome.dashgame.com/assets/font-awesome-4.7.0.zip
放到指定目录:
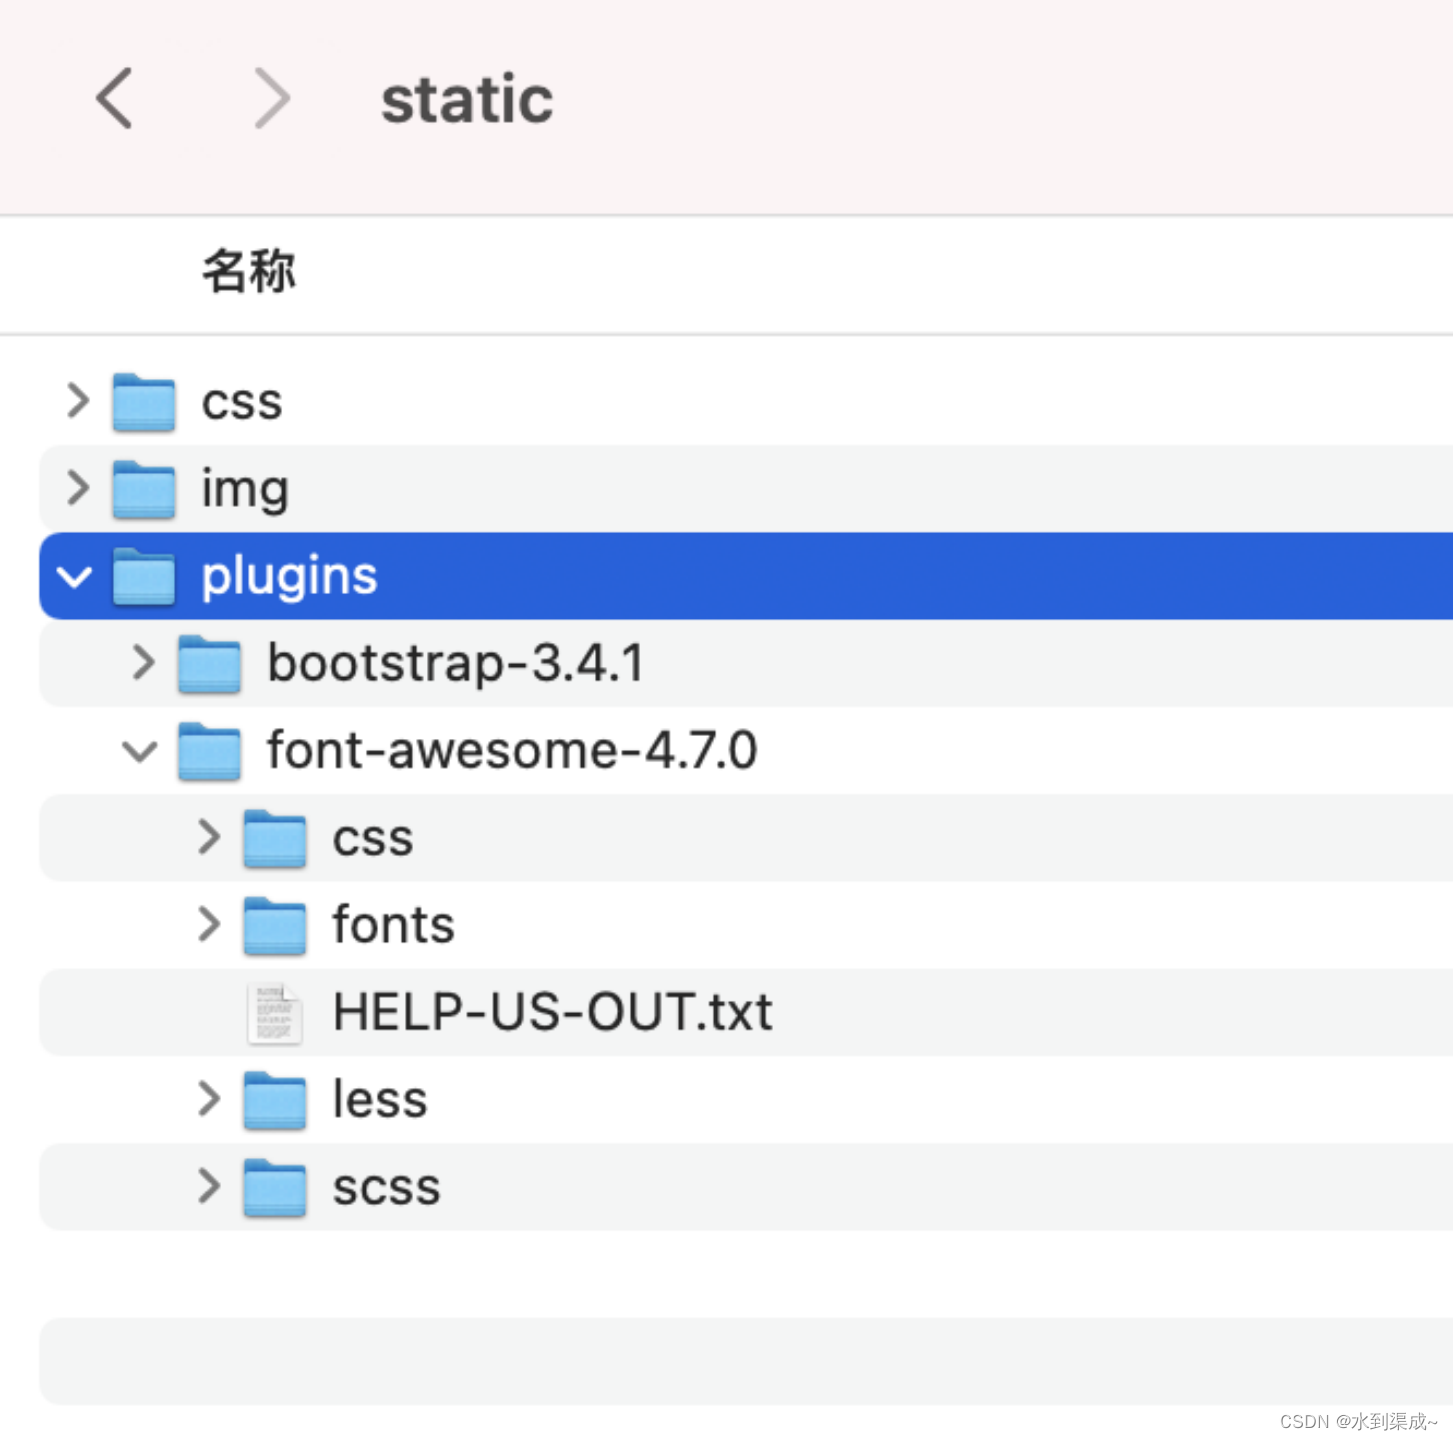
记得引入:
<link rel="stylesheet" href="static/plugins/font-awesome-4.7.0/css/font-awesome.css">
选中想要的图标,直接复制过来
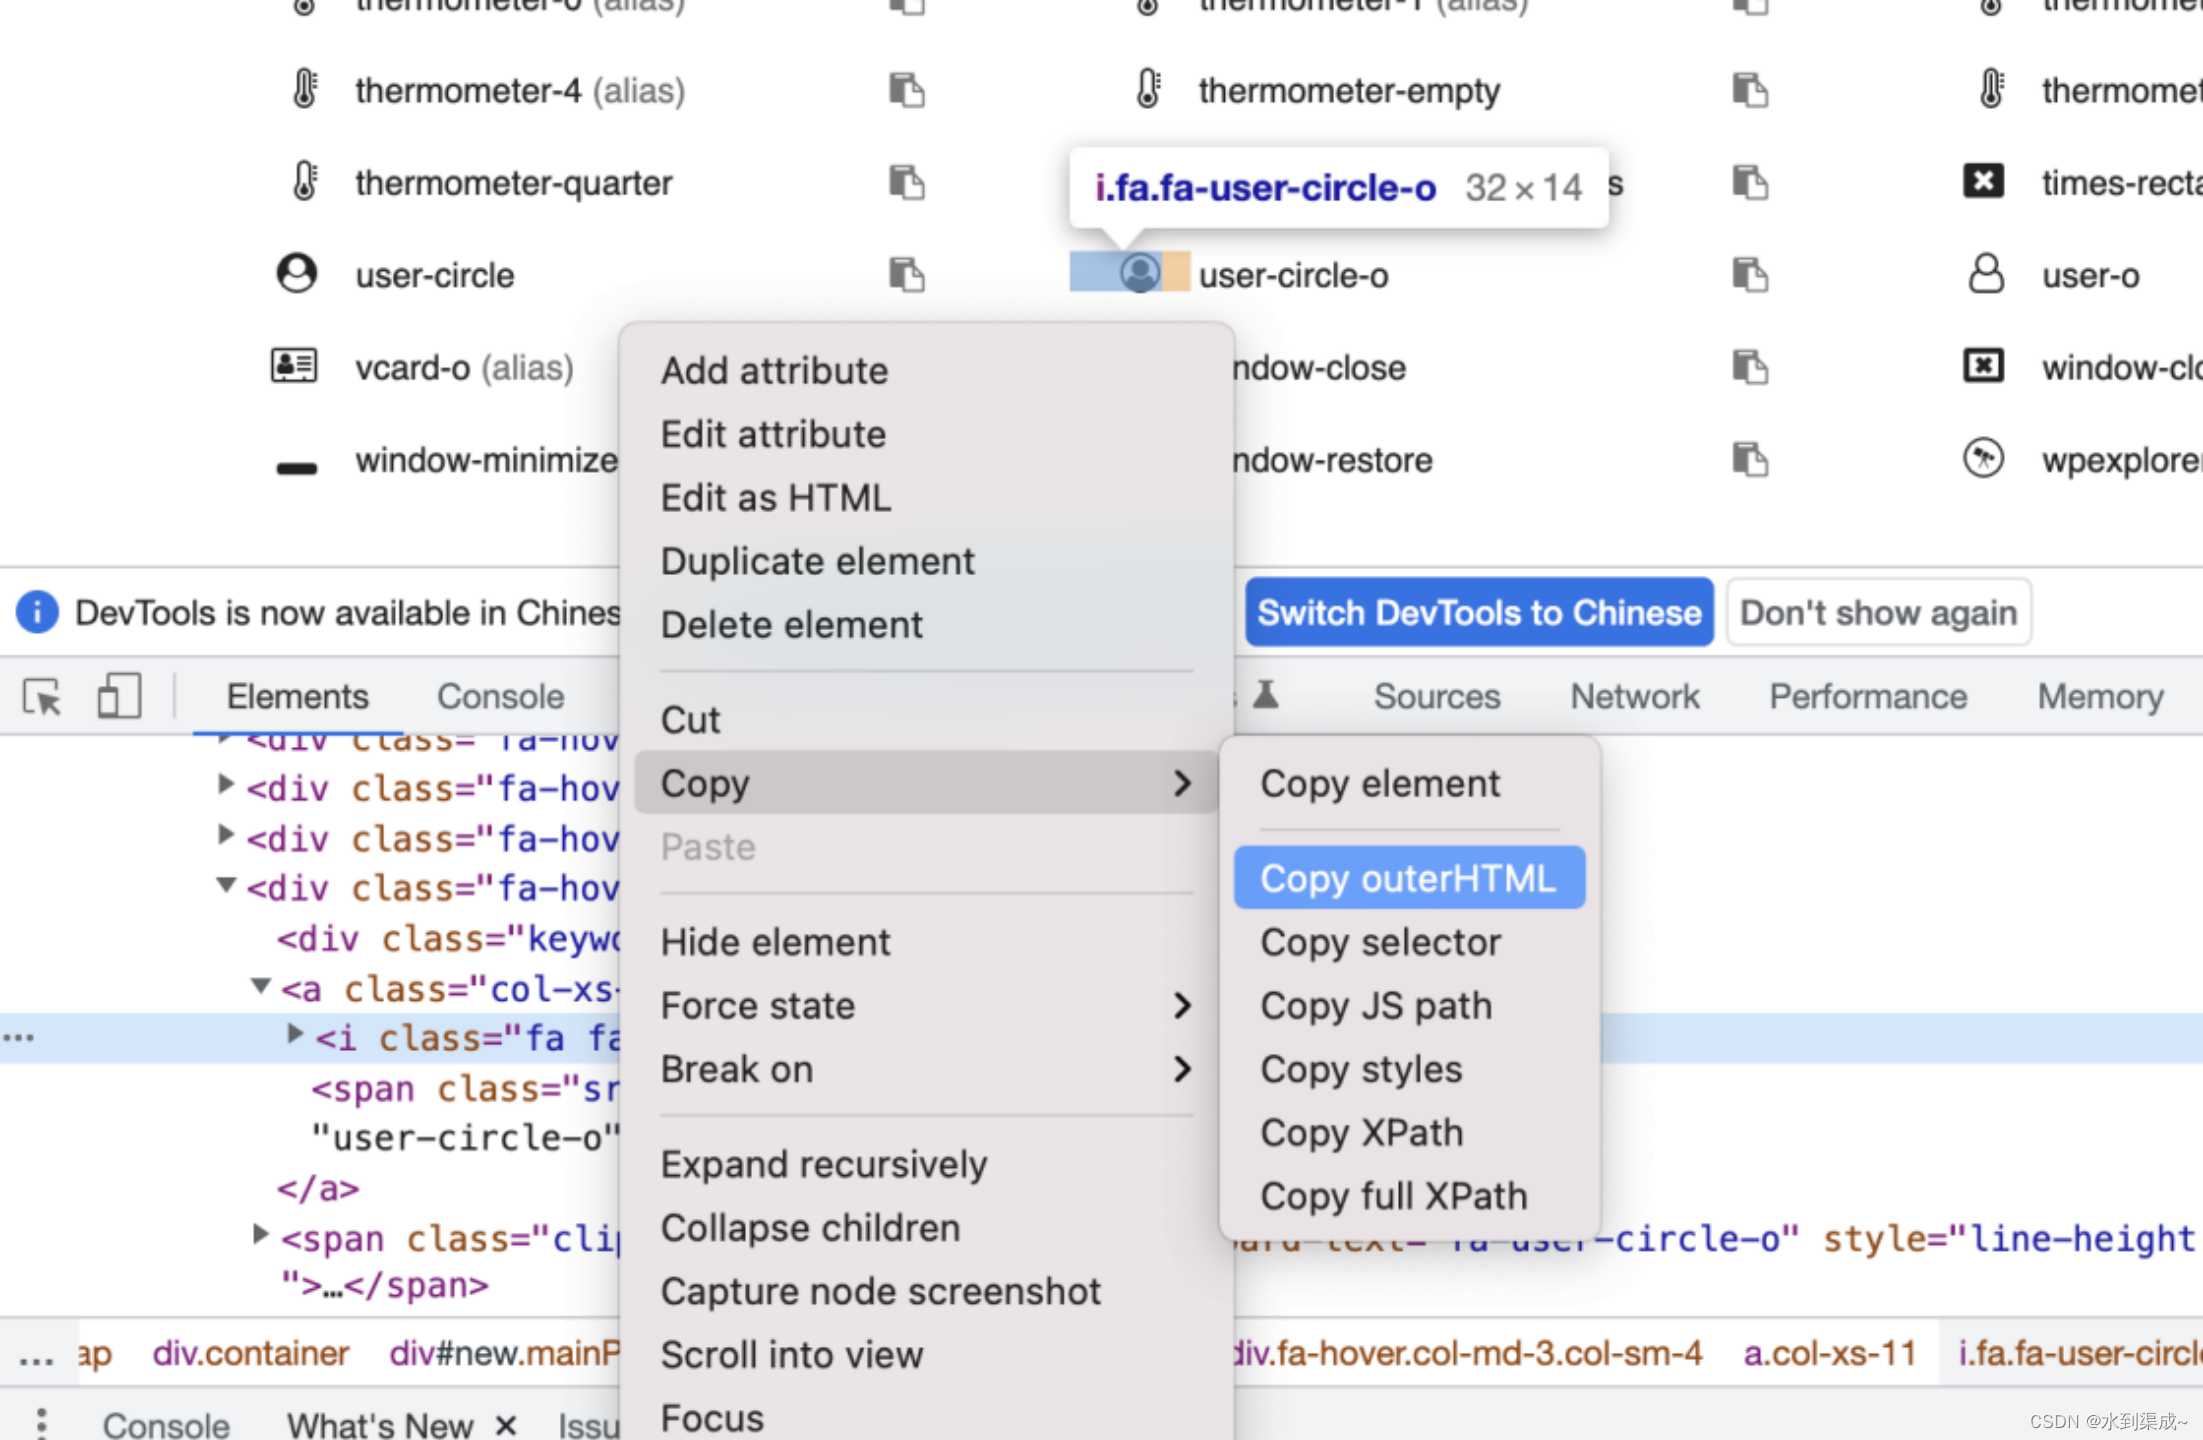
<label for="exampleInputEmail1">用户名<i class="fa fa-user-circle-o" aria-hidden="true"></i></label>
<label for="exampleInputPassword1">密码<i class="fa fa-key fa-fw"></i></label>
看下效果没有那么光秃秃了
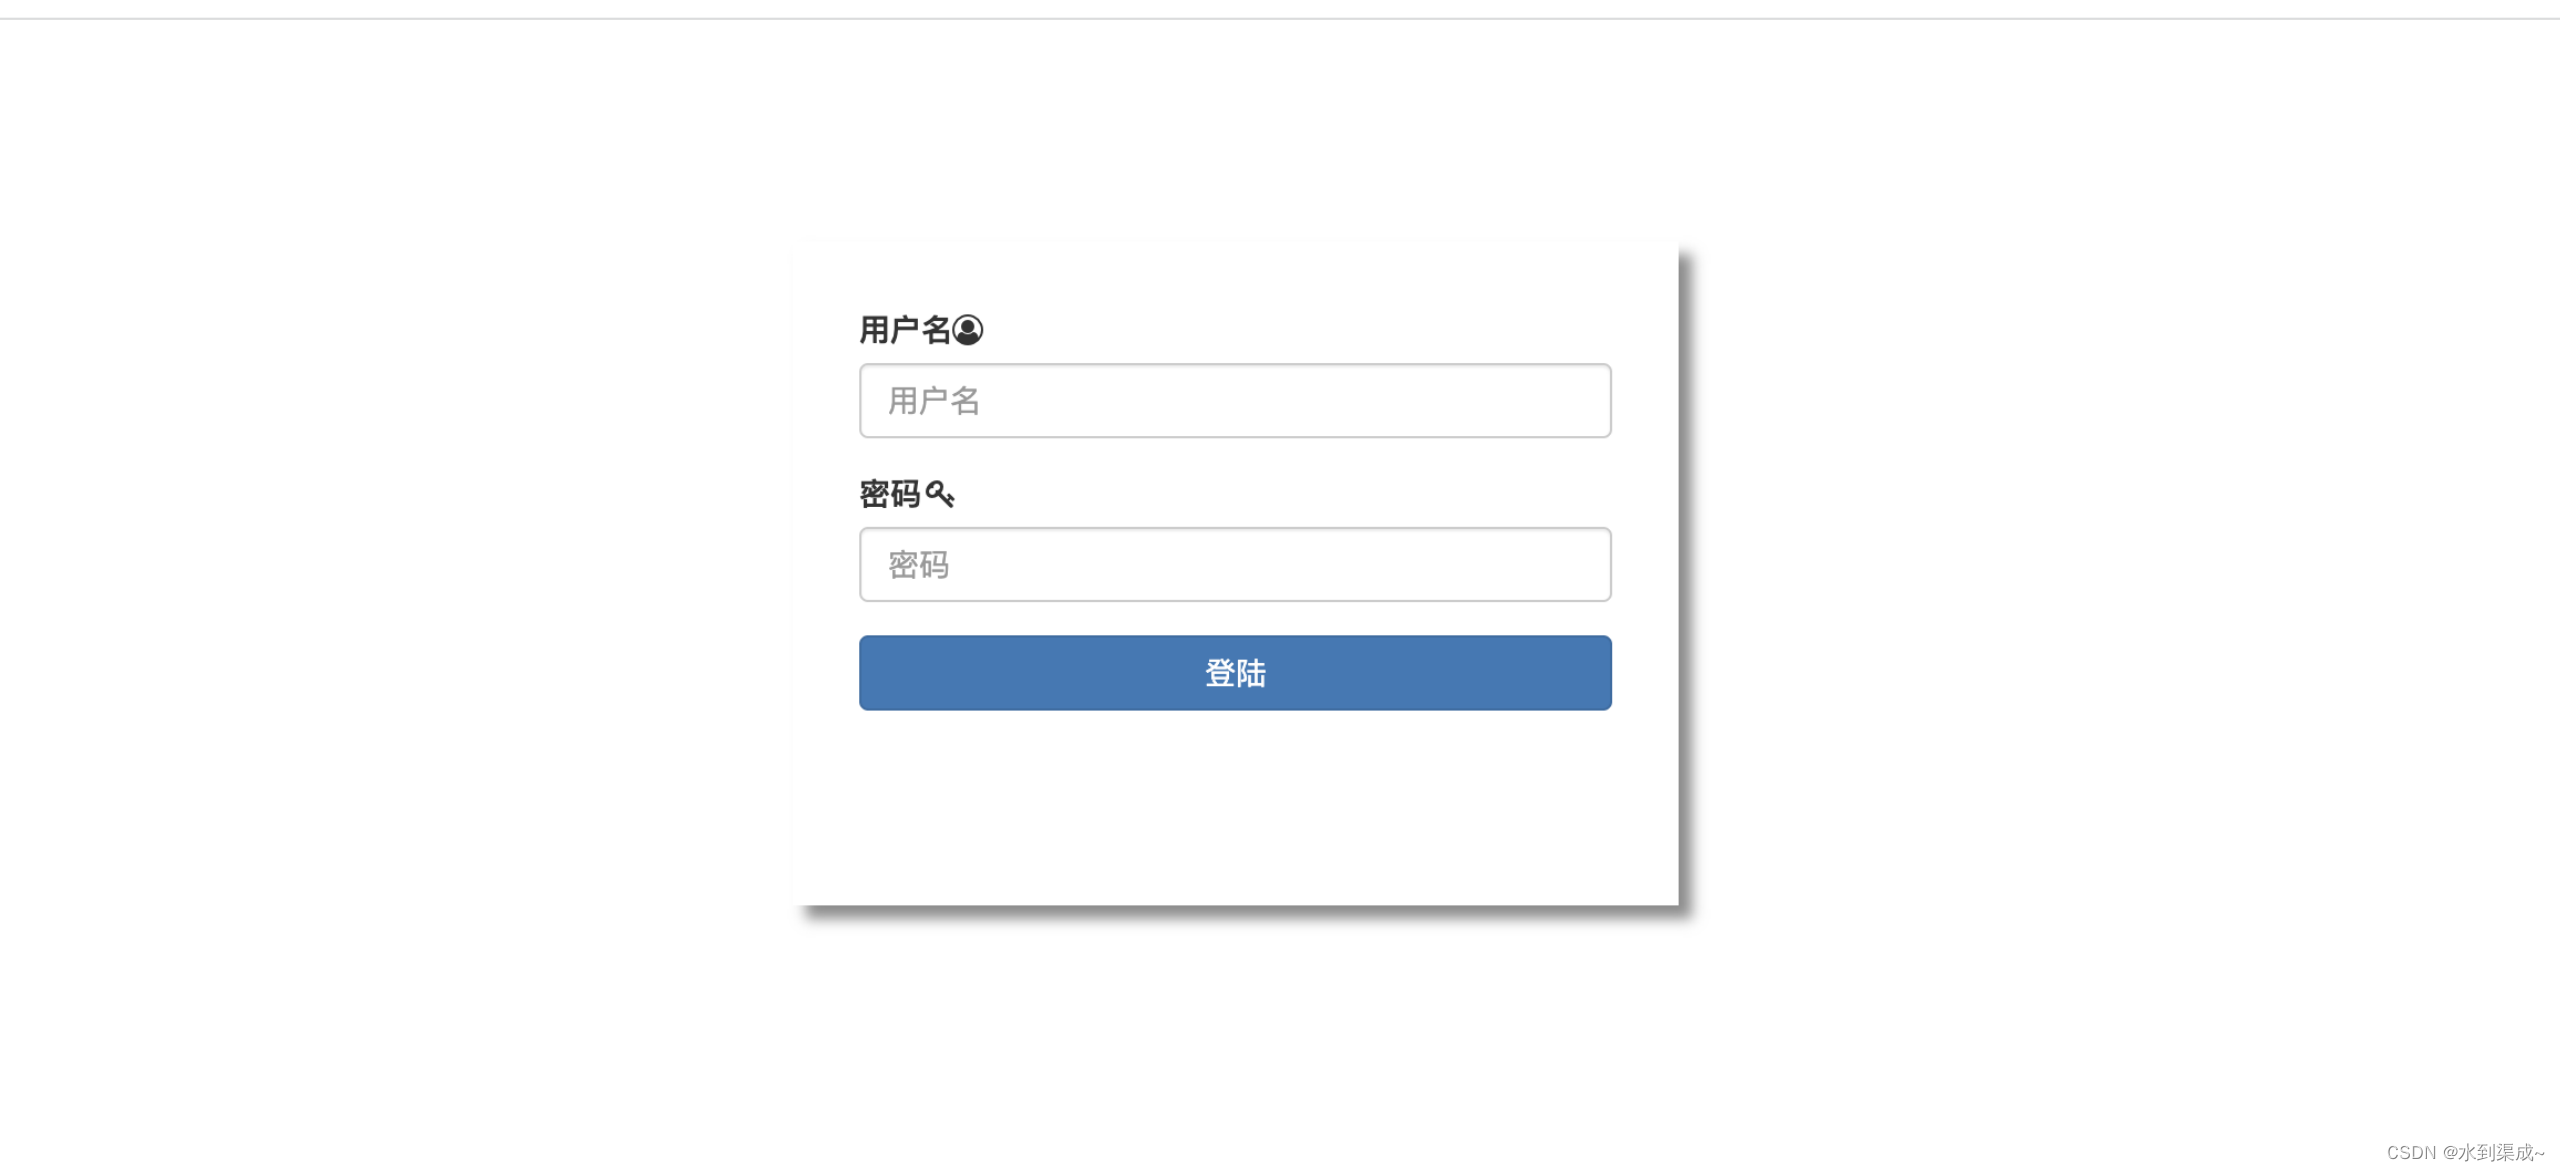
更多使用场景需要根据自己的需求来综合使用,样式地址:
https://v3.bootcss.com/css/
https://fontawesome.dashgame.com/


