走过路过发现 bug 请指出,拯救一个辣鸡(但很帅)的少年就靠您啦!!!
1. 为什么需要 Javascipt 模块化?
1.解决命名冲突。将所有变量都挂载在到全局 global 会引用命名冲突的问题。模块化可以把变量封装在模块内部。
2.解决依赖管理。Javascipt 文件如果存在相互依赖的情况就需要保证被依赖的文件先被加载。使用模块化则无需考虑文件加载顺序。
3.按需加载。如果引用 Javascipt 文件较多,同时加载会花费加多时间。使用模块化可以在文件被依赖的时候被加载,而不是进入页面统一加载。
4.代码封装。将相同功能代码封装起来方便后续维护和复用。
2. 你知道哪几种模块化规范?
CommonJS
Node.js 采用了 CommonJS 模块规范。
CommonJS 规范规定,每个模块内部,module 变量代表当前模块。这个变量是一个对象,它的 exports 属性(即 module.exports )是对外的接口。加载某个模块,其实是加载该模块的 module.exports 属性。使用 require 方法加载模块。模块加载的顺序,按照其在代码中出现的顺序。
模块可以多次加载,但是只会在第一次加载时运行一次,然后运行结果就被缓存了,以后再加载,就直接读取缓存结果。要想让模块再次运行,必须清除缓存。
引入模块得到的值其实是模块输出值的拷贝,如果是复杂对象则为浅拷贝。
// a.js
let count = 1;
function inc() {count++;
}
module.exports = {count: count,inc: inc
};
// b.js
const a = require('./a.js');

console.log(a.count); // 1
a.inc();
console.log(a.count); // 1
因为 CommonJS 输出的是值的浅拷贝,也就是说 count 在输出后就不再和原模块的 count 有关联。
在 Node 中每一个模块都是一个对象,其有一个 exports 属性,就是文件中指定的 module.exports,当我们通过 require 获取模块时,得到的就是 exports 属性。再看另一个例子:
// a.js
module.exports = 123;

setTimeout(() => {module.exports = 456;
}, 1000);

// b.js
console.log(require('./a.js')); // 123

setTimeout(() => {console.log(require('./a.js')); // 456
}, 2000);
模块的 module.exports 值改变了,我们通过 require 获取模块的值也会发生变化。
CommonJS 使用了同步加载,即加载完成后才进行后面的操作,所以比较适合服务端,如果用在浏览器则可能导致页面假死。
AMD
AMD(Asynchronous Module Definition,异步加载模块定义)。这里异步指的是不堵塞浏览器其他任务(dom构建,css渲染等),而加载内部是同步的(加载完模块后立即执行回调)。 AMD 也采用 require 命令加载模块,但是不同于 CommonJS,它要求两个参数,依赖模块和回调:
require([module], callback);
以 RequireJS 示例, 具体语法可以参考 requirejs.org/
简单提供一下代码示例,方便后续理解。
定义两个模块 calc 和 log 模块
// calc.js
define(function(require, factory) {function add(...args) {return args.reduce((prev, curr) => prev + curr, 0);}return {add}
});
// log.js
define(function(require, factory) {function log(...args) {console.log('---log.js---');console.log(...args)}return log
});
在 index.js 中引用两个模块
require(['./calc.js', './log.js'], function (calc, log) {log(calc.add(1,2,3,4,5));
});
在 HTML 中引用
<script src="./require.js"></script>
<script src="./index.js"></script>
可以看到在被依赖模块加载完成后会把返回值作为依赖模块的参数传入,在被加载模块全部执行完成后可以去执行加载模块。
UMD
UMD(Universal Module Definition,通用模块定义),所谓的通用,就是兼容了 CommonJS 和 AMD 规范,这意味着无论是在 CommonJS 规范的项目中,还是 AMD 规范的项目中,都可以直接引用 UMD 规范的模块使用。
原理其实就是在模块中去判断全局是否存在 exports 和 define,如果存在 exports,那么以 CommonJS 的方式暴露模块,如果存在 define 那么以 AMD 的方式暴露模块:
(function (root, factory) {if (typeof define === "function" && define.amd) {define(["jquery", "underscore"], factory);} else if (typeof exports === "object") {module.exports = factory(require("jquery"), require("underscore"));} else {root.Requester = factory(root.$, root._);}
}(this, function ($, _) {// this is where I defined my module implementationconst Requester = { // ... };return Requester;
}));
ESM (ES6 模块)
CommonJS 和 AMD 模块,都只能在运行时确定输入输出,而 ES6 模块是在编译时就能确定模块的输入输出,模块的依赖关系。
在 Node.js 中使用 ES6 模块需要在 package.json 中指定 {"type": "module"}。
在浏览器环境使用 ES6 模块需要指定 <script type="module" src="module.js"></script>
ES6 模块通过 import 和 export 进行导入导出。ES6 模块中 import 的值是原始值的动态只读引用,即原始值发生变化,引用值也会变化。
import 命令具有提升效果,会提升到整个模块的头部,优先执行。
// a.js
export const obj = {a: 5
}
// b.js
console.log(obj)
import { obj } from './a.js'

// 运行 b.js 输出: { a: 5 }
import,export 指定必须处理模块顶层,也就是说不能在 if、for 等语句内。下面这种使用方式是不合法的。
if (expr) {import val from 'some_module'; // error!
}
UMD 通常是在 ESM 不起作用情况下备用,未来趋势是浏览器和服务器都会支持 ESM。
由于 ES6 模块是在编译阶段执行的,可以更好的在编译阶段进行代码优化,如 Tree Shaking 就是依赖 ES6 模块去静态分析代码而删除无用代码。
3. CommonJS 和 ES6 模块的区别
CommonJS模块输出的是一个值的拷贝,ES6模块输出的是值的引用。*CommonJS模块是运行时加载,ES6模块是编译时输出接口。*CommonJs是单个值导出,ES6 Module可以导出多个*CommonJs是动态语法可以写在判断里,ES6 Module静态语法只能写在顶层*CommonJs的this是当前模块,ES6 Module的this是undefined4. CommonJS 和 AMD 实现原理
CommonJS
我们通过写一个简单的 demo 实现 CommonJS 来理解其原理。
1、实现文件的加载和执行
我们在用 Node.js 时都知道有几个变量和函数是不需要引入可以直接使用的,就是 require(),__filename,__dirname,exports,module。这些变量都是 Node.js 在执行文件时注入进去的。
举个栗子,我们创建一个 add.js 文件,导出一个 add() 函数:
function add(a, b) {return a + b;
}

module.exports = add;
现在我们要加载并执行这个文件,我们可以通过 fs.readFileSync 加载文件。
const fs = require("fs");

// 同步读取文件
const data = fs.readFileSync("./add.js", "utf8"); // 文件内容
我们要在执行时传入 require(),__filename,__dirname,exports,module 这几个参数,可以在一个函数中执行这段代码,而函数的参数就是这几个参数即可。我们简单的创建一个函数,函数的内容就是刚才我们加载的文件内容,参数名依次是规范要求注入的几个参数。
// 通过 new Function 生成函数,参数分别是函数的入参和函数的内容
const compiledWrapper = new Function("exports","require","module","__filename","__dirname",data
);
现在我们执行这个函数,先不考虑 require,__filename 和 __dirname,只传 exports 和 module。
const mymodule = {};

const myexports = (mymodule.exports = {});
// 执行函数并传入 module 和 export
compiledWrapper.call(myexports, null, myexports, mymodule, null, null);
现在我们可以简单的了解导出变量的原理,我们把 module 传给函数,在函数中,把需要导出的内容挂在 module 上,我们就可以通过 module 获取导出内容了。
而 exports 只是 module.exports 的一个引用,我们可以给 module.exports 赋值,也可以通过 exports.xxx 形式赋值,这样也相当于给 module.exports.xxx 赋值。但是如果直接给 exports 赋值将不生效,因为这样 exports 就和 module 没关系了,我们本质上还是要把导出结果赋值给 module.exports 。
现在的完整代码贴一下:
const fs = require("fs");

// 同步读取文件
const data = fs.readFileSync("./add.js", "utf8"); // 文件内容
// 创建函数
const compiledWrapper = new Function("exports","require","module","__filename","__dirname",data
);

const mymodule = {};
const myexports = (mymodule.exports = {});
// 执行函数并传入 module 和 export
compiledWrapper.call(myexports, null, myexports, mymodule, null, null);

console.log(mymodule, myexports, mymodule.exports(1, 2));
// { exports: [Function: add] } {} 3
我们可以获取了 add 函数,并成功调用。
2、引用文件
我们刚才已经成功加载并执行了文件,如何在另一个文件通过 require 引用呢。其实就是把上面的操作封装一下。
不过现在我们把参数全部传进去,require,__filename 和 __dirname,分别是我们当前实现的 require 函数,加载文件的文件路径,加载文件的目录路径。
const fs = require('fs');
const path = require('path');

function _require(filename) {// 同步读取文件const data = fs.readFileSync(filename, 'utf8'); // 文件内容const compiledWrapper = new Function('exports','require','module','__filename','__dirname',data);const mymodule = {};const myexports = (mymodule.exports = {});const _filename = path.resolve(filename)const _dirname = path.dirname(_filename);compiledWrapper.call(myexports, _require, myexports, mymodule, _filename, _dirname);return mymodule.exports
}

const add = _require('./add.js')

console.log(add(12, 13)); // 25
3、模块缓存
现在就实现了文件的加载和引用,现在还差一点,就是缓存。之前说过,一个模块只会加载一次,然后在全局缓存起来,所以需要在全局保存缓存对象。
// add.js
console.log('[add.js] 加载文件....')
function add(a, b) {return a + b;
}
module.exports = add;

// require.js
const fs = require('fs');
const path = require('path');

// 把缓存对象原型设置为null 防止通过原型链查到同名的key (比如一个模块叫 toString
const _cache = Object.create(null);

function _require(filename) {const cachedModule = _cache[filename];if (cachedModule) {// 如果存在缓存就直接返回return cachedModule.exports;}// 同步读取文件const data = fs.readFileSync(filename, 'utf8'); // 文件内容const compiledWrapper = new Function('exports','require','module','__filename','__dirname',data);const mymodule = {};const myexports = (mymodule.exports = {});const _filename = path.resolve(filename);const _dirname = path.dirname(_filename);compiledWrapper.call(myexports,_require,myexports,mymodule,_filename,_dirname);_cache[filename] = mymodule;return mymodule.exports;
}

const add1 = _require('./add.js');
const add2 = _require('./add.js');

console.log(add1(12, 13)); // [add.js] 加载文件.... 25
console.log(add2(13, 14)); // 27
可以看到加了缓存后,引用了两次模块,但只加载了一次。
一个简单的 CommonJS 规范实现就完成了。
AMD
上面提供了 RequireJS 的示例代码,打开控制台可以发现 HTML 中被添加了两个 <script> 标签,引入了程序中依赖的两个文件。
这样我们可以推测 RequireJS 的实现原理,就是在执行程序的过程中,发现依赖文件未被引用,就在 HTML 中插入一个 <script> 节点引入文件。
这里涉及一个知识点,我们可以看到被 RequireJS 插入的标签都设置了 async 属性。
- 如果我们直接使用
script脚本的话,HTML 会按照顺序来加载并执行脚本,在脚本加载&执行的过程中,会阻塞后续的DOM渲染。 - 如果设置了
async,脚本会异步加载,并在加载完成后立即执行。 - 如果设置了
defer,浏览器会异步的下载文件并且不会影响到后续DOM的渲染,在文档渲染完毕后,DOMContentLoaded事件调用前执行,按照顺序执行所有脚本。
所以我们可以推测 RequireJS 原理,通过引入 <script> 标签异步加载依赖文件,等依赖文件全部加载完成,把文件的输入作为参数传入依赖文件。
最后
整理了75个JS高频面试题,并给出了答案和解析,基本上可以保证你能应付面试官关于JS的提问。
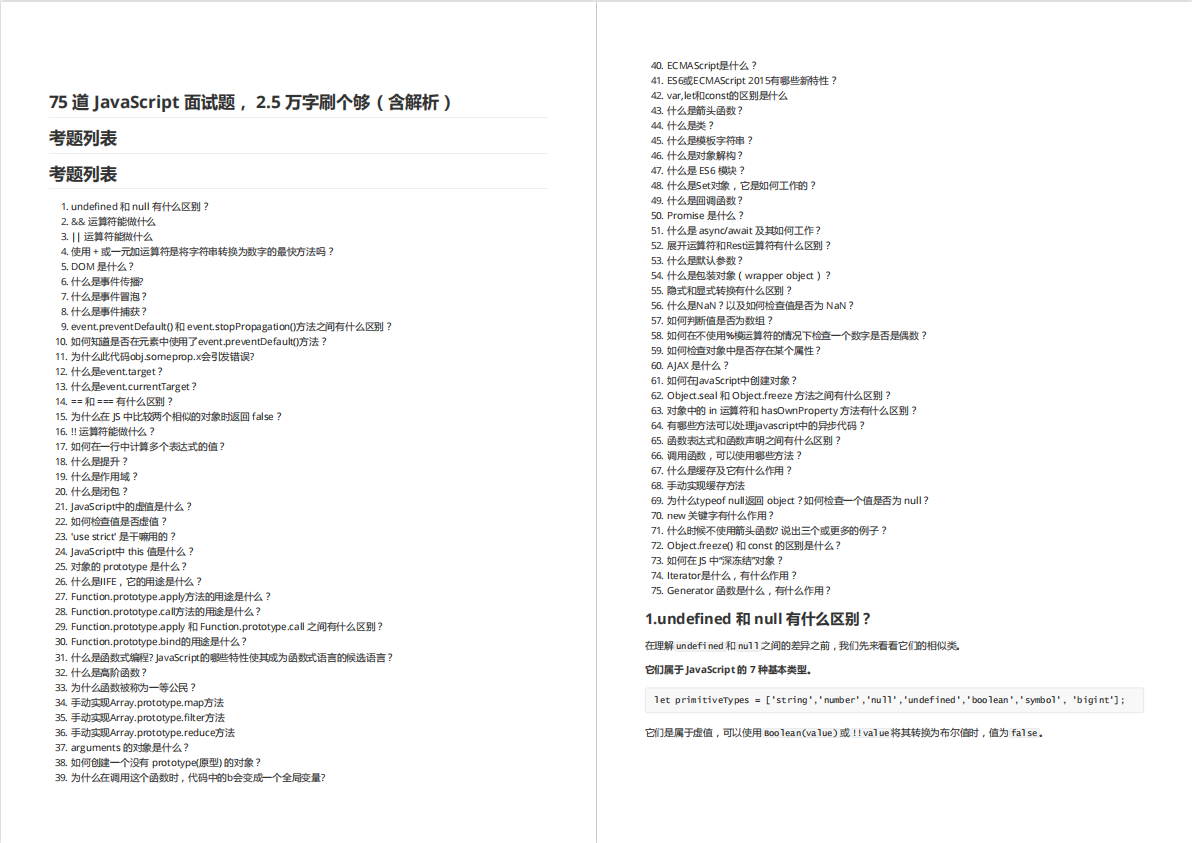

有需要的小伙伴,可以点击下方卡片领取,无偿分享


