飞天使-k8s知识点17-kubernetes实操2-pod探针的使用

news2024/12/27 23:54:59

文章目录

        • 探针的使用
          • 容器探针启动实验1-启动探针的使用-startupprobe
          • Liveness Probes 和 Readiness Probes
            • 演示
            • 若存在started.html 则进行

探针的使用
kubectl edit deploy -n kube-system coredns

livenessprobe 的使用 

        livenessProbe:
          failureThreshold: 5
          httpGet:
            path: /health
            port: 8080
            scheme: HTTP
          initialDelaySeconds: 60
          periodSeconds: 10
          successThreshold: 1
          timeoutSeconds: 5


 readinessProbe
        
        readinessProbe:
          failureThreshold: 3
          httpGet:
            path: /ready
            port: 8181
            scheme: HTTP
          periodSeconds: 10
          successThreshold: 1
          timeoutSeconds: 1

kubectl edit po nginx 

kubectl describe po nginx-daemon
最下面有容器启动时候相关日志

容器探针启动实验1-启动探针的使用-startupprobe
Events:
  Type     Reason     Age               From               Message
  ----     ------     ----              ----               -------
  Normal   Scheduled  20s               default-scheduler  Successfully assigned default/my-pod1 to ha2.example.local
  Normal   Pulled     20s               kubelet            Container image "nginx:1.7.9" already present on machine
  Normal   Created    20s               kubelet            Created container nginx
  Normal   Started    20s               kubelet            Started container nginx
  Warning  Unhealthy  4s (x2 over 14s)  kubelet            Startup probe failed: HTTP probe failed with statuscode: 404
[root@kubeadm-master1 test]# kubectl get pod
NAME                                 READY   STATUS    RESTARTS   AGE
client                               1/1     Running   0          48d
my-pod                               1/1     Running   0          7d23h
my-pod1                              0/1     Running   0          37s
net-test1                            1/1     Running   133        55d
net-test2                            1/1     Running   13         55d
nginx-deployment-67dfd6c8f9-5s6nz    1/1     Running   1          55d
tomcat-deployment-6c44f58b47-4pz6d   1/1     Running   1          55d
[root@kubeadm-master1 test]# kubectl get pod
NAME                                 READY   STATUS    RESTARTS   AGE
client                               1/1     Running   0          48d
my-pod                               1/1     Running   0          7d23h
my-pod1                              0/1     Running   0          42s
net-test1                            1/1     Running   133        55d
net-test2                            1/1     Running   13         55d
nginx-deployment-67dfd6c8f9-5s6nz    1/1     Running   1          55d
tomcat-deployment-6c44f58b47-4pz6d   1/1     Running   1          55d
[root@kubeadm-master1 test]# cat nginx-po.yaml
apiVersion: v1
kind: Pod
metadata:
  name: my-pod1
  labels:
    type: app
    test: "1.0.0"
  namespace: default
spec:
  containers:
  - name: nginx
    image: nginx:1.7.9
    imagePullPolicy: IfNotPresent
    command:
    - nginx
    - -g
    - 'daemon off;'
    workingDir: /usr/share/nginx/html
    ports:
    - name: http
      containerPort: 80
      protocol: TCP
    env:
    - name: JVM_OPTS
      value: '-Xms128m -Xmx128m'
    resources:
      requests:
        cpu: 100m
        memory: 128Mi
      limits:
        cpu: 200m
        memory: 256Mi
    startupProbe:
      httpGet:
        path: /api/path
        port: 80
      failureThreshold: 3
      periodSeconds: 10
      successThreshold: 1
      timeoutSeconds: 5
  restartPolicy: OnFailure
Liveness Probes 和 Readiness Probes
用于检查容器是否还在运行。如果 liveness 探针失败,Kubernetes 将杀死容器,并根据其重启策略来处理。
用于检查容器是否已经准备好接收流量。如果 readiness 探针失败,Kubernetes 将不会将流量路由到该容器。

定义了一个 startupProbe,它在容器启动后通过 HTTP GET 请求检查 /api/path 端点。现在我们将添加 livenessProbe 和 readinessProbe。

一个 livenessProbe 可以如下定义:

livenessProbe:
  httpGet:
    path: /api/health
    port: 80
  initialDelaySeconds: 30
  periodSeconds: 10
这个 livenessProbe 会在容器启动后的30秒开始工作,每10秒检查一次 /api/health 端点。

一个 readinessProbe 可以如下定义:

readinessProbe:
  httpGet:
    path: /api/ready
    port: 80
  initialDelaySeconds: 5
  periodSeconds: 5
这个 readinessProbe 会在容器启动后的5秒开始工作,每5秒检查一次 /api/ready 端点。


演示
[root@kubeadm-master1 test]# cat liveness.yml
apiVersion: v1
kind: Pod
metadata:
  name: my-pod1
  labels:
    type: app
    test: "1.0.0"
  namespace: default
spec:
  containers:
  - name: nginx
    image: nginx:1.7.9
    imagePullPolicy: IfNotPresent
    command:
    - nginx
    - -g
    - 'daemon off;'
    workingDir: /usr/share/nginx/html
    ports:
    - name: http
      containerPort: 80
      protocol: TCP
    env:
    - name: JVM_OPTS
      value: '-Xms128m -Xmx128m'
    resources:
      requests:
        cpu: 100m
        memory: 128Mi
      limits:
        cpu: 200m
        memory: 256Mi
    startupProbe:
      httpGet:
        path: /api/path
        port: 80
      failureThreshold: 3
      periodSeconds: 10
      successThreshold: 1
      timeoutSeconds: 5
    livenessProbe:
      httpGet:
        path: /api/health
        port: 80
      initialDelaySeconds: 30
      periodSeconds: 10
    readinessProbe:
      httpGet:
        path: /api/ready
        port: 80
      initialDelaySeconds: 5
      periodSeconds: 5
  restartPolicy: OnFailure


    State:          Running
      Started:      Thu, 15 Feb 2024 15:15:19 +0800
    Ready:          False
    Restart Count:  0
    Limits:
      cpu:     200m
      memory:  256Mi
    Requests:
      cpu:      100m
      memory:   128Mi
    Liveness:   http-get http://:80/api/health delay=30s timeout=1s period=10s #success=1 #failure=3
    Readiness:  http-get http://:80/api/ready delay=5s timeout=1s period=5s #success=1 #failure=3
    Startup:    http-get http://:80/api/path delay=0s timeout=5s period=10s #success=1 #failure=3
    Environment:
      JVM_OPTS:  -Xms128m -Xmx128m
    Mounts:
      /var/run/secrets/kubernetes.io/serviceaccount from default-token-75cq9 (ro)
Conditions:
  Type              Status
  Initialized       True
  Ready             False
  ContainersReady   False
  PodScheduled      True
Volumes:
  default-token-75cq9:
    Type:        Secret (a volume populated by a Secret)
    SecretName:  default-token-75cq9
    Optional:    false
QoS Class:       Burstable
Node-Selectors:  <none>
Tolerations:     node.kubernetes.io/not-ready:NoExecute op=Exists for 300s
                 node.kubernetes.io/unreachable:NoExecute op=Exists for 300s
Events:
  Type     Reason     Age               From               Message
  ----     ------     ----              ----               -------
  Normal   Scheduled  19s               default-scheduler  Successfully assigned default/my-pod1 to ha2.example.local
  Normal   Pulled     19s               kubelet            Container image "nginx:1.7.9" already present on machine
  Normal   Created    19s               kubelet            Created container nginx
  Normal   Started    19s               kubelet            Started container nginx
  Warning  Unhealthy  2s (x2 over 12s)  kubelet            Startup probe failed: HTTP probe failed with statuscode: 404


若存在started.html 则进行

在这里插入图片描述

本文来自互联网用户投稿,该文观点仅代表作者本人,不代表本站立场。本站仅提供信息存储空间服务,不拥有所有权,不承担相关法律责任。如若转载,请注明出处:http://www.coloradmin.cn/o/1449632.html

如若内容造成侵权/违法违规/事实不符,请联系多彩编程网进行投诉反馈,一经查实,立即删除!

相关文章

谷歌搜索技巧与 ChatGPT 实用指南:提升你的在线生产力

探索谷歌搜索技巧&#xff0c;提升搜索效率 前言 在搜索三巨头百度、必应、谷歌中&#xff0c;谷歌在搜索精确度以及多语言兼容性方面有明显的优势。其次在国内想要使用谷歌搜索你需要会科学上网&#xff08;这里不说&#xff09;。 一.排除干扰内容&#xff08;广告&#xff…

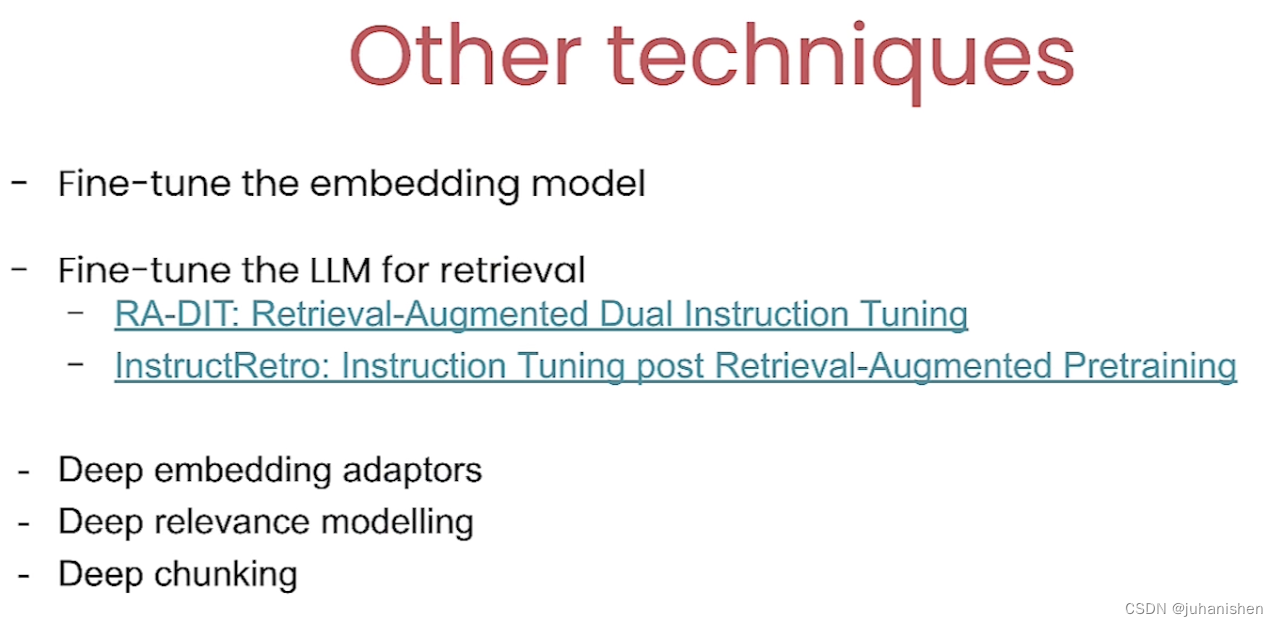
RAG (Retrieval Augmented Generation)简介

1. 背景 目前大模型很多&#xff0c;绝大部分大模型都是通用型大模型&#xff0c;也就是说使用的是标准的数据&#xff0c;比如wikipedia&#xff0c;百度百科&#xff0c;。。。。 中小型企业一般都有自己的知识库&#xff0c;而这些知识库的数据没有在通用型的大模型中被用到…

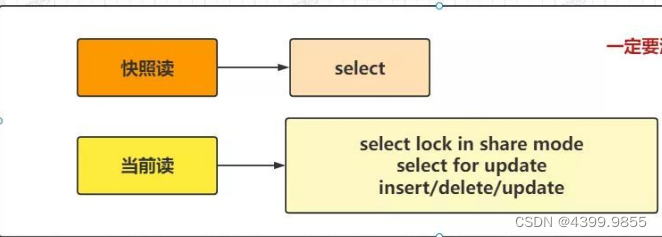
mysql数据库 mvcc

在看MVCC之前我们先补充些基础内容&#xff0c;首先来看下事务的ACID和数据的总体运行流程 数据库整体的使用流程: ACID流程图 mysql核心日志: 在MySQL数据库中有三个非常重要的日志binlog,undolog,redolog. mvcc概念介绍&#xff1a; MVCC&#xff08;Multi-Version Concurr…

【MySQL】外键约束的删除和更新总结

&#x1f308;个人主页: Aileen_0v0 &#x1f525;热门专栏: 华为鸿蒙系统学习|计算机网络|数据结构与算法 ​&#x1f4ab;个人格言:“没有罗马,那就自己创造罗马~” #mermaid-svg-7niJLSFaPo0wso60 {font-family:"trebuchet ms",verdana,arial,sans-serif;font-siz…

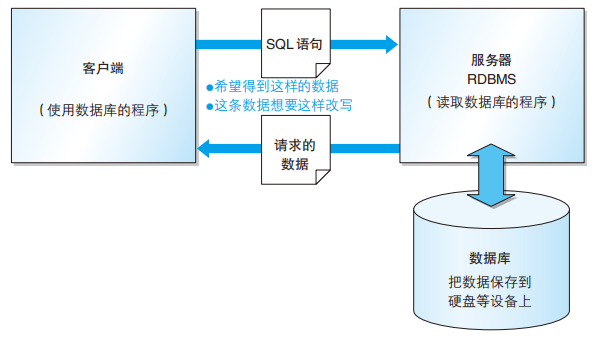
MySQL 基础知识(一)之数据库和 SQL 概述

目录 1 数据库相关概念 2 数据库的结构 ​3 SQL 概要 4 SQL 的基本书写规则 1 数据库相关概念 数据库是将大量的数据保存起来&#xff0c;通过计算机加工而成的可以进行高效访问的数据集合数据库管理系统&#xff08;DBMS&#xff09;是用来管理数据库的计算机系统&#xf…

HCIA-HarmonyOS设备开发认证V2.0-轻量系统内核基础-互斥锁mux

目录 一、互斥锁基本概念二、互斥锁运行机制三、互斥锁开发流程四、互斥锁使用说明五、互斥锁接口六、代码分析&#xff08;待续...&#xff09; 一、互斥锁基本概念 互斥锁又称互斥型信号量&#xff0c;是一种特殊的二值性信号量&#xff0c;用于实现对共享资源的独占式处理。…

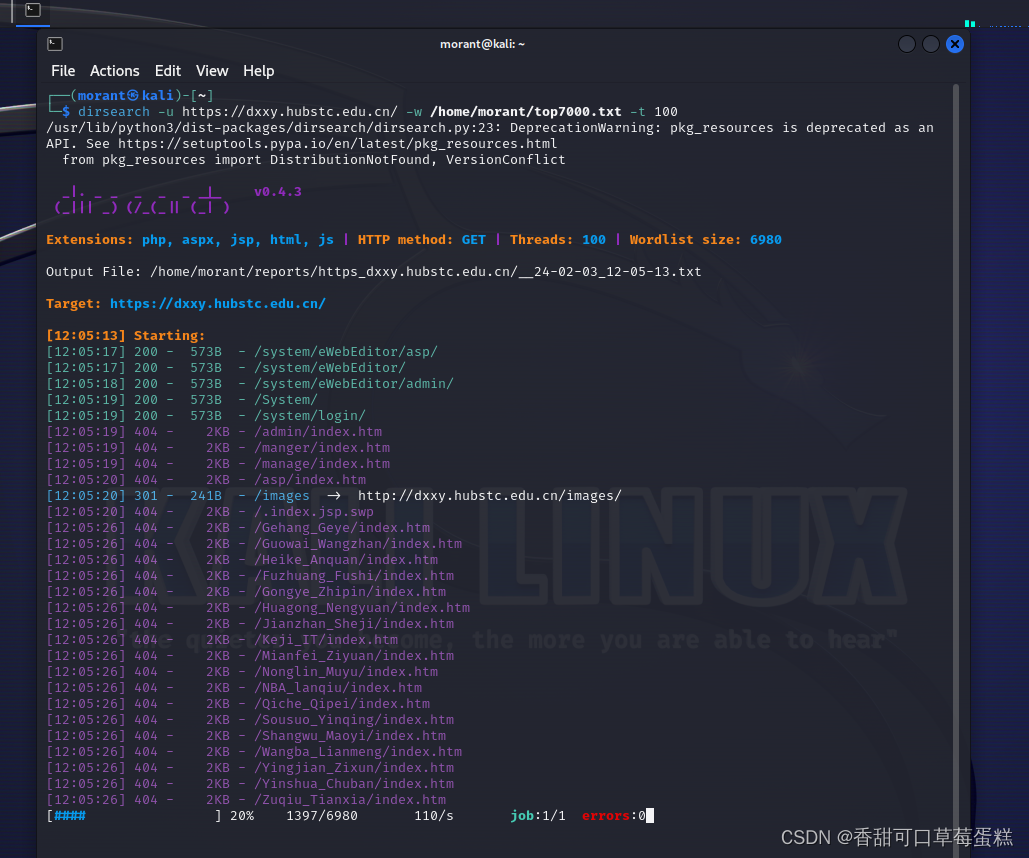
Web 目录爆破神器:Dirsearch 保姆级教程

一、介绍 dirsearch 是一款用于目录扫描的开源工具&#xff0c;旨在帮助渗透测试人员和安全研究人员发现目标网站上的隐藏目录和文件。与 dirb 类似&#xff0c;它使用字典文件中的单词构建 URL 路径&#xff0c;然后发送 HTTP 请求来检查这些路径是否存在。 以下是 dirsearc…

Python算法深度探索:从基础到进阶

引言 本文将引导您从Python的基础算法出发&#xff0c;逐步深入到更复杂的算法领域。我们将探讨数组操作、图算法以及机器学习中的常用算法&#xff0c;并通过实例和代码展示它们在实际应用中的价值。 1. 基础算法&#xff1a;数组操作 数组操作是算法实现中非常基础且重要的一…

预算紧缩下创新创业者应采取哪3个策略来保持创新?

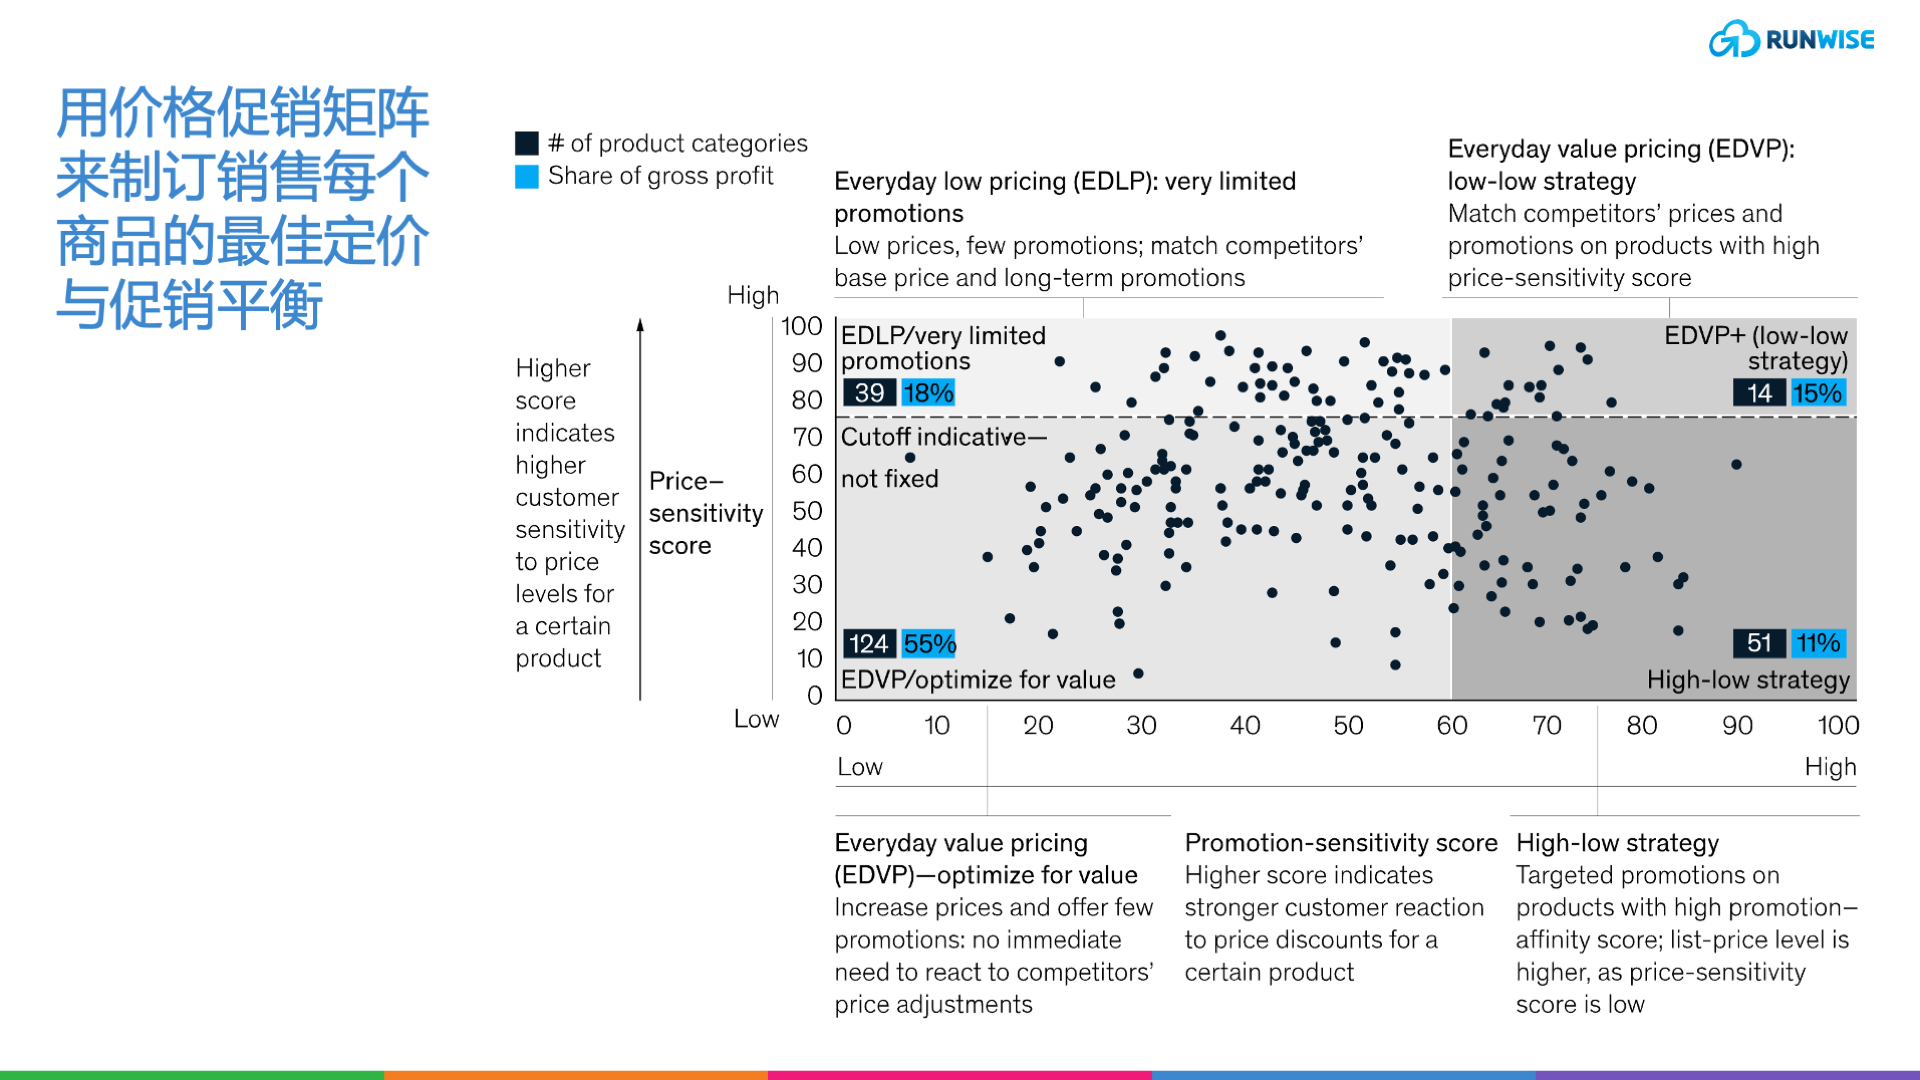
在今天越来越饱和的消费市场中&#xff0c;品牌零售通过复杂、过度的的促销、折扣、优惠券和忠诚度奖励来吸引消费者&#xff0c;但这种做法可能削弱消费者的忠诚度&#xff0c;损害品牌声誉&#xff0c;并抑制新的收入机会。相反&#xff0c;零售商应采取更简化、以客户为中心…

【Android】使用Apktool反编译Apk文件

文章目录 1. 下载Apktool1.1 Apktool官网下载1.2 百度网盘下载 2. 安装Apktool3. 使用Apktool3.1 配置Java环境3.2 准备Apk文件3.3 反编译Apk文件3.3.1 解包Apk文件3.3.2 修改Apk文件3.3.3 打包Apk文件3.3.4 签名Apk文件 1. 下载Apktool 要使用Apktool&#xff0c;需要准备好 …

学习笔记20:牛客周赛32

D 统计子节点中1的个数即可&#xff08;类似树形dp&#xff1f;&#xff09; #include<iostream> #include<cstring> #include<cmath> #include<algorithm> #include<queue> #include<vector> #include<set> #include<map>u…

C#利用接口实现选择不同的语种

目录 一、涉及到的知识点 1.接口定义 2.接口具有的特征 3.接口通过类继承来实现 4.有效使用接口进行组件编程 5.Encoding.GetBytes(String)方法 &#xff08;1&#xff09;检查给定字符串中是否包含中文字符 &#xff08;2&#xff09;编码和还原前后 6.Encoding.GetS…

属性/成员变量

一、属性/成员变量 二、注意事项 三、创建对象

OpenCV-30 腐蚀操作

一、引入 腐蚀操作也是用卷积核扫描图像&#xff0c;只不过腐蚀操作的卷积核一般都是1&#xff08;卷积核内的每个数字都为1&#xff09;&#xff0c;如果卷积核内所有像素点都是白色&#xff0c;那么锚点&#xff08;中心点&#xff09;即为白色。 大部分时候腐蚀操作使用的都…

石子合并+环形石子合并+能量项链+凸多边形的划分——区间DP

一、石子合并 (经典例题) 设有 N 堆石子排成一排&#xff0c;其编号为 1,2,3,…,N。 每堆石子有一定的质量&#xff0c;可以用一个整数来描述&#xff0c;现在要将这 N 堆石子合并成为一堆。 每次只能合并相邻的两堆&#xff0c;合并的代价为这两堆石子的质量之和&#xff0c;…

代码随想录算法训练营第十七天|Leetcode110 平衡二叉树、Leetcode257 二叉树的所有路径、Leetcode404 左叶子之和

代码随想录算法训练营第十七天|Leetcode110 平衡二叉树、Leetcode257 二叉树的所有路径、Leetcode404 左叶子之和 ● Leetcode110 平衡二叉树● 解题思路● 代码实现 ● Leetcode257 二叉树的所有路径● 解题思路● 代码实现 ● Leetcode404 左叶子之和● 解题思路● 代码实现 …

C++集群聊天服务器 nginx+redis安装 笔记 (中)

一、nginx安装 nginx: download 下载nginx安装包 hehedalinux:~/package$ tar -zvxf nginx-1.24.0.tar.gz nginx-1.24.0/ nginx-1.24.0/auto/ nginx-1.24.0/conf/ nginx-1.24.0/contrib/ nginx-1.24.0/src/ nginx-1.24.0/configure nginx-1.24.0/LICENSE nginx-1.24.0/README…

【并发编程】ThreadPoolExecutor类

&#x1f4dd;个人主页&#xff1a;五敷有你 &#x1f525;系列专栏&#xff1a;并发编程⛺️稳重求进&#xff0c;晒太阳 ThreadPoolExecutor 1) 线程池状态 ThreadPoolExecutor 使用 int 的高 3 位来表示线程池状态&#xff0c;低 29 位表示线程数量 状态名 高三位 …

详解tomcat中的jmx监控

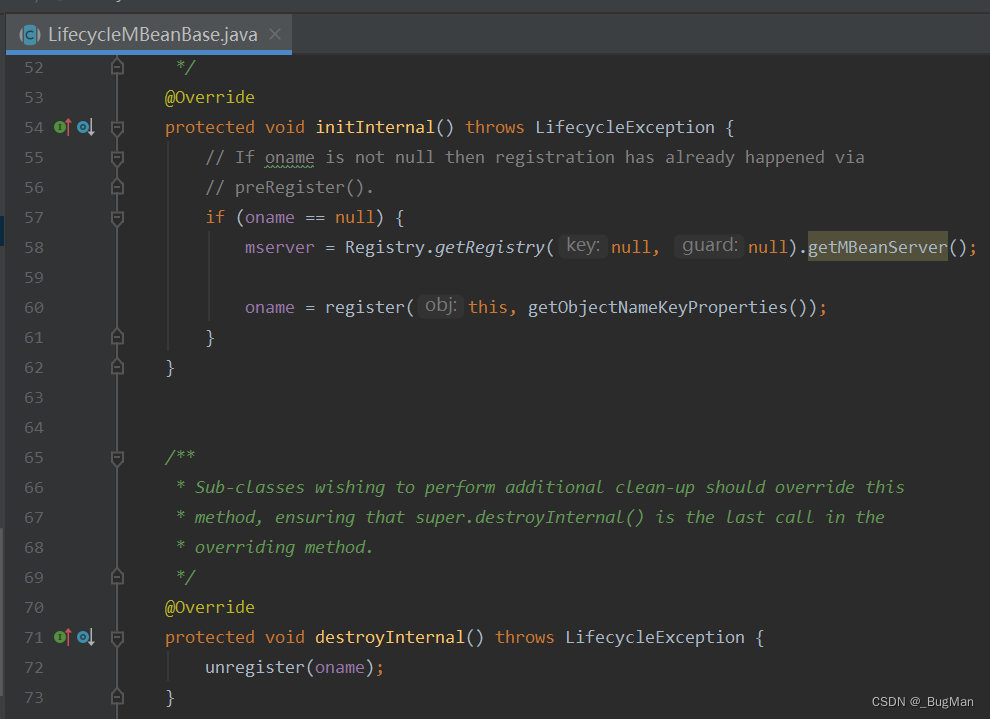
目录 1.概述 2.如何开启tomcat的JMX 3.tomcat如何实现JMX的源码分析 1.概述 本文是博主JAVA监控技术系列文章的第二篇&#xff0c;前面一篇文章中我们介绍了JAVA监控技术的基石——jmx&#xff1a; 【JMX】JAVA监控的基石-CSDN博客 本文我们将从使用和源码实现两个方面聊…

C语言习题----不同版本的差别

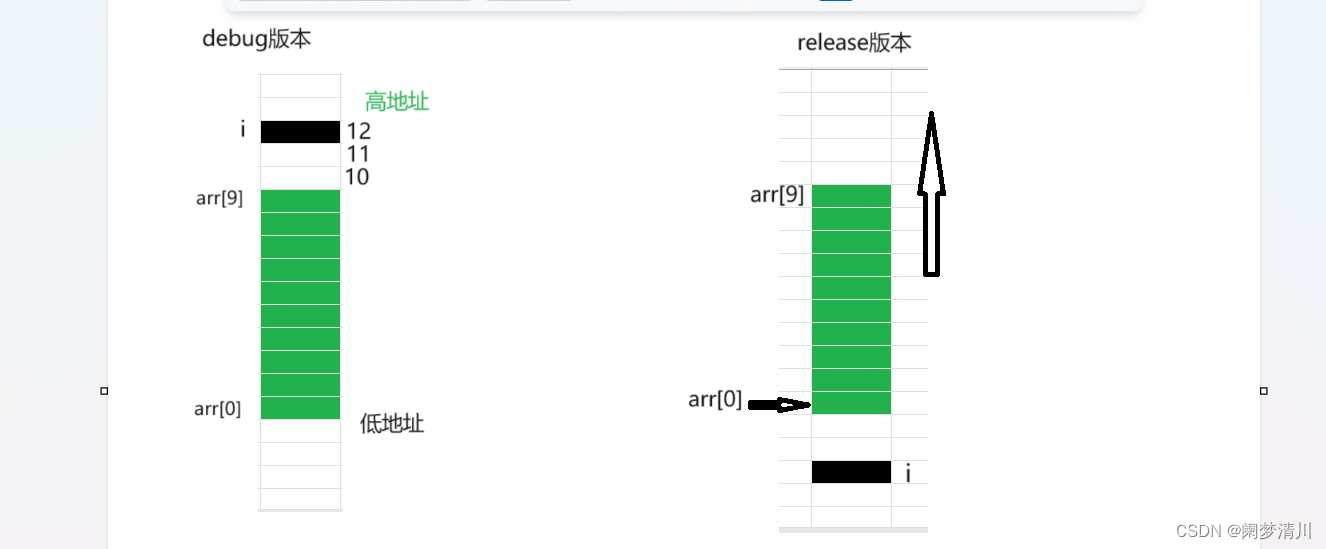
这个程序数组越界&#xff0c;但是结果是死循环&#xff1b; &#xff08;1&#xff09;死循环的这种情况只会在debug--x86的版本才会出现&#xff0c;其他版本不会出现&#xff1b;这种情况会在特定的情况下发生&#xff0c;和环境有和大的关系&#xff0c;不同的编译器对于内…