极狐GitLab
gitlab实现⾃动部署的原理
1、部署机上,需要安装插件 gitlab-runner
2、部署机安装 gitlab-runner之后,向gitlab服务器注册
3、gitlab服务器收到commit事件之后,通知部署机拉取代码,执⾏部署。
4、部署机执⾏什么操作,由项⽬⽬录下的.gitlab-ci.yml⽂件进⾏定义。
docker构建与部署
本地安装GitLab :https://www.cnblogs.com/breg/p/11720407.html
终于到了激动人心的时刻了,正式开始gitlab的安装,按照顶上的教程
首先配置gitlab的yum安装源:
# vim /etc/yum.repos.d/gitlab-ce.repo 在repo文件中添加以下内容,保存并退出:
     [gitlab-ce]
     name=Gitlab CE Repository
     baseurl=https://mirrors.tuna.tsinghua.edu.cn/gitlab-ce/yum/el$releasever/
     gpgcheck=0
     enabled=1
然后更新本地yum缓存,提高搜索安装软件的速度(这些操作记得都在sudo下进行):
# yum makecache准备就绪,开始安装gitlab最新版,这个安装将会安装gitlab所需的所有环境,一步到位,装好即用:
# yum install gitlab-ce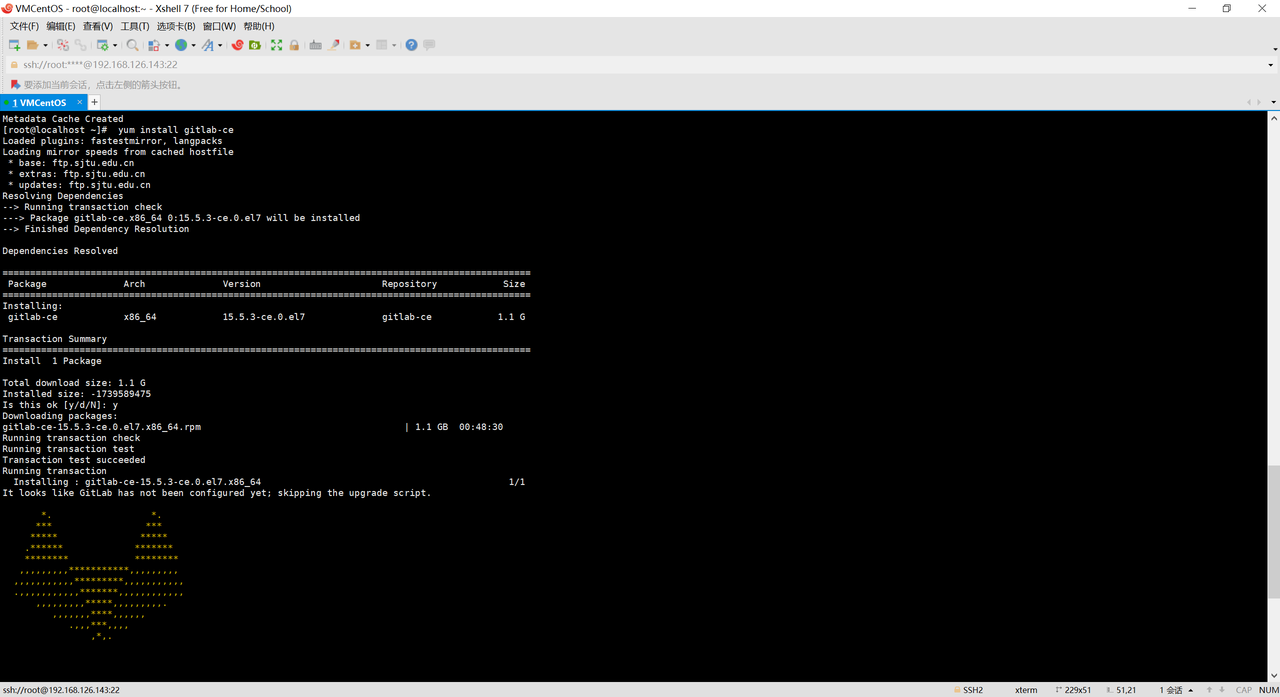
安装完之后需要使服务生效,我的内存瓶颈就是卡在这步上,重启了服务器,再增加分区才解决了:
# gitlab-ctl reconfigure 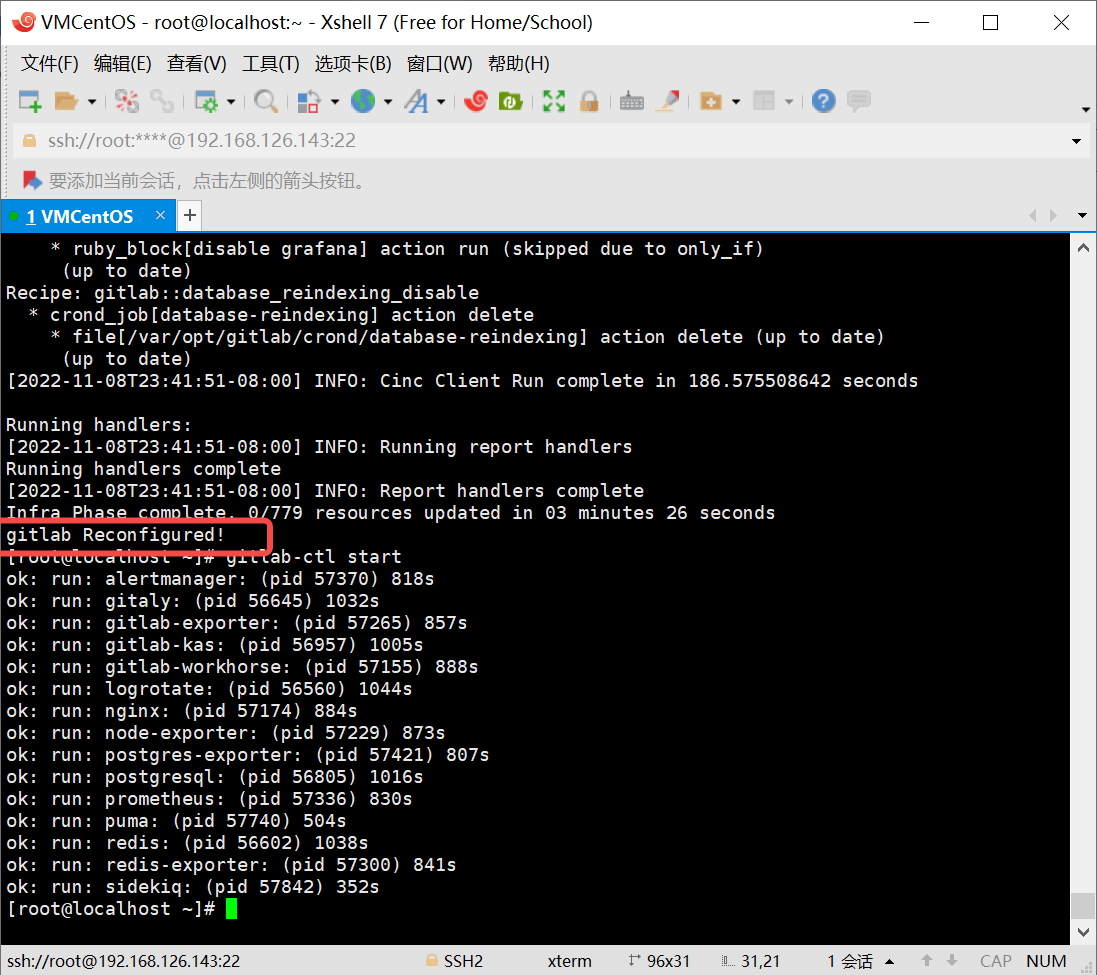
然后启用gitlab组件就能运行了,这里需要说明,如果之前配置了php运行环境的话,可能会跟gitlab冲突,可以选择关闭其中一个来切换使用:
# gitlab-ctl startGitLab常用命令列表
gitlab-ctl start # 启动所有 gitlab 组件;
gitlab-ctl stop # 停止所有 gitlab 组件;
gitlab-ctl restart # 重启所有 gitlab 组件;
gitlab-ctl status # 查看服务状态;
gitlab-ctl reconfigure # 启动服务;
vim /etc/gitlab/gitlab.rb # 修改默认的配置文件;
gitlab-rake gitlab:check SANITIZE=true --trace # 检查gitlab;
sudo gitlab-ctl tail # 查看日志;
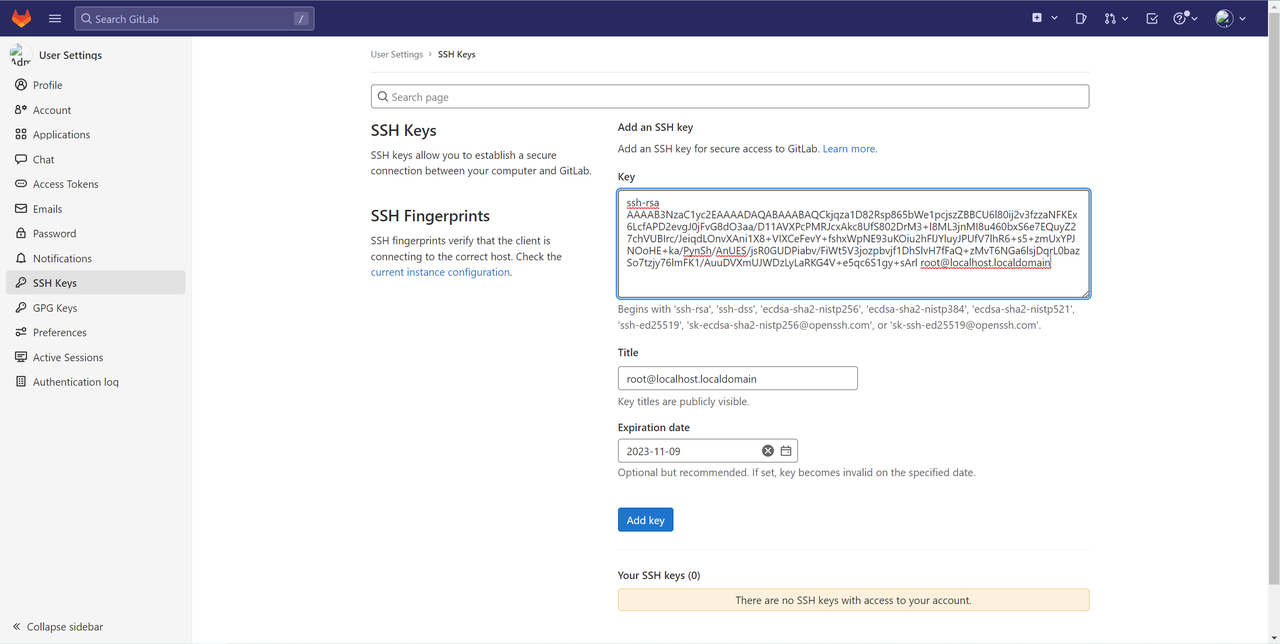
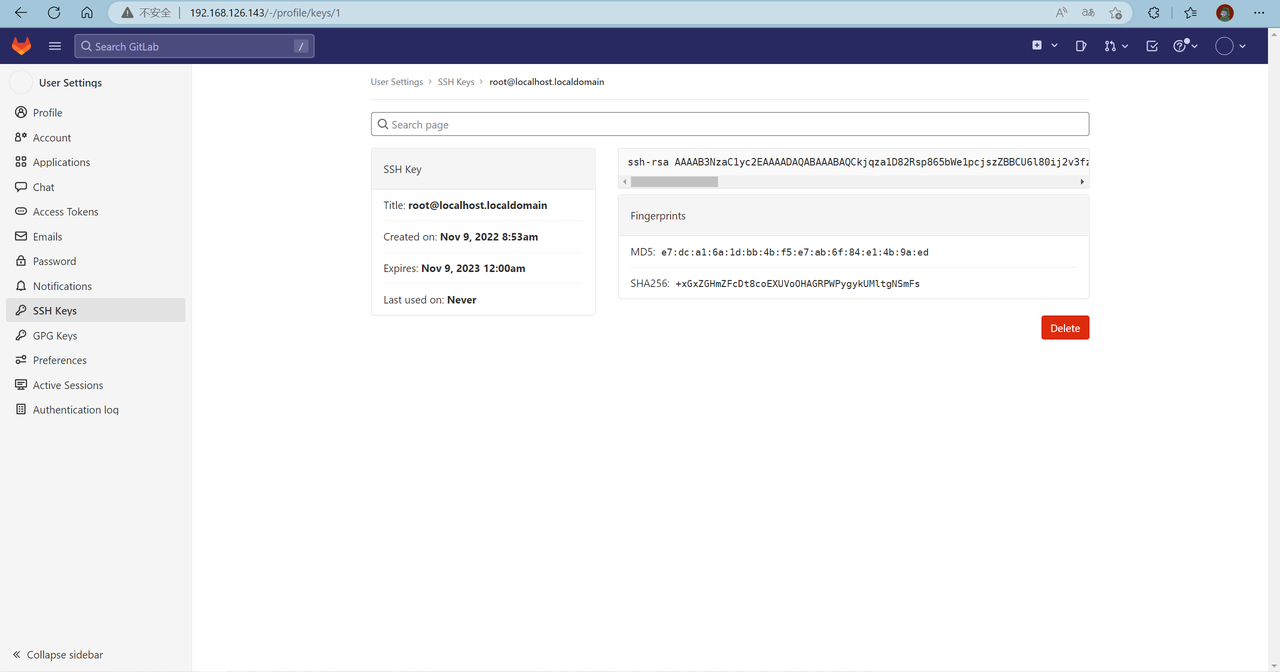
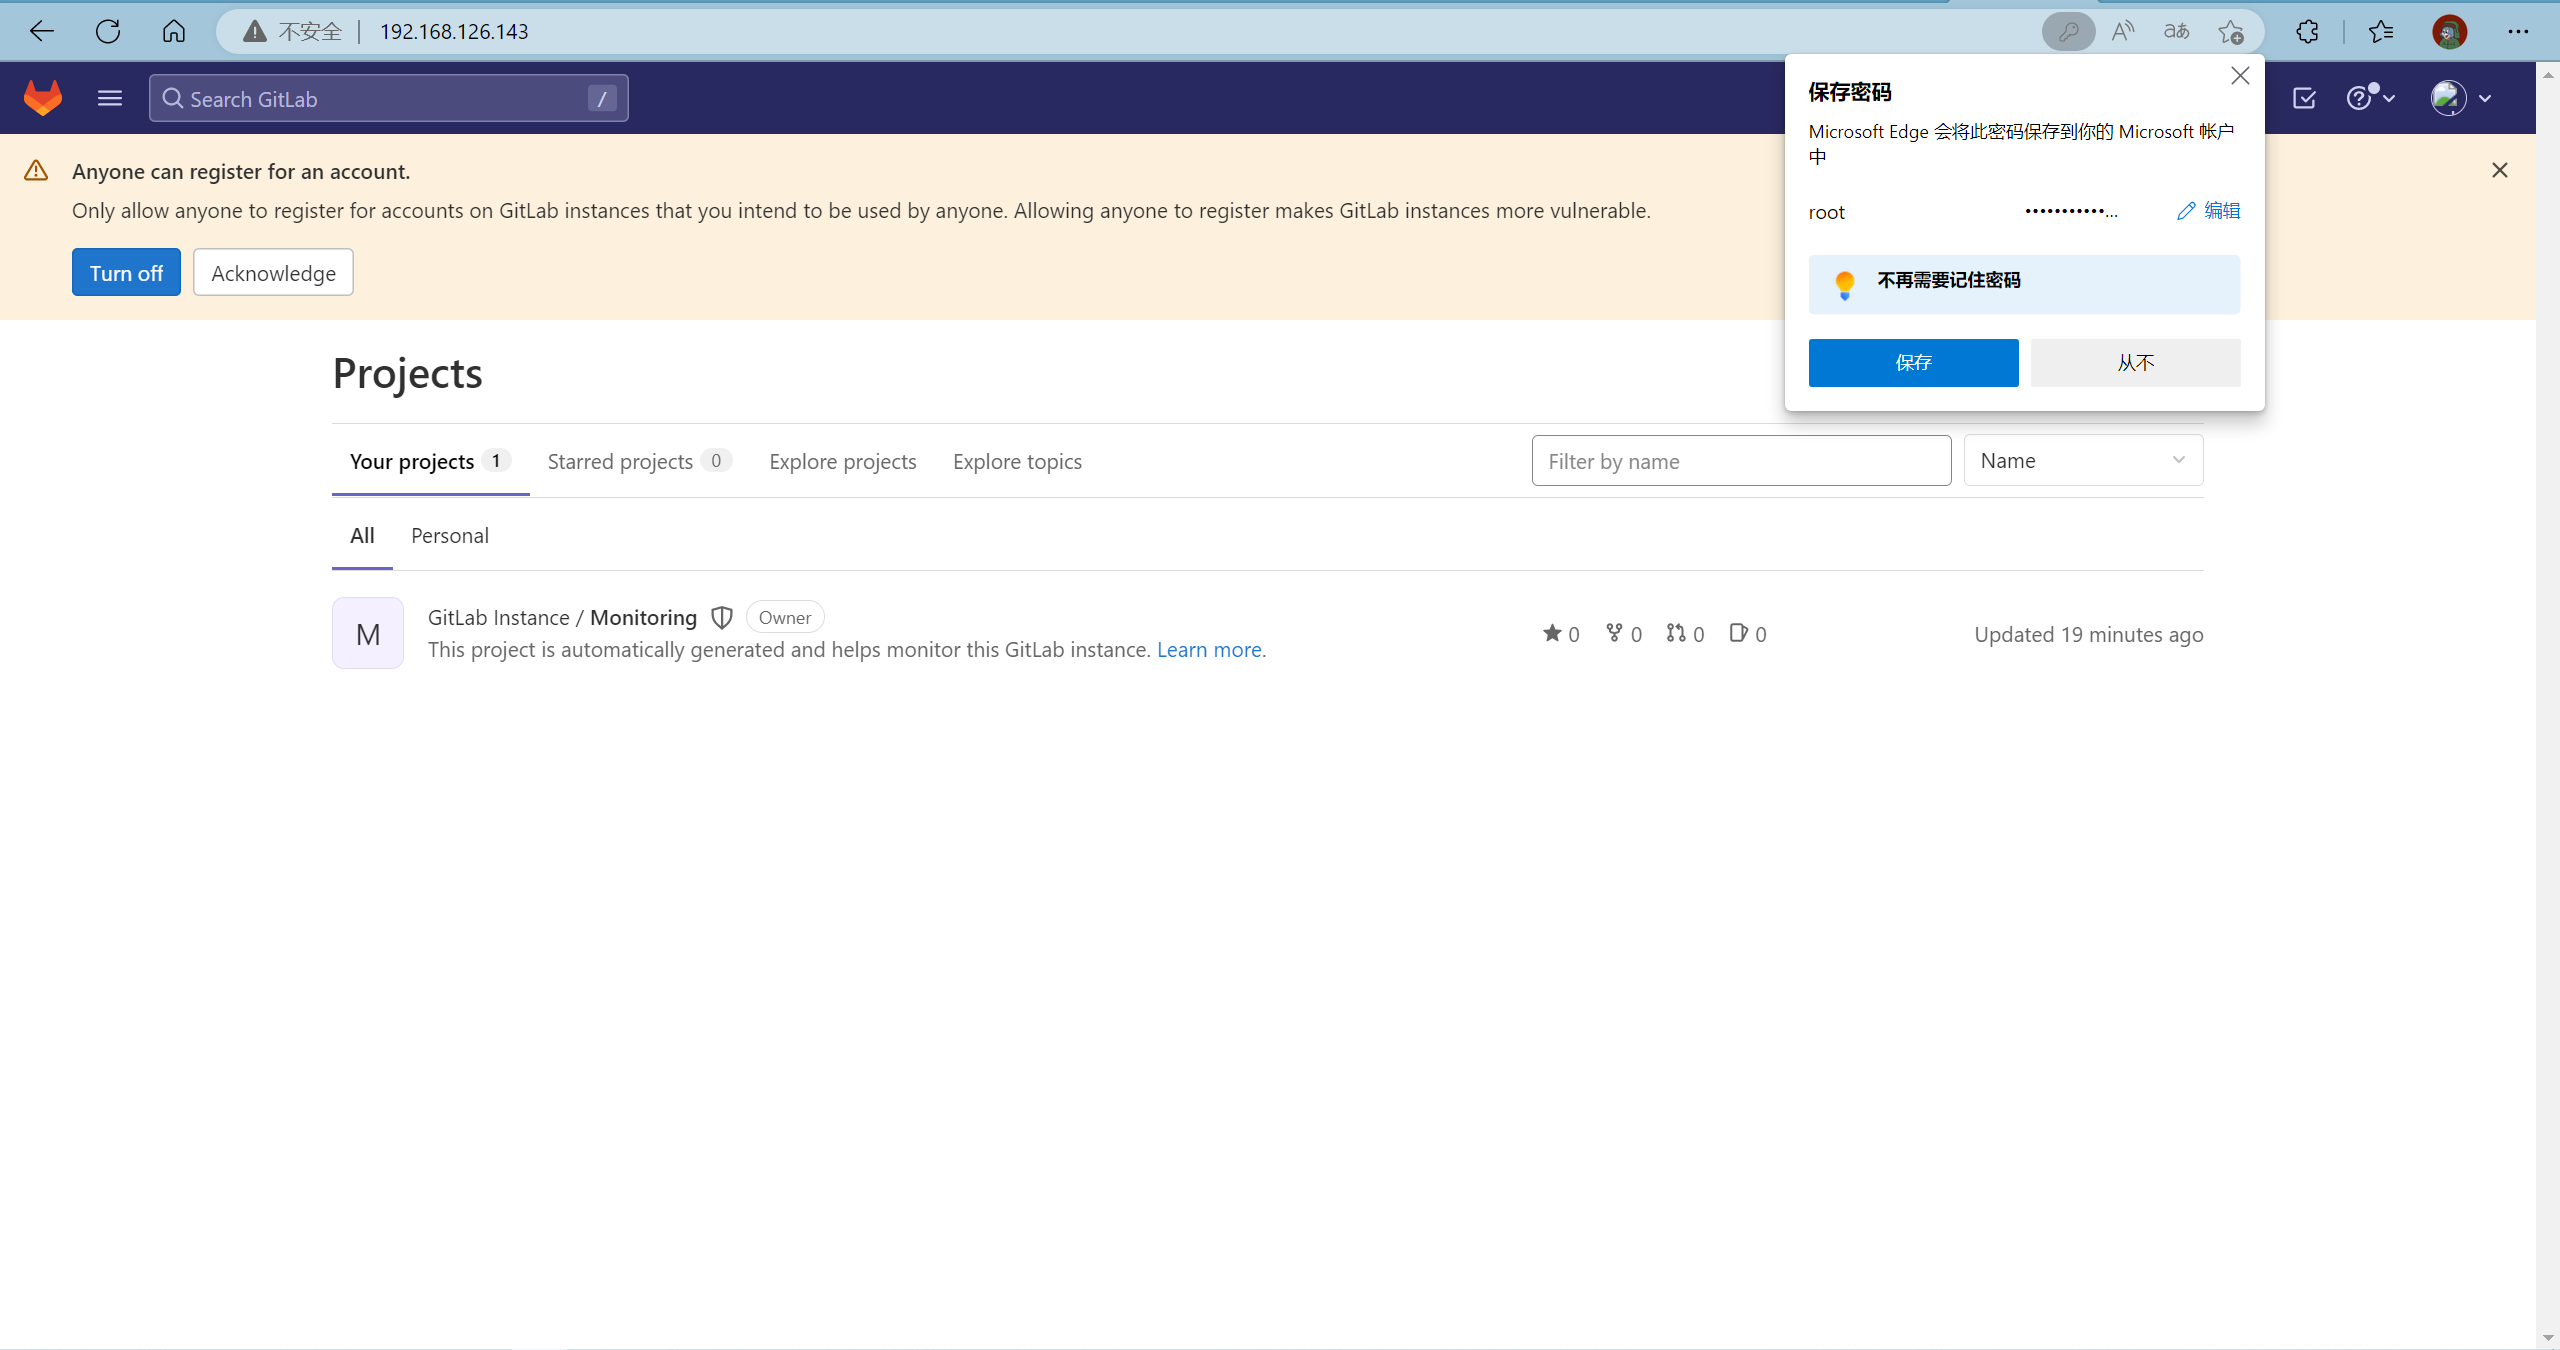
浏览器打开 localhost:80
我这里是http://192.168.126.143:80 默认是80端口
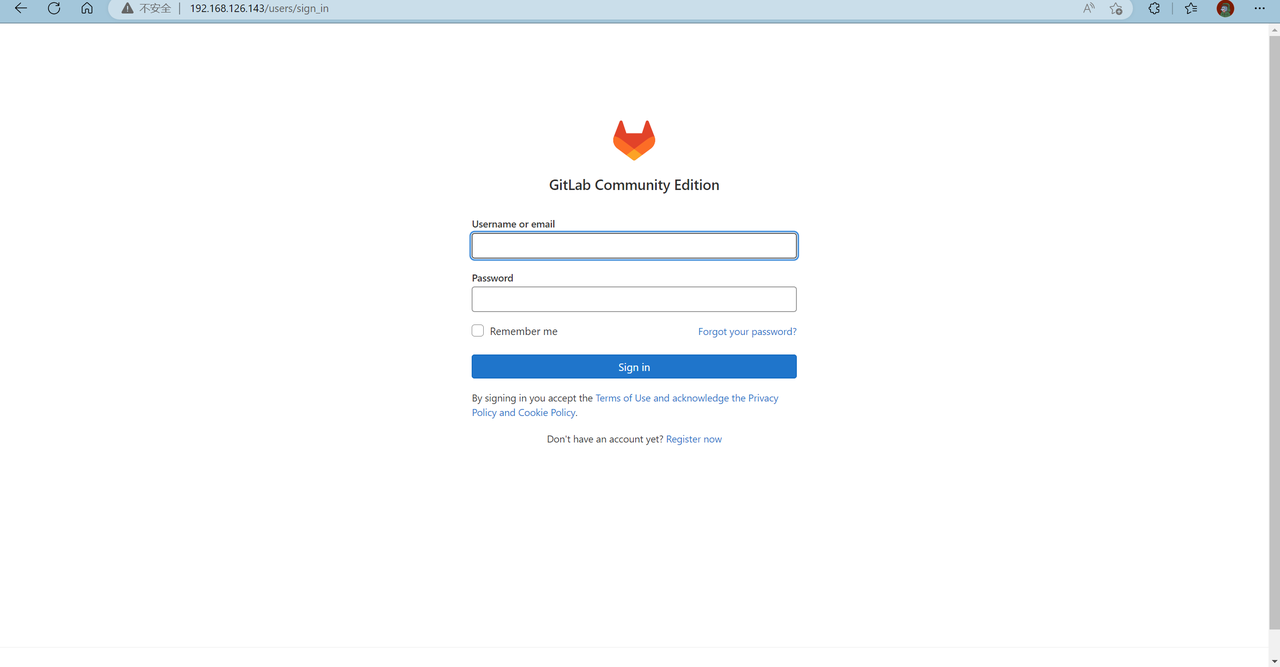
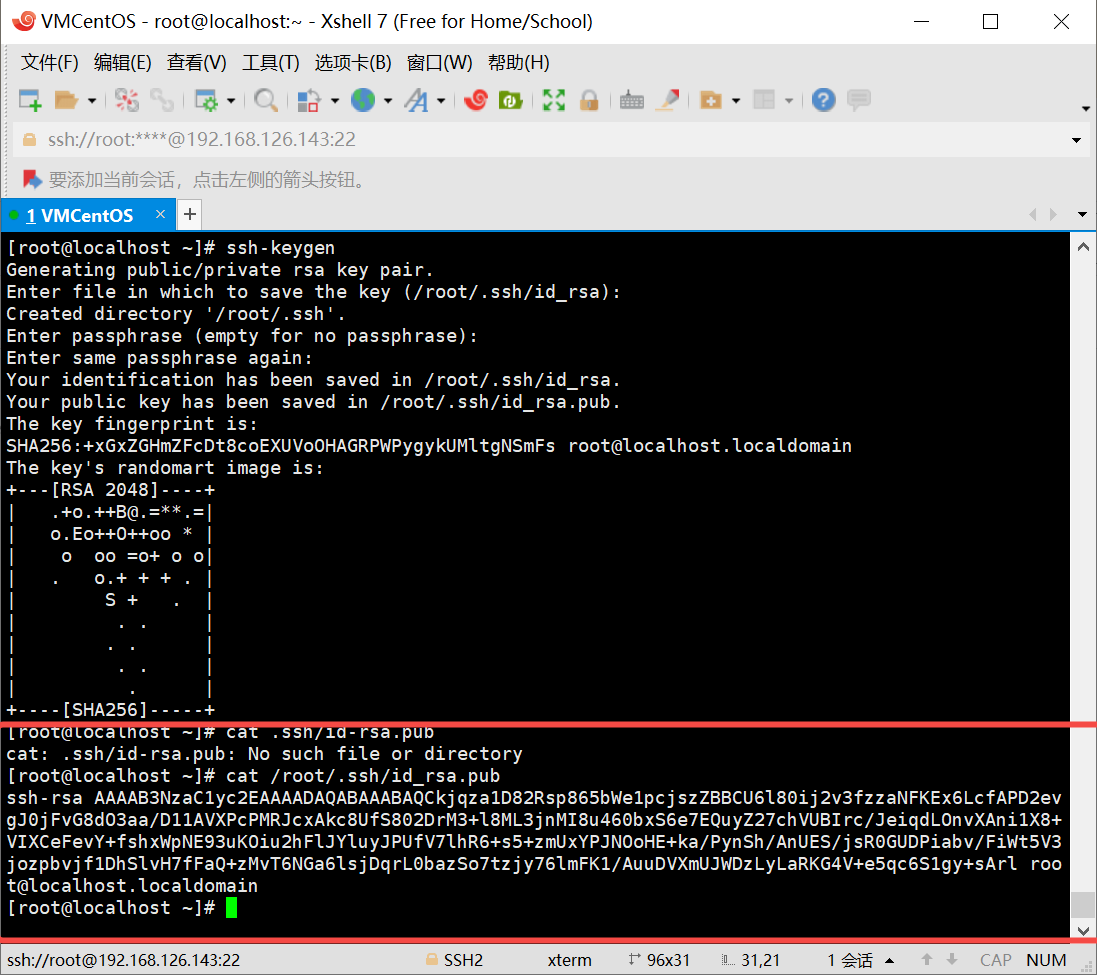
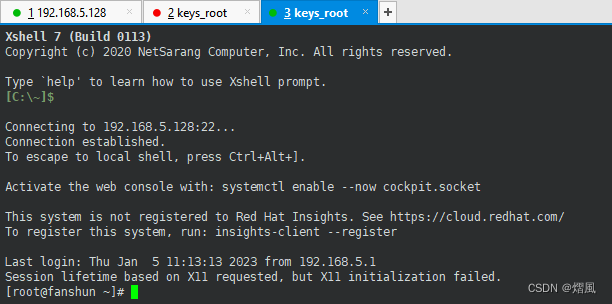
安装初始化后,默认账户名是root,密码存放在配置文件
vim /etc/gitlab/initial_root_password
每次重新配置,都需要执行sudo gitlab-ctl reconfigure 使之生效。