1.安装
1.1.导入公钥
wget -qO - https://www.mongodb.org/static/pgp/server-4.4.asc | sudo apt-key add -
如果收到指示gnupg未安装的错误,则可以先执行:
sudo apt-get install gnupg然后再执行一次导入公钥命令:
wget -qO - https://www.mongodb.org/static/pgp/server-4.4.asc | sudo apt-key add -1.2.为MongoDB创建一个列表文件
执行下面命令:
echo "deb [ arch=amd64,arm64 ] https://repo.mongodb.org/apt/ubuntu bionic/mongodb-org/4.4 multiverse" | sudo tee /etc/apt/sources.list.d/mongodb-org-4.4.list
1.3.更新apt-get源
sudo apt-get update1.4.安装MongoDB软件包
sudo apt-get install -y mongodb-org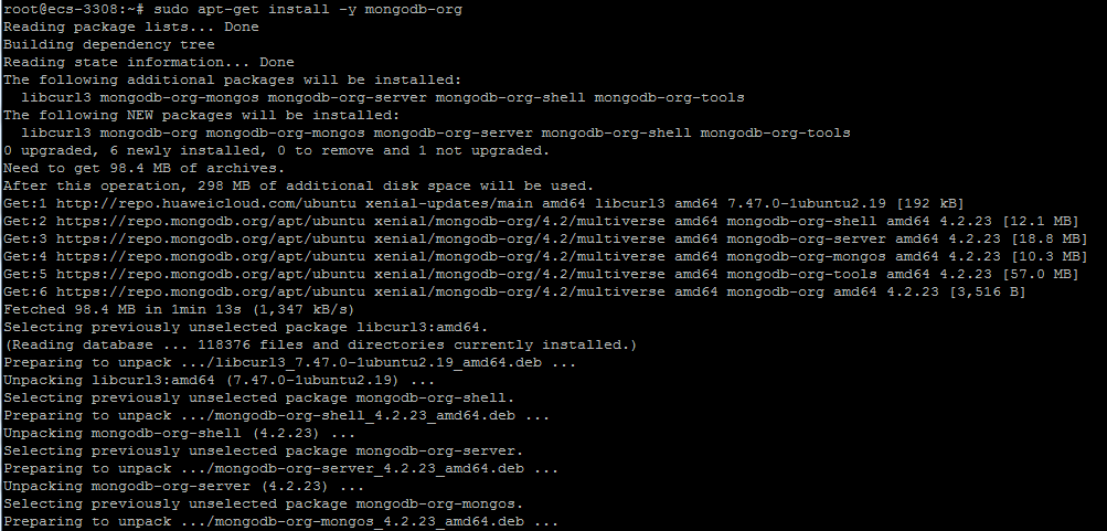
如果不能正常安装或者报找不到包,提示:E: Unable to locate package mongodb-org
可以尝试更新一下apt-key
apt-key用于管理apt用于验证软件包的密钥列表,已经使用这些密钥验证的软件包将被视为可信。
执行命令:
sudo apt-key update1.5.固定版本,防止意外升级
apt-get将在更新的版本可用时升级软件包。
若要防止意外升级,可以通过以下命令将包固定在当前安装的版本:
echo "mongodb-org hold" | sudo dpkg --set-selections
echo "mongodb-org-server hold" | sudo dpkg --set-selections
echo "mongodb-org-shell hold" | sudo dpkg --set-selections
echo "mongodb-org-mongos hold" | sudo dpkg --set-selections
echo "mongodb-org-tools hold" | sudo dpkg --set-selections
到此安装完毕。
1.6.查看安装的版本
mongo -version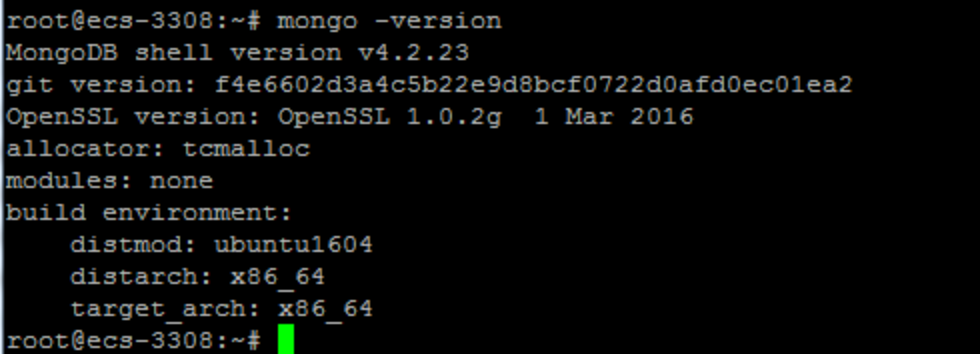
1.7.启动MongoDB
注意:安装完后MongoDB并不会自动启动,需要通过如下命令启动MongoDB
sudo systemctl start mongod如果在启动时收到类似于以下内容的错误: mongod:Failed to start mongod.service: Unit mongod.service not found.
首先运行以下命令:
sudo systemctl daemon-reload然后再次运行上面的启动命令:
sudo systemctl start mongod1.8.查看MongoDB运行状态
sudo systemctl status mongod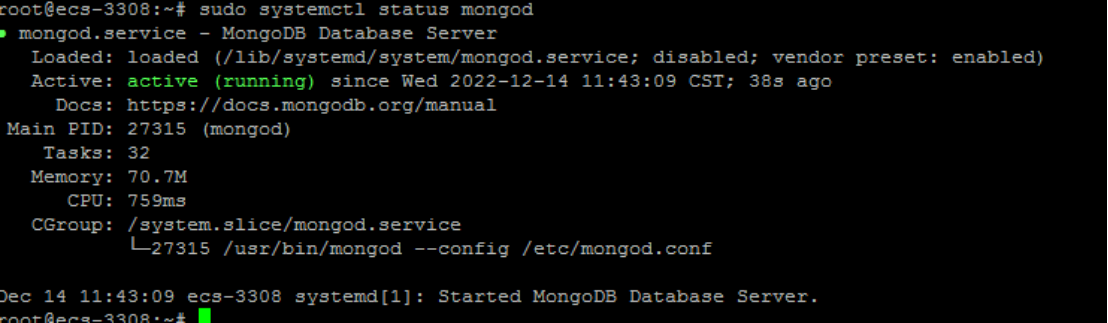
1.9.MongoDB常用命令
sudo systemctl start mongod #启动
sudo systemctl stop mongod #停止
sudo systemctl restart mongod #重启
2.创建管理员用户
执行下面命令:
sudo mongo进入MongoDB的命令行交互模式
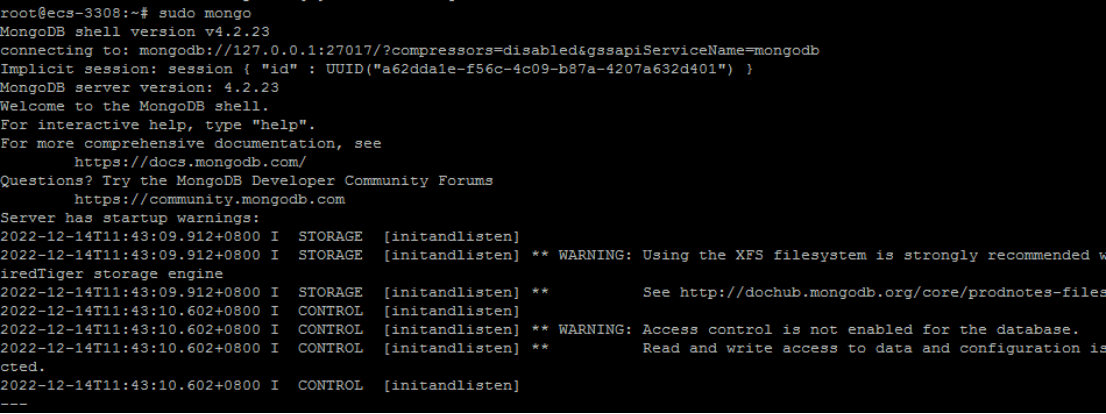
在此模式下运行如下命令创建一个管理员账户:admin,密码:123456:
use admin
db.createUser({user:'admin',pwd:'123456',roles:[{role:'root',db:'admin'}]})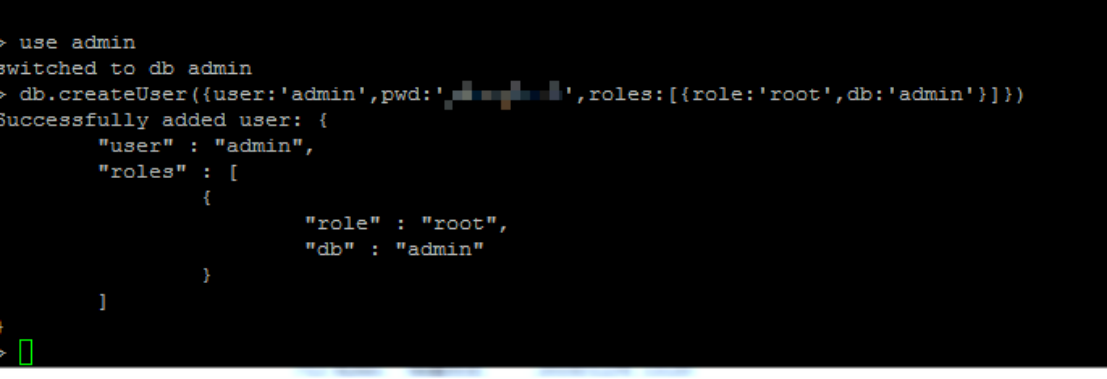
3.配置外网访问
MongoDB 默认没有开启外网访问,需要进行配置修改。
修改配置文件,执行命令:
sudo vim /etc/mongod.conf将文件里面的bindIp改为0.0.0.0,并添加登录鉴权认证
#将bindIp改为0.0.0.0
net:
  port: 27017
  bindIp: 0.0.0.0

#加入身份鉴权:
security:
  authorization: enabled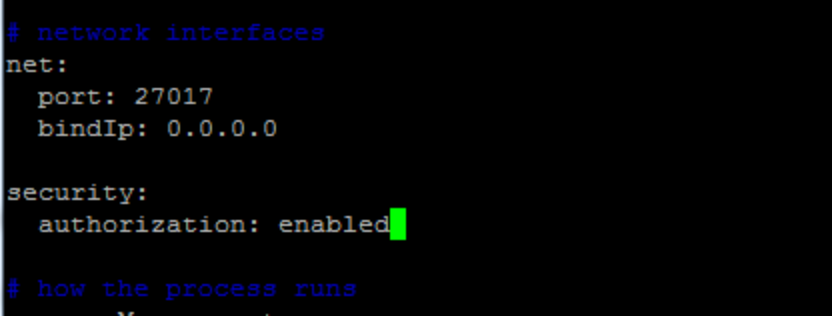
然后重新启动MongoDB服务:
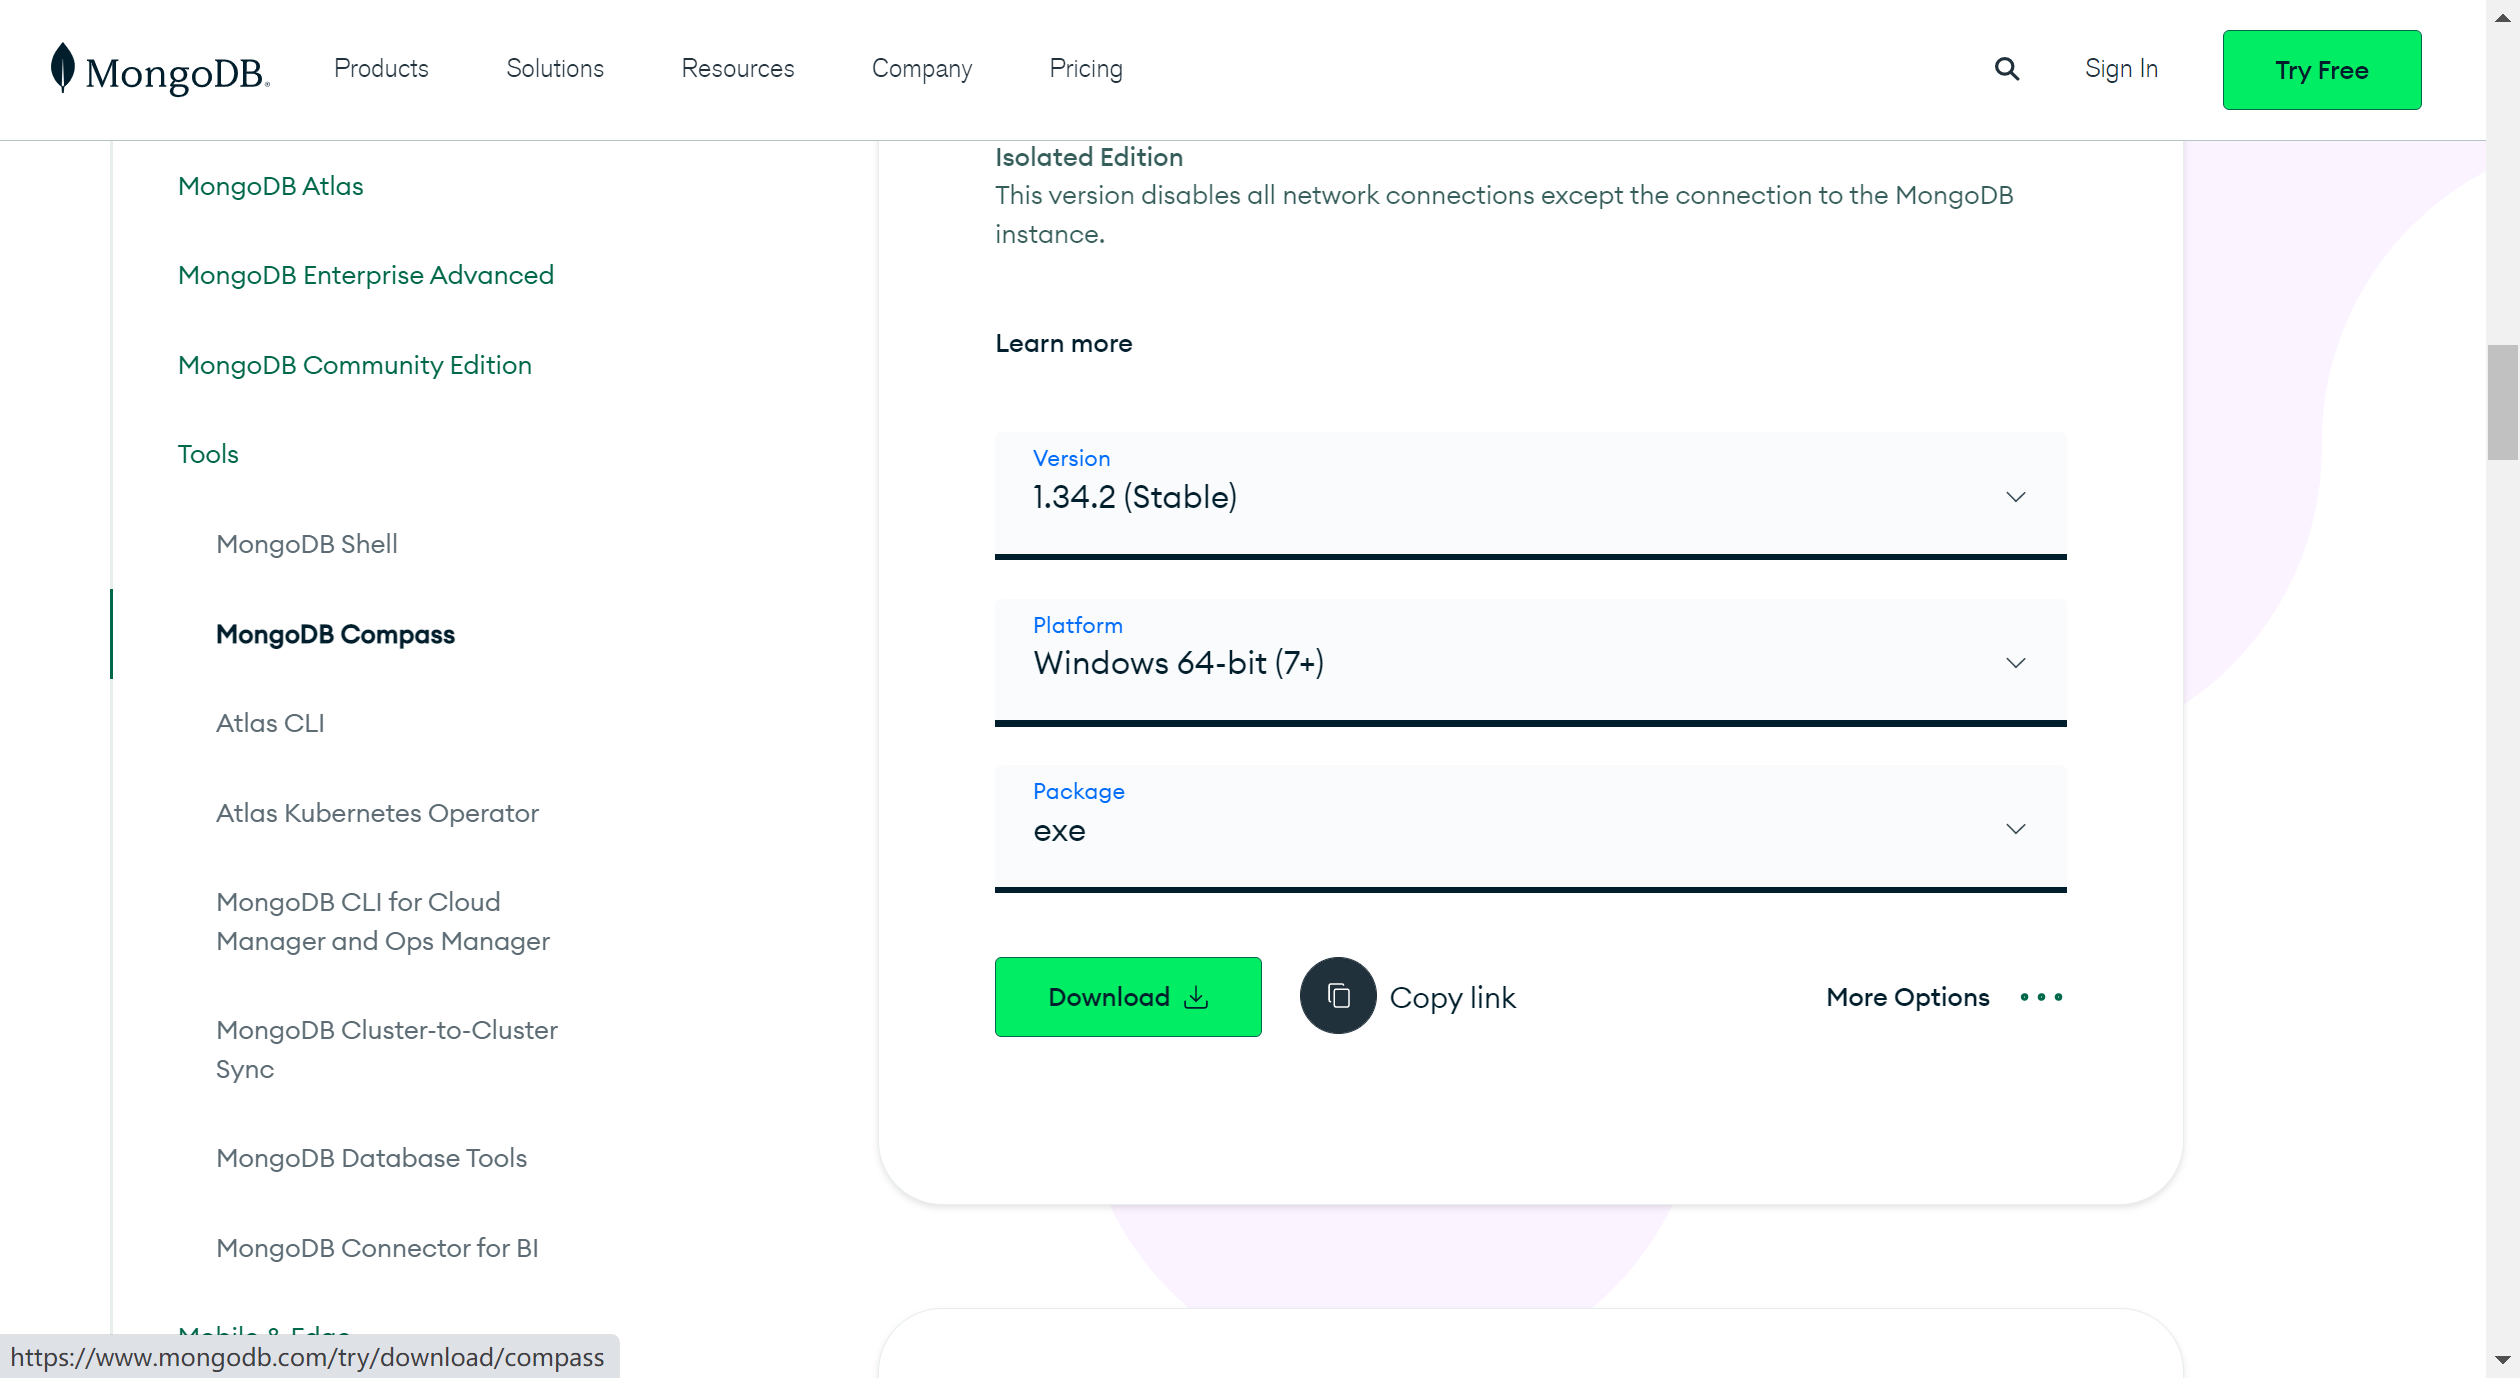
sudo service mongod restart此时我们可以使用MongoDB Compass登录可视化查看。此工具在MongoDB官网就可以下载。
下载地址:https://www.mongodb.com/try/download/compass
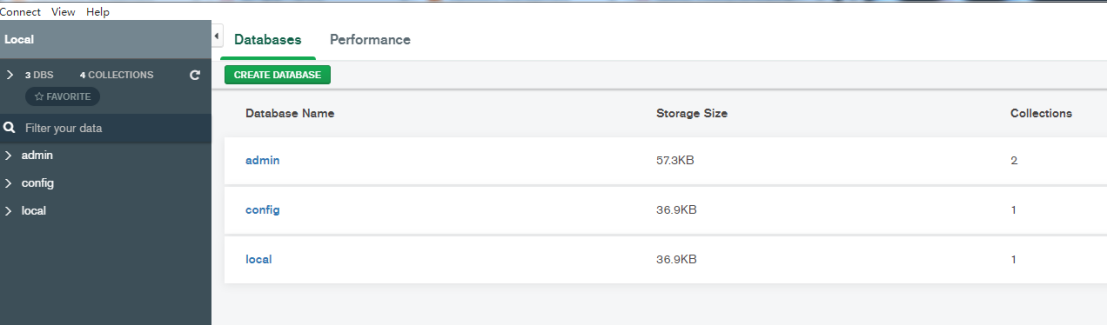
通过刚刚创建的管理员账户连接到我们刚刚安装的MongoDB,此时会有默认的三个系统库。
4.创建库以及库对应的账户
4.1.创建库
通过mongo命令登录,执行命令:
mongo
因为上述开启了验证,所以这里需要验证管理员账户信息。
因为我们刚刚创建的管理员账户是admin,密码:123456
use admin
  db.auth("admin","123456")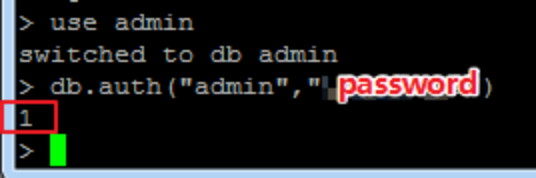
1:代表验证成功了
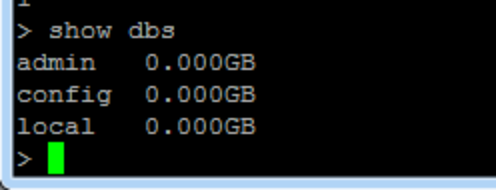
查看已存在的数据库,执行命令:
show dbs因为还未创建过自己的数据库,所以这里还是默认的三个库。

创建数据库
语法:use database_name
例如:我们需要创建一个叫terminal_data的数据库:
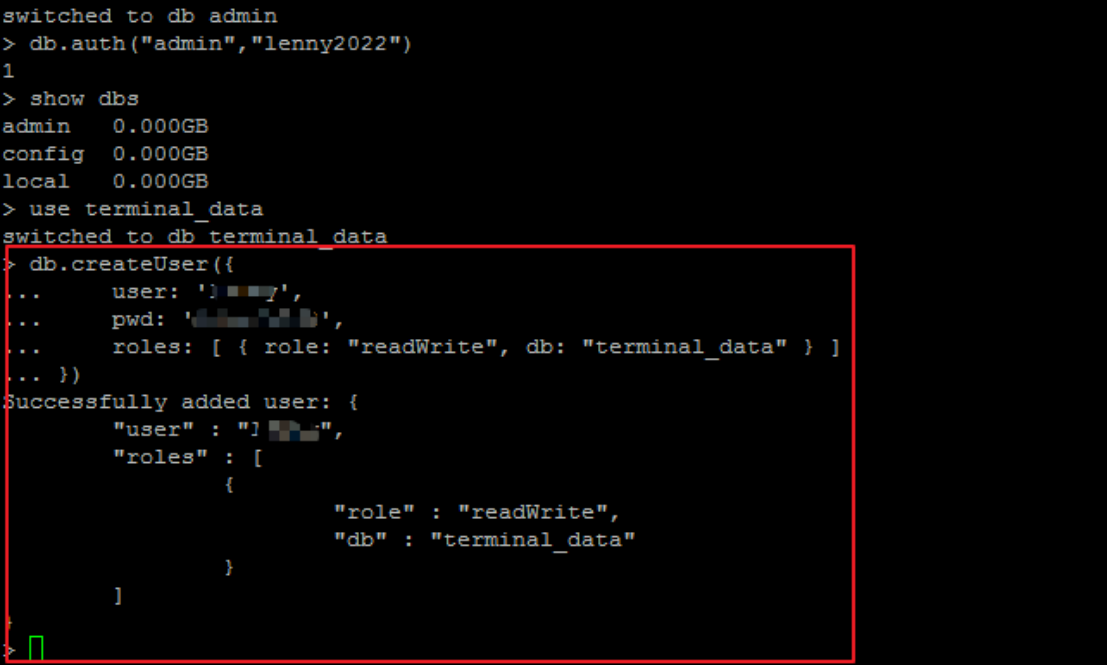
use terminal_data4.2.为新库创建管理员账户
为我们这个库增加一个单独的账户进行管理:
db.createUser({
    user: 'username',
    pwd: 'password',
    roles: [ { role: "readWrite", db: "terminal_data" } ]
})
然后执行:
show users就可以查看到我们刚刚创建的账户信息了

如果这时候我们执行show dbs,不会显示我们刚刚创建的数据库
新创建的数据库列表中是不存在的。要显示的数据库,需要把它插入至少一个文件
比如执行插入命令:
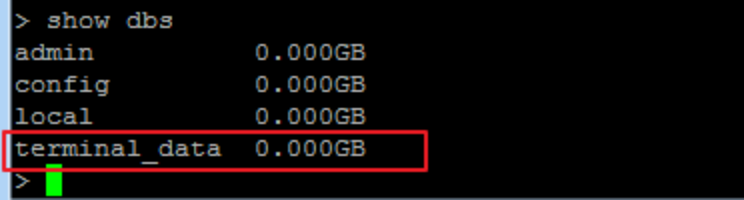
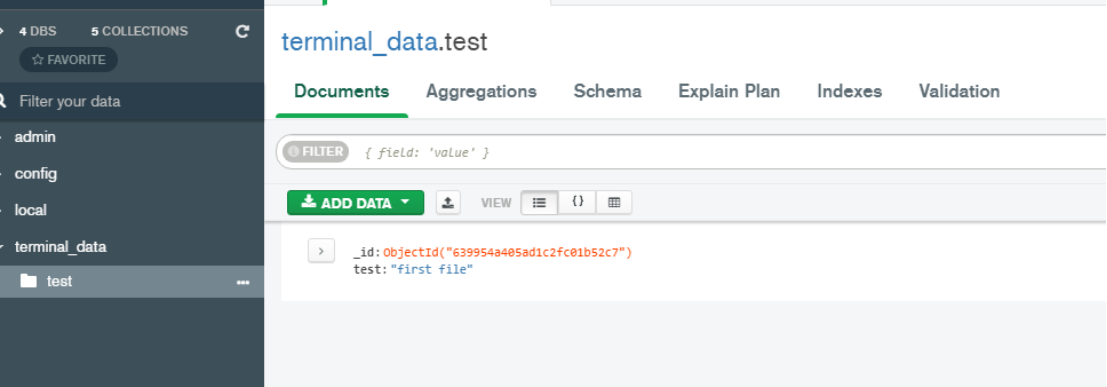
db.test.insert({ "test":"first file"})
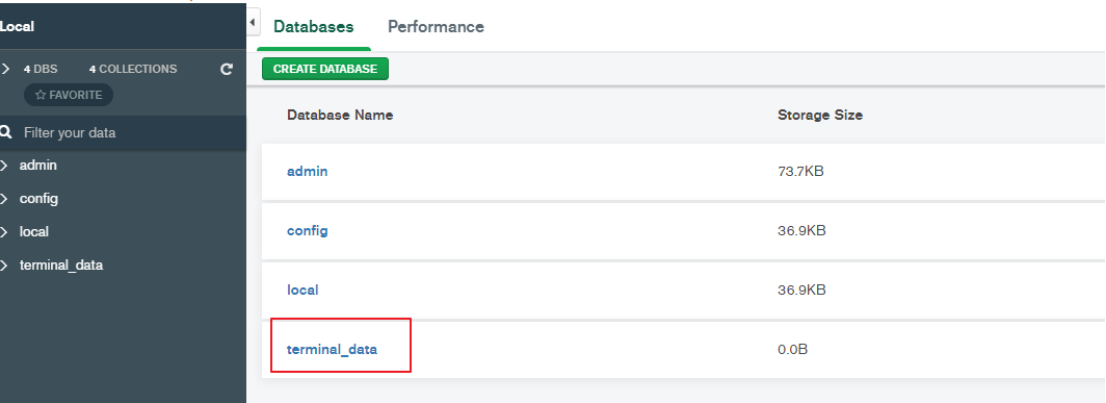
再执行show dbs就可以看到刚刚创建的数据库了。
这时候我们使用MongoDB Compass查看一下。
5.设置开机启动
执行命令:
sudo systemctl enable mongod.service6.完全卸载
6.1.停止 mongodb服务
sudo service mongod stop6.2.执行卸载命令
sudo apt-get remove mongodb6.3.移除相关包
执行如下命令:
sudo apt-get purge mongodb-org*
sudo apt-get purge mongodb
sudo apt-get autoremove
sudo apt-get autoclean
6.4.移除相关目录
执行如下命令:
sudo rm -r /var/log/mongodb
sudo rm -r /var/lib/mongodb
6.5.查看系统是否有残留的文件或目录
依次执行如下命令:
whereis mongo
whereis mongodb
whereis mongod
which mongo
which mongodb
which mongod
如果执行命令的过程发现有残留文件,则可以执行 rm -r 命令将其移除。
![[VP]河南第十三届ICPC大学生程序竞赛 L.手动计算](https://img-blog.csdnimg.cn/adace8a661994a7898be25677db546a2.png)


![[总结] DDPM Diffusion模型各阶段训练和采样过程方案细节和代码逻辑汇总](https://img-blog.csdnimg.cn/54423ce28df744f3941eaa8e73ea957e.png)