目录
Android ImageView 图像视图
ImageView 的基本使用
src属性和background属性的区别
范例
解决 anndroid:blackground 属性拉伸导致图片变形的方法
设置透明度的问题
范例
android:src 和 android:background 结合
范例
Java 代码中设置 blackground 和 src 属性
android:adjustViewBounds 设置缩放是否保持长宽比
范例
android:scaleType 设置缩放类型
范例
圆形的 ImageView
Android ImageView 图像视图
在 Android 中,ImageView(图像视图)是用于显示图像或者其他图形的一个常用组件。它是 Android 中的一个视图控件(View),可以在布局文件中通过 XML 或者在代码中动态创建。
ImageView 的基本使用
1、在xml里设置图像
<?xml version="1.0" encoding="utf-8" ?>
<LinearLayout xmlns:android="http://schemas.android.com/apk/res/android"
    android:layout_width="match_parent"
    android:layout_height="match_parent"
    android:orientation="vertical">
    <ImageView
        android:id="@+id/imgages1"
        android:layout_width="wrap_content"
        android:layout_height="wrap_content"
        android:src="@drawable/meimei"/>
</LinearLayout>
2、在Java代码里设置图像
<?xml version="1.0" encoding="utf-8" ?>
<LinearLayout xmlns:android="http://schemas.android.com/apk/res/android"
    android:layout_width="match_parent"
    android:layout_height="match_parent"
    android:orientation="vertical">
    <ImageView
        android:id="@+id/imageView"
        android:layout_width="wrap_content"
        android:layout_height="wrap_content" />
</LinearLayout>
package com.example.myapplication;
import android.os.Bundle;
import android.widget.ImageView;
import androidx.appcompat.app.AppCompatActivity;
public class MainActivity extends AppCompatActivity {
@Override
protected void onCreate(Bundle savedInstanceState) {
super.onCreate(savedInstanceState);
setContentView(R.layout.activity_main);
ImageView imageView = findViewById(R.id.imageView);
imageView.setImageResource(R.drawable.meimei);
}
}
src属性和background属性的区别
- android:src:用于设置 ImageView 显示的图像资源。当使用 android:src 属性填入图片时,图像会按照原始大小显示,不会进行拉伸,而是直接填充到 ImageView 中。这意味着如果图像比 ImageView 尺寸大,则可能会被裁剪显示部分。
- android:background:用于设置视图的背景,不仅限于 ImageView,其他视图也可以使用这个属性。当使用 android:background 属性填入图片时,图片会根据 ImageView 的给定宽度进行拉伸或缩放以适应整个视图的背景。这意味着图片会根据 ImageView 的尺寸进行适应,可能会发生拉伸或压缩以填满整个 ImageView。
因此,可以根据需要选择适合的属性来设置图片。如果想要直接显示图像资源并保持其原始大小,可以使用 android:src;如果想要根据 ImageView 的尺寸来拉伸或缩放图像以适应整个视图,可以使用 android:background。
范例
<?xml version="1.0" encoding="utf-8" ?>
<LinearLayout
    xmlns:android="http://schemas.android.com/apk/res/android"
    android:layout_width="match_parent"
    android:layout_height="match_parent"
    android:orientation="vertical">

    <!-- 使用 android:src 属性设置图像,不会拉伸 -->
    <ImageView
        android:layout_width="200dp"
        android:layout_height="200dp"
        android:src="@drawable/meimei"
        android:scaleType="centerCrop"
        android:layout_gravity="center_horizontal"
        android:layout_marginTop="16dp" />

    <!-- 使用 android:background 属性设置图像,会根据 ImageView 尺寸拉伸 -->
    <ImageView
        android:layout_width="200dp"
        android:layout_height="200dp"
        android:background="@drawable/meimei"
        android:scaleType="centerCrop"
        android:layout_gravity="center_horizontal"
        android:layout_marginTop="16dp" />

</LinearLayout>
在这个示例中,有两个 ImageView,它们都设置了相同的尺寸、图像和 scaleType 属性。一个使用了 android:src 属性,另一个使用了 android:background 属性。当运行应用时,会看到以下区别:
- 第一个 ImageView 使用 android:src 属性设置了图像,图像会按照原始大小显示在 ImageView 中,不会进行拉伸。
- 第二个 ImageView 使用 android:background 属性设置了图像,图像会根据 ImageView 的尺寸进行拉伸或缩放以适应整个视图。
解决 anndroid:blackground 属性拉伸导致图片变形的方法
对于通过 android:background 属性设置背景图片导致变形的问题,可以有两种方式来解决这个问题:
1、动态设置 ImageView 大小:如果 ImageView 是通过 Java 代码动态加载的,你可以在加载图片后重新设置 ImageView 的大小,使其与图片匹配。这样可以确保背景图片不会被拉伸变形。
示例代码如下:
<?xml version="1.0" encoding="utf-8" ?>
<LinearLayout
    xmlns:android="http://schemas.android.com/apk/res/android"
    android:layout_width="match_parent"
    android:layout_height="match_parent"
    android:orientation="horizontal">

    <ImageView
        android:layout_width="200dp"
        android:layout_height="200dp"
        android:background="@drawable/meimei"
        android:scaleType="centerCrop"
        android:layout_gravity="center_horizontal"
        android:layout_marginTop="16dp" />

    <ImageView
        android:id="@+id/imageView"
        android:layout_width="200dp"
        android:layout_height="200dp"
        android:background="@drawable/meimei"
        android:scaleType="centerCrop"
        android:layout_gravity="center_horizontal"
        android:layout_marginTop="16dp" />

</LinearLayout>
package com.example.myapplication;

import android.graphics.Bitmap;
import android.graphics.BitmapFactory;
import android.graphics.drawable.BitmapDrawable;
import android.os.Bundle;
import android.widget.ImageView;
import android.widget.LinearLayout;

import androidx.appcompat.app.AppCompatActivity;

public class MainActivity extends AppCompatActivity {

    @Override
    protected void onCreate(Bundle savedInstanceState) {
        super.onCreate(savedInstanceState);
        setContentView(R.layout.activity_main);

        ImageView imageView = findViewById(R.id.imageView);
        Bitmap bitmap = BitmapFactory.decodeResource(getResources(), R.drawable.meimei);
        int width = bitmap.getWidth();
        int height = bitmap.getHeight();
        imageView.setLayoutParams(new LinearLayout.LayoutParams(width, height));
        imageView.setBackgroundDrawable(new BitmapDrawable(getResources(), bitmap));

    }
}
运行 示例代码 效果如下
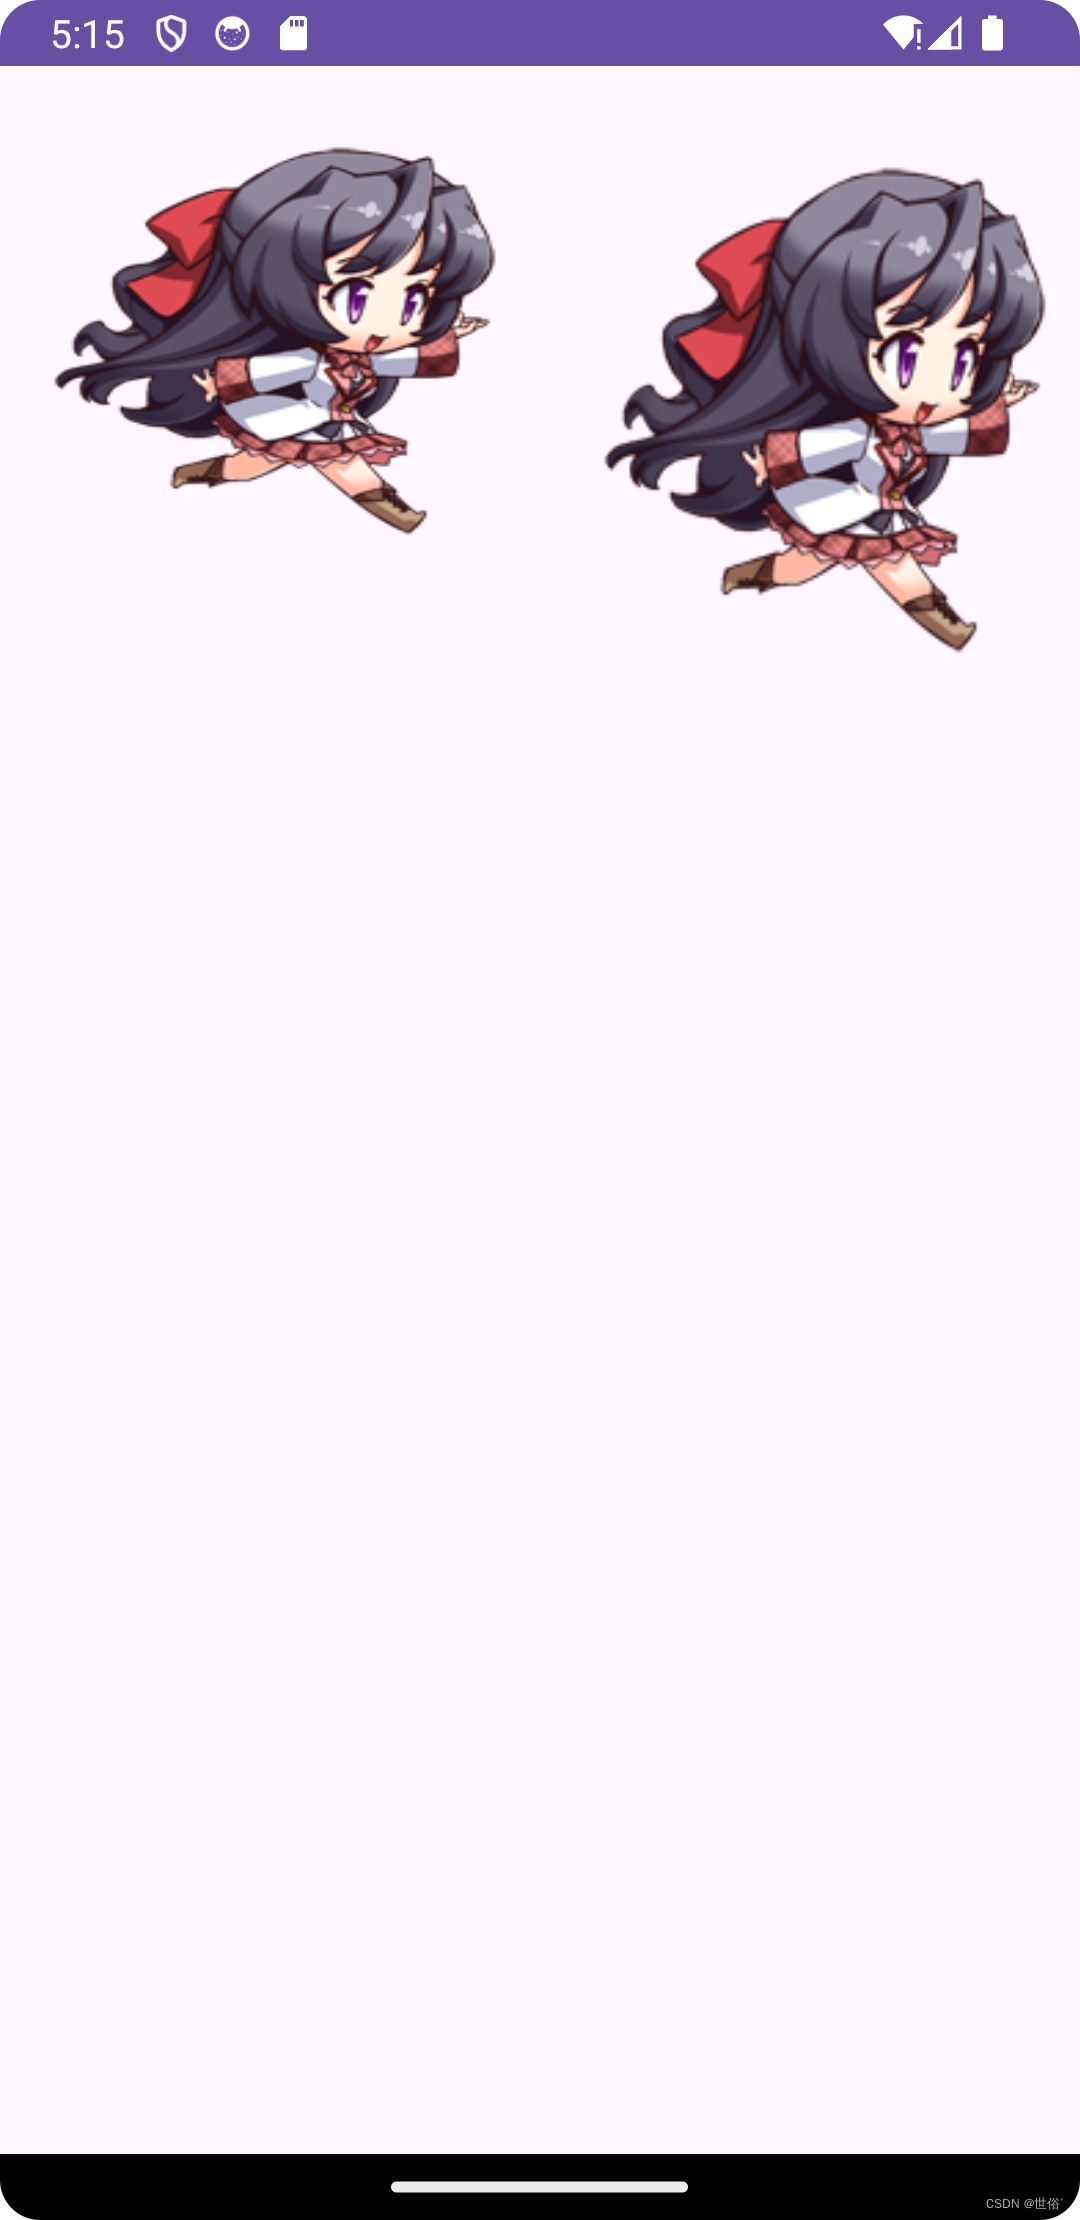
2、使用 Bitmap 资源文件:如果是通过 XML 布局引入的 ImageView,可以先将图片转换为 Bitmap 资源文件,然后将该文件设置为 ImageView 的背景。这样背景图片就不会被拉伸变形。
示例代码如下:
首先,在 res/drawable 目录下创建一个 Bitmap 资源文件(例如 background_image.xml),内容如下:
<?xml version="1.0" encoding="utf-8"?>
<bitmap xmlns:android="http://schemas.android.com/apk/res/android"
    android:src="@drawable/meimei"
    android:gravity="center" />
然后,在 XML 布局文件中将这个 Bitmap 资源文件设置为 ImageView 的背景:
<?xml version="1.0" encoding="utf-8" ?>
<LinearLayout
    xmlns:android="http://schemas.android.com/apk/res/android"
    android:layout_width="match_parent"
    android:layout_height="match_parent"
    android:orientation="horizontal">

    <ImageView
        android:layout_width="200dp"
        android:layout_height="200dp"
        android:background="@drawable/meimei"
        android:scaleType="centerCrop"
        android:layout_gravity="center_horizontal"
        android:layout_marginTop="16dp" />

    <ImageView
        android:id="@+id/imageView"
        android:layout_width="200dp"
        android:layout_height="200dp"
        android:background="@drawable/background_image"
        android:scaleType="centerCrop"
        android:layout_gravity="center_horizontal"
        android:layout_marginTop="16dp" />

</LinearLayout>
运行 示例代码 效果如下
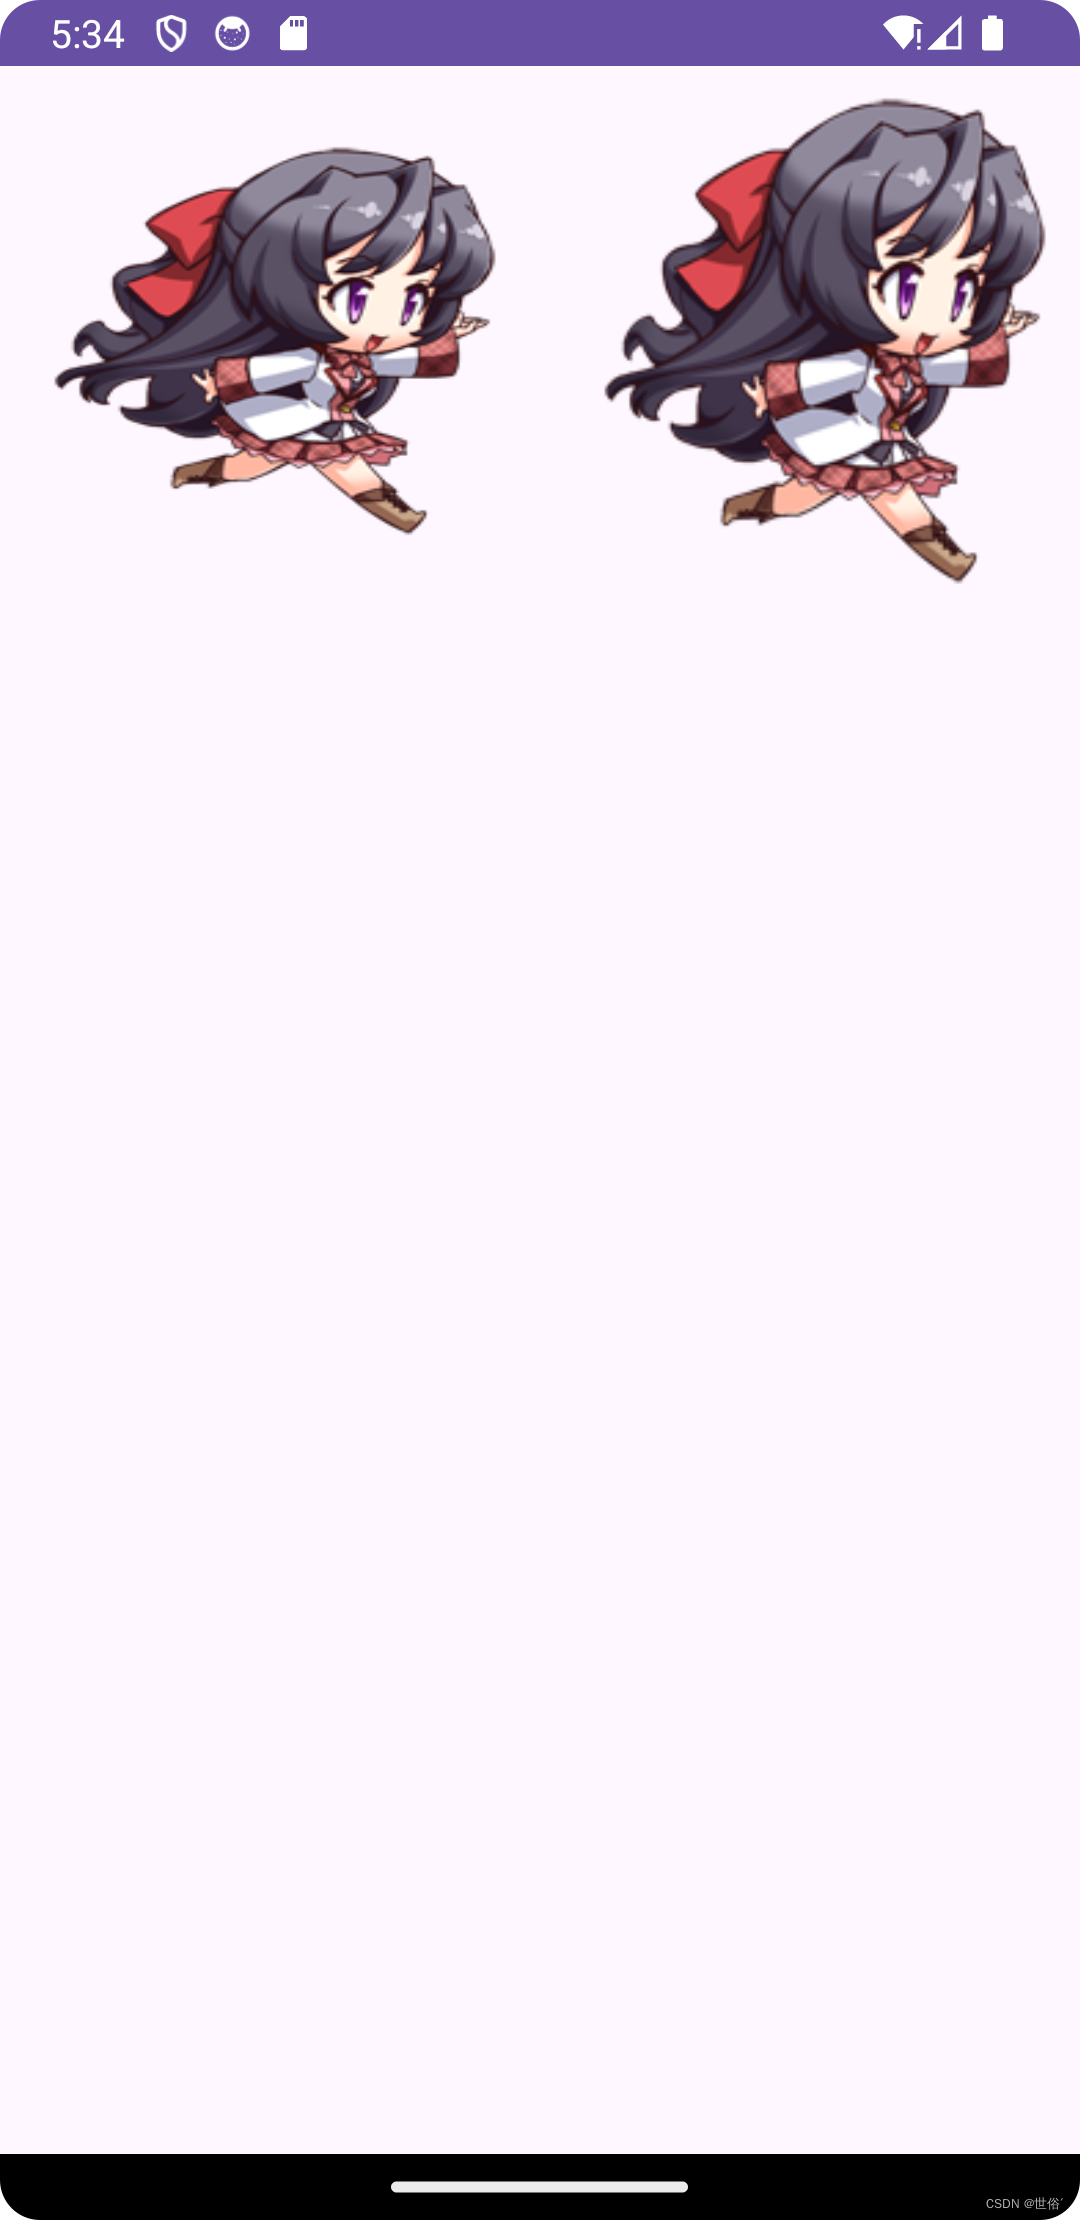
设置透明度的问题
在 Android 中,android:alpha 属性用于设置视图(包括 ImageView)的透明度。它指定视图及其内容的不透明度级别,值范围在 0(完全透明)到 1(完全不透明)之间。
当 android:alpha 属性被应用于 ImageView 时,它会影响整个 ImageView 包括其内容的透明度。这意味着,无论是 ImageView 的图像资源(通过 android:src 设置)还是背景(通过 android:background 设置),都会受到 android:alpha 的影响。
需要注意的是,android:alpha 只对 ImageView 的图像资源有效,如果只使用 android:background 而不使用 android:src,android:alpha 将不会起作用。如果需要同时设置透明度以及背景,可以考虑使用其他方式,例如设置透明的背景图片。
范例
<?xml version="1.0" encoding="utf-8" ?>
<LinearLayout
    xmlns:android="http://schemas.android.com/apk/res/android"
    android:layout_width="match_parent"
    android:layout_height="match_parent"
    android:orientation="horizontal">

    <ImageView
        android:layout_width="200dp"
        android:layout_height="200dp"
        android:src="@drawable/background_image"
        android:alpha="0.5"
        android:scaleType="centerCrop"
        android:layout_gravity="center_horizontal"
        android:layout_marginTop="16dp" />

    <ImageView
        android:id="@+id/imageView"
        android:layout_width="200dp"
        android:layout_height="200dp"
        android:background="@drawable/background_image"
        android:alpha="0.5"
        android:scaleType="centerCrop"
        android:layout_gravity="center_horizontal"
        android:layout_marginTop="16dp" />

</LinearLayout>
运行效果如下:
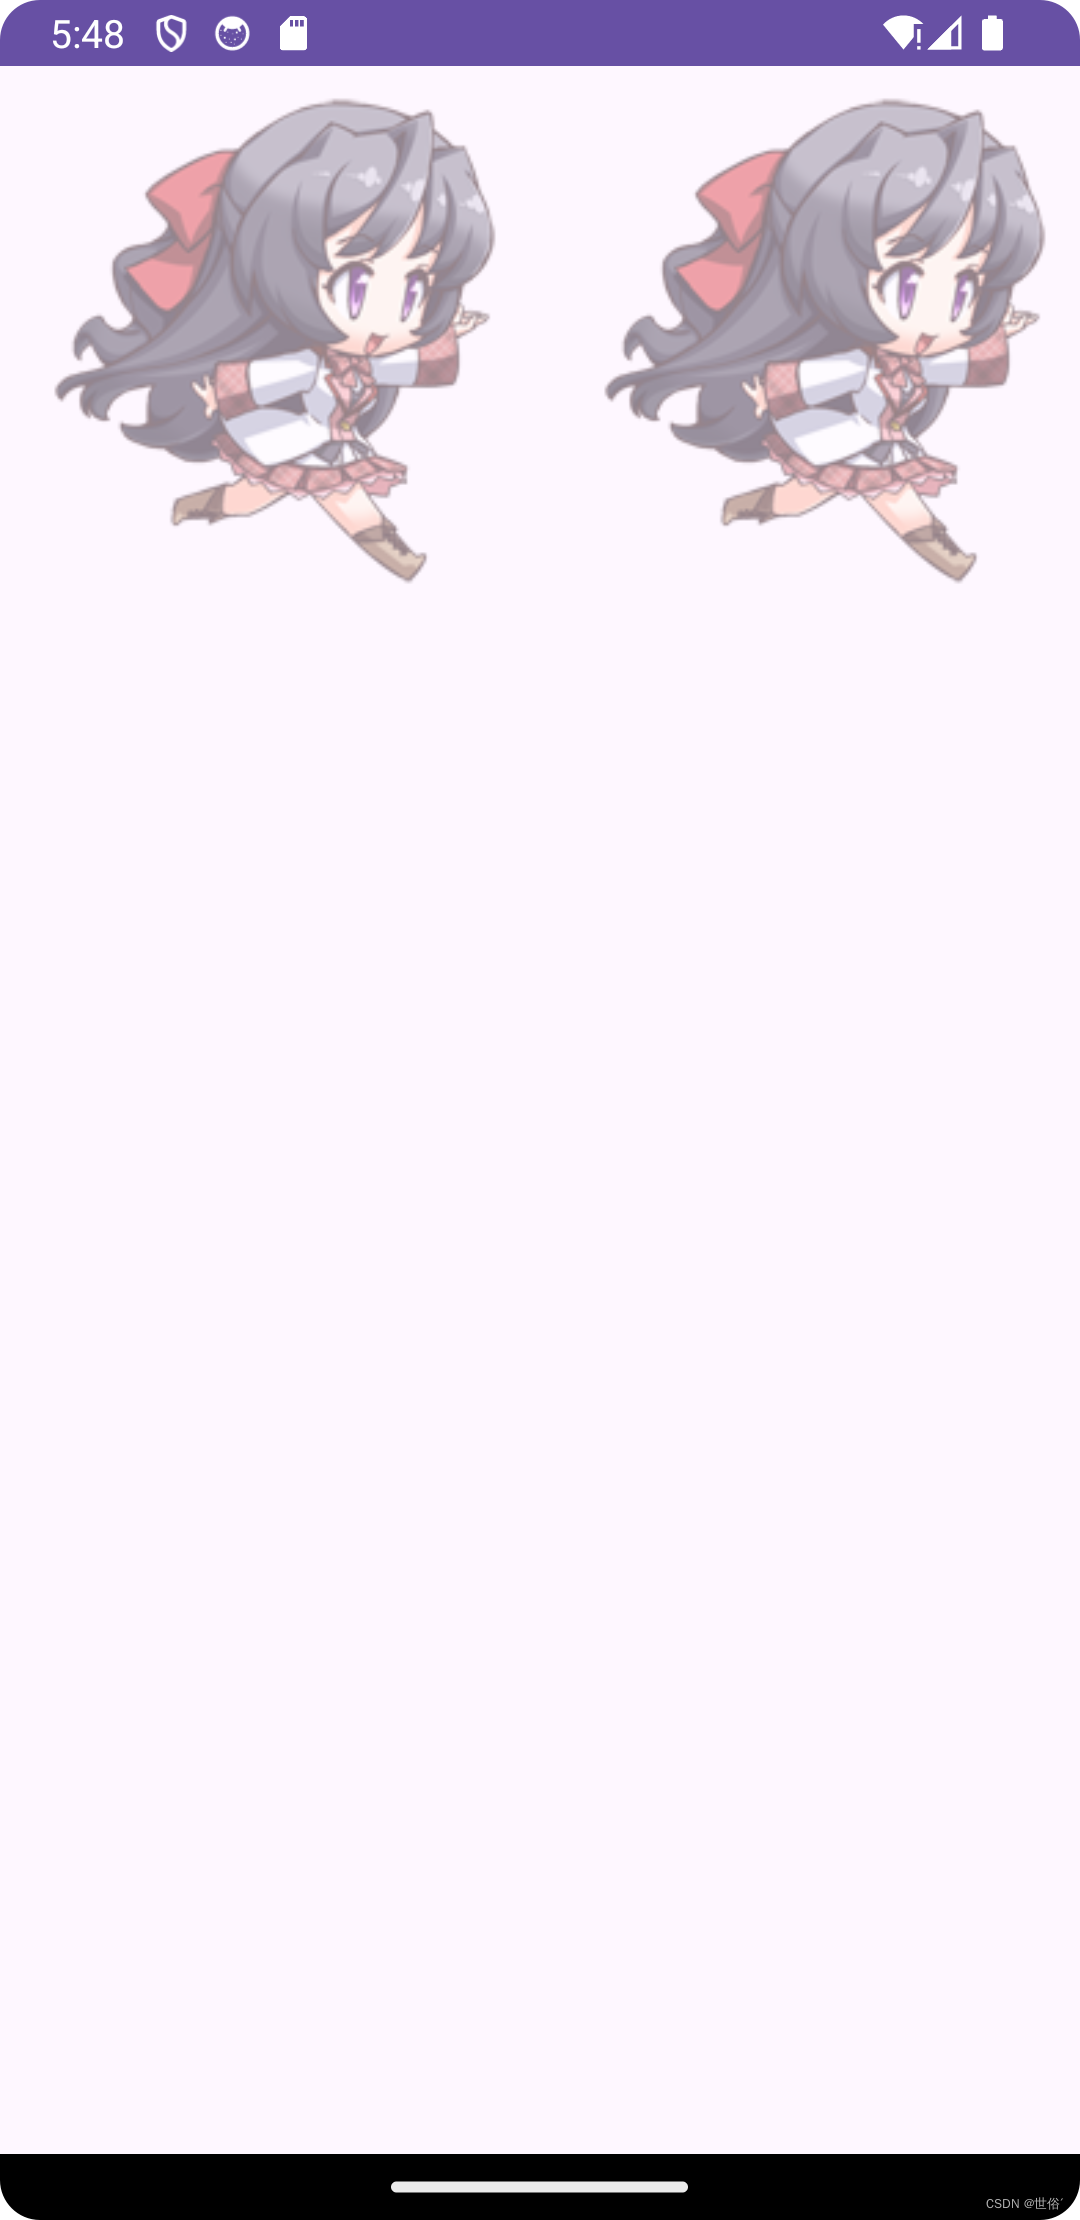
android:src 和 android:background 结合
范例
<?xml version="1.0" encoding="utf-8" ?>
<LinearLayout
    xmlns:android="http://schemas.android.com/apk/res/android"
    android:layout_width="match_parent"
    android:layout_height="match_parent"
    android:orientation="horizontal">

    <!-- 背景图像视图-->
    <ImageView
        android:id="@+id/background_image"
        android:layout_width="wrap_content"
        android:layout_height="wrap_content"
        android:src="@drawable/background_image"
        android:scaleType="centerCrop" />

    <!-- 前景图像视图-->
    <ImageView
        android:id="@+id/foreground_image"
        android:layout_width="wrap_content"
        android:layout_height="wrap_content"
        android:src="@drawable/background_image"
        android:background="#9f44d3"
        android:scaleType="fitCenter"
        android:layout_centerInParent="true" />

</LinearLayout>
运行效果如下:
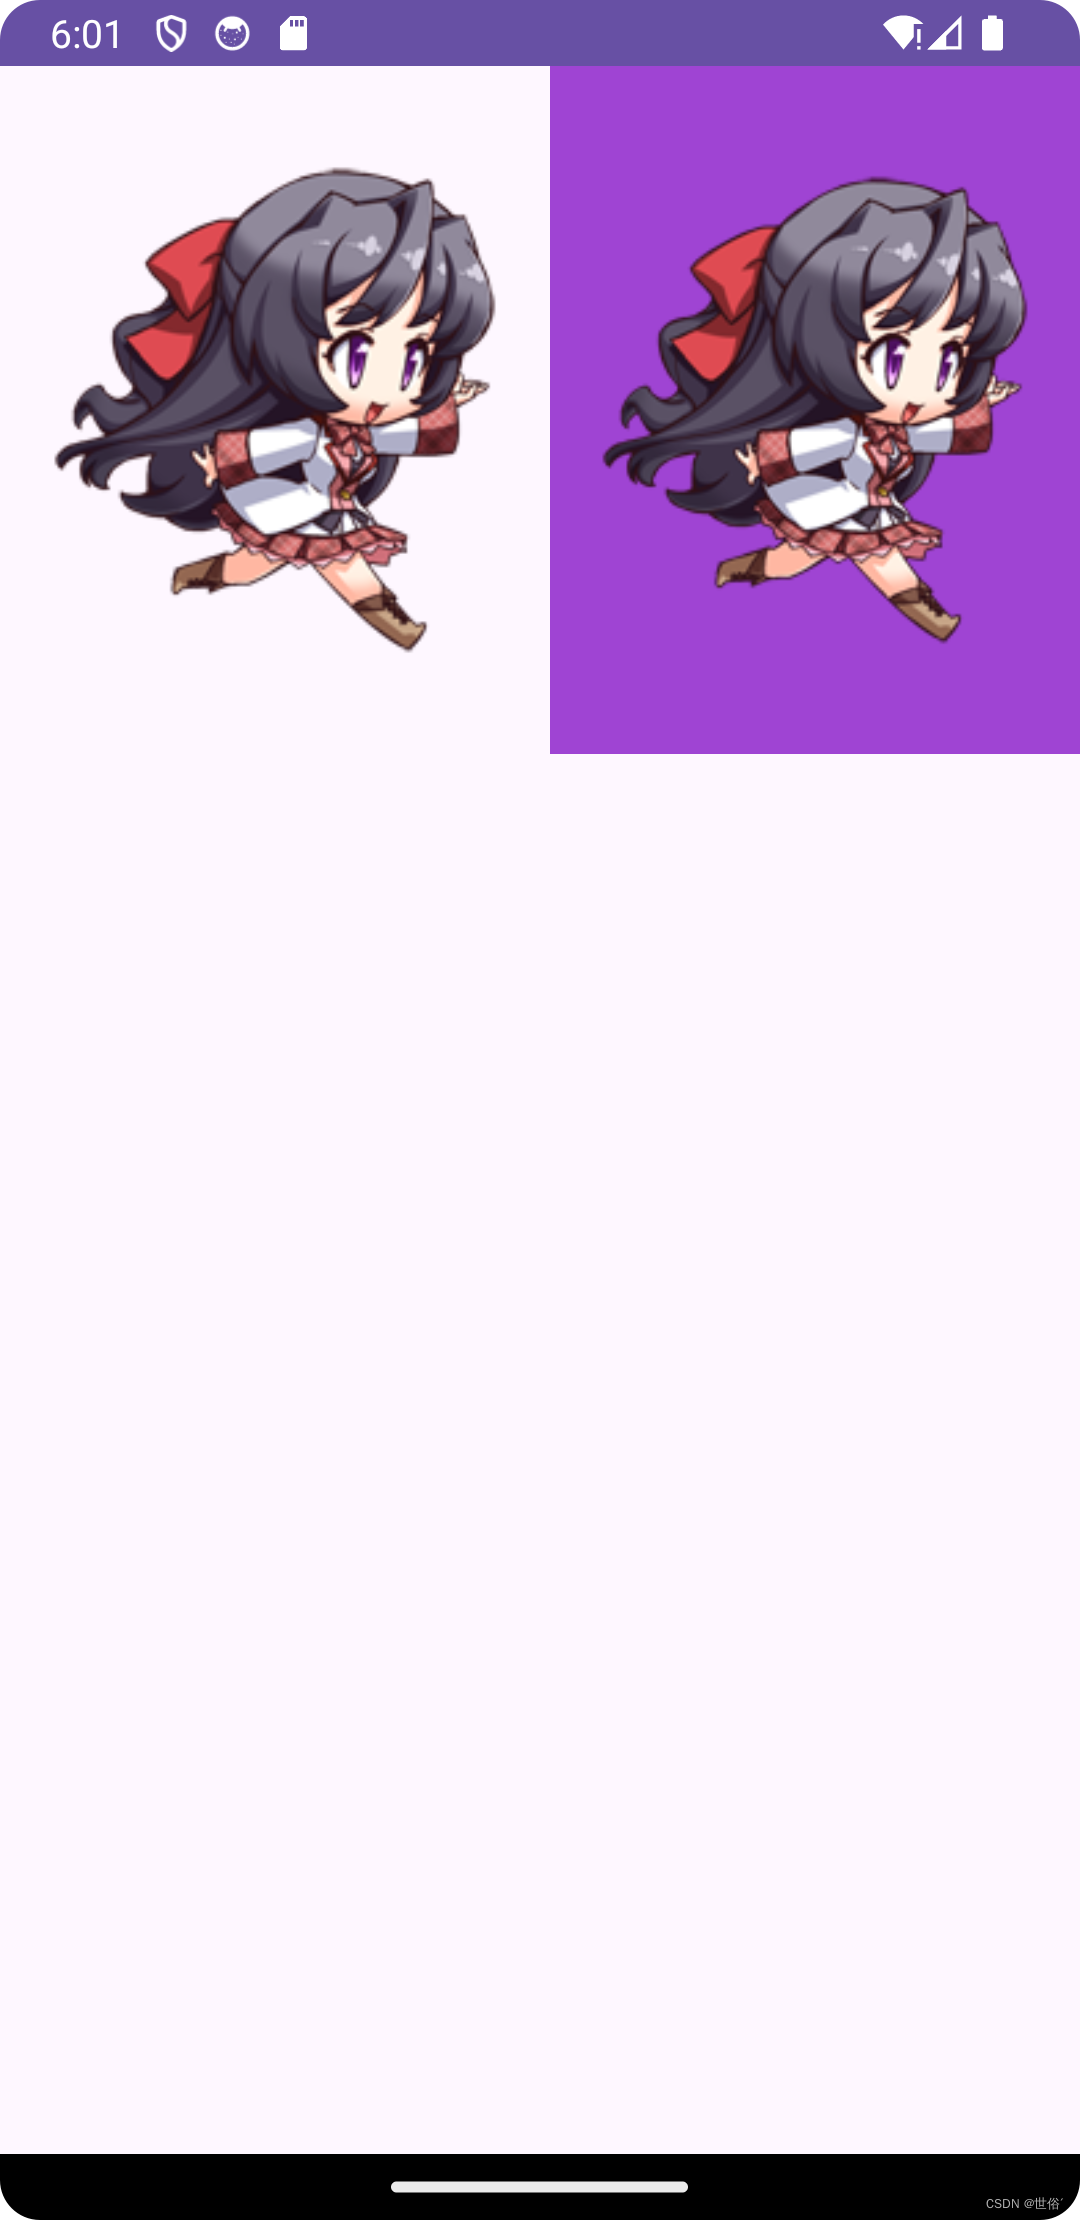
Java 代码中设置 blackground 和 src 属性
当需要在 Java 代码中设置 ImageView 的 android:src 和 android:background 属性时,可以使用对应的方法来实现。
1、在 Java 代码中设置 android:src 属性,可以使用 setImageResource() 方法,将资源 ID 分配给 ImageView。例如:
ImageView imageView = findViewById(R.id.imageView);
imageView.setImageResource(R.drawable.my_image);
在这里,R.drawable.my_image 是想要设置的图像资源的资源 ID。
2、要设置 android:background 属性,可以使用 setBackgroundResource() 方法,并将资源 ID 分配给 ImageView。例如:
ImageView imageView = findViewById(R.id.imageView);
imageView.setBackgroundResource(R.drawable.background_image);
在这里,R.drawable.background_image 是想要设置为背景的图像资源的资源 ID。
请注意,在设置 android:background 属性时,需要确保 ImageView 的 android:src 属性不会影响背景图像的显示。如果同时设置了 android:src 和 android:background,可能需要调整 ImageView 的布局参数或其他属性,以确保它们的显示效果符合预期。
android:adjustViewBounds 设置缩放是否保持长宽比
在 Android 中,android:adjustViewBounds 属性用于设置当 ImageView 进行缩放时是否保持原始图像的长宽比。但是,这个属性单独设置时并不会起作用,需要配合 android:maxWidth 和 android:maxHeight 属性一起使用,并且这两个属性也需要 android:adjustViewBounds 设置为 true 才会生效。
这三个属性之间存在着一种共生关系,它们的作用如下:
- android:adjustViewBounds:设置为 true 时,ImageView 在缩放图像时将尝试保持原始图像的长宽比。如果设置为 false,则图像可能被拉伸或压缩以填充 ImageView。
- android:maxWidth 和 android:maxHeight:分别用于设置 ImageView 的最大宽度和最大高度。当设置了这两个属性,并且 android:adjustViewBounds 被设置为 true 时,ImageView 将根据最大宽度和最大高度来缩放图像,以保持图像的长宽比,并且不会超过这些限制。
这种共生关系确保了在 ImageView 进行缩放时,可以同时控制图像的长宽比和最大尺寸,从而实现更加灵活和符合设计需求的显示效果。
范例
<?xml version="1.0" encoding="utf-8" ?>
<LinearLayout
    xmlns:android="http://schemas.android.com/apk/res/android"
    android:layout_width="match_parent"
    android:layout_height="match_parent"
    android:orientation="horizontal">

    <!--示例1: 不设置属性-->
    <ImageView
        android:id="@+id/imageView"
        android:layout_width="wrap_content"
        android:layout_height="wrap_content"
        android:src="@drawable/background_image"
        android:adjustViewBounds="false"
        />

    <!--示例2: 设置三个属性-->
    <ImageView
        android:id="@+id/imageView1"
        android:layout_width="wrap_content"
        android:layout_height="wrap_content"
        android:src="@drawable/background_image"
        android:adjustViewBounds="true"
        android:maxWidth="200dp"
        android:maxHeight="200dp"
        />
</LinearLayout>
运行效果如下
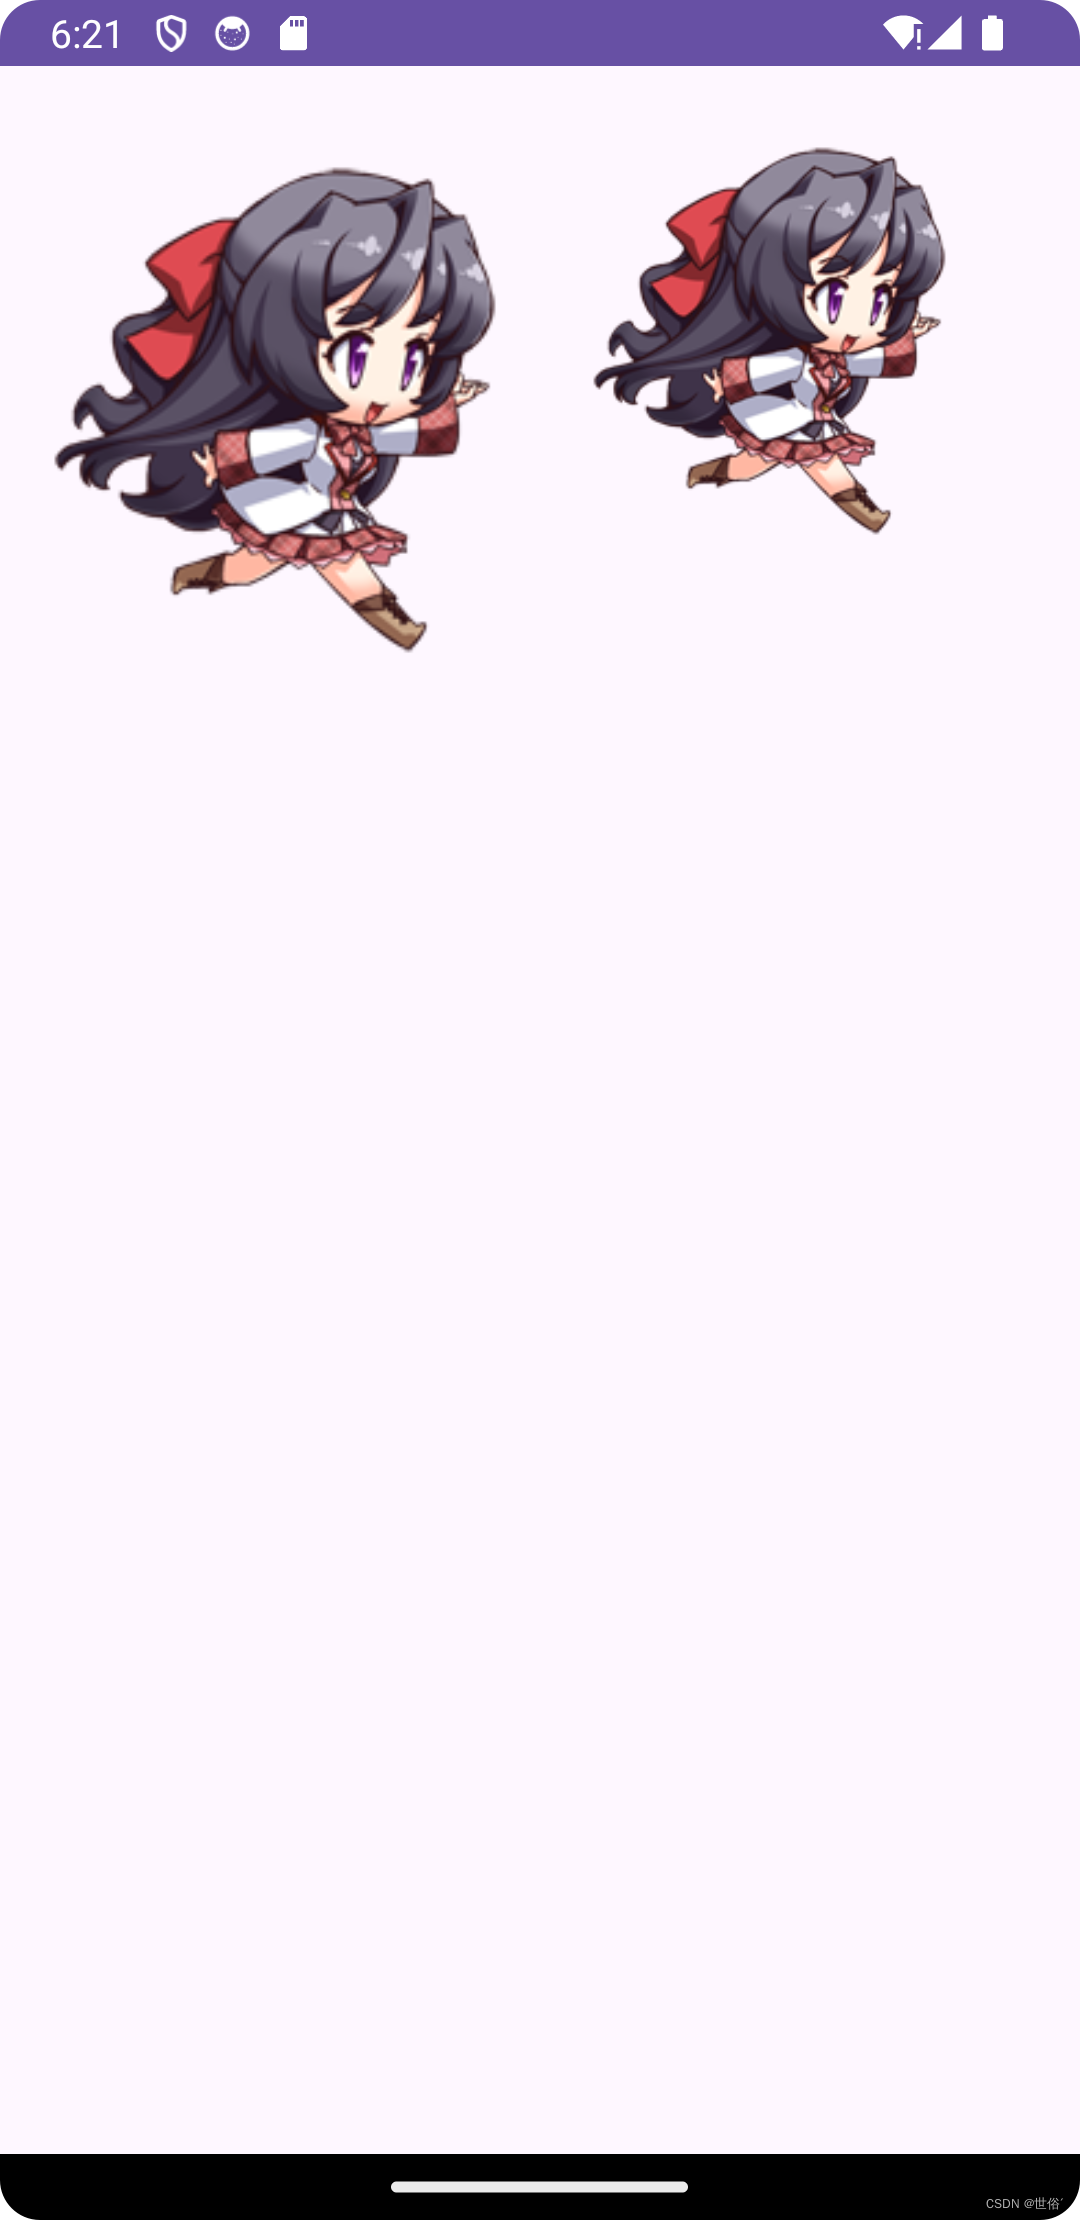
通过这两个示例,我们可以清楚地看到设置这三个属性和不设置这三个属性之间的差别。在第一个示例中,图像可能会因为不保持长宽比而变形。而在第二个示例中,由于设置了这三个属性,图像会尽可能地保持长宽比,并且不会超过指定的最大尺寸。
android:scaleType 设置缩放类型
android:scaleType 属性用于设置 ImageView 显示的图片如何缩放或者移动以适应 ImageView 的大小。
在 Java 代码中,可以使用 imageView.setScaleType(ImageView.ScaleType) 方法来设置。
以下是 android:scaleType 属性的可选值及其说明:
- fitXY:对图像的横向与纵向进行独立缩放,使得该图片完全适应 ImageView,但是图片的横纵比可能会发生改变。
- fitStart:保持纵横比缩放图片,知道较长的边与 ImageView 的边相等,缩放完成后将图片放在 ImageView 的左上角。
- fitCenter:同上,缩放后放于中间。
- fitEnd:同上,缩放后放于右下角。
- center:保持原图的大小,显示在 ImageView 的中心。当原图的大小大于 ImageView 的大小时,超过部分进行裁剪处理。
- centerCrop:保持横纵比缩放图片,知道完全覆盖 ImageView,可能会出现图片的显示不完全。
- centerInside:保持横纵比缩放图片,直到 ImageView 能够完全地显示图片。
- matrix:默认值,不改变原图的大小,从 ImageView 的左上角开始绘制原图,原图超过 ImageView 的部分作裁剪处理。
范例
<?xml version="1.0" encoding="utf-8" ?>
<ScrollView
    xmlns:android="http://schemas.android.com/apk/res/android"
    android:layout_width="match_parent"
    android:layout_height="match_parent">

    <LinearLayout
        android:layout_width="match_parent"
        android:layout_height="wrap_content"
        android:orientation="vertical"
        android:padding="16dp">

        <!-- ImageView 示例 -->
        <ImageView
            android:layout_width="200dp"
            android:layout_height="200dp"
            android:src="@drawable/background_image"
            android:contentDescription="Sample Image"
            android:background="@android:color/darker_gray"
            android:layout_marginBottom="16dp"/>

        <!-- 不同 scaleType 的 ImageView 示例 -->

        <!-- fitXY -->
        <ImageView
            android:layout_width="200dp"
            android:layout_height="200dp"
            android:src="@drawable/background_image"
            android:contentDescription="fitXY"
            android:scaleType="fitXY"
            android:background="@android:color/darker_gray"
            android:layout_marginBottom="16dp"/>

        <!-- fitStart -->
        <ImageView
            android:layout_width="200dp"
            android:layout_height="200dp"
            android:src="@drawable/background_image"
            android:contentDescription="fitStart"
            android:scaleType="fitStart"
            android:background="@android:color/darker_gray"
            android:layout_marginBottom="16dp"/>

        <!-- fitCenter -->
        <ImageView
            android:layout_width="200dp"
            android:layout_height="200dp"
            android:src="@drawable/background_image"
            android:contentDescription="fitCenter"
            android:scaleType="fitCenter"
            android:background="@android:color/darker_gray"
            android:layout_marginBottom="16dp"/>

        <!-- fitEnd -->
        <ImageView
            android:layout_width="200dp"
            android:layout_height="200dp"
            android:src="@drawable/background_image"
            android:contentDescription="fitEnd"
            android:scaleType="fitEnd"
            android:background="@android:color/darker_gray"
            android:layout_marginBottom="16dp"/>

        <!-- center -->
        <ImageView
            android:layout_width="200dp"
            android:layout_height="200dp"
            android:src="@drawable/background_image"
            android:contentDescription="center"
            android:scaleType="center"
            android:background="@android:color/darker_gray"
            android:layout_marginBottom="16dp"/>

        <!-- centerCrop -->
        <ImageView
            android:layout_width="200dp"
            android:layout_height="200dp"
            android:src="@drawable/background_image"
            android:contentDescription="centerCrop"
            android:scaleType="centerCrop"
            android:background="@android:color/darker_gray"
            android:layout_marginBottom="16dp"/>

        <!-- centerInside -->
        <ImageView
            android:layout_width="200dp"
            android:layout_height="200dp"
            android:src="@drawable/background_image"
            android:contentDescription="centerInside"
            android:scaleType="centerInside"
            android:background="@android:color/darker_gray"
            android:layout_marginBottom="16dp"/>

        <!-- matrix -->
        <ImageView
            android:layout_width="200dp"
            android:layout_height="200dp"
            android:src="@drawable/background_image"
            android:contentDescription="matrix"
            android:scaleType="matrix"
            android:background="@android:color/darker_gray"
            android:layout_marginBottom="16dp"/>

    </LinearLayout>
</ScrollView>
圆形的 ImageView
这里就简单的写个圆形的ImageView,当然这只是一个示例,在不考虑性能与抗锯齿的情况下。如果要用在项目中,可以看 GitHub 上的相关开源实现
- RoundedImageView
- CircleImageView
要创建一个圆形的 ImageView,可以使用一个自定义的 Drawable 来实现。
下面是一种方法,可以使用一个圆形的 ShapeDrawable 作为 ImageView 的背景,并在其上放置想要显示的图像。
1、首先,在 res/drawable 目录下创建一个 XML 文件(例如 circle_bg.xml),用来定义圆形的背景:
<?xml version="1.0" encoding="utf-8"?>
<shape xmlns:android="http://schemas.android.com/apk/res/android"
    android:shape="oval">
    <solid android:color="@android:color/transparent"/>
    <stroke
        android:width="2dp"
        android:color="#9f44d3"/>
</shape>
这个 XML 定义了一个椭圆形的形状,具有紫色边框,并且背景色是透明的。
2、然后,在布局文件中,将这个圆形的背景设置为 ImageView 的背景,并设置想要显示的图像作为 ImageView 的 src:
<?xml version="1.0" encoding="utf-8"?>
<LinearLayout
    xmlns:android="http://schemas.android.com/apk/res/android"
    android:layout_width="match_parent"
    android:layout_height="match_parent"
    android:orientation="horizontal"
    android:gravity="center">

        <ImageView
            android:id="@+id/circularImageView"
            android:layout_width="150dp"
            android:layout_height="150dp"
            android:scaleType="centerCrop"
            android:src="@drawable/background_image"
            android:background="@drawable/circle_bg"/>

</LinearLayout>
这样,就创建了一个圆形的 ImageView,图像将填充圆形区域,并且具有紫色的边框。
