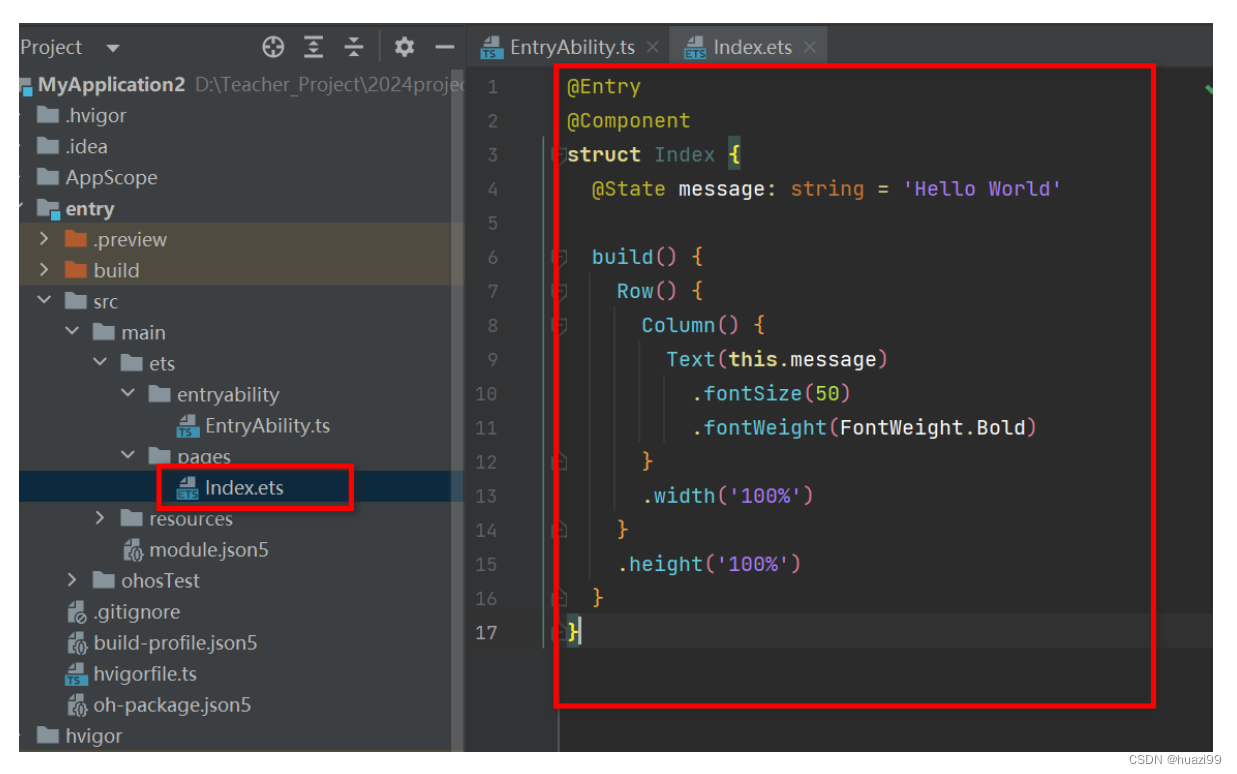
1、基础组件
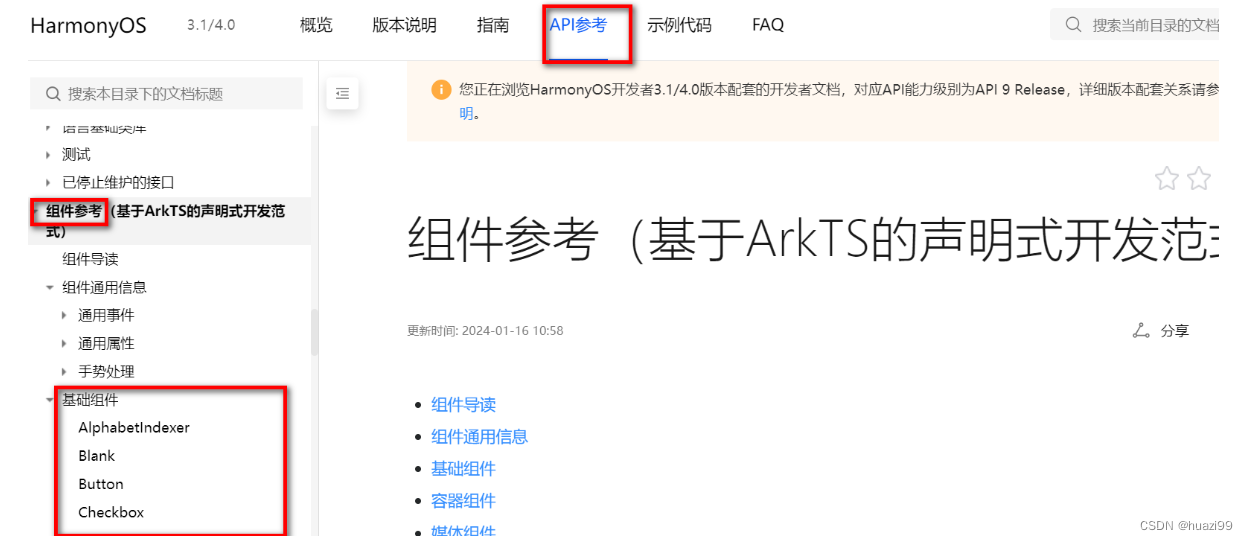
组件API文档:https://developer.huawei.com/consumer/cn/doc/harmonyos-references-V2/84_u58f0_u660e_u5f0f_u5f00_u53d1_u8303_u5f0f_uff09-0000001427744776-V2
查看组件API
外链图片转存失败,源站可能有防盗链机制,建议将图片保存下来直接上传
容器组件
Column、Row、Stack、Grid、List等组件都是容器组件
支持子组件配置,需在尾随闭包"{…}"中为组件添加子组件的UI描述
Column() {
  Text('Hello')
    .fontSize(100)

}
//嵌套
Row() {
  Column() {
      Text('Hello')
        .fontSize(100)
  }
 }
//一行两列,每列各占50%
Row() {
  Column() {
    Text("测试组件1")
      .fontSize(50)
      .fontWeight(FontWeight.Bold)
    }
  .width('50%')
  Column() {
    Text("测试组件2")
      .fontSize(50)
      .fontWeight(FontWeight.Bold)
  }
  .width('50%')
}

无参数组件
Column() {
    Text()
    Divider()

}
有参数组件
-
Image组件的必选参数src。
Image('https://xyz/test.jpg') -
Text组件
// string类型的参数 Text('test111') // $r形式引入应用资源,可应用于多语言场景 Text($r('app.string.title_value')) -
变量或表达式也可以用于参数赋值,其中表达式返回的结果类型必须满足参数类型要求。
例如,设置变量或表达式来构造Image和Text组件的参数。Image(this.imagePath) Image('https://' + this.imageUrl) Text(`count: ${this.count}`)
配置属性
属性方法以“.”链式调用的方式配置系统组件的样式和其他属性,建议每个属性方法单独写一行。
-
配置Text组件的字体大小。
Text('test') .fontSize(12) -
配置组件的多个属性。
Image('test.jpg') .alt('error.jpg') .width(100) .height(100) -
除了直接传递常量参数外,还可以传递变量或表达式。
Text('hello') .fontSize(this.size) Image('test.jpg') .width(this.count % 2 === 0 ? 100 : 200) .height(this.offset + 100) -
对于系统组件,ArkUI还为其属性预定义了一些枚举类型供开发者调用,枚举类型可以作为参数传递,但必须满足参数类型要求。
Text('hello')
.fontSize(20)
.fontColor(Color.Red)  //Color.Red 枚举类型
.fontWeight(FontWeight.Bold)
配置事件
事件方法以“.”链式调用的方式配置系统组件支持的事件,建议每个事件方法单独写一行。
-
使用箭头函数配置组件的事件方法。
Button('Click me') .onClick(() => { this.myText = 'ArkUI'; }) -
使用匿名函数表达式配置组件的事件方法,要求使用bind,以确保函数体中的this指向当前组件。
Button('add counter') .onClick( function(){ this.counter += 2; } .bind(this) ) -
使用组件的成员函数配置组件的事件方法。
myClickHandler(): void { this.counter += 2; } ... Button('add counter') .onClick(this.myClickHandler.bind(this)) -
使用声明的箭头函数,可以直接调用,不需要bind this。
fn = () => {
  console.info(`counter: ${this.counter}`)
  this.counter++
}
...
Button('add counter')
  .onClick(this.fn)
2、自定义组件
自定义组件具有以下特点:
-
可组合:允许开发者组合使用系统组件、及其属性和方法。
-
可重用:自定义组件可以被其他组件重用,并作为不同的实例在不同的父组件或容器中使用。
-
数据驱动UI更新:通过状态变量的改变,来驱动UI的刷新。
基本用法
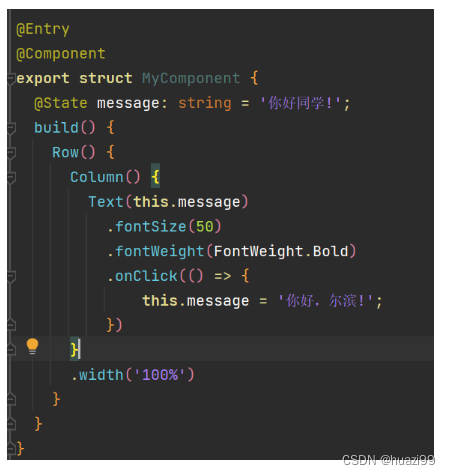
点击文本,内容切换
@Entry
@Component
struct MyComponent {
  @State message: string = '你好同学!';
  build() {
    Row() {
      Column() {
        Text(this.message)
          .fontSize(50)
          .fontWeight(FontWeight.Bold)
          .onClick(() => {
              this.message = '你好,尔滨!';
          })
      }
      .width('100%')
    }
  }
}

调用自定义组件
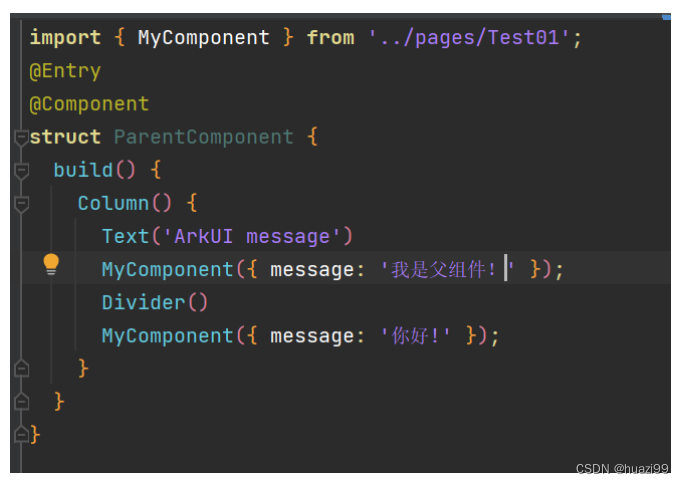
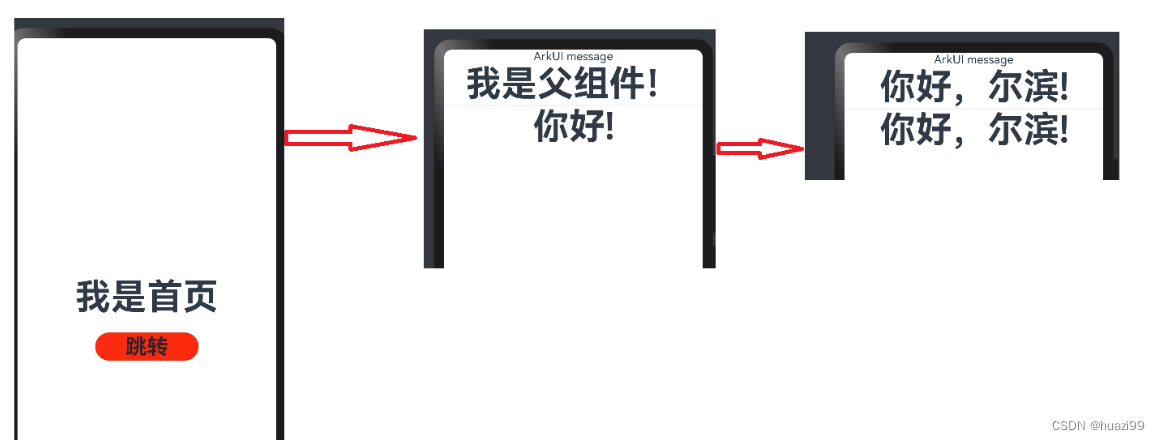
在另外的文件中引用该自定义组件,需要使用export关键字导出,并在使用的页面import该自定义组件
Test01.ets 子组件
export导出
Test02 父组件
import导入
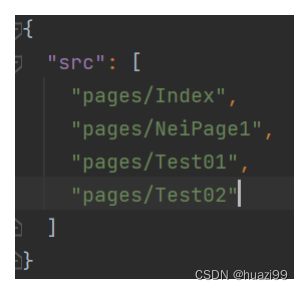
main_pages.json 路由
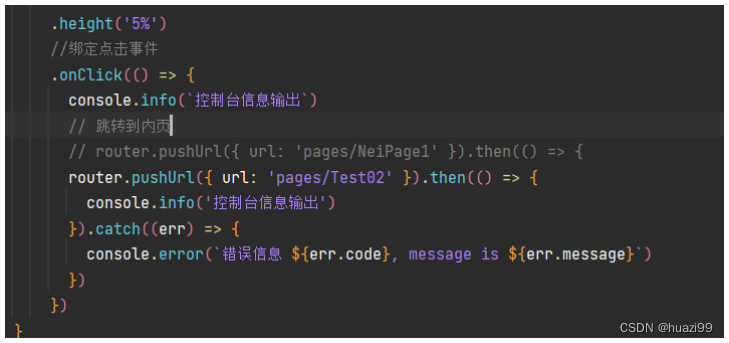
index.ets 主页
运行效果
自定义组件基本结构
-
struct:自定义组件基于struct实现,struct + 自定义组件名 + {…}的组合构成自定义组件,不能有继承关系。对于struct的实例化,可以省略new。
-
@Component:@Component装饰器仅能装饰struct关键字声明的数据结构。struct被@Component装饰后具备组件化的能力,需要实现build方法描述UI,一个struct只能被一个@Component装饰。
@Component struct MyComponent { } -
build()函数:build()函数用于定义自定义组件的声明式UI描述,自定义组件必须定义build()函数。
@Component struct MyComponent { build() { } } -
@Entry:@Entry装饰的自定义组件将作为UI页面的入口。在单个UI页面中,最多可以使用@Entry装饰一个自定义组件。
@Entry
@Component
struct MyComponent {

}
自定义组件传参
一个文件,定义组件并调用
组件内private定义变量,父组件调用传参
@Component
struct MyComponent1 {
  private countDownFrom: number = 0;
  private color1: Color = Color.Blue;

  build() {
    Text('bbbbb').fontSize(59).fontColor(this.color1)
  }
}

@Entry
@Component
struct ParentComponent {
  private someColor: Color = Color.Pink;

  build() {
    Column() {
      Text('aaaaaa').fontSize(39).fontColor(this.someColor)
      // 创建MyComponent实例
      MyComponent1({ countDownFrom: 10, color1: this.someColor })
    }
  }
}
build()函数
所有声明在build()函数的语言,统称为UI描述,UI描述需要遵循以下规则:
-
@Entry装饰的自定义组件,其build()函数下的根节点唯一且必要,且必须为容器组件,其中ForEach禁止作为根节点。
@Component装饰的自定义组件,其build()函数下的根节点唯一且必要,可以为非容器组件,其中ForEach禁止作为根节点。
@Entry @Component struct MyComponent { build() { // 根节点唯一且必要,必须为容器组件 Row() { ChildComponent() } } } @Component struct ChildComponent { build() { // 根节点唯一且必要,可为非容器组件 Image('test.jpg') } } -
不允许声明本地变量,反例如下。
build() { // 反例:不允许声明本地变量 let a: number = 1; } -
不允许在UI描述里直接使用console.info,但允许在方法或者函数里使用,反例如下。
build() {
// 反例:不允许
console.info
console.info('print debug log');
}
自定义组件链式调用
自定义组件通过“.”链式调用的形式设置通用样式。
@Component
struct MyComponent2 {
  build() {
    Button(`Hello World`)
  }
}

@Entry
@Component
struct MyComponent {
  build() {
    Row() {
      MyComponent2()
        .width(200)
        .height(300)
        .backgroundColor(Color.Red)
    }
  }
}
以上内容参考**“官方文档”**
