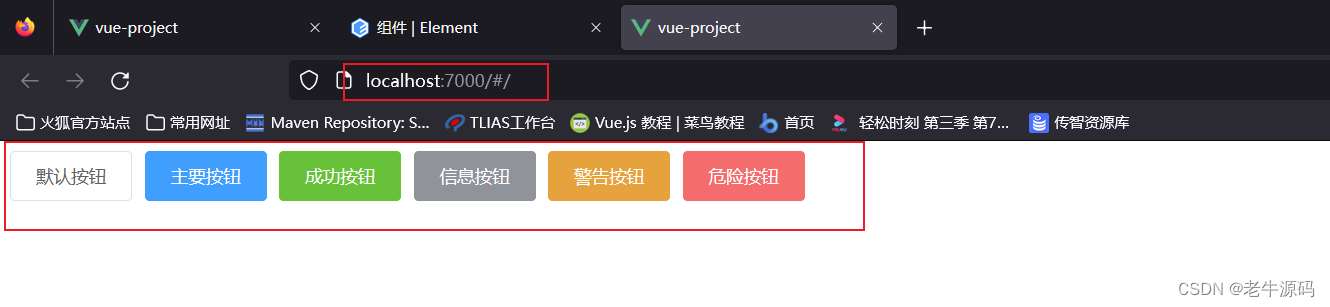
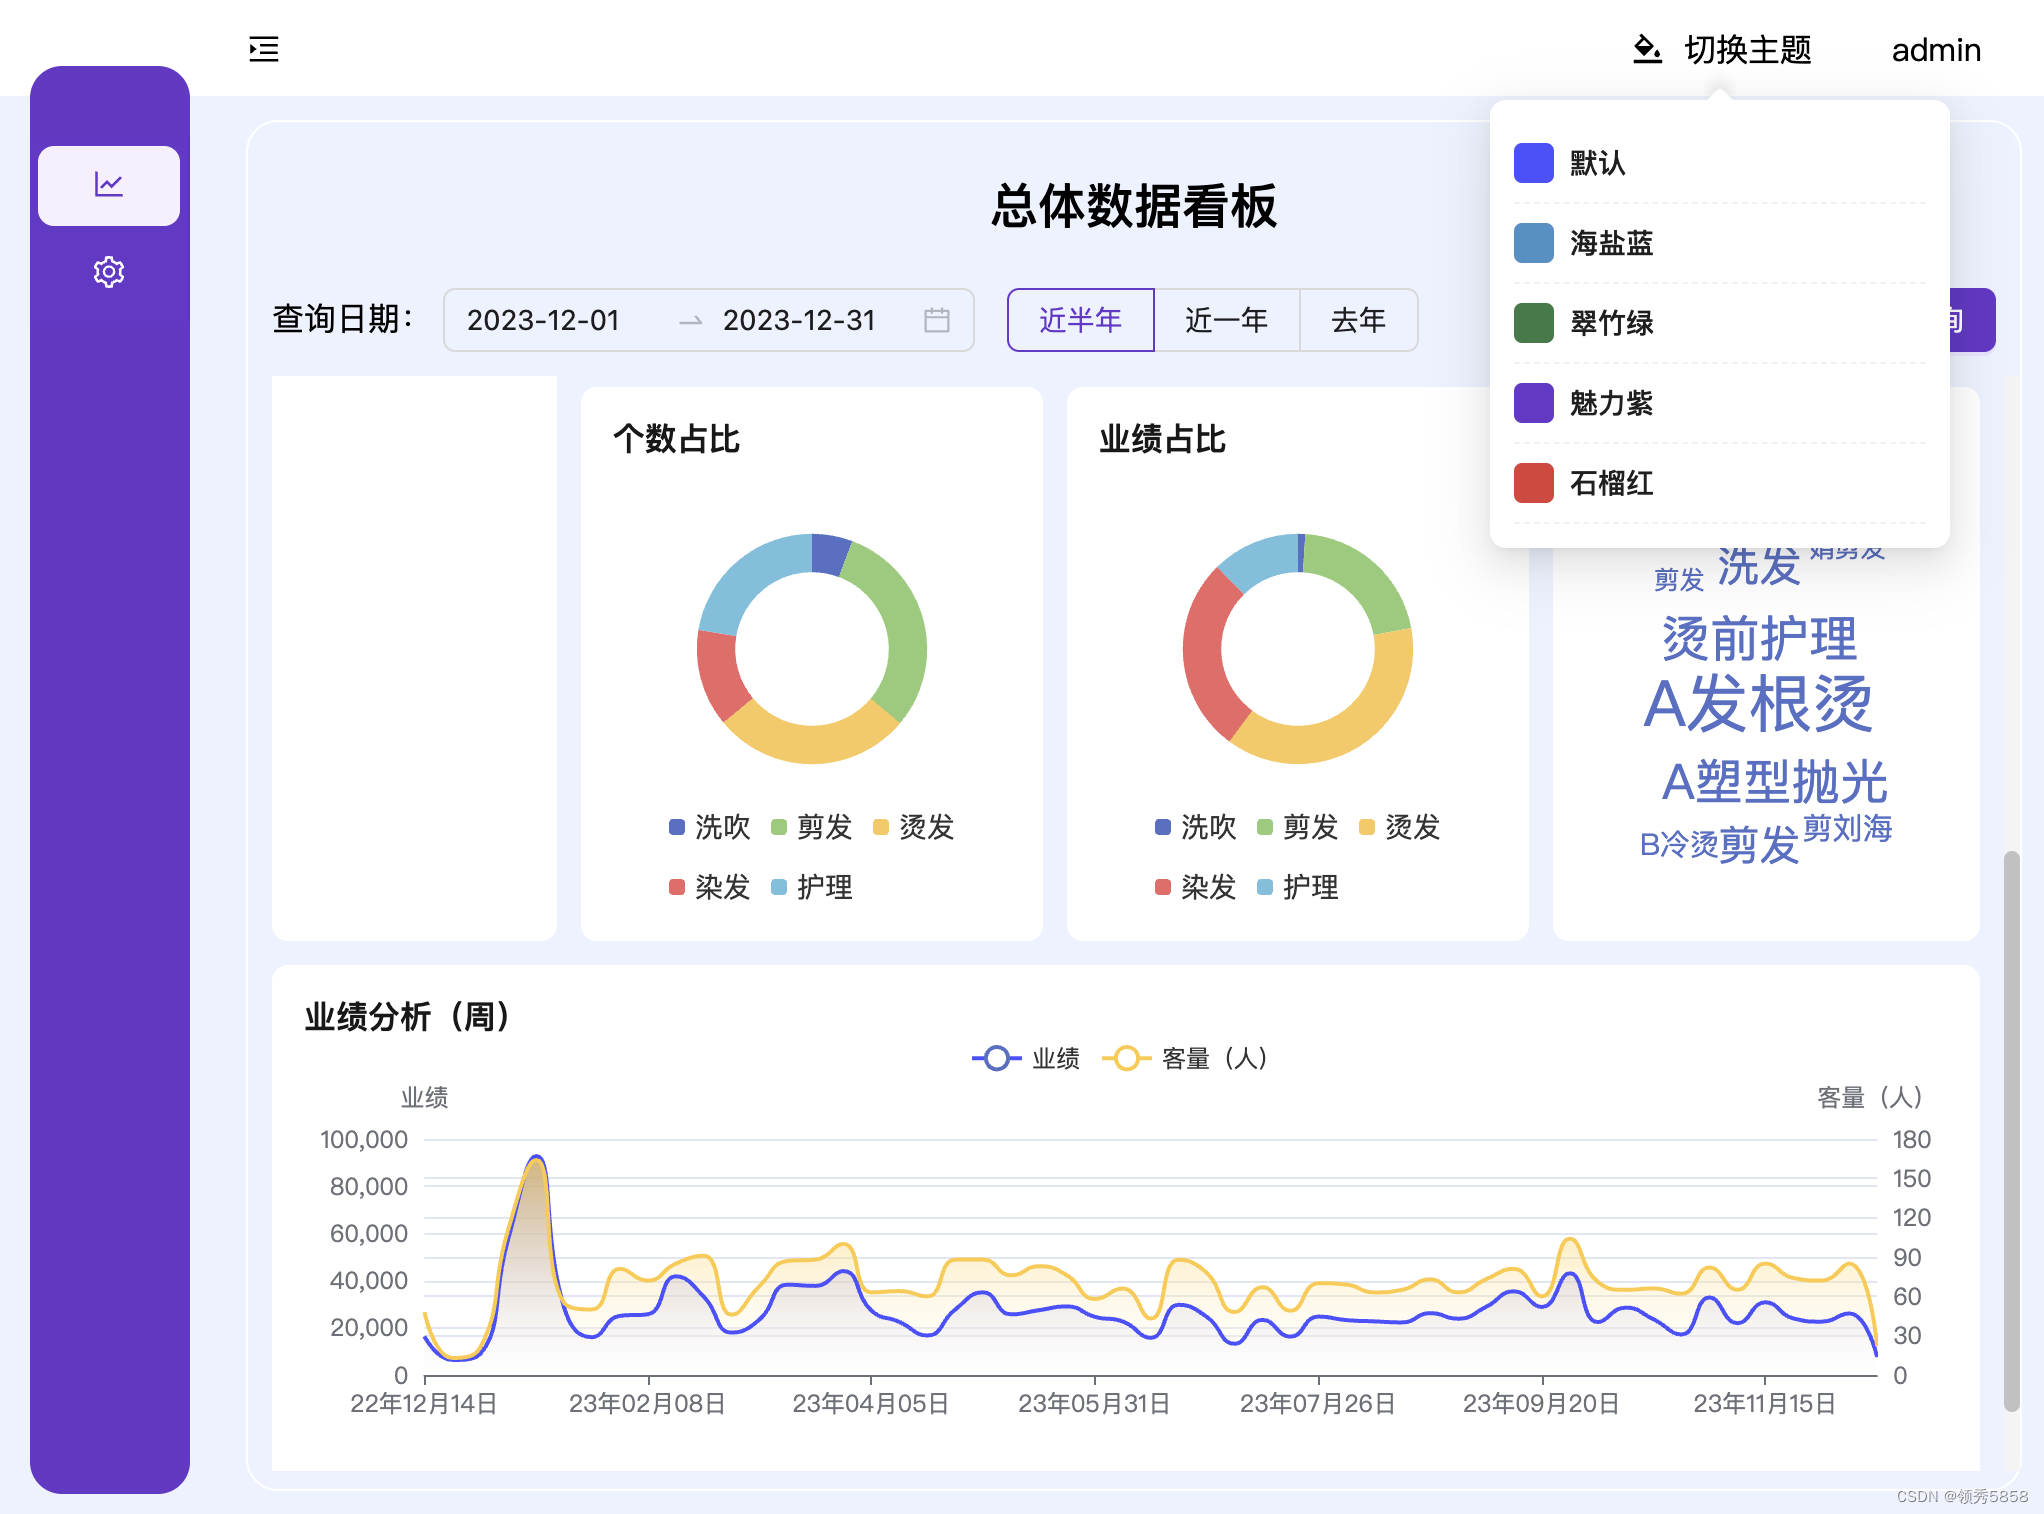
PC端主题切换大家都用过,下面用Vue3+Pinia实现一下这个过程;
【源码地址】
1、准备工作
npm install pinia
npm install pinia-plugin-persist

2、基础配置
// main.js
import { createApp } from 'vue'
import App from './App.vue'
import bootstrap from "../bootstrap";
import { createPinia } from 'pinia'
import piniaPluginPersist from 'pinia-plugin-persist';

const app = createApp(App);
const store = createPinia()
store.use(piniaPluginPersist);

app.use(store);
// APP.vue
<template>
  <div>
    <a-config-provider :locale="locale" :theme="{ token: { colorPrimary: themeState.themes && themeState.currTheme ? themeState.themes[themeState.currTheme].themeColor1 : '#4A51FF', } }" >
      <RouterView/>
    </a-config-provider>
  </div>
</template>

<script setup>
import {ref, reactive, provide, onMounted, onBeforeUnmount } from 'vue'
import {useRouter} from "vue-router";
import zhCN from 'ant-design-vue/es/locale/zh_CN';
import dayjs from 'dayjs';
import 'dayjs/locale/zh-cn';
import { themeStore } from '@/stores/theme';

dayjs.locale('zh-cn');

// 国际化配置-默认中文
const locale = ref(zhCN);
const $router = useRouter();
const themeState = themeStore();

let timer = reactive(null)

onMounted(() => {
  // 初始化主题色
  themeState.getTheme && themeState.getTheme('themeColor');
});

</script>
3、Stores 部分
// src/stores/index.js
import { createPinia, } from 'pinia';

const pinia = createPinia()

export default pinia;
// src/stores/theme.js
import { defineStore } from 'pinia'
import {setStorage, getStorage} from "@/utils/util";

export const themeStore = defineStore('theme',{
    state: () => {
        return {
            currTheme: "默认", // 当前主题
            themes: {
                "默认": {
                    themeColor1: '#4A51FF',
                    themeColor2: '#4A51FF',
                    themeColor7: '#4A51FF', //
                    textColor1: '#181818',
                    textColor2: '#555555',
                },
                "海盐蓝": {
                    themeColor1: '#4691C8',
                    themeColor2: '#4691C8',
                    themeColor7: '#4691C8', //
                    textColor1: '#181818',
                    textColor2: '#555555',
                },
                "翠竹绿": {
                    themeColor1: '#347B45',
                    themeColor2: '#347B45',
                    themeColor7: '#347B45', //
                    textColor1: '#181818',
                    textColor2: '#555555',
                },
                "魅力紫": {
                    themeColor1: '#6837C9',
                    themeColor2: '#6837C9',
                    themeColor7: '#6837C9', //
                    textColor1: '#181818',
                    textColor2: '#555555',
                },
            }
        }
    },
    persist: {
        enabled: true,
        // 自定义持久化参数
        strategies: [
            {
                // 自定义key
                key: 'theme',
                // 自定义存储方式,默认sessionStorage
                storage: localStorage, // localStorage,
                // 指定要持久化的数据,默认所有 state 都会进行缓存,可以通过 paths 指定要持久化的字段,其他的则不会进行持久化。
                paths: ['currTheme', 'themes']
            }
        ]
    },
    // 相当于计算属性(有数据缓存)
    getters: {
        getThemes(state){
            return state.themes
        },
    },
    // actions即可以是同步函数也可以是异步函数
    actions: {
        // 切换主题
        changeStyle (obj) {
            for (let key in obj) {
                document.getElementsByTagName("body")[0].style.setProperty(`--${key}`, obj[key]);
            }
        },
        setThemeColor (themeName){
            let { showLock, currTheme, sideCollapsed, themes } = this;
            let theme = { showLock, currTheme, sideCollapsed, themes }
            setStorage("theme", JSON.stringify(theme));
            const themeConfig = this.getThemes[themeName];
            let themeInfo = {};
            if(getStorage("theme")) {
                themeInfo = JSON.parse(getStorage("theme"));
            }
            // 如果有主题名称,那么则采用我们定义的主题
            if (themeConfig) { // 保存主题色到本地
                this.changeStyle(themeConfig); // 改变样式
            } else {
                this.changeStyle(themeInfo.themes); // 改变样式
            }
        },
        setTheme ( theme, type ){
            if (type === 'themeColor') {
                this.setThemeColor(theme);
            } else if (type === 'FontFamily') {
                this.setFontFamily(theme);
            }
        },
        getTheme (type){
            let { currTheme } = this;
            if (type === 'themeColor') {
                if(getStorage("theme")) {
                    let themeInfo = JSON.parse(getStorage("theme"));
                    this.setThemeColor(themeInfo.currTheme);
                } else {
                    this.setThemeColor(currTheme);
                }

            } else if (type === 'FontFamily') {
                let FontFamily = getStorage("FontFamily");
                this.setFontFamily(FontFamily);
            }
        },
    }
});
4、页面使用
// header.vue
<template>
    <div class="headerCompView">
        <div class="header-left">
            <slot name="left"></slot>
        </div>
        <div class="header-right">
            <div class="theme-list">
              <a-popover placement="bottom" trigger="click" overlayClassName="themeUserPop" :overlayInnerStyle="{width: '230px'}">
                <template #content>
                  <div class="theme-item" v-for="(item, index) in themeOptions" :key="index" @click="onPressTheme(item.name)"
                       :style="{color: item.name === currentThemeName ? '#4A51FF' : ''}" >
                    <div class="item-left">
                      <a-tag :color="item.data.themeColor1" style="height: 20px; width: 20px;"></a-tag>
                      <span class="title"> {{item.name}} </span>
                    </div>
                    <div class="item-right">
                      <CheckOutlined v-if="item.name === currentThemeName" :style="{color: item.data.themeColor1 ? item.data.themeColor1 : ''}"/>
                    </div>
                  </div>
                </template>
                <div class="theme-options">
                  <BgColorsOutlined />
                  <span style="margin-left: 10px;">切换主题</span>
                </div>
              </a-popover>
            </div>
        </div>
    </div>
</template>

<script setup>
import { ref, onMounted } from 'vue';
import {themeStore} from "@/stores/theme"

const $router = useRouter();
const themeState = themeStore();

let themeOptions = ref([]);
let currentThemeName = ref("默认");

onMounted(() => {
  collapsed.value = props.collapsedStatus;
  initTheme();
});

// 初始化主题
const initTheme = () => {
  let arr = [];
  for (let index in themeState.themes) {
    let item = {
      name: index,
      data: themeState.themes[index],
    }
    arr.push(item)
  }
  themeOptions.value = arr;
  currentThemeName.value = localStorage.getItem('themeName');
}

// 设置主题
const onPressTheme = (e) =>{
  themeState.currTheme = e;
  // console.log("themeState.currTheme", themeState.currTheme);
  themeState.setTheme(e, 'themeColor');
  currentThemeName.value = e;
};

</script>

<style lang="less" scoped>
@import (reference) "@/utils/common";

.themeUserPop{
  .theme-item{
    height: 40px;
    cursor: pointer;
    display: flex;
    justify-content: space-between;
    align-items: center;
    font-weight: 500;
    line-height: 16px;
    border-bottom: 1px dashed #EFF1F5;
    .item-left{
      .flexCenter;
      .title{
        font-size: 14px;
        vertical-align: middle;
        line-height: 20px;
      }
    }
  }
  .theme-item:hover{
    color: #4A51FF;
  }
}
</style>
// src/utils/common.less

```
@theme: var(--themeColor1);
// 默认的主题颜色
@themeColor1: var(--themeColor1);
@themeColor2: var(--themeColor2);
@themeColor3: var(--themeColor3);
@themeColor4: var(--themeColor4);
@themeColor5: var(--themeColor5);
@themeColor6: var(--themeColor6);
@themeColor7: var(--themeColor7);
@textColor1: var(--textColor1);
@textColor2: var(--textColor2);
```