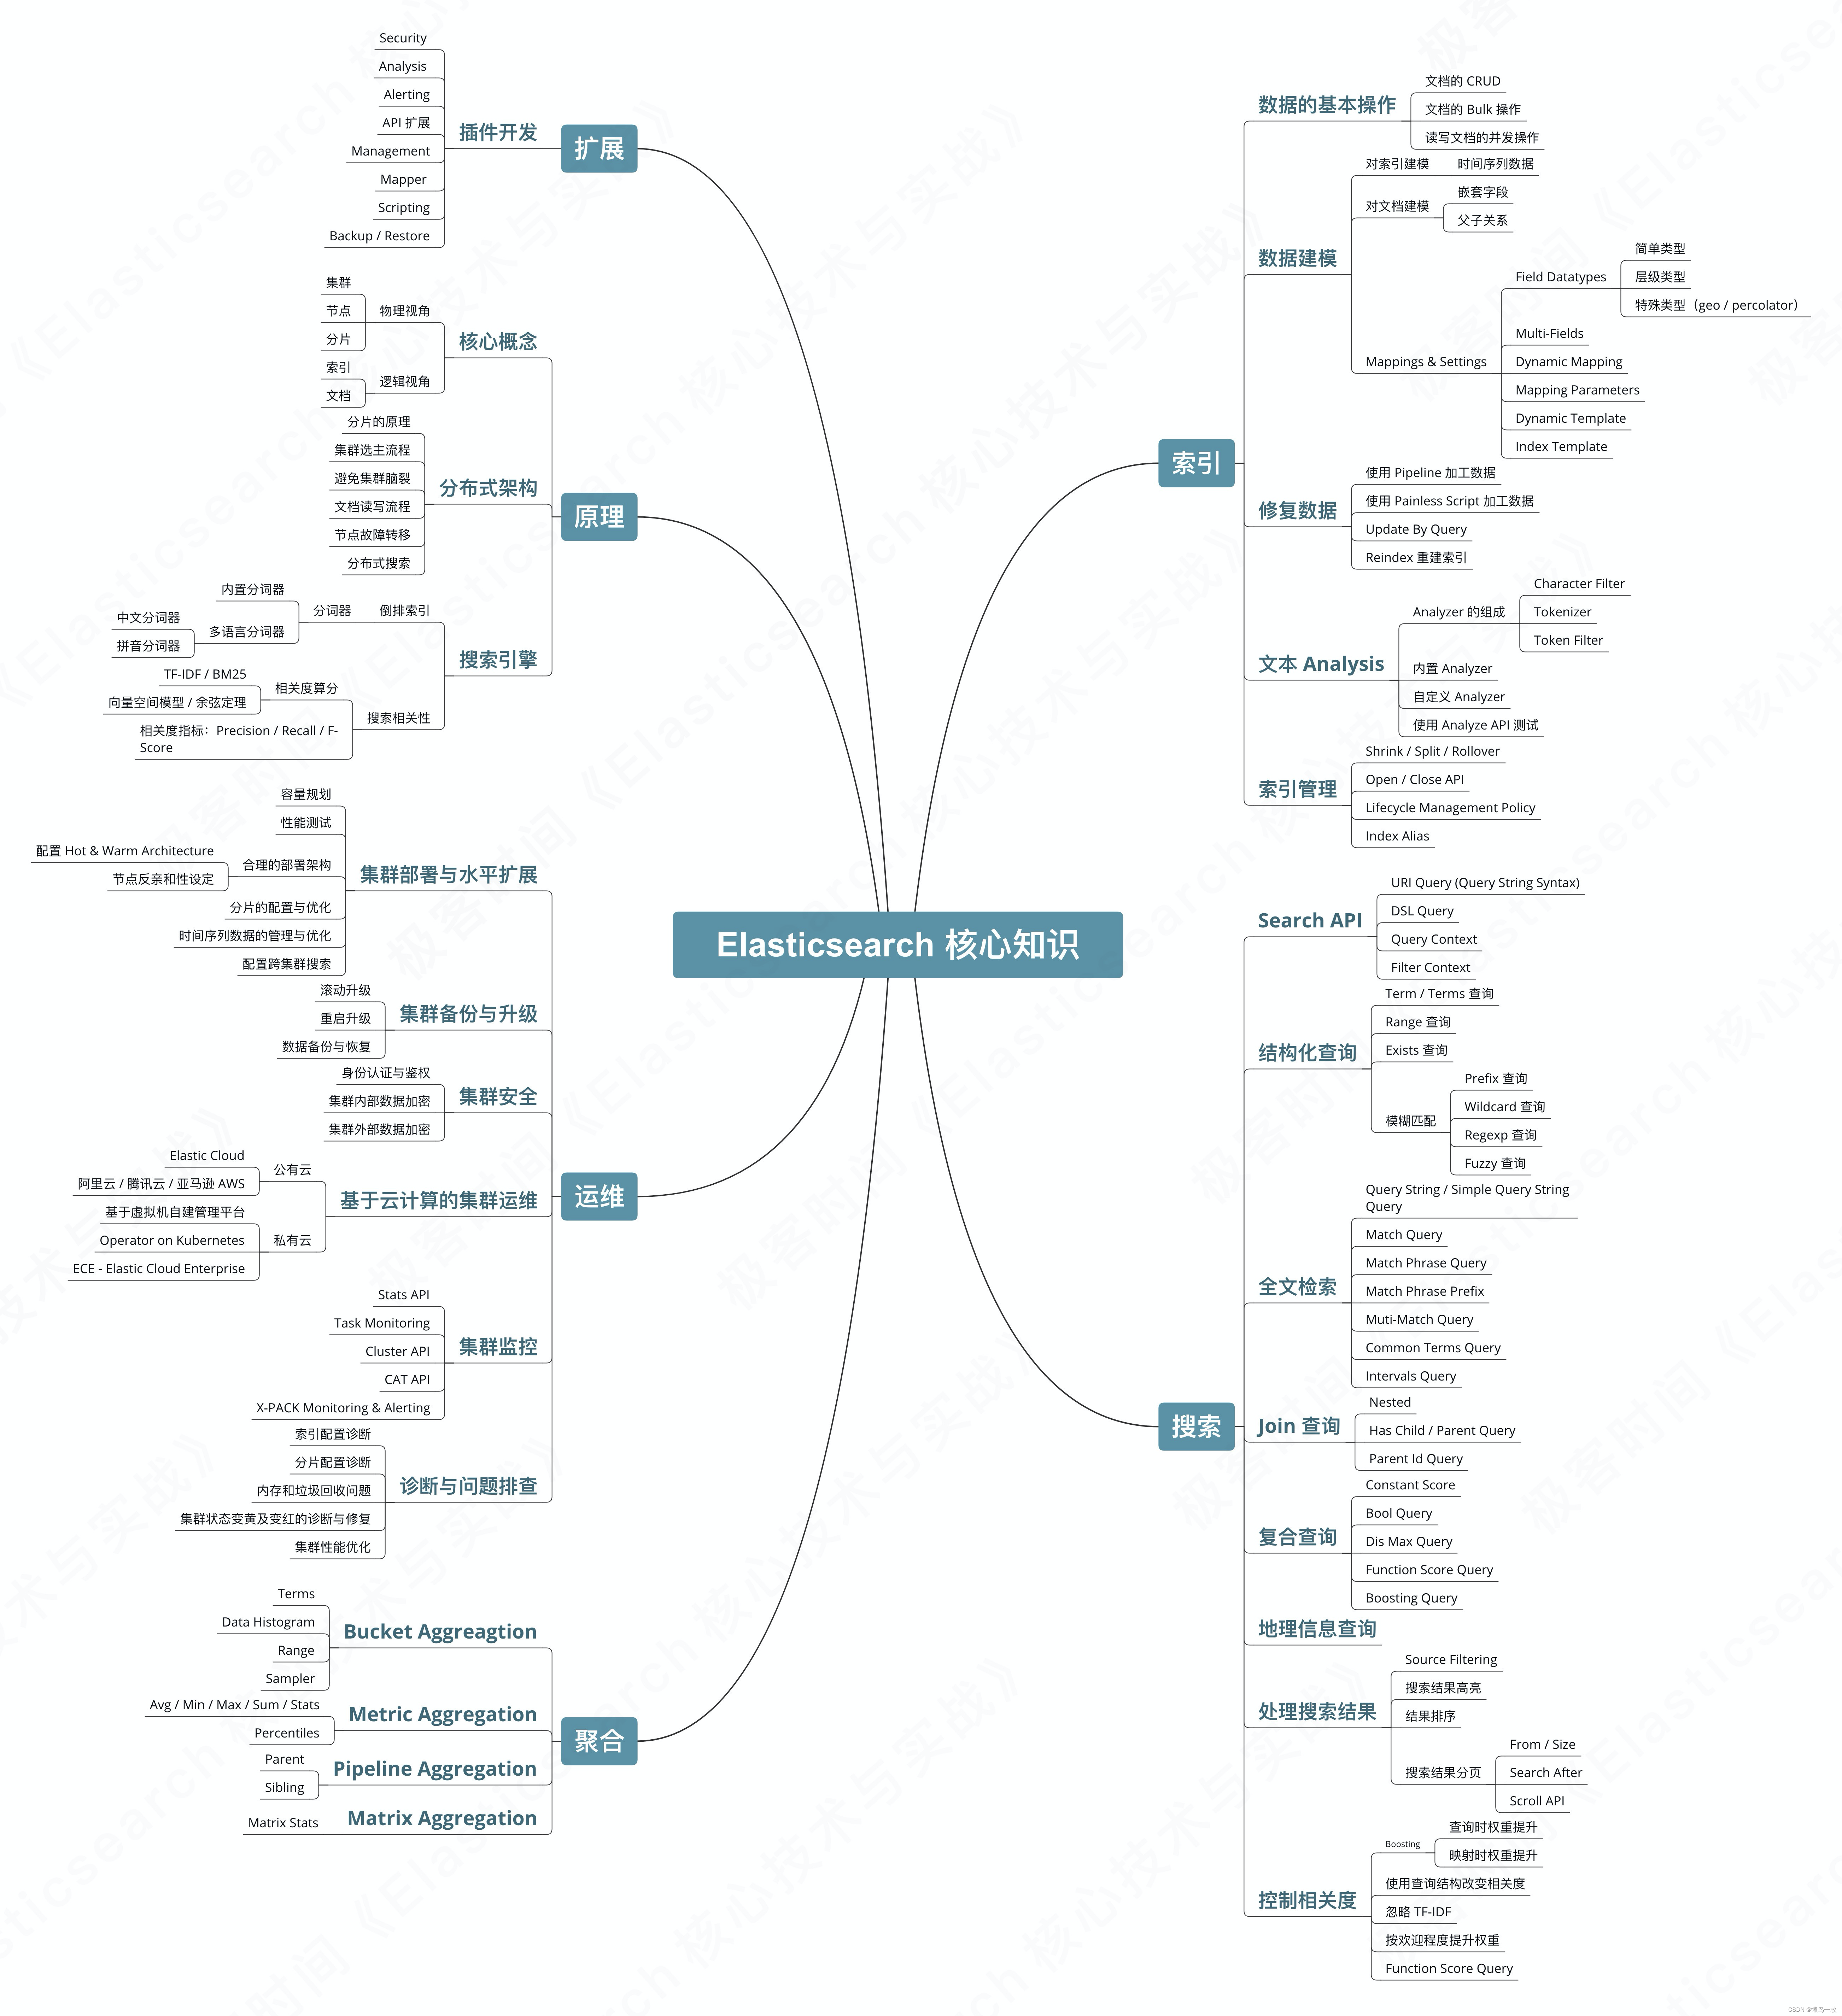
Elasticsearch 简介及其发展历史
起源 Lucene
- 于 Java 语言开发的搜索引擎库类
- 创建于 1999 年,2005 年成为 Apache 顶级开源项目
- Lucene 具有高性能、易扩展的优点
- Lucene 的局限性
- 只能基于 Java 语言开发类库的接口学习曲线陡峭
- 原生并不支持水平扩展
- 原生并不支持水平扩展
Elasticsearch 的诞生
- 2004 年Shay Banon 基于 Lucene 开发了 Compass
- 2010 年Shay Banon 重写了 Compass,取名 Elasticsearch
- 支持分布式,可水平扩展
- 降低全文检索的学习曲线,可以被任何编程语言调用
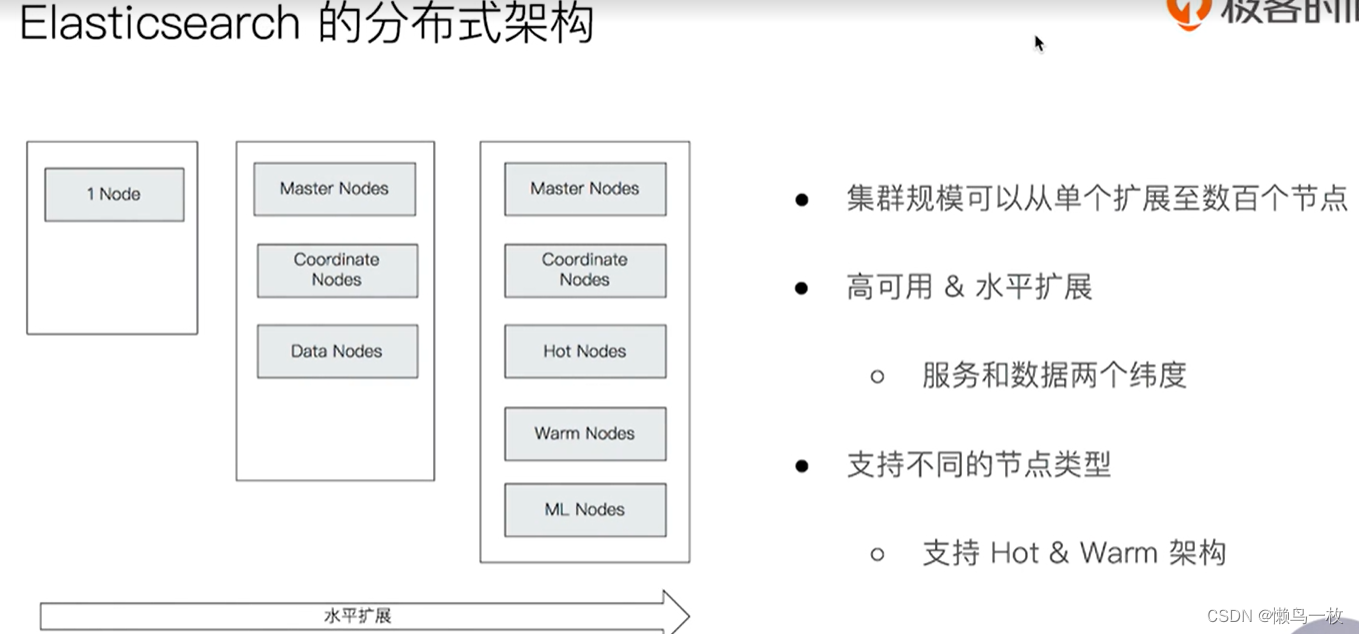
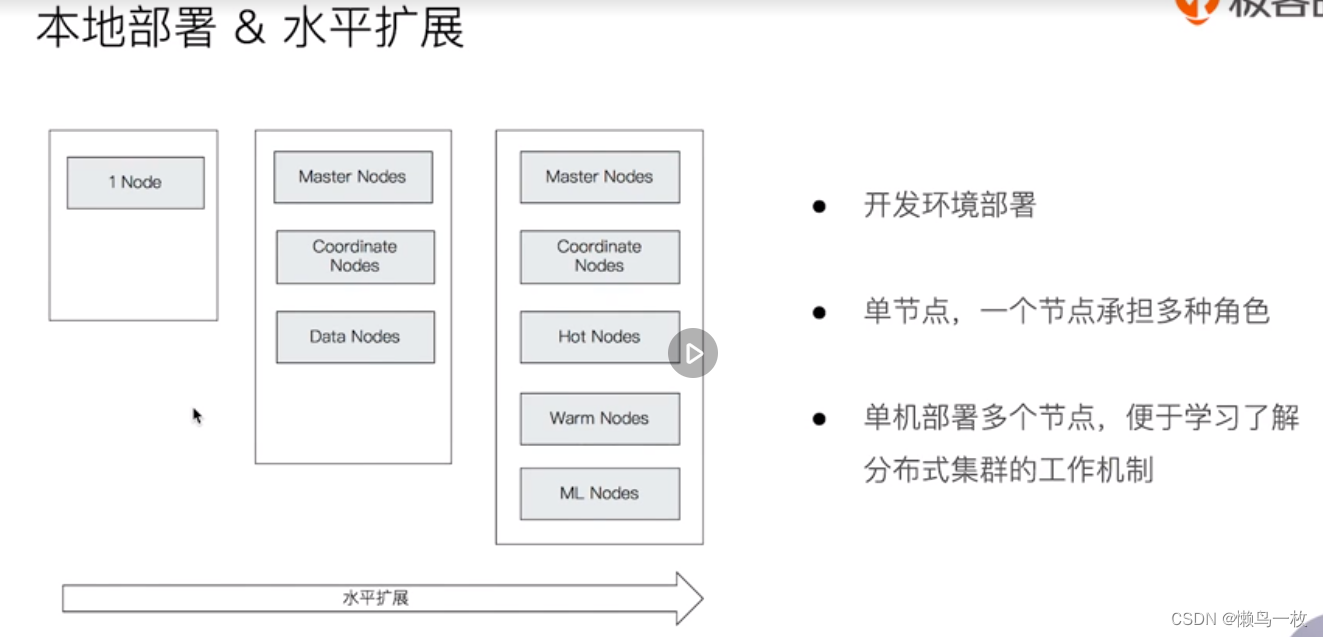
ES 分布式架构
ES 支持多种方式接入
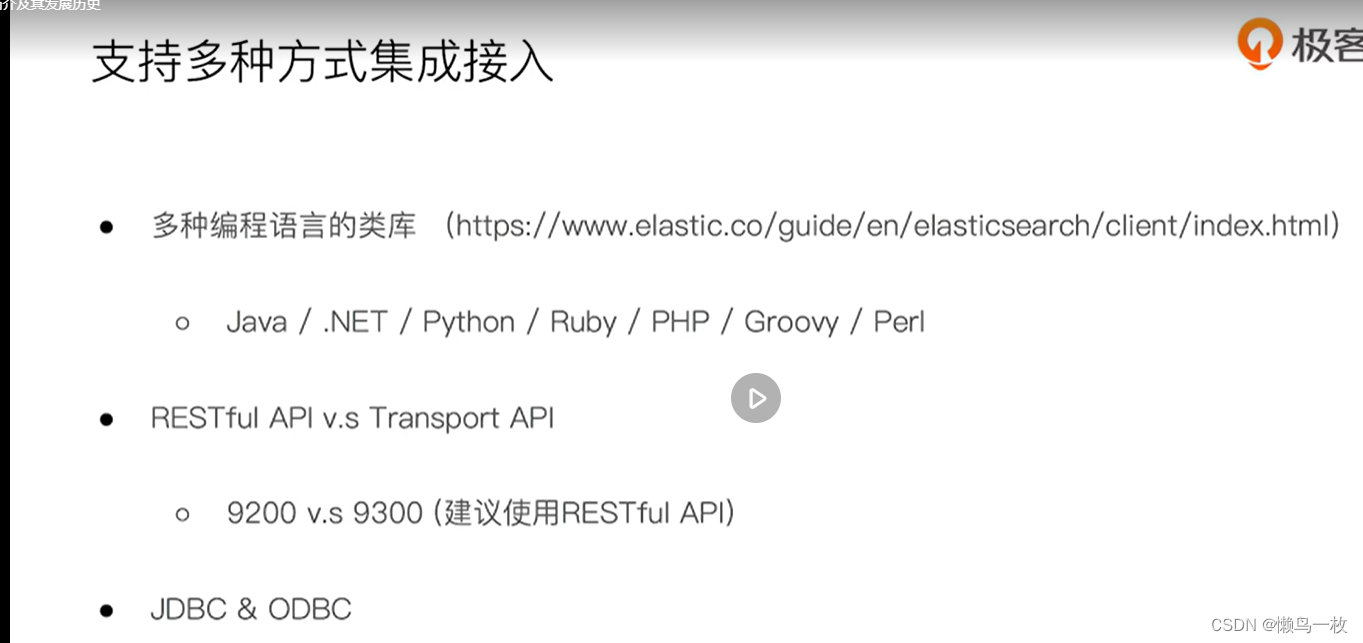
ES 主要功能

ES 版本
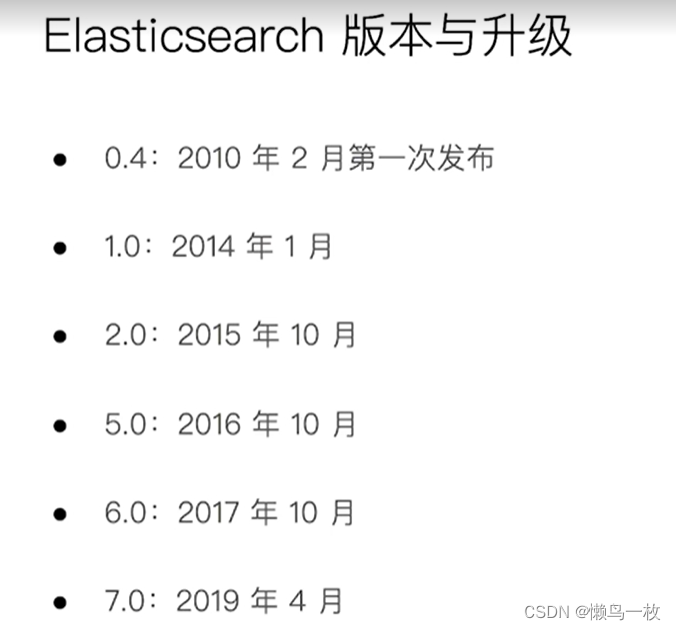
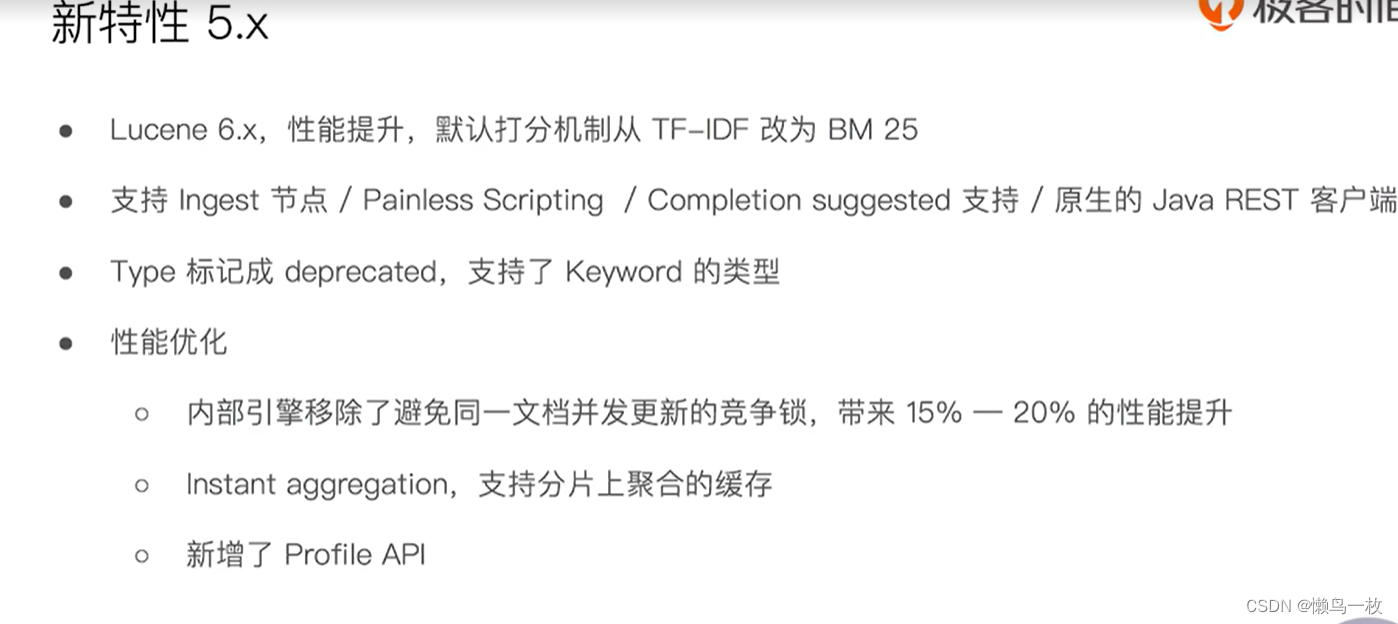
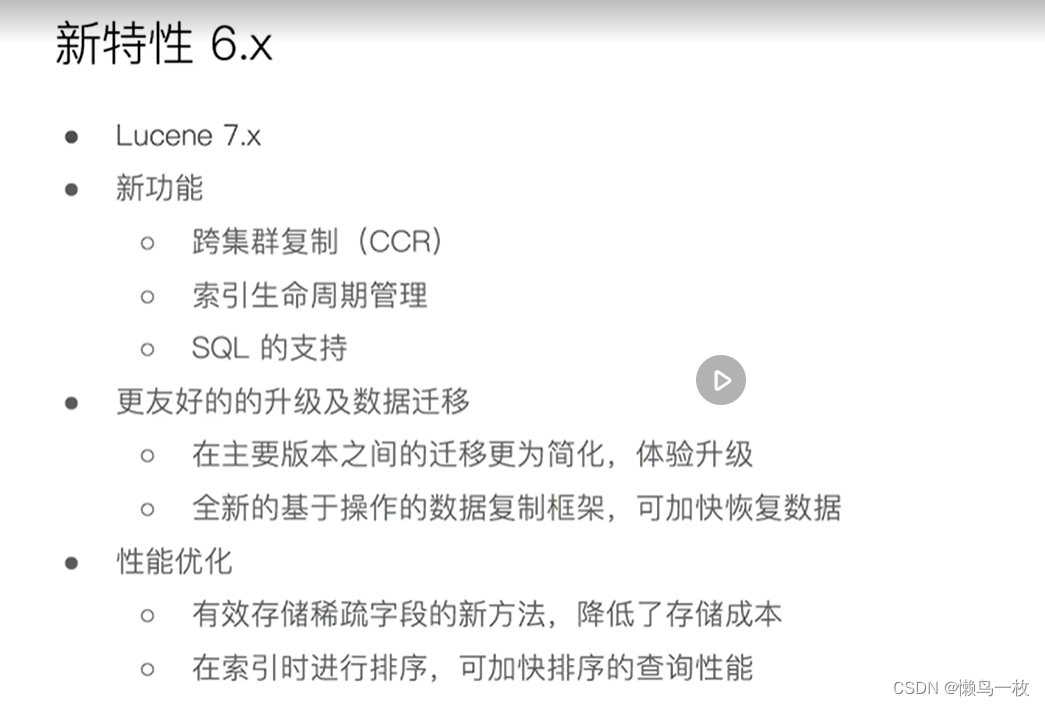
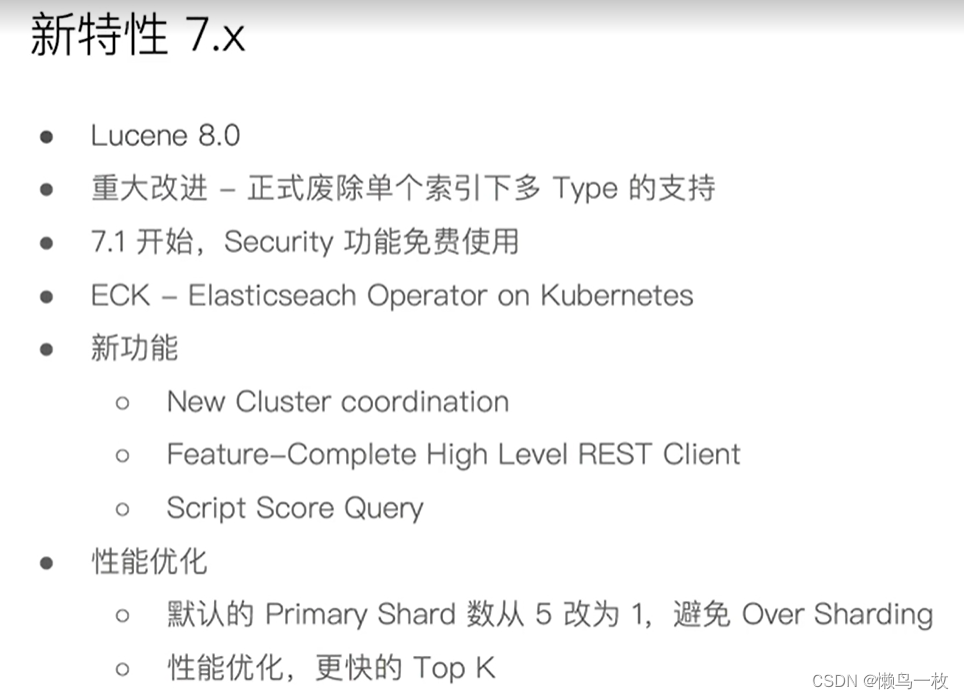
ES 版本新功能
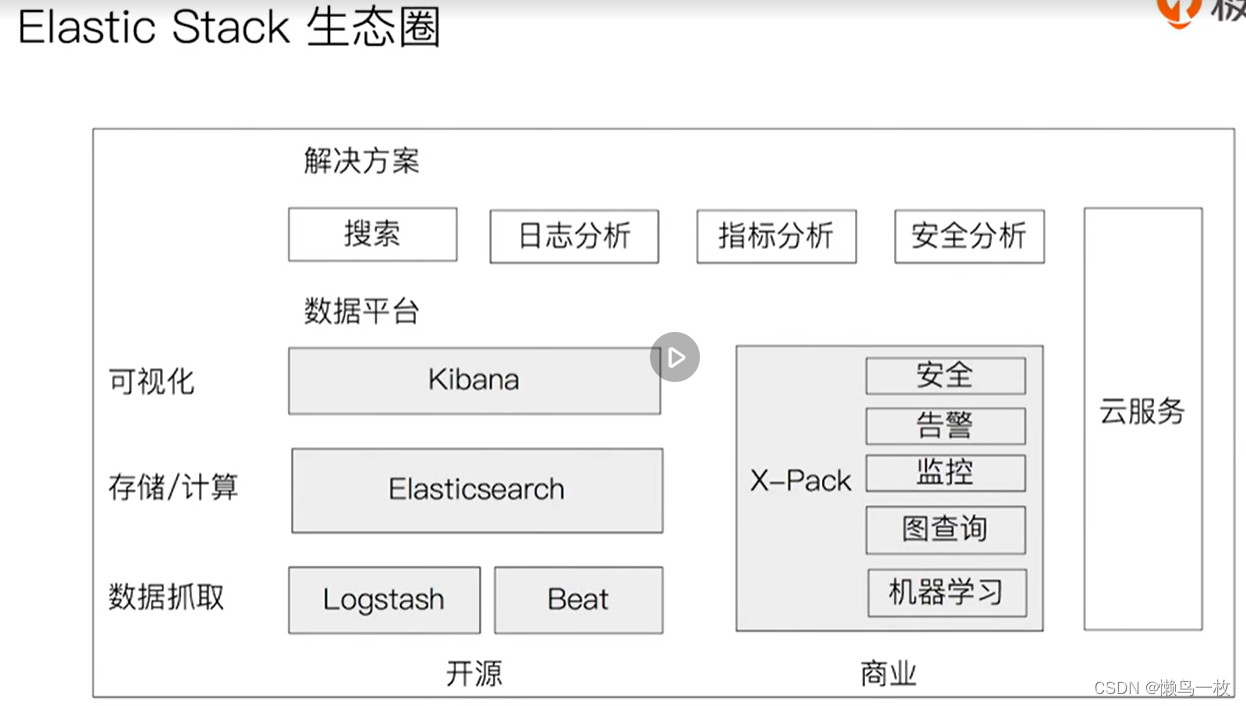
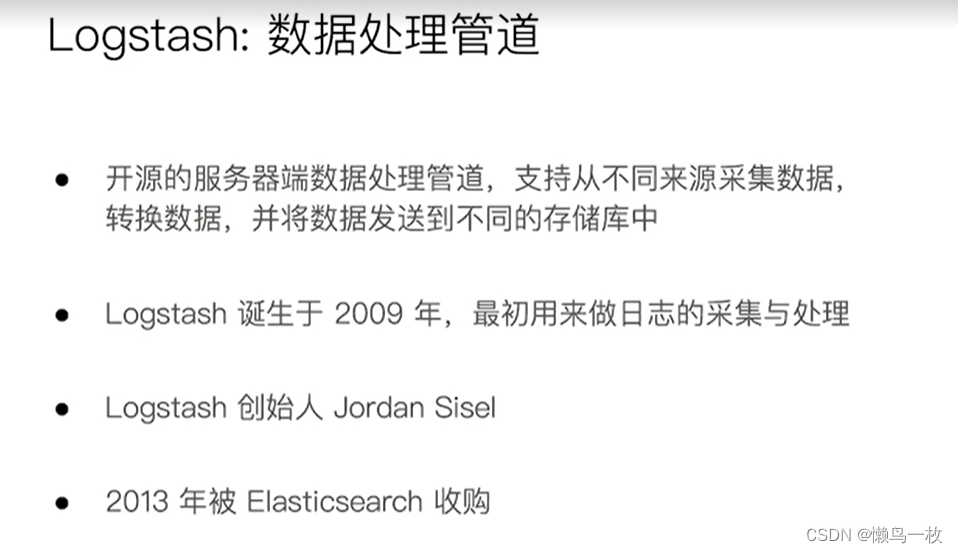
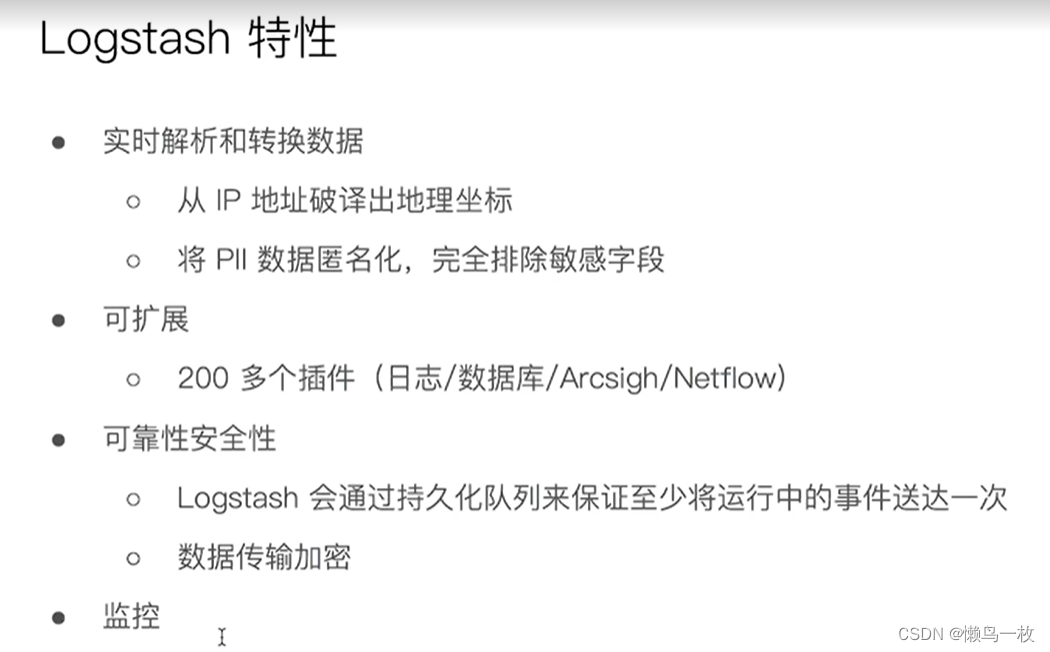
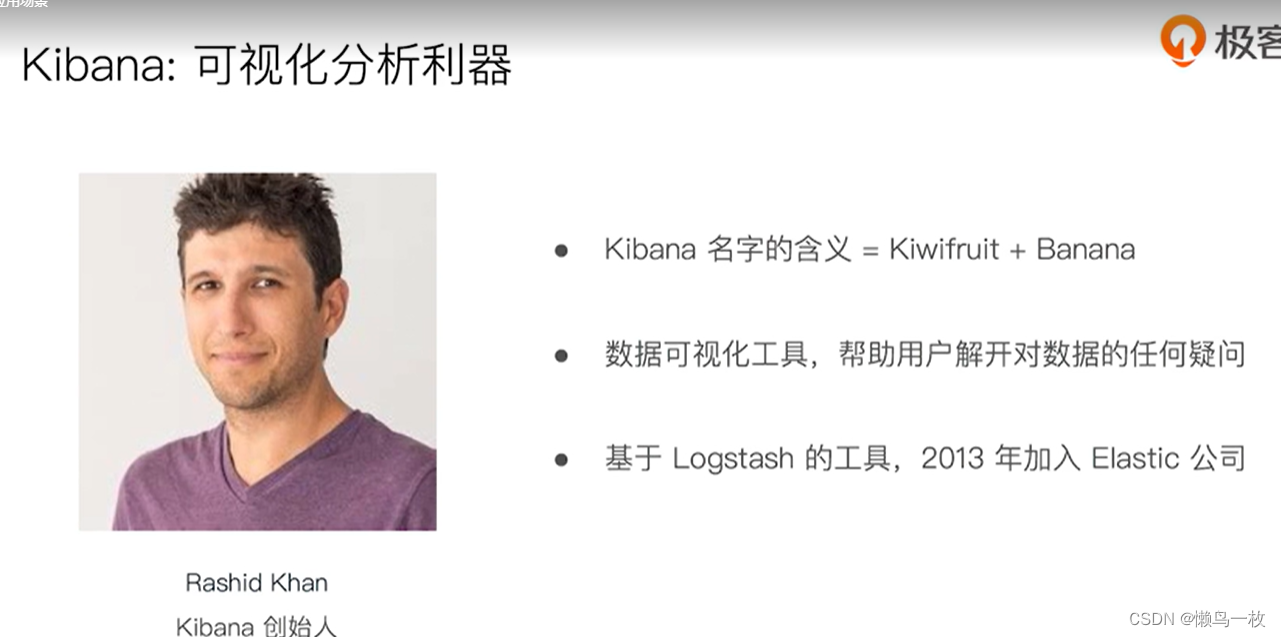
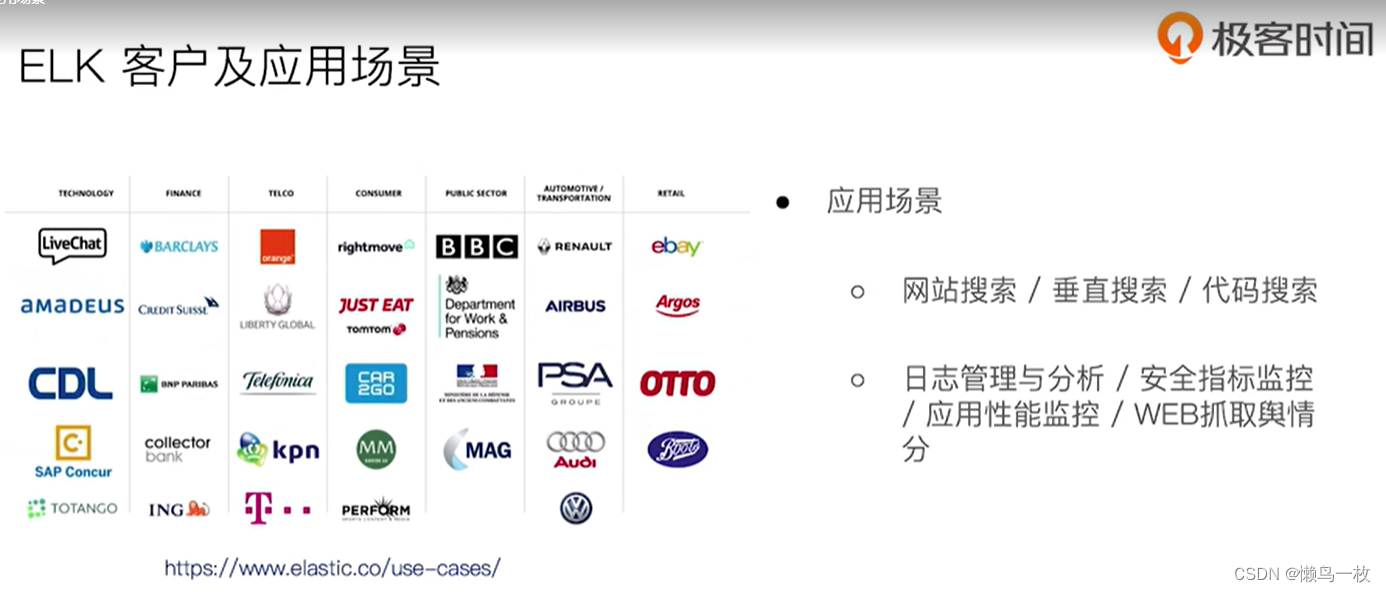
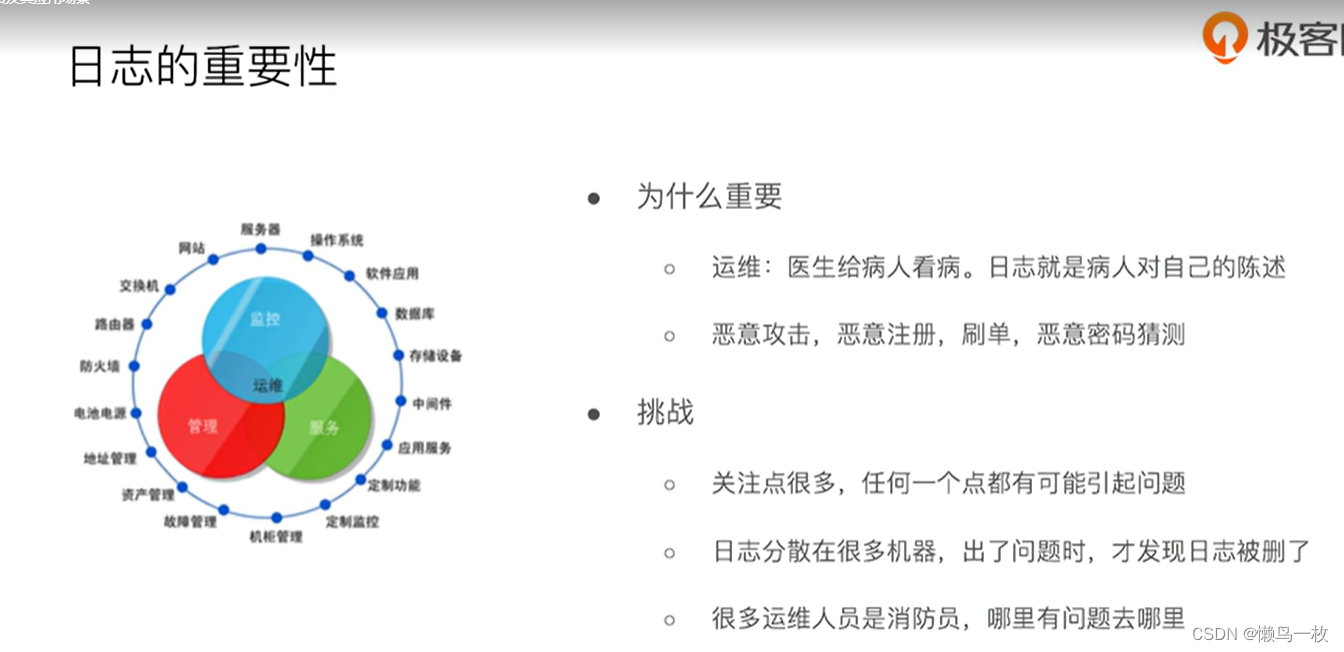
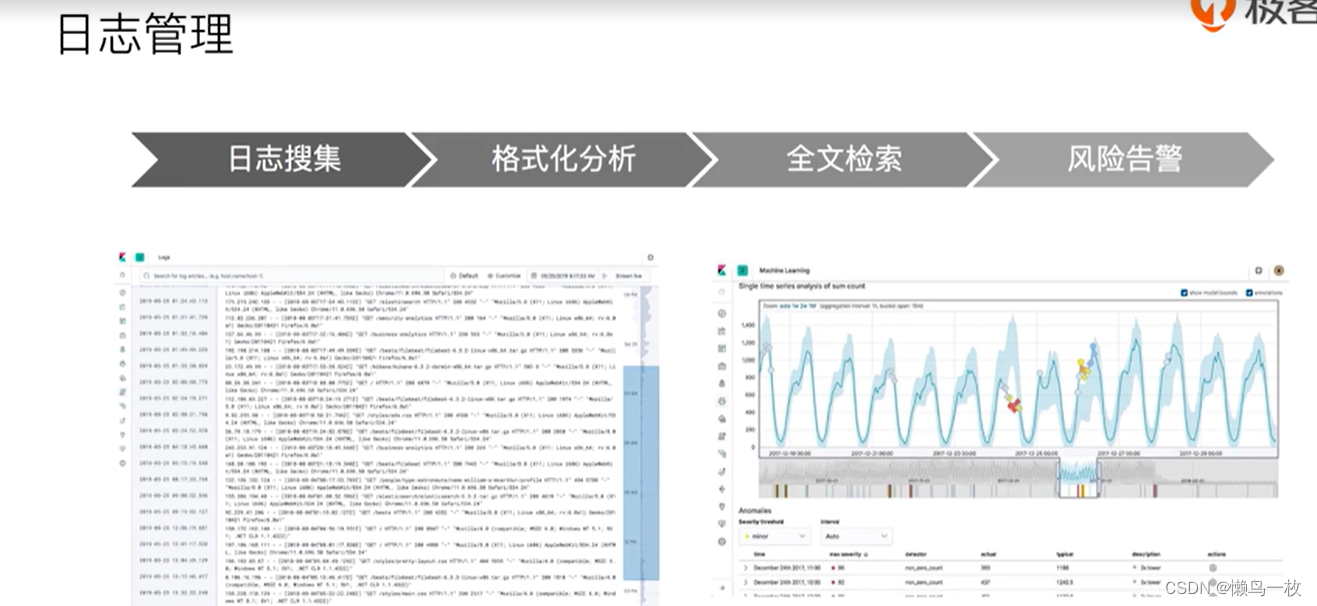
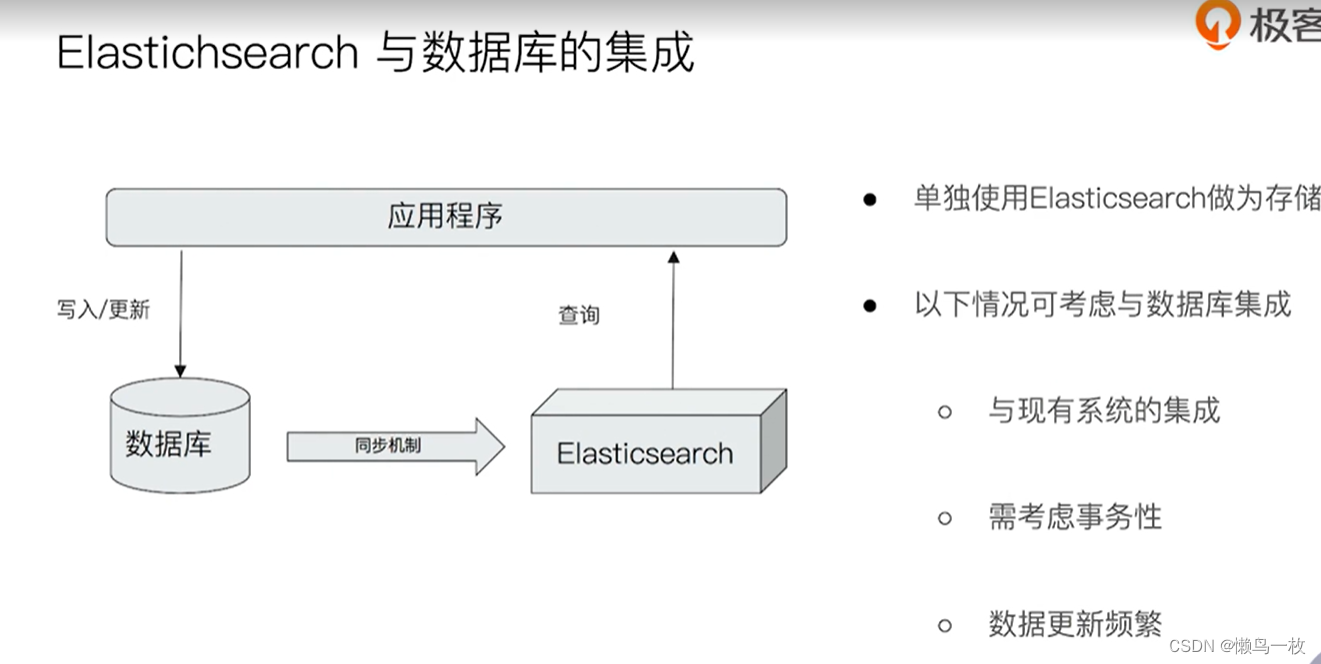
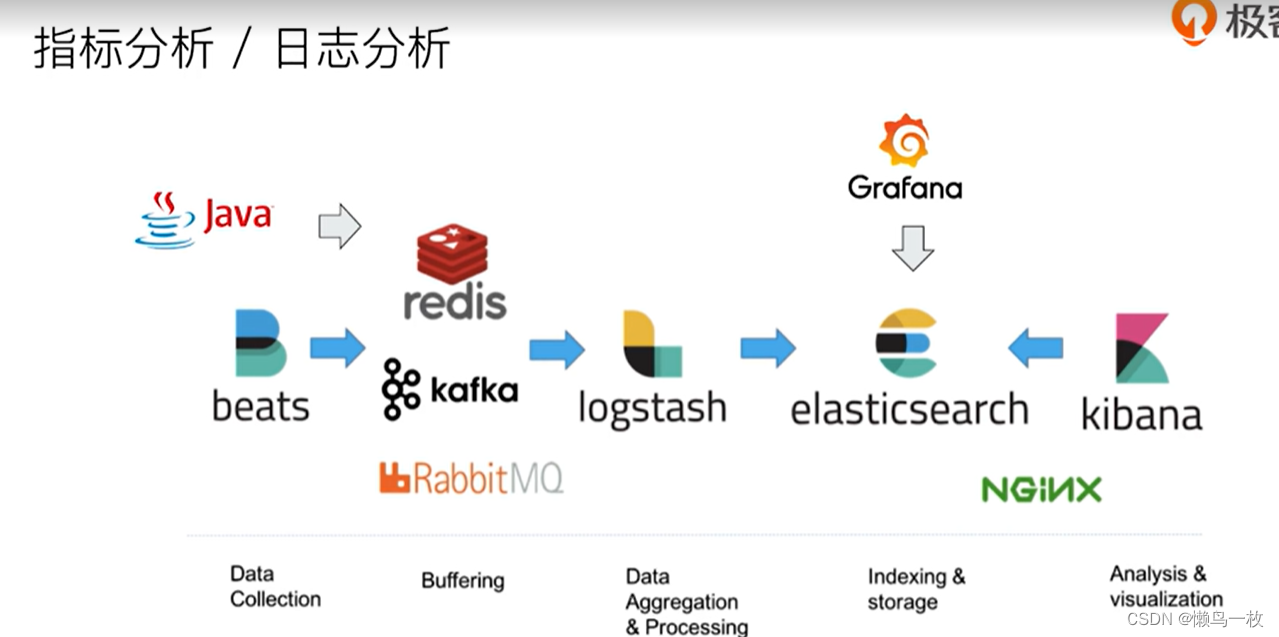
ES 家族成员与其应用场景

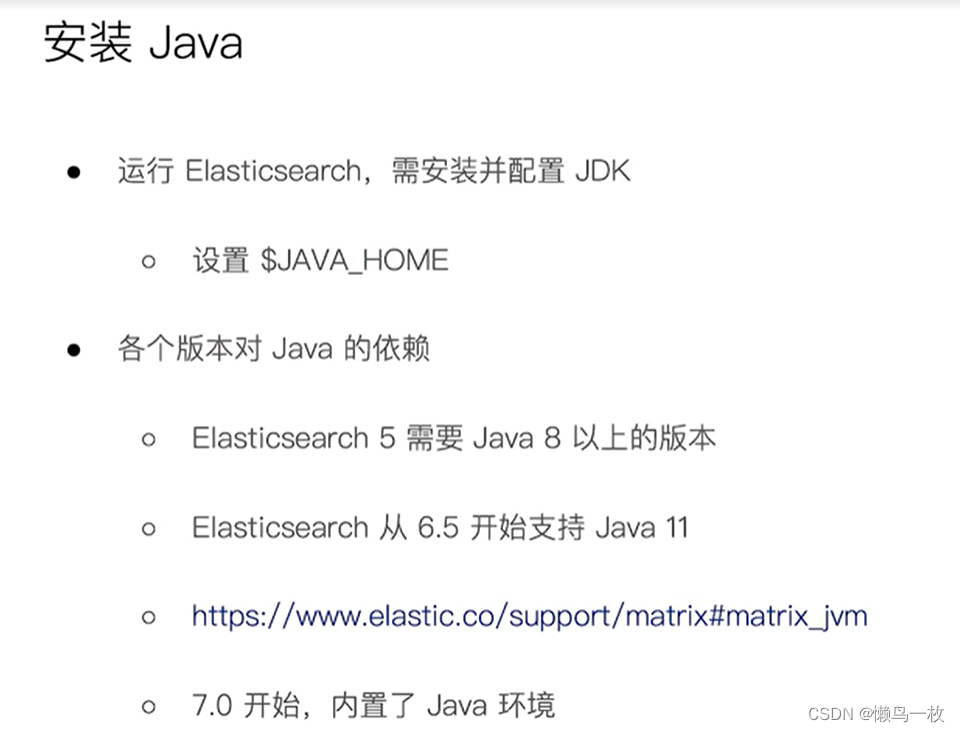
Elasticsearch的安装与简单配置
下载地址:https://www.elastic.co/cn/downloads/elasticsearch
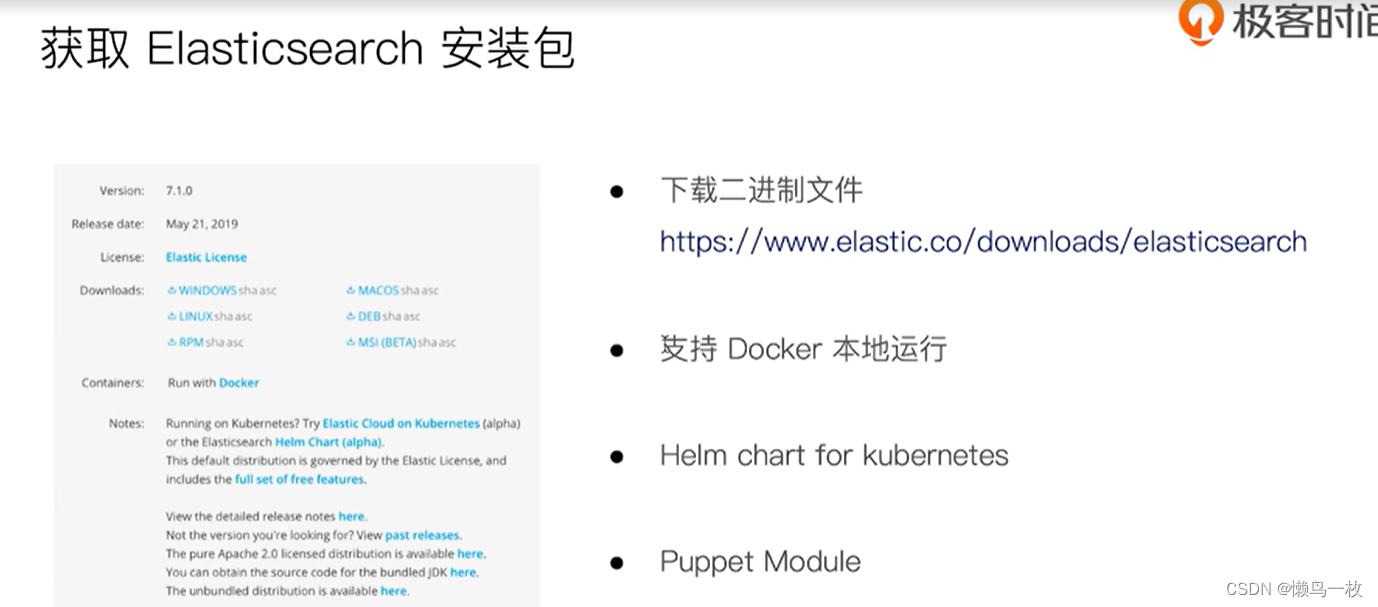
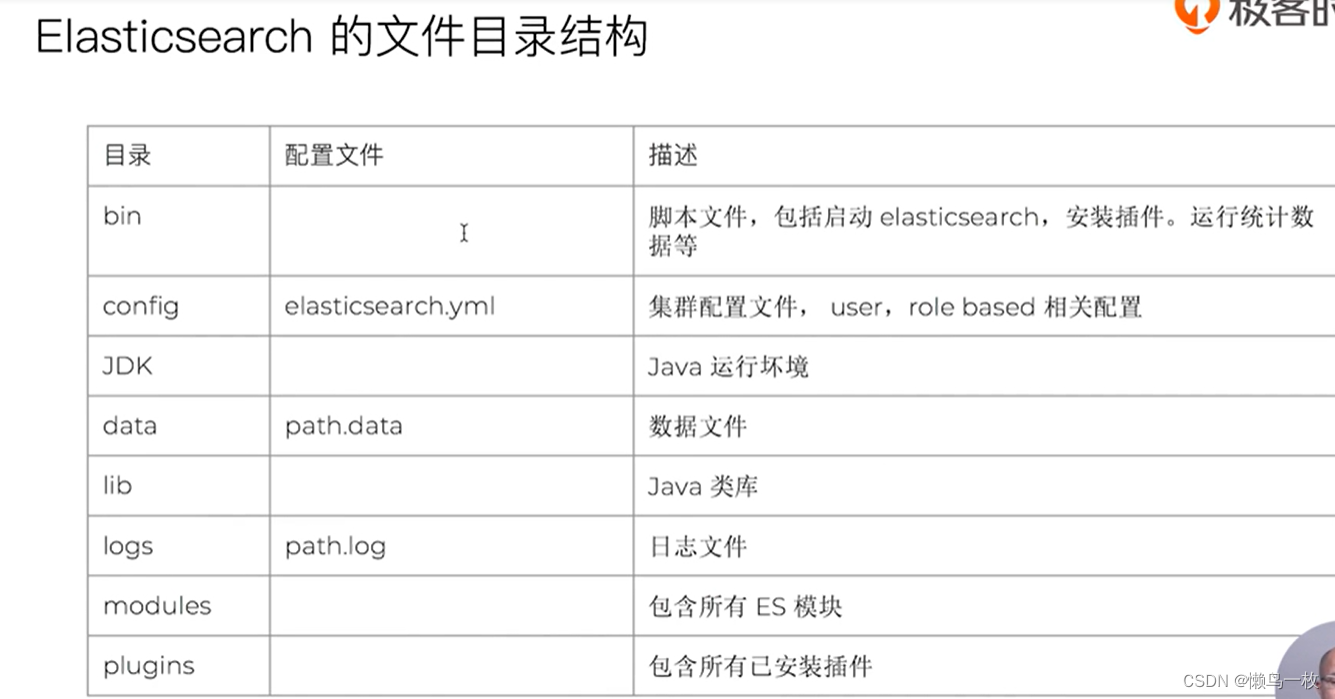
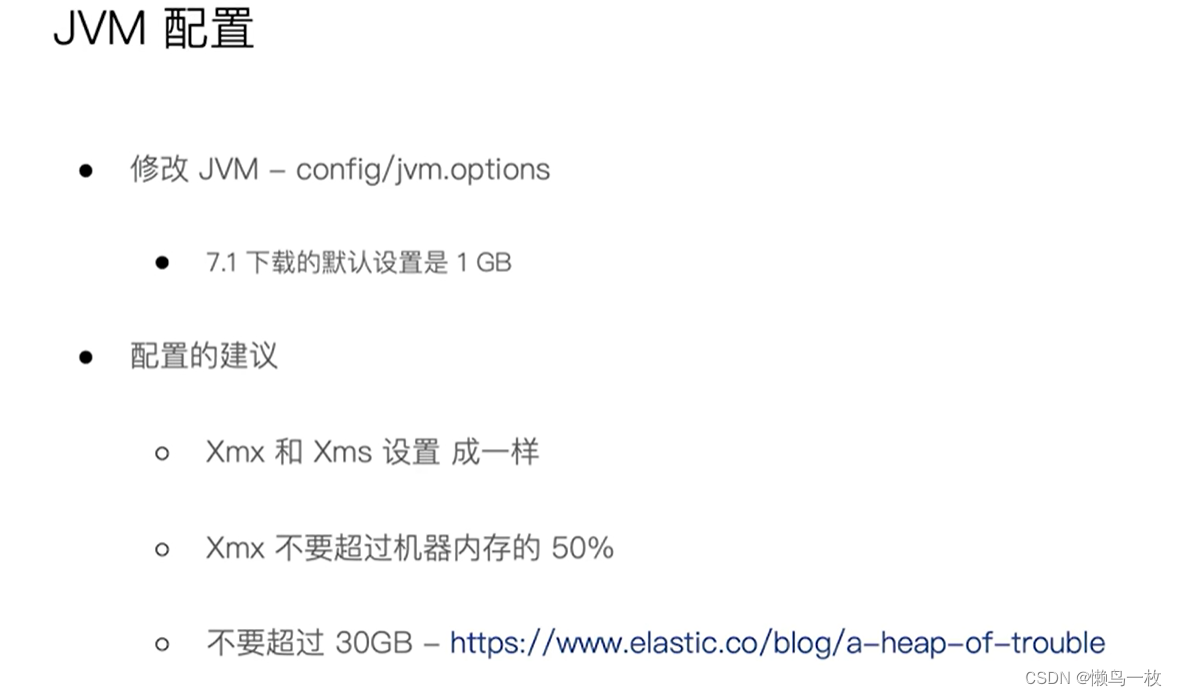
docker 中安装elsticSearch
https://zhuanlan.zhihu.com/p/669733170
https://www.elastic.co/guide/en/elasticsearch/reference/current/docker.html
1 step Install Docker.
Install Docker. Visit Get Docker to install Docker for your environment.
If using Docker Desktop, make sure to allocate at least 4GB of memory. You can adjust memory usage in Docker Desktop by going to Settings > Resources.
- Create a new docker network.
docker network create elastic
Pull the Elasticsearch Docker image.
3 step elastic images
docker pull docker.elastic.co/elasticsearch/elasticsearch:8.11.3
Optional: Install Cosign for your environment. Then use Cosign to verify the Elasticsearch image’s signature.
- step
wget https://artifacts.elastic.co/cosign.pub
cosign verify --key cosign.pub docker.elastic.co/elasticsearch/elasticsearch:8.11.3
The cosign command prints the check results and the signature payload in JSON format:
Verification for docker.elastic.co/elasticsearch/elasticsearch:8.11.3
– The following checks were performed on each of these signatures:
- The cosign claims were validated
- Existence of the claims in the transparency log was verified offline
- The signatures were verified against the specified public key Start an Elasticsearch container.
- step Start an Elasticsearch container.
docker run --name es01 --net elastic -p 9200:9200 -it -m 1GB docker.elastic.co/elasticsearch/elasticsearch:8.11.3

linux 下elstic 的安装配置
https://gitee.com/geektime-geekbang/geektime-ELK/tree/master/part-1/2.1-Elasticsearch%E7%9A%84%E5%AE%89%E8%A3%85%E4%B8%8E%E7%AE%80%E5%8D%95%E9%85%8D%E7%BD%AE#%E7%9B%B8%E5%85%B3%E9%98%85%E8%AF%BB
#启动单节点
bin/elasticsearch -E node.name=node0 -E cluster.name=geektime -E path.data=node0_data

#安装插件
bin/elasticsearch-plugin install analysis-icu

#查看插件
bin/elasticsearch-plugin list
#查看安装的插件
GET http://localhost:9200/_cat/plugins?v

#start multi-nodes Cluster
bin/elasticsearch -E node.name=node0 -E cluster.name=geektime -E path.data=node0_data
bin/elasticsearch -E node.name=node1 -E cluster.name=geektime -E path.data=node1_data
bin/elasticsearch -E node.name=node2 -E cluster.name=geektime -E path.data=node2_data
bin/elasticsearch -E node.name=node3 -E cluster.name=geektime -E path.data=node3_data

#查看集群
GET http://localhost:9200
#查看nodes
GET _cat/nodes
GET _cluster/health
Kibana 的安装与界面快速浏览
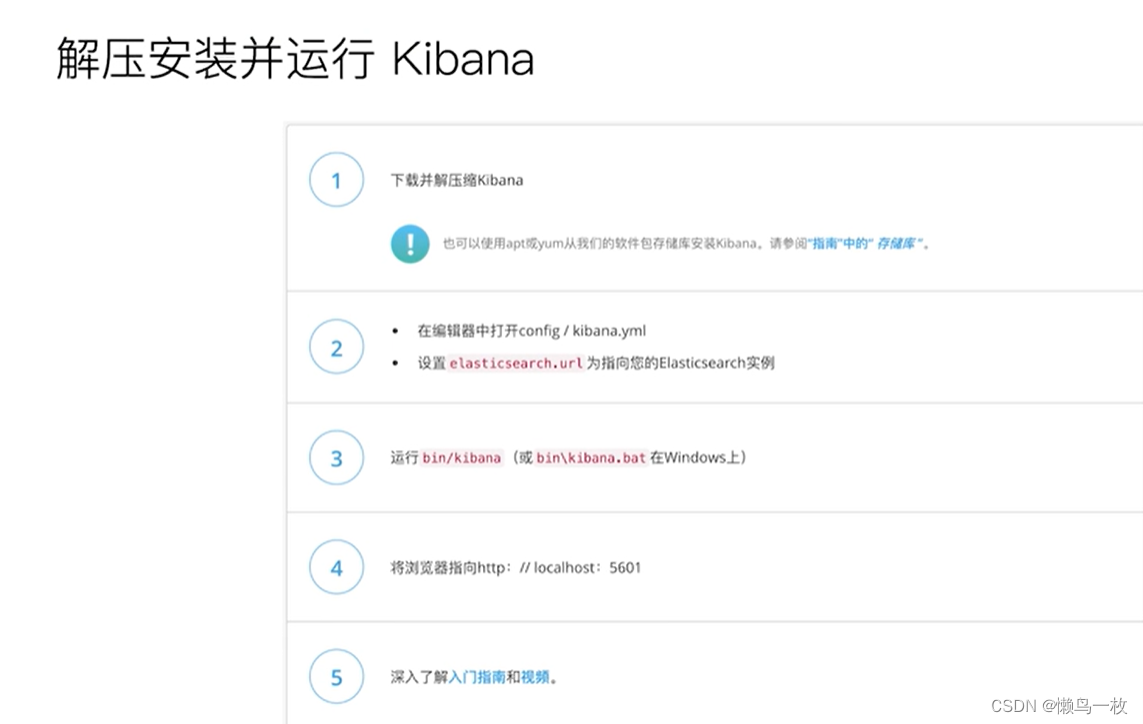
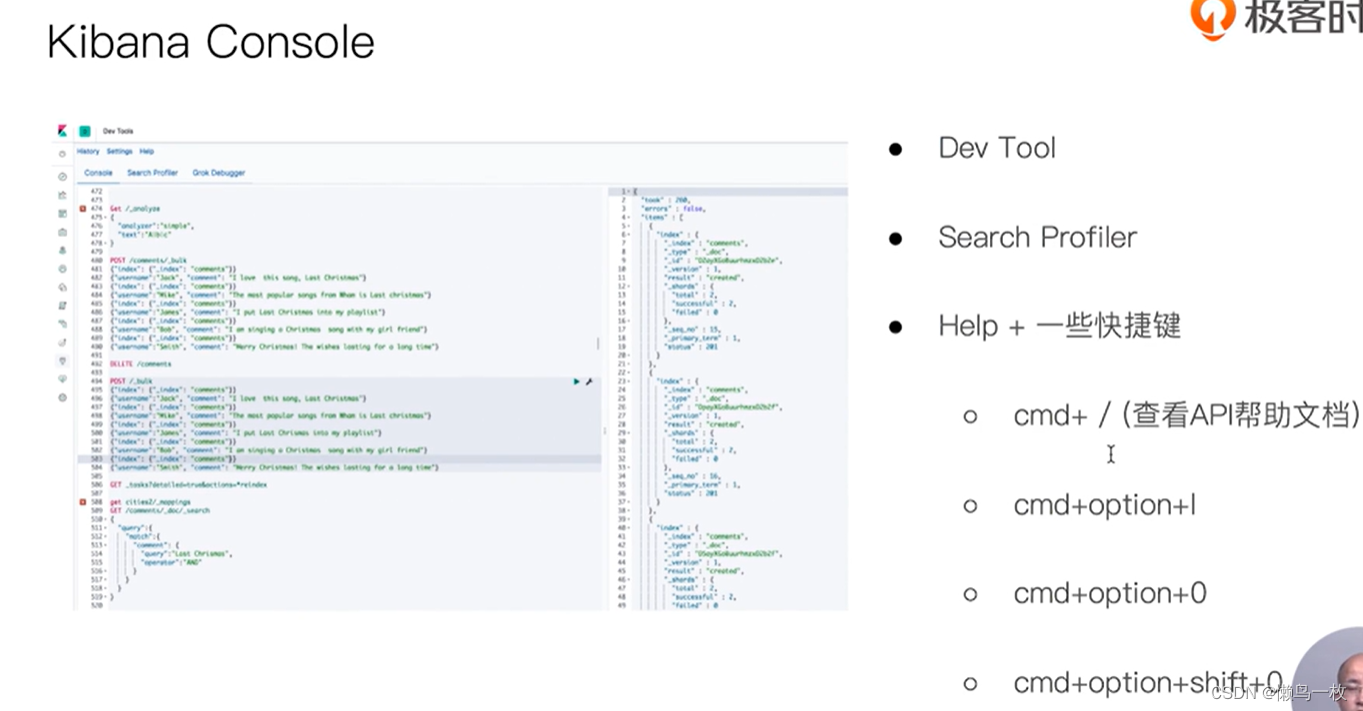
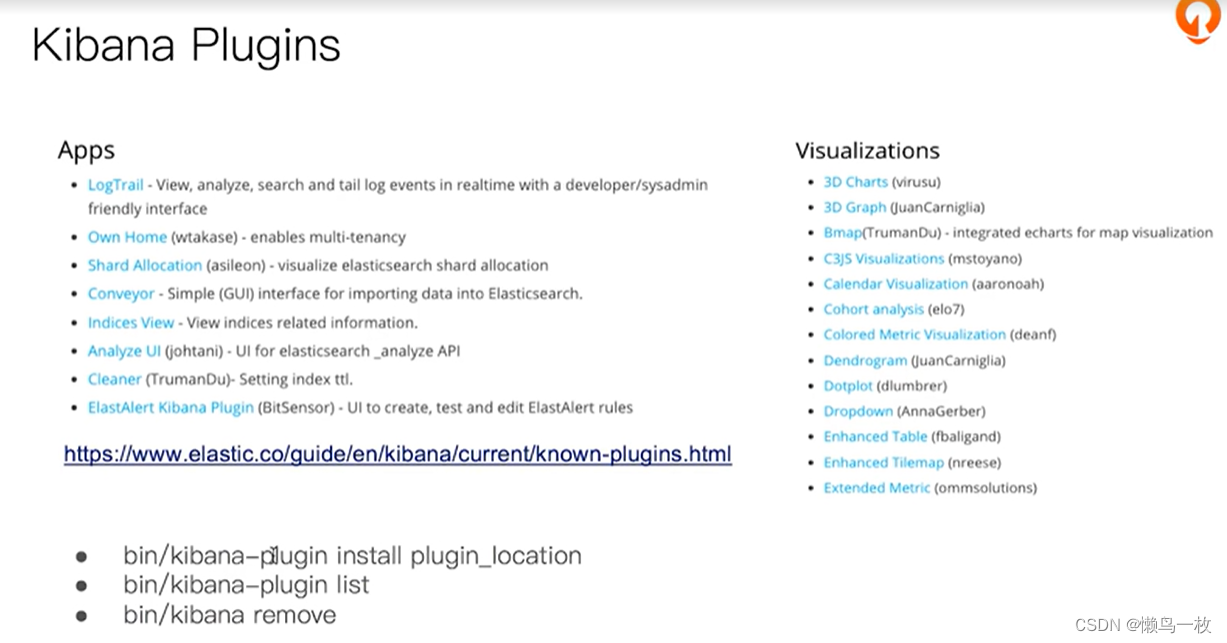
linux 下 kibana的启动
#启动kibana
bin/kibana

#查看插件
bin/kibana-plugin list
在Docker容器中运行Elasticsearch, Kibana和Cerebro
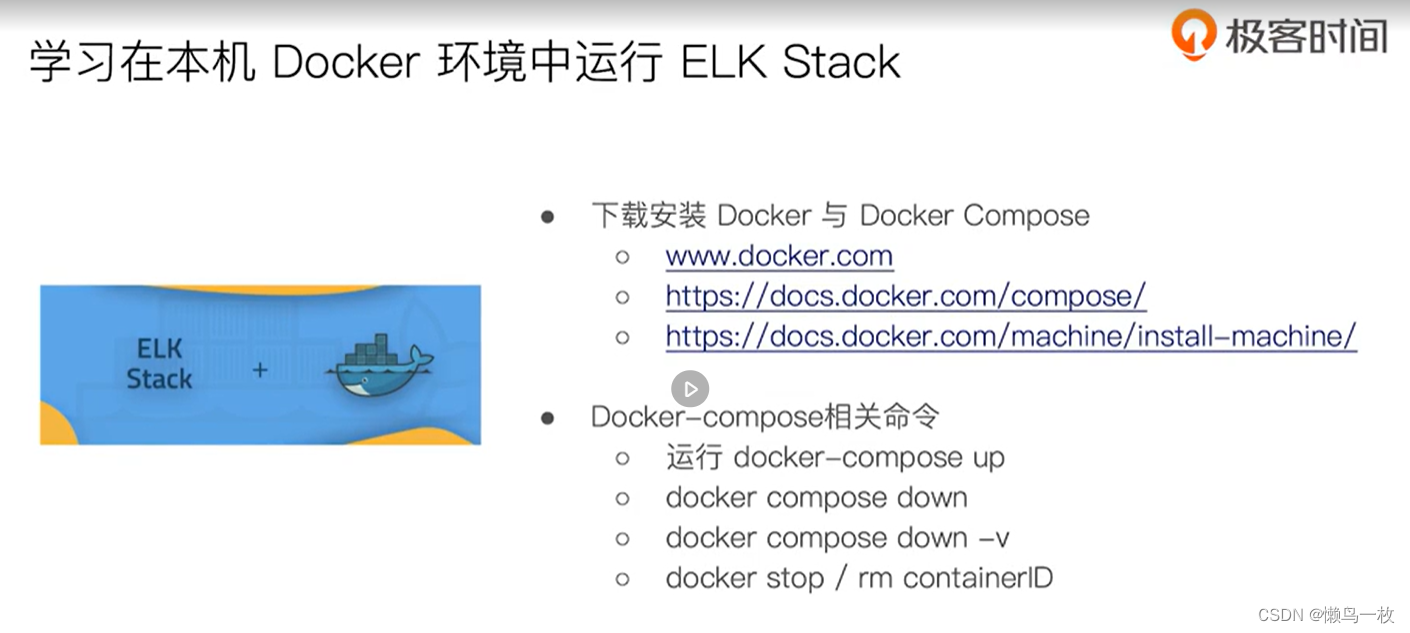

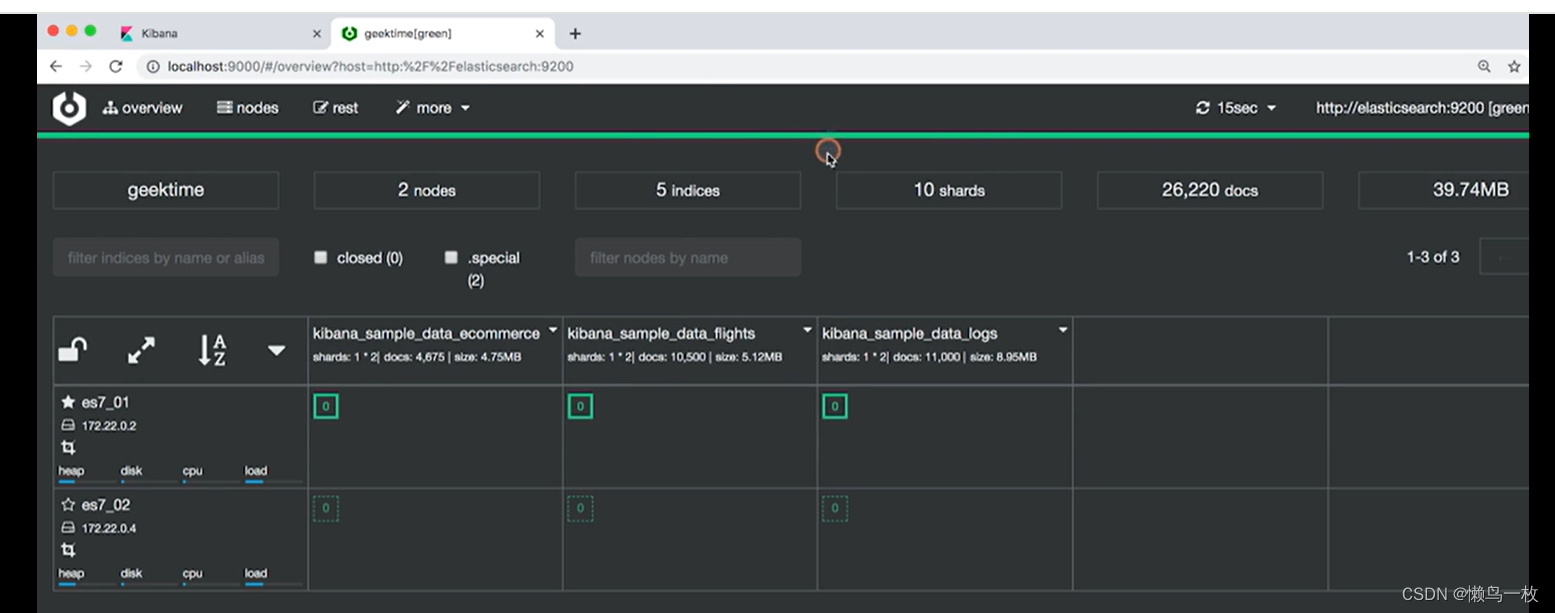
进入 7.x-docker-2-es-instance目录
#启动
docker-compose up

#停止容器
docker-compose down

#停止容器并且移除数据
docker-compose down -v

#一些docker 命令
docker ps
docker stop Name/ContainerId
docker start Name/ContainerId

#删除单个容器
$docker rm Name/ID
-f, –force=false; -l, –link=false Remove the specified link and not the underlying container; -v, –volumes=false Remove the volumes associated to the container

#删除所有容器
$docker rm `docker ps -a -q`
停止、启动、杀死、重启一个容器
$docker stop Name/ID
$docker start Name/ID
$docker kill Name/ID
$docker restart name/ID


