Adapter+GridView学习
- Adapter+GridView
- SimpleAdapter+GridView
- activity_main.xml
- appicon.xml
- MainActivity
- 自定义BaseAdapter+GridView+已下载应用PackageInfo
- AppAdapter
- MainActivity2
- 其他
- 获取已下载应用信息函数
- 获取所有应用信息函数
- ImageView产生圆角的方法
- 背景设置很渐变
- 设置选择效果,按压效果,未选择效果
Adapter+GridView
SimpleAdapter+GridView
SimpleAdapter+GridView 简单显示一组图片和名称
activity_main.xml
<?xml version="1.0" encoding="utf-8"?>
<LinearLayout xmlns:android="http://schemas.android.com/apk/res/android"
    android:layout_width="match_parent"
    android:layout_height="match_parent"
    android:background="#91F3F0">

    <LinearLayout
        android:layout_width="match_parent"
        android:layout_height="match_parent"
        android:layout_marginLeft="30dp"
        android:layout_marginTop="30dp"
        android:layout_marginRight="30dp"
        android:orientation="vertical">

        <GridView
            android:id="@+id/gv_app"
            android:layout_width="match_parent"
            android:layout_height="match_parent"
            android:horizontalSpacing="30dp"
            android:numColumns="6"
            android:verticalSpacing="30dp" />
    </LinearLayout>
</LinearLayout>
android:horizontalSpacing="30dp"横向间隔距离
android:numColumns="6"设置一行中有6列
android:verticalSpacing="30dp"纵向间隔距离
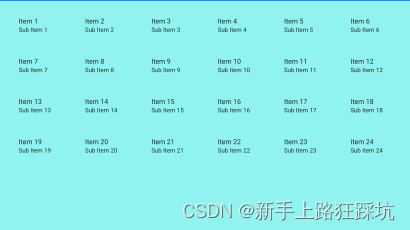
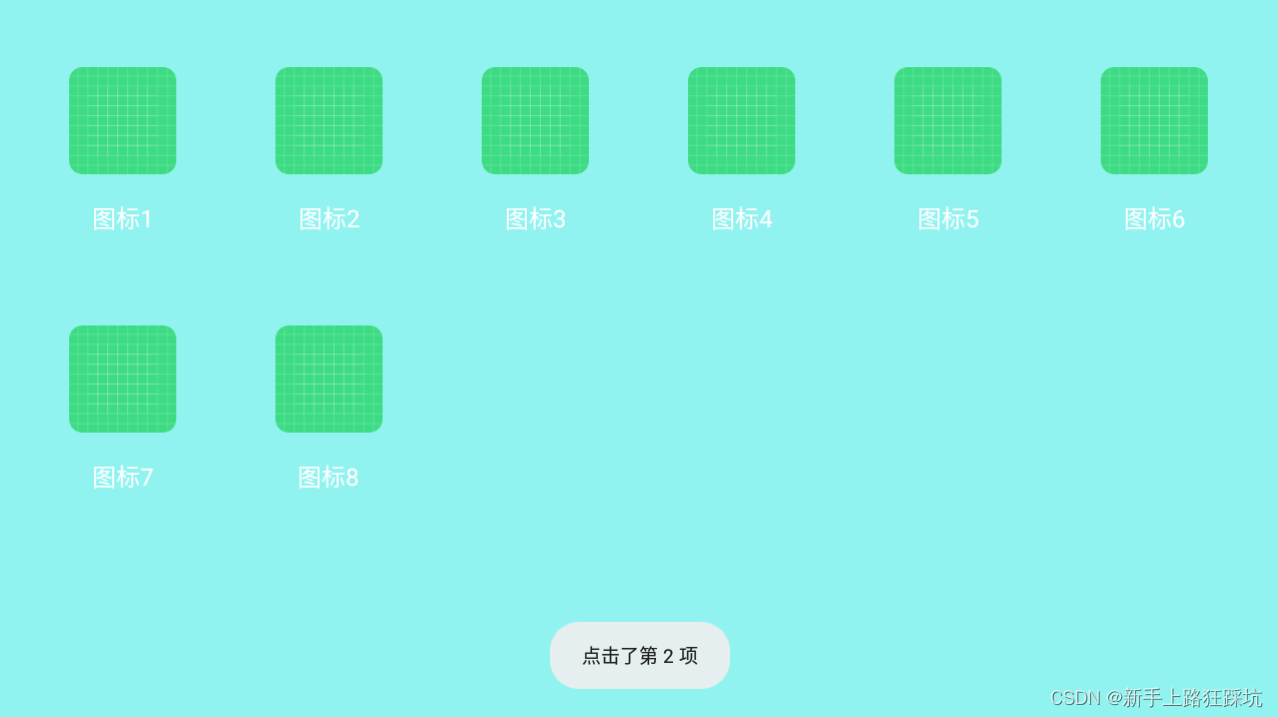
效果
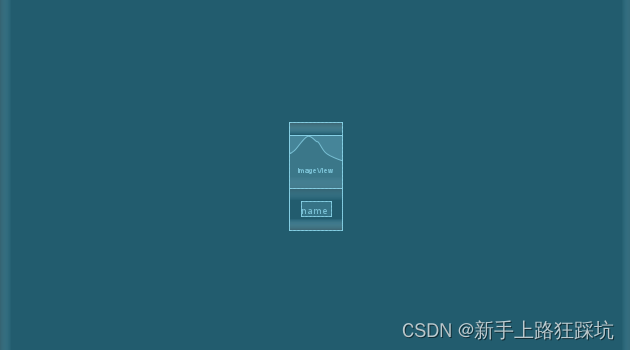
appicon.xml
<?xml version="1.0" encoding="utf-8"?>
<LinearLayout xmlns:android="http://schemas.android.com/apk/res/android"
    xmlns:app="http://schemas.android.com/apk/res-auto"
    android:layout_width="match_parent"
    android:layout_height="match_parent"
    android:gravity="center">

    <LinearLayout
        android:layout_width="wrap_content"
        android:layout_height="wrap_content"
        android:gravity="center"
        android:orientation="vertical">

        <LinearLayout
            android:layout_width="match_parent"
            android:layout_height="match_parent"
            android:layout_weight="1"
            android:gravity="center"
            android:orientation="vertical">

            <androidx.cardview.widget.CardView
                android:layout_width="80dp"
                android:layout_height="80dp"
                android:layout_gravity="center"
                android:layout_marginTop="20dp"
                android:gravity="center"
                app:cardCornerRadius="10dp"
                app:cardElevation="0dp">

                <ImageView
                    android:id="@+id/iv_icon"
                    android:layout_width="match_parent"
                    android:layout_height="match_parent"
                    android:scaleType="fitCenter" />
            </androidx.cardview.widget.CardView>
        </LinearLayout>

        <LinearLayout
            android:layout_width="match_parent"
            android:layout_height="match_parent"
            android:layout_weight="1"
            android:gravity="center"
            android:orientation="vertical">

            <TextView
                android:id="@+id/tv_icon"
                android:layout_width="wrap_content"
                android:layout_height="23dp"
                android:layout_below="@id/iv_icon"
                android:layout_gravity="center"
                android:layout_marginTop="20dp"
                android:layout_marginBottom="20dp"
                android:gravity="center"
                android:text="name"
                android:textColor="@color/white"
                android:textSize="18sp" />
        </LinearLayout>
    </LinearLayout>
</LinearLayout>
其中androidx.cardview.widget.CardView使ImageView产生圆角效果
效果
MainActivity
package com.lxh.dialogtest;

import androidx.appcompat.app.AppCompatActivity;

import android.content.Context;
import android.os.Bundle;
import android.view.View;
import android.widget.AdapterView;
import android.widget.GridView;
import android.widget.SimpleAdapter;
import android.widget.Toast;

import java.util.ArrayList;
import java.util.HashMap;
import java.util.List;
import java.util.Map;

public class MainActivity extends AppCompatActivity {
    private static final String TAG = "MainActivity lxh";
    private Context mContext;
    private GridView gv_app;

    @Override
    protected void onCreate(Bundle savedInstanceState) {
        super.onCreate(savedInstanceState);
        setContentView(R.layout.activity_main);
        mContext = MainActivity.this;

        gv_app = (GridView) findViewById(R.id.gv_app);

        int[] appicons = {R.drawable.ic_launcher_background, R.drawable.ic_launcher_background,
                R.drawable.ic_launcher_background, R.drawable.ic_launcher_background,
                R.drawable.ic_launcher_background, R.drawable.ic_launcher_background,
                R.drawable.ic_launcher_background, R.drawable.ic_launcher_background};
        String[] appnames = {"图标1", "图标2", "图标3", "图标4", "图标5", "图标6", "图标7", "图标8"};

        List<Map<String, Object>> listitems = new ArrayList<>();
        for (int i = 0; i < appnames.length; i++) {
            Map<String, Object> listitem = new HashMap<>();
            listitem.put("icon", appicons[i]);
            listitem.put("name", appnames[i]);
            listitems.add(listitem);
        }

        SimpleAdapter simpleAdapter = new SimpleAdapter(this, listitems, R.layout.appicon, new String[]{"icon", "name"}, new int[]{R.id.iv_icon, R.id.tv_icon});

        gv_app.setAdapter(simpleAdapter);
        gv_app.setOnItemClickListener(new AdapterView.OnItemClickListener() {
            @Override
            public void onItemClick(AdapterView<?> parent, View view, int position, long id) {
                Toast.makeText(mContext, "点击了第 " + position + " 项", Toast.LENGTH_SHORT).show();
            }
        });
    }
}
效果如图
自定义BaseAdapter+GridView+已下载应用PackageInfo
activity_main.xml和appicon.xml不变
AppAdapter
package com.lxh.dialogtest;

import android.content.Context;
import android.content.pm.PackageInfo;
import android.view.LayoutInflater;
import android.view.View;
import android.view.ViewGroup;
import android.widget.BaseAdapter;
import android.widget.ImageView;
import android.widget.TextView;

import java.util.List;

/**
 * create by lxh on 2023/12/12 Time:9:42
 * tip:
 */
public class AppAdapter extends BaseAdapter {

    private List<PackageInfo> appList;
    Context context;

    public AppAdapter(List<PackageInfo> appList, Context mcontext) {
        this.appList = appList;
        this.context = mcontext;
    }

    @Override
    public int getCount() {
        return appList.size();
    }

    @Override
    public Object getItem(int position) {
        return appList.get(position);
    }

    @Override
    public long getItemId(int position) {
        return position;
    }

    @Override
    public View getView(int position, View convertView, ViewGroup parent) {
        ViewHolder holder;
        if (convertView == null) {
            holder = new ViewHolder();
            convertView = LayoutInflater.from(context).inflate(R.layout.appicon, null);
            holder.appIcon = convertView.findViewById(R.id.iv_icon);
            holder.appName = convertView.findViewById(R.id.tv_icon);
            convertView.setTag(holder);
        } else {
            holder = (ViewHolder) convertView.getTag();
        }

        PackageInfo pi = (PackageInfo) getItem(position);
        holder.appIcon.setImageDrawable(pi.applicationInfo.loadIcon(context.getPackageManager()));
        holder.appName.setText(pi.applicationInfo.loadLabel(context.getPackageManager()).toString());

        return convertView;
    }

    static class ViewHolder {
        public ImageView appIcon;
        public TextView appName;
    }
}
MainActivity2
package com.lxh.dialogtest;

import androidx.appcompat.app.AppCompatActivity;

import android.content.Context;
import android.content.pm.ApplicationInfo;
import android.content.pm.PackageInfo;
import android.content.pm.PackageManager;
import android.os.Bundle;
import android.view.View;
import android.widget.AdapterView;
import android.widget.GridView;
import android.widget.Toast;

import java.util.ArrayList;
import java.util.List;

public class MainActivity2 extends AppCompatActivity {
    private static final String TAG = "MainActivity2 lxh";
    private Context mContext;
    private GridView gv_app;

    @Override
    protected void onCreate(Bundle savedInstanceState) {
        super.onCreate(savedInstanceState);
        setContentView(R.layout.activity_main);
        mContext = MainActivity2.this;

        gv_app = (GridView) findViewById(R.id.gv_app);

        Appinfo = get_InstallApp(mContext);
        if (Appinfo != null) {
            gv_app.setAdapter(new AppAdapter(Appinfo, mContext));
            gv_app.setOnItemClickListener(new AdapterView.OnItemClickListener() {
                @Override
                public void onItemClick(AdapterView<?> parent, View view, int position, long id) {
                    Toast.makeText(mContext, "你点击了~" + position + "~项", Toast.LENGTH_SHORT).show();
                }
            });
        }

    }

    List<PackageInfo> Appinfo = null;

    public List<PackageInfo> get_InstallApp(Context context) {
        List<PackageInfo> installApp = new ArrayList<>();
        List<PackageInfo> packageInfos = null;
        packageInfos = context.getPackageManager().getInstalledPackages(PackageManager.COMPONENT_ENABLED_STATE_DEFAULT);

        for (PackageInfo packageInfo : packageInfos) {
            if ((packageInfo.applicationInfo.flags & ApplicationInfo.FLAG_SYSTEM) == 0) {
                installApp.add(packageInfo);
            }
        }

        return installApp;
    }
}
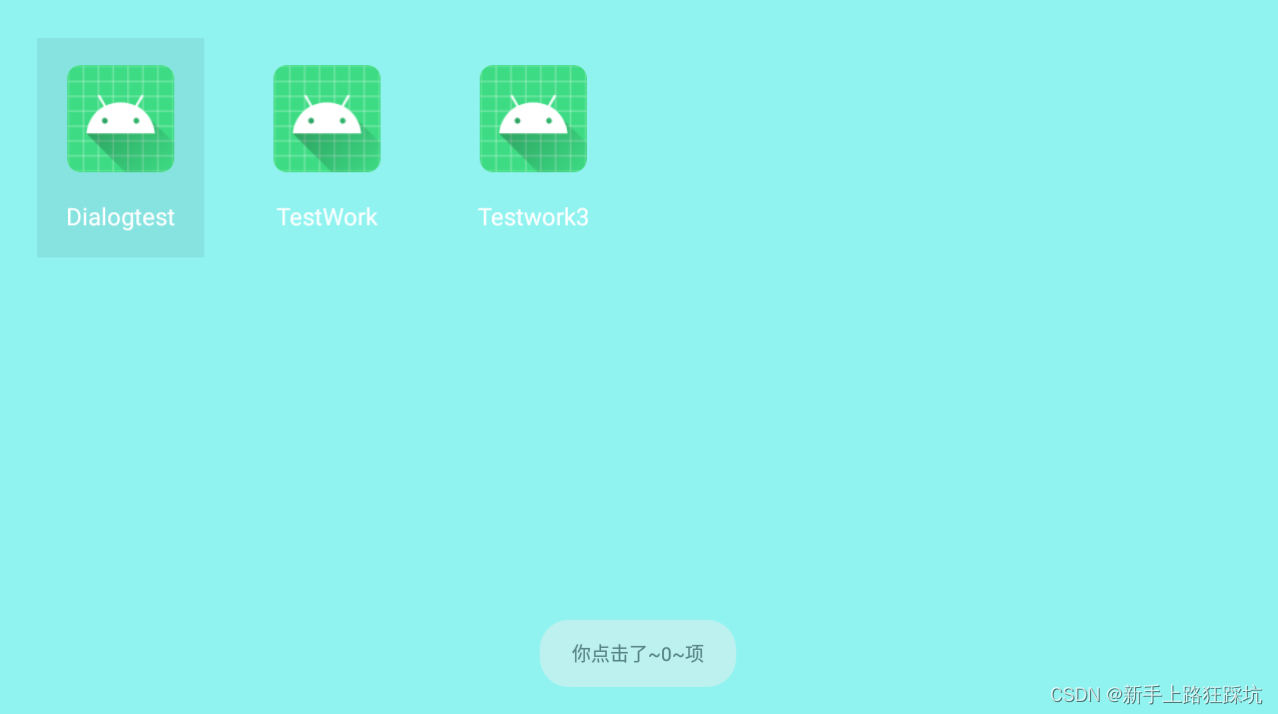
效果如图
其他
获取已下载应用信息函数
    public List<PackageInfo> get_InstallApp(Context context) {
        List<PackageInfo> installApp = new ArrayList<>();
        List<PackageInfo> packageInfos = null;
        packageInfos = context.getPackageManager().getInstalledPackages(PackageManager.COMPONENT_ENABLED_STATE_DEFAULT);

        for (PackageInfo packageInfo : packageInfos) {
            if ((packageInfo.applicationInfo.flags & ApplicationInfo.FLAG_SYSTEM) == 0) {
                installApp.add(packageInfo);
            }
        }

        return installApp;
    }
获取所有应用信息函数
    public List<PackageInfo> get_allApp(Context context) {
        List<PackageInfo> installApp = new ArrayList<>();
        List<PackageInfo> packageInfos = null;
        packageInfos = context.getPackageManager().getInstalledPackages(PackageManager.COMPONENT_ENABLED_STATE_DEFAULT);

        for (PackageInfo packageInfo : packageInfos) {
            installApp.add(packageInfo);
        }

        return installApp;
    }
ImageView产生圆角的方法
            <androidx.cardview.widget.CardView
                android:layout_width="80dp"
                android:layout_height="80dp"
                android:layout_gravity="center"
                android:layout_marginTop="20dp"
                android:gravity="center"
                app:cardCornerRadius="10dp"
                app:cardElevation="0dp">

                <ImageView
                    android:id="@+id/iv_icon"
                    android:layout_width="match_parent"
                    android:layout_height="match_parent"
                    android:scaleType="fitCenter" />
            </androidx.cardview.widget.CardView>
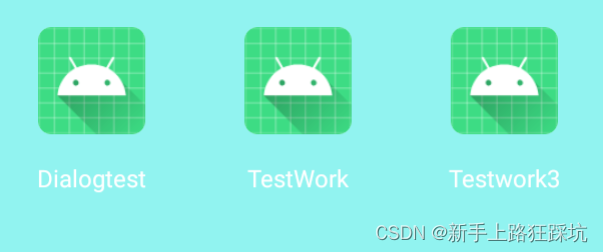
效果
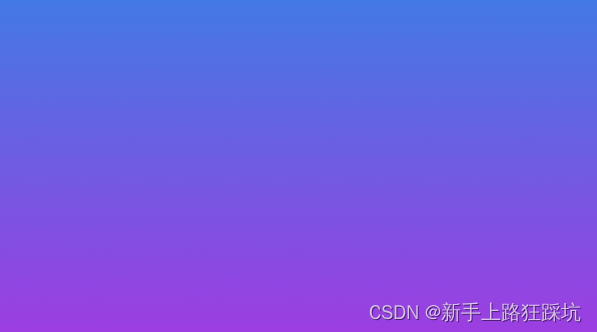
背景设置很渐变
<?xml version="1.0" encoding="utf-8"?>
<selector xmlns:android="http://schemas.android.com/apk/res/android">
    <item android:state_focused="false" android:state_pressed="false">
        <shape>
            <gradient android:angle="270" android:endColor="#9D3DE1" android:startColor="#4379E4" />
        </shape>
    </item>
</selector>
效果
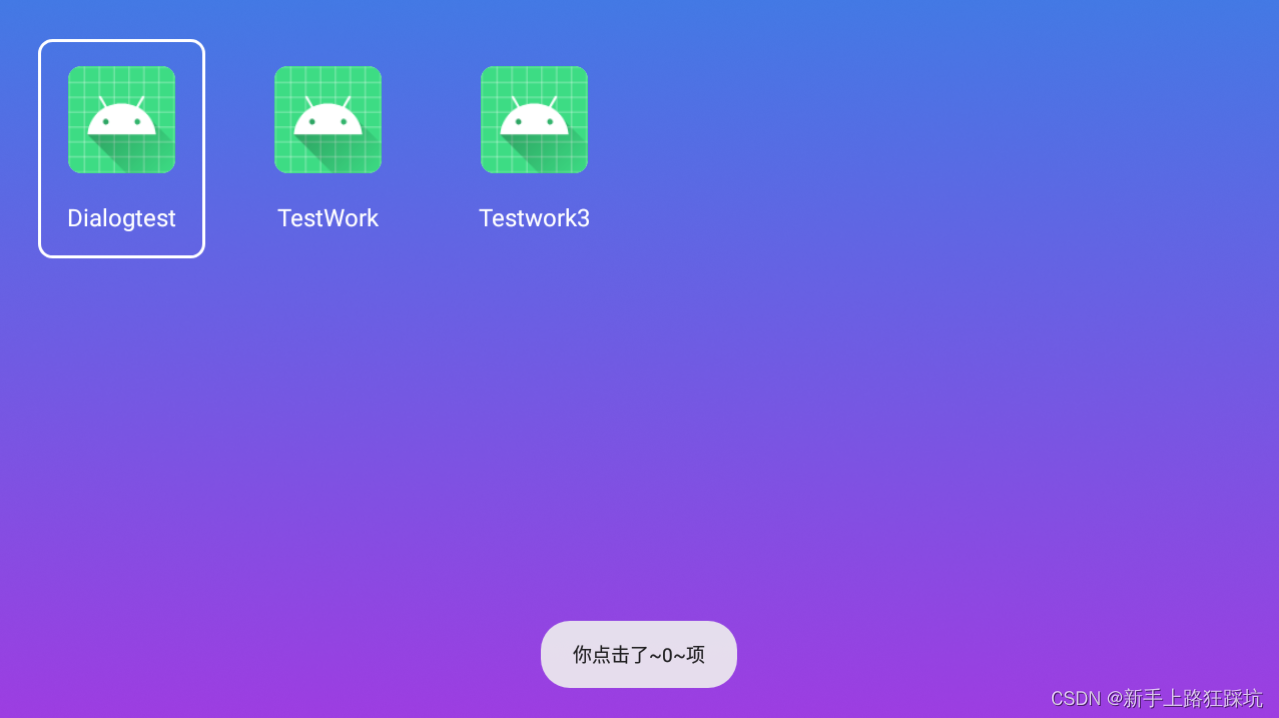
设置选择效果,按压效果,未选择效果
            <GridView
            android:id="@+id/gv_app"
            android:layout_width="match_parent"
            android:layout_height="match_parent"
            android:horizontalSpacing="30dp"
            android:numColumns="6"
            android:verticalSpacing="30dp"
            android:listSelector="@drawable/cg_white"
            />
<?xml version="1.0" encoding="utf-8"?>
<selector xmlns:android="http://schemas.android.com/apk/res/android">
    <item android:state_focused="true">
        <shape>
            <corners android:bottomLeftRadius="10dp" android:bottomRightRadius="10dp" android:topLeftRadius="10dp" android:topRightRadius="10dp" />
            <stroke android:width="2dp" android:color="@color/white" />
        </shape>
    </item>
    <item android:state_pressed="true">
        <shape>
            <corners android:bottomLeftRadius="10dp" android:bottomRightRadius="10dp" android:topLeftRadius="10dp" android:topRightRadius="10dp" />
            <stroke android:width="2dp" android:color="@color/white" />
        </shape>
    </item>
    <item android:state_focused="false">
        <shape>
            <corners android:bottomLeftRadius="10dp" android:bottomRightRadius="10dp" android:topLeftRadius="10dp" android:topRightRadius="10dp" />
        </shape>
    </item>
</selector>
效果
未完待续。。。
与君共勉!待续
欢迎指错,一起学习