文章目录
- 开源堡垒机Jumpserver
- Jumpserver介绍
- 安装环境部署
- 安装jumpserver
- 访问jumpserver的web界面
开源堡垒机Jumpserver
Jumpserver介绍
Jumpserver 是全球首款完全开源的堡垒机,使用 GNU GPL v2.0 开源协议,是符合 4A 的运维安全审计系统。
Jumpserver 使用 Python / Django 进行开发,遵循 Web 2.0 规范,配备了业界领先的 Web Terminal 解决方案,交互界面美观、用户体验好。
Jumpserver 采纳分布式架构,支持多机房跨区域部署,支持横向扩展,无资产数量及并发限制。
核心功能列表
- 身份验证
- 登录认证
- 资源统一登录和认证
- LDAP认证
- 支持OpenID,实现单点登录
- 多因子认证
- MFA(Google Authenticator)
- 登录认证
- 帐号管理
- 集中帐号管理
- 管理用户管理
- 系统用户管理
- 统一密码管理
- 资产密码托管
- 自动生成密码
- 密码自动推送
- 密码过期设置
- 批量密码变更(X-PACK)
- 定期批量修改密码
- 生成随机密码
- 多云环境的资产纳管(X-PACK)
- 对私有云、公有云资产统一纳管
- 集中帐号管理
- 授权控制
- 资产授权管理
- 资产树
- 资产或资产组灵活授权
- 节点内资产自动继承授权
- RemoteApp(X-PACK)
- 实现更细粒度的应用级授权
- 组织管理(X-PACK)
- 实现多租户管理,权限隔离
- 多维度授权
- 可对用户、用户组或系统角色授权
- 指令限制
- 限制特权指令使用,支持黑白名单
- 统一文件传输
- SFTP 文件上传/下载
- 文件管理
- Web SFTP 文件管理
- 资产授权管理
- 安全审计
- 会话管理
- 在线会话管理
- 历史会话管理
- 录像管理
- Linux录像支持
- Windows录像支持
- 指令审计
- 指令记录
- 文件传输审计
- 上传/下载记录审计
- 会话管理
安装环境部署
jumpserver官网
//关闭firewalld和selinux
[root@localhost ~]# systemctl disable --now firewalld
Removed /etc/systemd/system/multi-user.target.wants/firewalld.service.
Removed /etc/systemd/system/dbus-org.fedoraproject.FirewallD1.service.
[root@localhost ~]# setenforce 0
[root@localhost ~]# vi /etc/selinux/config
[root@localhost ~]# cat /etc/selinux/config

# This file controls the state of SELinux on the system.
# SELINUX= can take one of these three values:
#     enforcing - SELinux security policy is enforced.
#     permissive - SELinux prints warnings instead of enforcing.
#     disabled - No SELinux policy is loaded.
SELINUX=disabled
# SELINUXTYPE= can take one of these three values:
#     targeted - Targeted processes are protected,
#     minimum - Modification of targeted policy. Only selected processes are protected.
#     mls - Multi Level Security protection.
SELINUXTYPE=targeted
环境部署
//安装依赖
[root@localhost ~]# yum install -y wget curl tar gettext iptables

//安装数据库(这里安装的是mariadb10.6)
[root@localhost ~]# cd /opt/
[root@localhost opt]# ls
[root@localhost opt]# tar xf mariadb-10.6.15-rhel-8-x86_64-rpms.tar
[root@localhost opt]# ls
mariadb-10.6.15-rhel-8-x86_64-rpms  mariadb-10.6.15-rhel-8-x86_64-rpms.tar
[root@localhost opt]# rm -rf mariadb-10.6.15-rhel-8-x86_64-rpms.tar
[root@localhost opt]# ls
mariadb-10.6.15-rhel-8-x86_64-rpms
[root@localhost opt]# cd mariadb-10.6.15-rhel-8-x86_64-rpms/
[root@localhost mariadb-10.6.15-rhel-8-x86_64-rpms]# ./setup_repository
Repository file successfully created! Please install MariaDB Server with this command:

   yum install MariaDB-server

[root@localhost mariadb-10.6.15-rhel-8-x86_64-rpms]# yum install MariaDB-server -y
//创建jumpserver库
MariaDB [(none)]> create database jumpserver default charset 'utf8';
Query OK, 1 row affected (0.001 sec)
MariaDB [(none)]> show create database jumpserver;
+------------+---------------------------------------------------------------------------------------------------+
| Database   | Create Database                                                                                   |
+------------+---------------------------------------------------------------------------------------------------+
| jumpserver | CREATE DATABASE `jumpserver` /*!40100 DEFAULT CHARACTER SET utf8mb3 COLLATE utf8mb3_general_ci */ |
+------------+---------------------------------------------------------------------------------------------------+
1 row in set (0.000 sec)
安装jumpserver
//在官网下载源码包进行解压
[root@localhost opt]# tar xf jumpserver-offline-installer-v3.9.2-amd64.tar.gz
[root@localhost opt]# ls
jumpserver-offline-installer-v3.9.2-amd64         mariadb-10.6.15-rhel-8-x86_64-rpms
jumpserver-offline-installer-v3.9.2-amd64.tar.gz
[root@localhost opt]# cd jumpserver-offline-installer-v3.9.2-amd64
[root@localhost jumpserver-offline-installer-v3.9.2-amd64]# ls
cn-quick_start.sh  config-example.txt  jmsctl.sh  locale          README.md  static.env
compose            config_init         LICENSE    quick_start.sh  scripts    utils

//直接进行安装,如果需要修改什么参数请修改config-example.txt
[root@localhost jumpserver-offline-installer-v3.9.2-amd64]# ./jmsctl.sh install

//安装成功
1. You can use the following command to start, and then visit
cd /opt/jumpserver-offline-installer-v3.9.2-amd64
./jmsctl.sh start     //jumpserver启动

2. Other management commands
./jmsctl.sh stop        //关闭
./jmsctl.sh restart     //重启
./jmsctl.sh backup     //备份
./jmsctl.sh upgrade    //更新
For more commands, you can enter ./jmsctl.sh --help to understand

3. Web access
http://192.168.250.1:80   //使用web界面进行访问
Default username: admin  Default password: admin

4. SSH/SFTP access
ssh -p2222 admin@192.168.250.1   //ssh连接进行访问
sftp -P2222 admin@192.168.250.1  //ftp进行访问

5. More information
Official Website: https://www.jumpserver.org/  //官网
Documentation: https://docs.jumpserver.org/    //官方文档

[root@localhost jumpserver-offline-installer-v3.9.2-amd64]# ./jmsctl.sh start
之后就可以用真机直接输入ip访问了
访问jumpserver的web界面

账号密码都是:admin
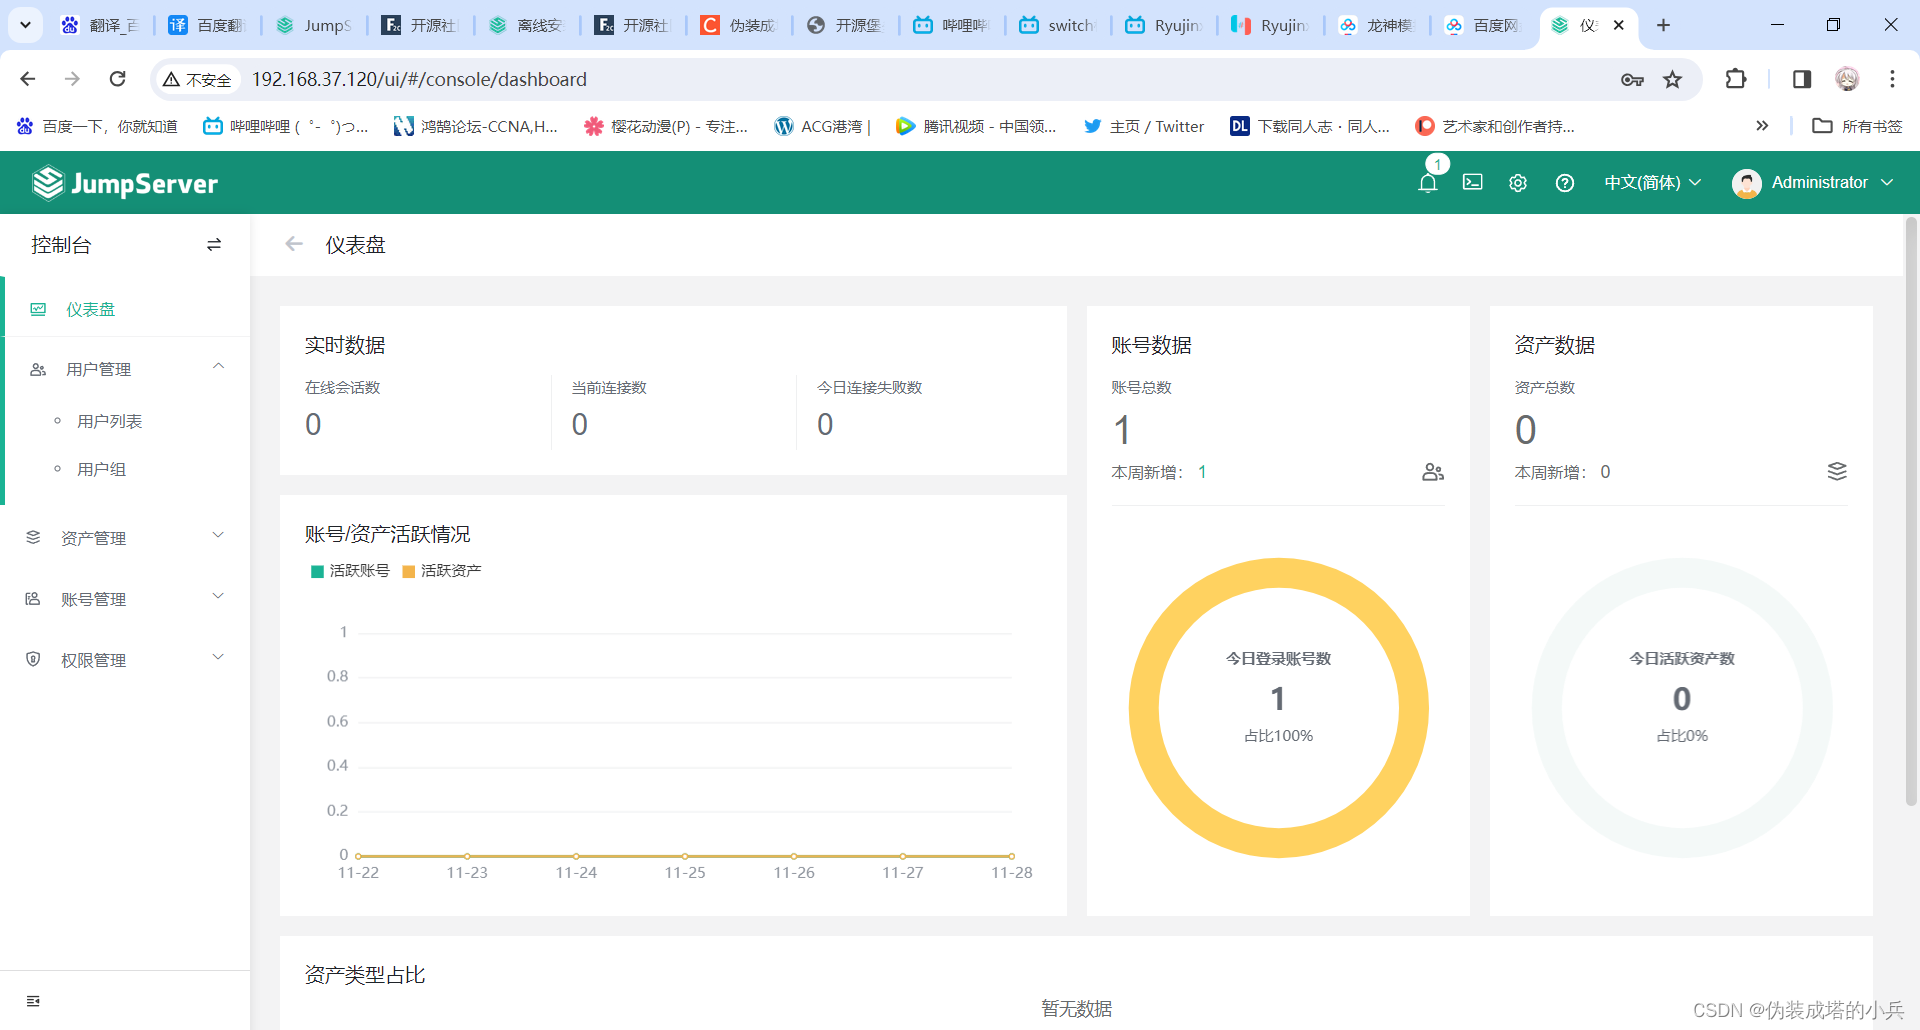
访问成功
