github
创建anaconda环境
conda create -n ASM python=3.8
下载依赖包
# pytorch>=1.7 and torchvision>=0.8
conda install pytorch==1.11.0 torchvision==0.12.0 torchaudio==0.11.0 cudatoolkit=11.3 -c pytorch

pip install git+https://github.com/facebookresearch/segment-anything.git
pip install opencv-python pycocotools matplotlib onnxruntime onnx
预训练权重
default or vit_h:ViT-H SAM model
vit_l:vit_l
vit_b:vit_b
example
详细的官网example
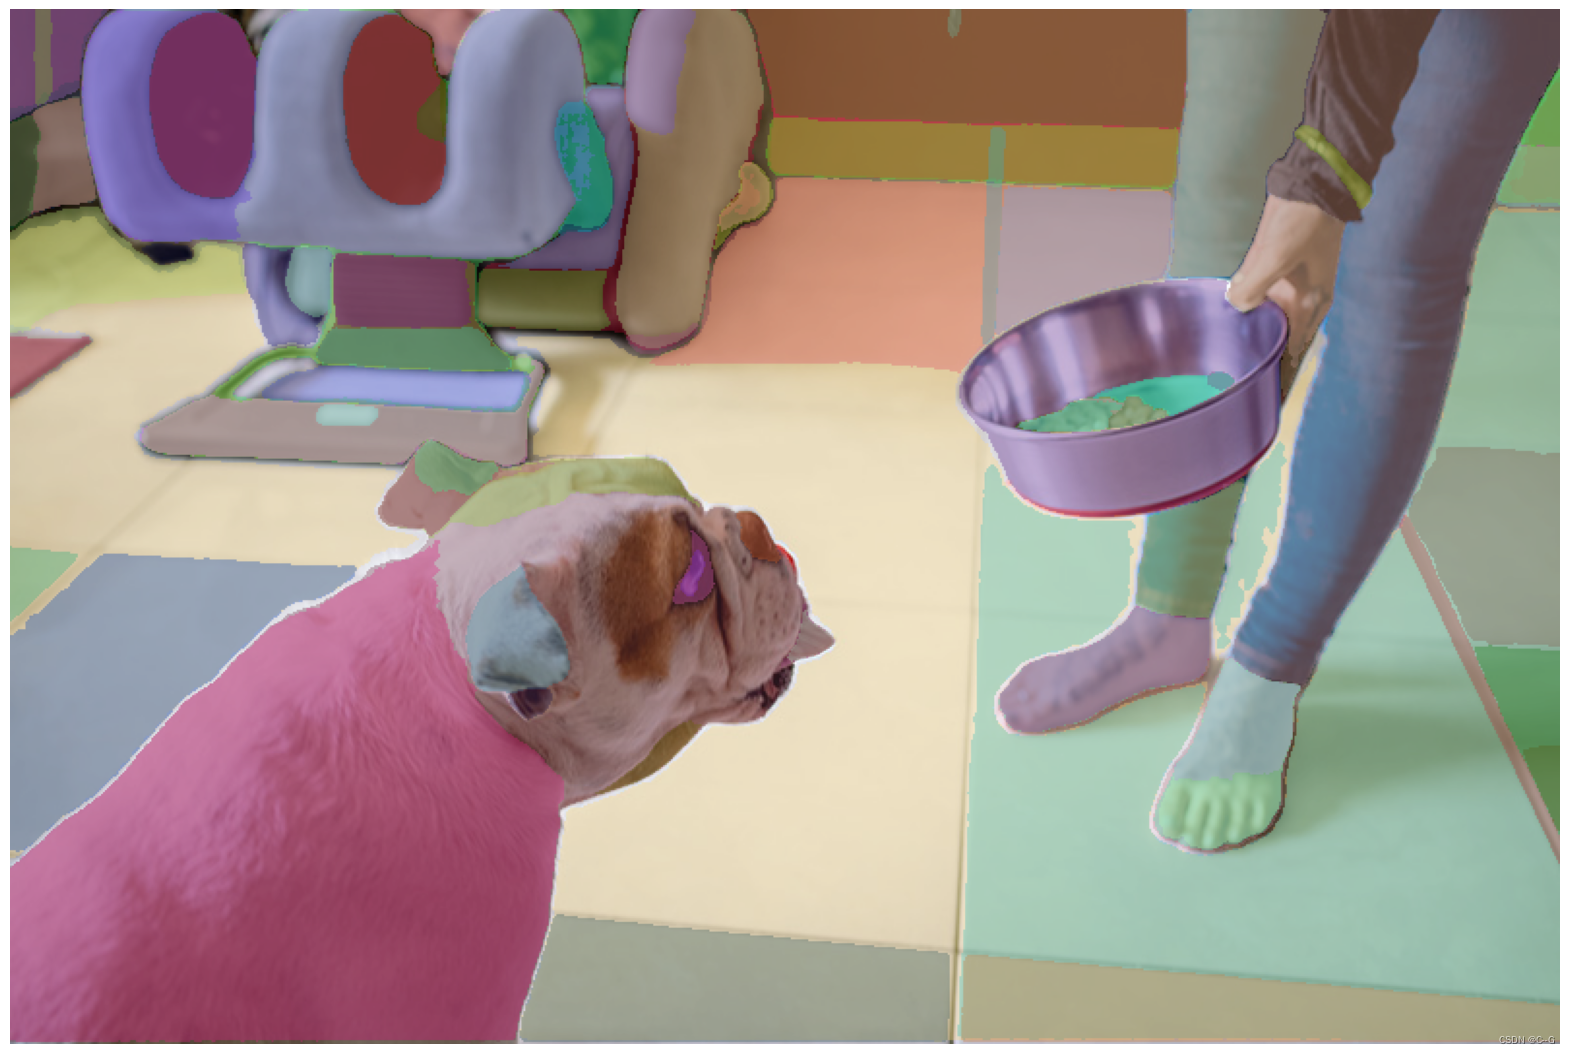
Automatically generating
代码使用
工具方法
读取图片
def read_image(path="./data/000.png"):
    image = cv2.imread(path)
    image = cv2.cvtColor(image, cv2.COLOR_BGR2RGB)
    return image
展示标记框
def show_box(box, ax):
    x0, y0 = box[0], box[1]
    w, h = box[2] - box[0], box[3] - box[1]
    ax.add_patch(plt.Rectangle((x0, y0), w, h, edgecolor='green', facecolor=(0, 0, 0, 0), lw=2))
展示标记点
def show_points(coords, labels, ax, marker_size=375):
    pos_points = coords[labels == 1]
    neg_points = coords[labels == 0]
    ax.scatter(pos_points[:, 0], pos_points[:, 1], color='green', marker='*', s=marker_size, edgecolor='white',
               linewidth=1.25)
    ax.scatter(neg_points[:, 0], neg_points[:, 1], color='red', marker='*', s=marker_size, edgecolor='white',
               linewidth=1.25)
展示掩膜
def show_mask(mask, ax, random_color=False):
    if random_color:
        color = np.concatenate([np.random.random(3), np.array([0.6])], axis=0)
    else:
        color = np.array([30 / 255, 144 / 255, 255 / 255, 0.6])
    h, w = mask.shape[-2:]
    mask_image = mask.reshape(h, w, 1) * color.reshape(1, 1, -1)
    ax.imshow(mask_image)
简单使用
main方法
if __name__ == '__main__':
	# 初始化模型
    sam = init()
    predictor = SamPredictor(sam)
    # 读取图片
    image = read_image("./data/000.png")
    # 绑定图片
    predictor.set_image(image)
    # 调用自定义方法
    predict_box(image, predictor)
加载模型
def init(model_type="vit_h", sam_checkpoint="/devdata/chengan/SAM_checkpoint/sam_vit_h_4b8939.pth", device="cuda"):
    sam = sam_model_registry[model_type](checkpoint=sam_checkpoint)
    sam.to(device=device)
    return sam
点语义分割
def sample_use(image, predictor):
    input_points = np.array([
        [300, 300]
    ])
    # 1 (foreground point) or 0 (background point)
    input_labels = np.array([
        1
    ])
    # 掩膜,置信度,低分辨率掩码逻辑
    masks, scores, logits = predictor.predict(
        point_coords=input_points,
        point_labels=input_labels,
        multimask_output=True
    )

    for i, (mask, score) in enumerate(zip(masks, scores)):
        plt.figure(figsize=(10, 10))
        plt.imshow(image)
        show_mask(mask, plt.gca())
        show_points(input_points, input_labels, plt.gca())
        plt.title(f"Mask {i + 1}, Score: {score:.3f}", fontsize=18)
        plt.axis('off')
        plt.show()
    print("\nmask shape", masks.shape)
点语义分割迭代
def predict_dir(image, predictor):
    input_points = np.array([
        [300, 300]
    ])
    # 1 (foreground point) or 0 (background point)
    input_labels = np.array([
        1
    ])

    # 第一次语义
    masks, scores, logits = predictor.predict(
        point_coords=input_points,
        point_labels=input_labels,
        multimask_output=True
    )

    # Choose the model's best mask
    mask_input = logits[np.argmax(scores), :, :]
    # 第二次语义
    masks, scores, logits = predictor.predict(
        point_coords=input_points,
        point_labels=input_labels,
        mask_input=mask_input[None, :, :],
        multimask_output=False,
    )

    plt.figure(figsize=(10, 10))
    plt.imshow(image)
    show_mask(masks, plt.gca())
    show_points(input_points, input_labels, plt.gca())
    plt.axis('off')
    plt.show()
box语义分割
def predict_box(image, predictor):
    input_box = np.array([425, 600, 600, 700])
    masks, _, _ = predictor.predict(
        point_coords=None,
        point_labels=None,
        box=input_box[None, :],
        multimask_output=False,
    )
    plt.figure(figsize=(10, 10))
    plt.imshow(image)
    show_mask(masks[0], plt.gca())
    show_box(input_box, plt.gca())
    plt.axis('off')
    plt.show()
点 box 语义分割
def predict_box_point(image, predictor):
    input_box = np.array([425, 600, 700, 700])
    input_point = np.array([[575, 750]])
    input_label = np.array([0])
    masks, _, _ = predictor.predict(
        point_coords=input_point,
        point_labels=input_label,
        box=input_box,
        multimask_output=False,
    )
    plt.figure(figsize=(10, 10))
    plt.imshow(image)
    show_mask(masks[0], plt.gca())
    show_box(input_box, plt.gca())
    show_points(input_point, input_label, plt.gca())
    plt.axis('off')
    plt.show()
多个box
def predict_boxs(image, predictor):
    input_boxes = torch.tensor([
        [75, 275, 725, 750],
        [425, 600, 700, 775],
        [375, 550, 650, 700],
        [240, 675, 400, 750],
    ], device=predictor.device)
    transformed_boxes = predictor.transform.apply_boxes_torch(input_boxes, image.shape[:2])
    masks, _, _ = predictor.predict_torch(
        point_coords=None,
        point_labels=None,
        boxes=transformed_boxes,
        multimask_output=False,
    )
    # (batch_size) x (num_predicted_masks_per_input) x H x W
    print(masks.shape)
    plt.figure(figsize=(10, 10))
    plt.imshow(image)
    for mask in masks:
        show_mask(mask.cpu().numpy(), plt.gca(), random_color=True)
    for box in input_boxes:
        show_box(box.cpu().numpy(), plt.gca())
    plt.axis('off')
    plt.show()
batch all images
def predict_batch(images, sam):
    resize_transform = ResizeLongestSide(sam.image_encoder.img_size)

    image1 = images[0]
    # dual with image
    image1 = resize_transform.apply_image(image1)
    image1 = torch.as_tensor(image1, device=sam.device)
    image1 = image1.permute(2, 0, 1).contiguous()
    # box
    image1_boxes = torch.tensor([
        [75, 275, 725, 750],
        [425, 600, 700, 775],
        [375, 550, 650, 800],
        [240, 675, 400, 750],
    ], device=sam.device)

    image2 = images[1]
    image2 = resize_transform.apply_image(image2)
    image2 = torch.as_tensor(image2, device=sam.device)
    image2 = image2.permute(2, 0, 1).contiguous()
    image2_boxes = torch.tensor([
        [450, 170, 520, 350],
        [350, 190, 450, 350],
        [500, 170, 580, 350],
        [580, 170, 640, 350],
    ], device=sam.device)

    """
        image: The input image as a PyTorch tensor in CHW format.
        original_size: The size of the image before transforming for input to SAM, in (H, W) format.
        point_coords: Batched coordinates of point prompts.
        point_labels: Batched labels of point prompts.
        boxes: Batched input boxes.
        mask_inputs: Batched input masks.
    """
    batched_input = [
        {
            'image': image1,
            'boxes': resize_transform.apply_boxes_torch(image1_boxes, image1.shape[:2]),
            'original_size': image1.shape[:2]
        },
        {
            'image': image2,
            'boxes': resize_transform.apply_boxes_torch(image2_boxes, image2.shape[:2]),
            'original_size': image2.shape[:2]
        }

    ]

    batched_output = sam(batched_input, multimask_output=False)
    """
    masks: A batched torch tensor of predicted binary masks, the size of the original image.
    iou_predictions: The model's prediction of the quality for each mask.
    low_res_logits: Low res logits for each mask, which can be passed back to the model as mask input on a later iteration.
    """
    print(batched_output[0].keys())
    fig, ax = plt.subplots(1, 2, figsize=(20, 20))

    ax[0].imshow(image1)
    for mask in batched_output[0]['masks']:
        show_mask(mask.cpu().numpy(), ax[0], random_color=True)
    for box in image1_boxes:
        show_box(box.cpu().numpy(), ax[0])
    ax[0].axis('off')

    ax[1].imshow(image2)
    for mask in batched_output[1]['masks']:
        show_mask(mask.cpu().numpy(), ax[1], random_color=True)
    for box in image2_boxes:
        show_box(box.cpu().numpy(), ax[1])
    ax[1].axis('off')

    plt.tight_layout()
    plt.show()
多语义实例分割
多语义分割图片展示
def show_anns(anns):
    if len(anns) == 0:
        return
    sorted_anns = sorted(anns, key=(lambda x: x['area']), reverse=True)
    ax = plt.gca()
    ax.set_autoscale_on(False)

    img = np.ones((sorted_anns[0]['segmentation'].shape[0], sorted_anns[0]['segmentation'].shape[1], 4))
    img[:, :, 3] = 0
    for ann in sorted_anns:
        m = ann['segmentation']
        color_mask = np.concatenate([np.random.random(3), [0.35]])
        img[m] = color_mask
    ax.imshow(img)
默认方法
def sample_use(image, sam):
    mask_generator = SamAutomaticMaskGenerator(sam)
    masks = mask_generator.generate(image)
    plt.figure(figsize=(20, 20))
    plt.imshow(image)
    show_anns(masks)
    plt.axis('off')
    plt.show()
    print(len(masks))
    print(masks[0].keys())
调整输入参数
def improved_use(image, sam):
    mask_generator = SamAutomaticMaskGenerator(
        model=sam,
        points_per_side=32,
        pred_iou_thresh=0.86,
        stability_score_thresh=0.92,
        crop_n_layers=1,
        crop_n_points_downscale_factor=2,
        min_mask_region_area=100,  # Requires open-cv to run post-processing
    )
    masks = mask_generator.generate(image)
    plt.figure(figsize=(20, 20))
    plt.imshow(image)
    show_anns(masks)
    plt.axis('off')
    plt.show()
    print(len(masks))
    print(masks[0].keys())
